












Staying Safe When Tree Skiing
Tree skiing and snowboarding is simply some of the most fun you can have on a mountain. Tight glades, pitch changes, and sheltered deep snow create a playground that often beats open runs for variety and fresh tracks. But trees demand respect: they change the game from piste riding to a mix of route-finding, quick reactions, and serious safety preparation.

This guide is not an all encompassing survival kit but suggestions based on my experience riding in trees around the globe but note… I still find myself in sticky situations. This post is not intended as an alternative to proper training but more as a guide for some key aspects I consider when heading into gladed terrain. It is also well worth noting that trees around the world all ski different. Whether you are hitting the Snow Gums in Australia, North American Pines or the Tsuga Trees in Hakuba’s famous powder district all offer something a little different.
Below is practical, experience-based advice for staying safe and getting the most from tree runs — what to wear and pack, how to ride, and how to pick terrain. But first it is worth trying to understand why tree runs are so special.
Why We Love Tree Skiing
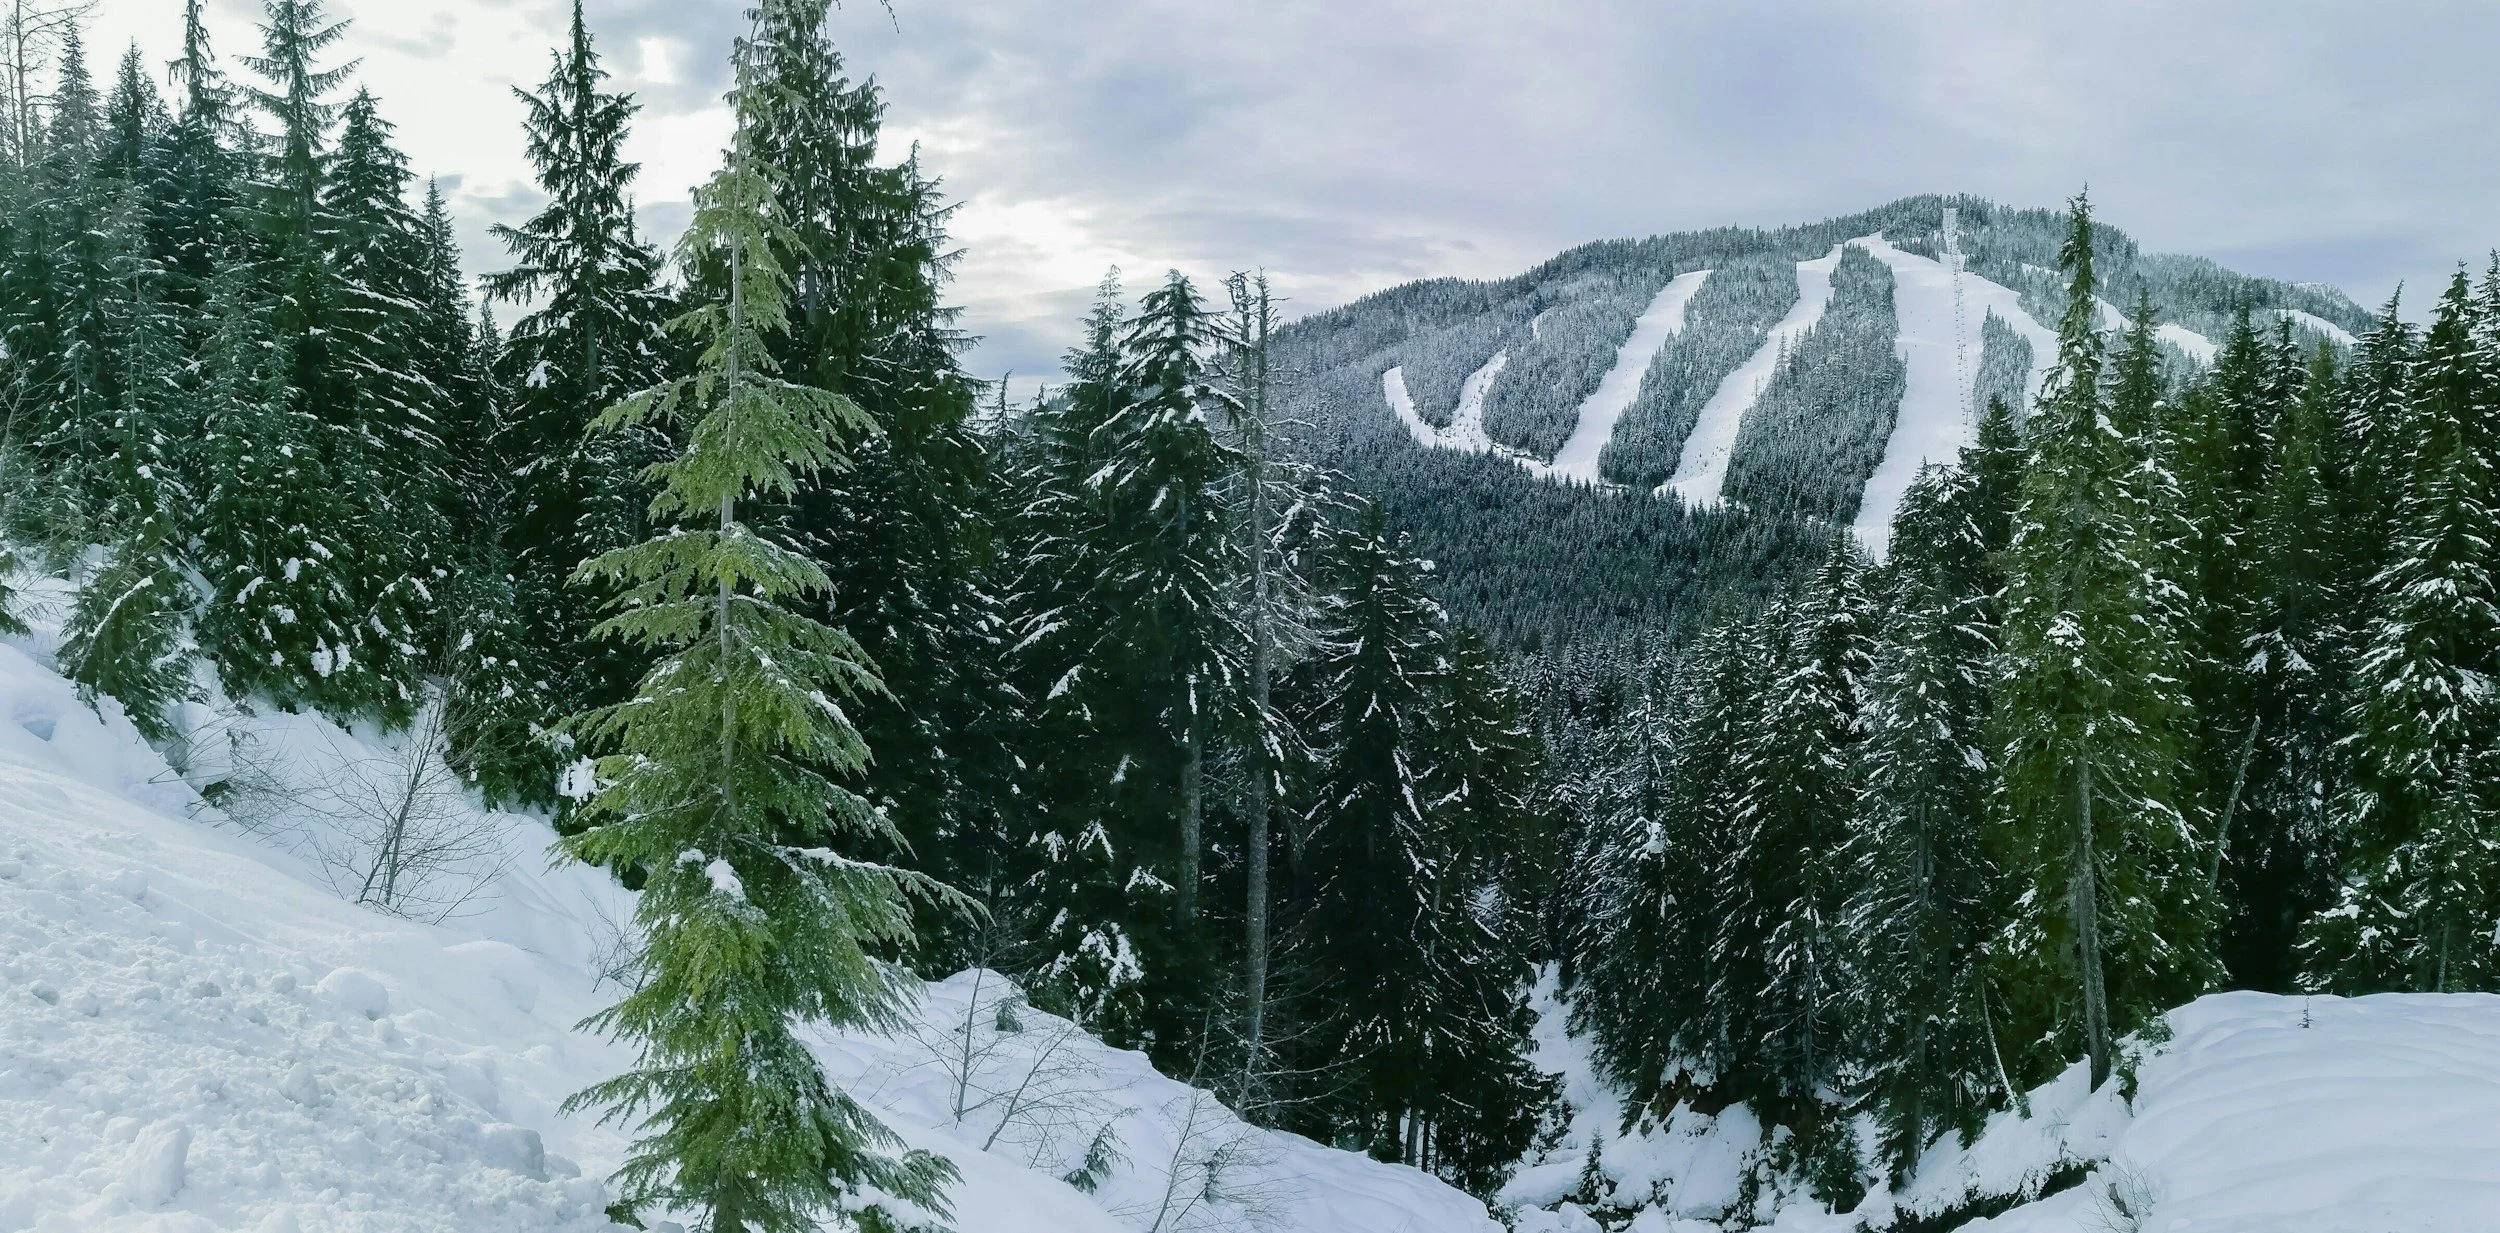
Trees or glades offer the snow protection and shelter from the wind and burning sun. This means that not only does the snow get preserved for longer but it also tends to keep it softer and less crusty. This means that heading into the trees a few days after recent snowfall can often reward you with some insane powder turns.
Tree runs tend to be a bit like a natural terrain park filled with natural features to hop, jump and weave between. Whether you are jumping a stump, navigating a natural corridor or finding some powder pillows tree runs really do tend to deliver more often than not.
The nature of tree skiing often means taking things a bit slower to allow you to navigate tight tree lines. These slower, dynamic turns often get you feeling in a flow state that are the reward for effective tree skiing. It honestly feels so good to smoothly pick your path between the trees ensuring that you are spraying some powder on every turn doesn’t hurt either.
The worst days are made better by trees. Everybody hates turning up at the mountain in a whiteout but if you do and there is decent tree skiing available it is like your day has been saved. The trees provide valuable context which allow you to continue enjoying your day on the snow rather than trying to work your way through a cloud. Actually, this is one of the reason why some of the worlds highest ski resorts are not my favourites. Take Val Thorens which has Europes highest ski resort village. On a bad weather day there is no context as Val Thorens sits above the treeline. Whereas Flaine, which is lower has some great tree skiing at lower elevations. Checkout the difference in these videos below to see what I mean.
Staying Safe in The Trees
You can never guarentee that you are safe when heading anywhere in a ski resort and the trees are no different. Whether it be high impact collisions, getting burried in a tree well or simply getting lost in terrain you are unfamiliar with, trees offer many dangers. Managed correctly, tree skiing can be well worth the effort so consider adding the following to your tree skiing safety routines.
Riding within your limits is key even for more able experienced skiers and snowboarders especially when riding in terrain that is unfamiliar to you. We have all been there; new resort, coupled with recent snowfall and we all start to forget about some of the key aspects of managing risk in the trees. When you do not know the terrain well be sure to slow down and get to know the terrain first.
Riding with a partner and ensuring that you always keep visual contact is another key factor of skiing and snowboarding in the glades. If something goes wrong you want somebody around who can help you out and call for help. Taking it in turns to ride pitches of terrain ensures that you stay in each others sight, can share any dangers found and of course… you have someone to get that awesome picture or video of you as they wait for you to ride down. Recently, I got way too excited on a powder day in Flaine and kept going when my friend took a well deserved break. You can see what happened in the video at the bottom of this section.
The avalanche risk in the trees can be lower but this doesn’t mean the risk is zero. Therefore, carrying essential avalanche safety equipment is advisable. Again this is definitely a do as I say not as I do, because I am stupid enough to opt to ride without my backpack at times in resort. Often I will still wear my avalanche transeiver but really I know that I should carry my whole avalanche safety kit (Shovel, probe, & beacon). Bringing a backpack is also great for some snacks and an accessible drink just incase you feel the burn and need to rest on the mountain rather than in a hut…. A reminder to myself to ensure I do this more.
This one is for those heading into the unknown, a new area of trees or sometimes a new resort entirely. Dont be affraid to scout something out first before commiting to a run. This is especially the case if you feel there is a jump/drop and you are not sure of the landing. Normally, either you or your partner are willing to take one for the team and scout it out first. This rule also applies to just stopping to check your line as you move into unknown terrain. Look out for terrain traps, changes in the environment (trees aren’t fixed forever) or other hazards.
The nature of tree runs mean that getting assistance with a recovery is harder in this terrain. At a minimum this means a longer wait for ski patrol (if in bounds) so be prepared as with point 3. Be sure to control your speed as controlled turns are preferable to blasting it in this terrain. If you feel you are going too fast you probably are.
Communication is key. It is really easy to get serperated in gladed terrain so be sure to communicate. Whether this is clear communication such as “dropping left,” or “stopping.”, or even just your holars and whoops as you ride through the terrain. Ensuring your group know where each other are can prevent people getting stranded by themselves and prevents collisions when visibility is limited.
Plan your route out. I learnt this one early when at Marmot Basin where missing my route out ended up in one hell of a big hike in deep snow. Fair to say at the end of that experience I was done for the day curtailing my fun. This rule goes into knowing your terrain as planning the right route out can save you time, misfortune, and energy.
First aid and skills: Everyone in the party should carry a small first aid kit and know how to treat basic injuries and immobilize limbs. CPR and basic evacuation planning are good to review before heading in.
Watch for tree wells: A significant hazard around tree trunks where loose snow forms deep, hidden voids. Avoid skiing directly around the base of trees after heavy snow, and keeping sight of partners is essential.
What to wear and pack Pack for mobility, protection, and multiple contingencies.
This is always contentious as people always have their preferences… so feel free to listen to mine or ignore, that is of course your prerogative.
Dress in breathable layers so you can adjust on the move. Conditions change so having the ability to change your layering systems is one of the most important parts of staying comfortable in the mountains. I prefer a thin waterproof shell, coupled with a good quality base layer and mid-layer option.
Shell Jackets and Pants
Gone are the days of needing to purchase the more expensive Gore-tex shells. Yes, spending this money does provide you with a product that has been shown to stand the test of time but there are many new shells that are equally reliable. Patagonia have their own shell technology called H2No, The North Face use Futurelight, and Helly Hansen use Helly Tech. Each of these is a viable option. Regardless of your choice of membrane, opting for a shell jacket allows you greater versatility for temperature management whilst ensuring you stay dry.
Shell jacket and pants: Waterproof breathable shells with articulated fit for snowboarding through tree lines. Look for durable fabrics to withstand brush and branches.
Base Layers
Probably one of the most underrated bits of kit is your choice of base layer top and bottoms. Your main choices are a synthetic or merino base layers. Gone are the days of people wearing cotton surely? Merino for me is the standout winner with odour resistant properties and greater weight to warmth ration. Merino used to be really expensive but now I pick mine up from SportPursuit. If you sign up via this link you are supporting the website and you will have access to some great discounts. If you are trying to save some money there are some great synthetic options however be prepared for a good stench after a long day skiing trees.
Mid-Layers
I often alternate between a lightweight fleece (Arcteryx Delta) or a slightly thicker syntethic jacket (Arcteryx Atom) depending on the temps. On a cold day I may layer up and wear both. This is where having the lightweight shell suggested above pays dividends as it allows this flexibility. Often in a grabable place in my rucksack will be my puffy (Arcteryx Cerium). Lightweight, it’s like its not there but if I need to stop for a prolonged period I will through this on to boost my warth.
Gloves
This is a strange one for me as I run warm so wearing a thick pair of gloves isn’t usually my go to choice. That being said when snowboarding in the trees I opt for my Hestra Heli Mitts due to their long gaitor. Not only does this stop snow from flying up my sleeves but if I fall it gives me the reassurance that no snow is getting in however much I need to dig myself out of trouble.
Helmet
Sorry not sorry. In my opinion a helmet should be mandatory especially if you are opting to ski in the trees. Good quality helmets have MIPs which is a god send when it comes to head impact. Protecting yourself from impact whether it be a tree, the ground or your buddy could save a life. I use the OutdoorMaster Diamond 2 MIPs helmet which you can buy here with 20% off. Helmet: Mandatory. Trees multiply the risk of head impacts — use a well-fitting certified helmet.
Save 20% Just Click the Image
Goggles
My view on goggles has changed significantly in the past few years. No longer do you need to pay top dollar to get high quality goggles. Essentially, a photochromic lens is now an affordable option for many and its how I would suggest you go. Photochromic lenses adapt to the light meaning when you are in the protection of the trees, the lens will let more light in and when you pop out of the trees into the sun, the lens will reduce the amount of light that gets through to protect your eyes.
Over the past few years I have used many goggles but my go to would be either the Julbo Launcher Photochromic (Purchased from Sport Pursuit for big discount) or the Outdoormaster Ultra (Again save 20% here)
If you would prefer to opt for more traditional lenses than a low-light and contrast-enhancing lenses (yellow/rose) are often best in shaded tree areas. Carry a spare lens or goggles if practical.
Backpack
Ideally, when skiing in the trees you can wear a small backpack which will allow you to bring essential safety items with you. I would aim for a 20-25l backpack that has comfortable straps and a good waist belt for stability and support with the weight of the back. You do not want your pack fully loaded but I would aim to get the below items inside the bag.
Essential pack items
Hydration: Lightweight water bottle or hydration bladder.
Snack: High-calorie, quick energy (bars, gels, chocolate).
First-aid kit: Small kit with bandages, tape, wound treatment, and a space blanket.
Communication: Whistle for signalling, and two-way radios if group members want better communications than shouting. Radios are a pro option, I have never used one but I am interested in testing a system like Cardo Outdoor.
Beacon, probe, shovel: If you’re in avalanche terrain or venturing beyond controlled boundaries, carry and know how to use avalanche rescue gear. Even inside trees, slides and tree wells can create burial risk.
Repair kit: Multi-tool, ski/snowboard straps, small zip ties, duct tape.
In short, gladed terrain offers some of the most rewarding and enjoyable skiing and snowboarding you'll find, provided you approach it with respect, the right skills, and the right preparation. The key takeaways are simple: know the snow and avalanche conditions, refine your tree-skiing technique, travel with partners and the necessary safety gear (avalanche transceiver, probe, shovel), and make conservative terrain and route choices that match your ability.
When you combine good judgment with solid skills and proper equipment, you’ll dramatically reduce risk and increase the enjoyment of glades. Gladed runs reward patience and attentiveness, stay within your limits, communicate with your group, and embrace a mindset that prioritises safety over a single run or line. That balance is what lets you explore these beautiful, wooded slopes season after season.




Off-Piste Etiquette: Where Is The Boundary?
Whether you love fresh corduroy in the morning or a park lap in the sun, there is one thing that unites all skiers and snowboarders… a powder day! Waking up in the morning to a fresh cover of snow is why so many people work minimum wage resort jobs but when the pistes are tracked out where we go next is often heated debate. Having snowboarded across the continents this is our take on where the boundaries lie.
ARGENTINA
The mountain environment in Argentina is pretty special. The Andes offer towering peaks and pretty harsh weather systems. These weather systems bring plenty of snow but also incredibly high-speed winds that can make the snowpack variable. At Cerro Catedral the freeriding opportunities were incredible and I have heard the same for many other South American resorts.
Cerro Catedrall offers the opportunity for easy access backcountry into La Laguna area and there is no boundary rope showing the laid-back attitude of the South American ski patrols. The Nubes area would close when the lift could not run due to high winds, but there was no barrier to those who would take the hike to the top. This means backcountry at Cerro Catedral and other South American ski resorts should not be taken lightly and you really should operate with caution and knowledge. With the lack of closures at Cerro Catedral, we often found ourselves asking questions and even walking away from a run after reaching the summit of a hike.

JAPAN
If there is one place in the world I had always wanted to experience snowboarding it was Japan. An absolute mecca for skiers and snowboarders, the amount of snow that Japanese resorts receive in a season shouldn’t be legal! With such regular snowfall, heading off-piste or into the backcountry needn't be high on your priority list, that is until you realize just how good tree riding is here in Japan.
Attitudes to off-piste in Japan are completely juxtaposed to what we Europeans are used to. For starters, some Japanese skiers and riders believe that the trees are home to spirits and it was believed these should be disturbed. This attitude resulted in many Japanese ski resorts roping off their tree runs and designating them as out of bounds.
Now I don’t know about you, but if I see an area of widely spaced trees with a carpet of fresh snow that is exactly where I want to be. Fortunately, Japanese ski resorts are starting to open these areas to budding powder hunters, although you may need to take a course to enter.
In Hakuba, these resorts offered off-piste skiing under the following conditions
Hakuba Cortina - No restrictions
Tsugaike Kogen - On completion of DBD course and only in gated areas
Hakuba Iwatake - In gated areas only
Hakuba 47 - On completion of the course and only in gated areas
Norikura Onsen - No Restrictions
Hakuba Goryu - Adventure course only
At least the few resorts not currently opening off-piste terrain to the public are blessed with an incredible snow record. That being said, with the number of Western tourists visiting Japan each year, it can’t be long before these resorts get with the times… Can it?
IF YOU FIND VALUE IN THIS POST CONSIDER CLICKING THE BUYMEACOFFEE LINK BELOW TO SUPPORT MY CONTENT.

NORTH AMERICA
North America is home to some great off-piste resorts with Canada’s powder triangle and America’s West Coast Resorts getting pounded with fresh powder. North American resorts tend to have groomed and ungroomed terrain. In effect, from a European perspective, I would not class it as off-piste.
You can feel pretty safe at all times in the knowledge that even the ungroomed terrain is patrolled, although be aware accidents do happen and it is again down to you to use your best judgment. It is pretty clear within both US and Canadian ski resorts that a rope means DO NOT CROSS and you do so risking not only your life but your lift privileges.
Ropes tend to mean that patrol is currently managing terrain and crossing could put you in range of dynamite, not something I’d advise. Resorts in Canada are starting to introduce gated areas, for example, Sunshine Village has Delerium Dive, but these are still the minority. If you want the true backcountry experience in North America you will have to leave the resort boundaries completely. Outside of the resort’s boundaries, you are in charge of your safety and there isn’t anybody coming to help you if things go array, not without paying huge fees anyway.
EUROPE
Oh Europe, the land of you can ski where you want but if you die don’t look at us culture. Europe pretty much offers freeriders exactly that, the freedom to ride. Do not get me wrong, in Europe, you will find ropes and closure signs however you have the freedom to cross them at your own risk.
Resorts like Verbier offer runs classed as Itineraries which are within the resort’s boundaries but are unmanaged. Normally a row of yellow poles will mark the route down an itinerary run but besides that, you are free to ride wherever you see a fresh turn.
WHY IS IT SO DIFFERENT IN EUROPE?
Well, I think it comes down to two main cultural aspects. Firstly from my experience, in Europe people are more likely to ski with an instructor or guide than in North America. This means Europeans are happy to hire an expert to make safety decisions for them.
Secondly, and linked to point one, by having a culture of hiring ski/snowboard instructors or guides Europeans also promote a culture of learning. This education culture promotes a strong sense of mountain etiquette and understanding of the risks which is not always prevalent when these decisions are made for you by ski patrol.
For this reason, I would urge caution when riding off-piste or backcountry routes in Europe. It is not uncommon to find a crevasse or other unmarked hazards between pistes so what could you find in the backcountry?

NEW ZEALAND
Similarly to North American resorts, in New Zealand, the Ski Patrol will let you know where the boundary is. Any area outside of the pisted terrain tends to be roped off but with gated access. The main difference I found when riding in New Zealand as compared to Canada was that at the gate you would occasionally find a patroller to give you a heads-up on the conditions. Mt Hutt, in particular, was great for this, with a Patroller normally sitting at the entrance to the lower towers informing people about the traverse. In the absence of a patroller, there would normally be a sign giving a rundown of recent conditions.
Leaving the resort boundary in New Zealand is similar to the European attitude… here is the information you need to know, now go and make smart decisions. If you choose to leave the resort boundary you are no longer covered by the protection of ski patrol. New Zealand resorts are small and with this in mind, you may want to explore outside the boundary lines. Outside of the resort’s boundaries terrain isn’t managed for avalanche danger (unless it could cause havoc on the access roads) so be sure to have the correct equipment and ride with a friend.
AUSTRALIA
Ok honestly, Australia is not being added to this list as a joke. Having spent time working Australian winters I know first-hand that Australian snowboarding can be really good. Although resorts are heavily reliant on snowmaking that does not mean there is no backcountry scene. Within the resorts, Australia is similar in approach to New Zealand and Europe. If you step out of the resort’s boundaries you do so at your own risk. Sometimes the best snow can be found outside of the resort’s boundary due to the high wind found at Australian resorts. This wind often blows snow, natural/man-made, out of bounds and into some pretty interesting gullies.
Check out the video below for some insight into Australian backcountry snowboarding.
CHINA
Heading out of bounds directly from the ski resort in China is a big no-no and not actually that exciting. With resorts tending to be purpose-built and with much focus on the inbounds experience, off-piste in China isn’t really a thing. There will be ropes and fences that are possible to cross in the resort, but the risk of losing your pass is rarely worth the rewards as runs are pretty short.
If you are heading to China instead opt for a backcountry tour. The mountains in China can rival anywhere in the world for terrain and the backcountry should be at the top of most people’s lists when visiting. Consider the Altai Mountains which border Mongolia offering some incredible peaks. Our advice is to travel with a guide, as amazing a country as China is, there are plenty of ways you can overstep the line and end up in trouble. Having a guide will help you stay safe both on snow and culturally.

FINAL THOUGHTS
Wherever your travels take you this year if you plan to venture off the groomers be sure to know the local attitudes. By understanding the local’s approach to backcountry you will be in a better place to make decisions that will keep you safe, but also on the right side of ski patrol. Knowing the local culture can inform your decisions with regard to the amount of support you will receive if you run into trouble. If you are heading through the gate and out of bounds, stay safe and ride with a friend.
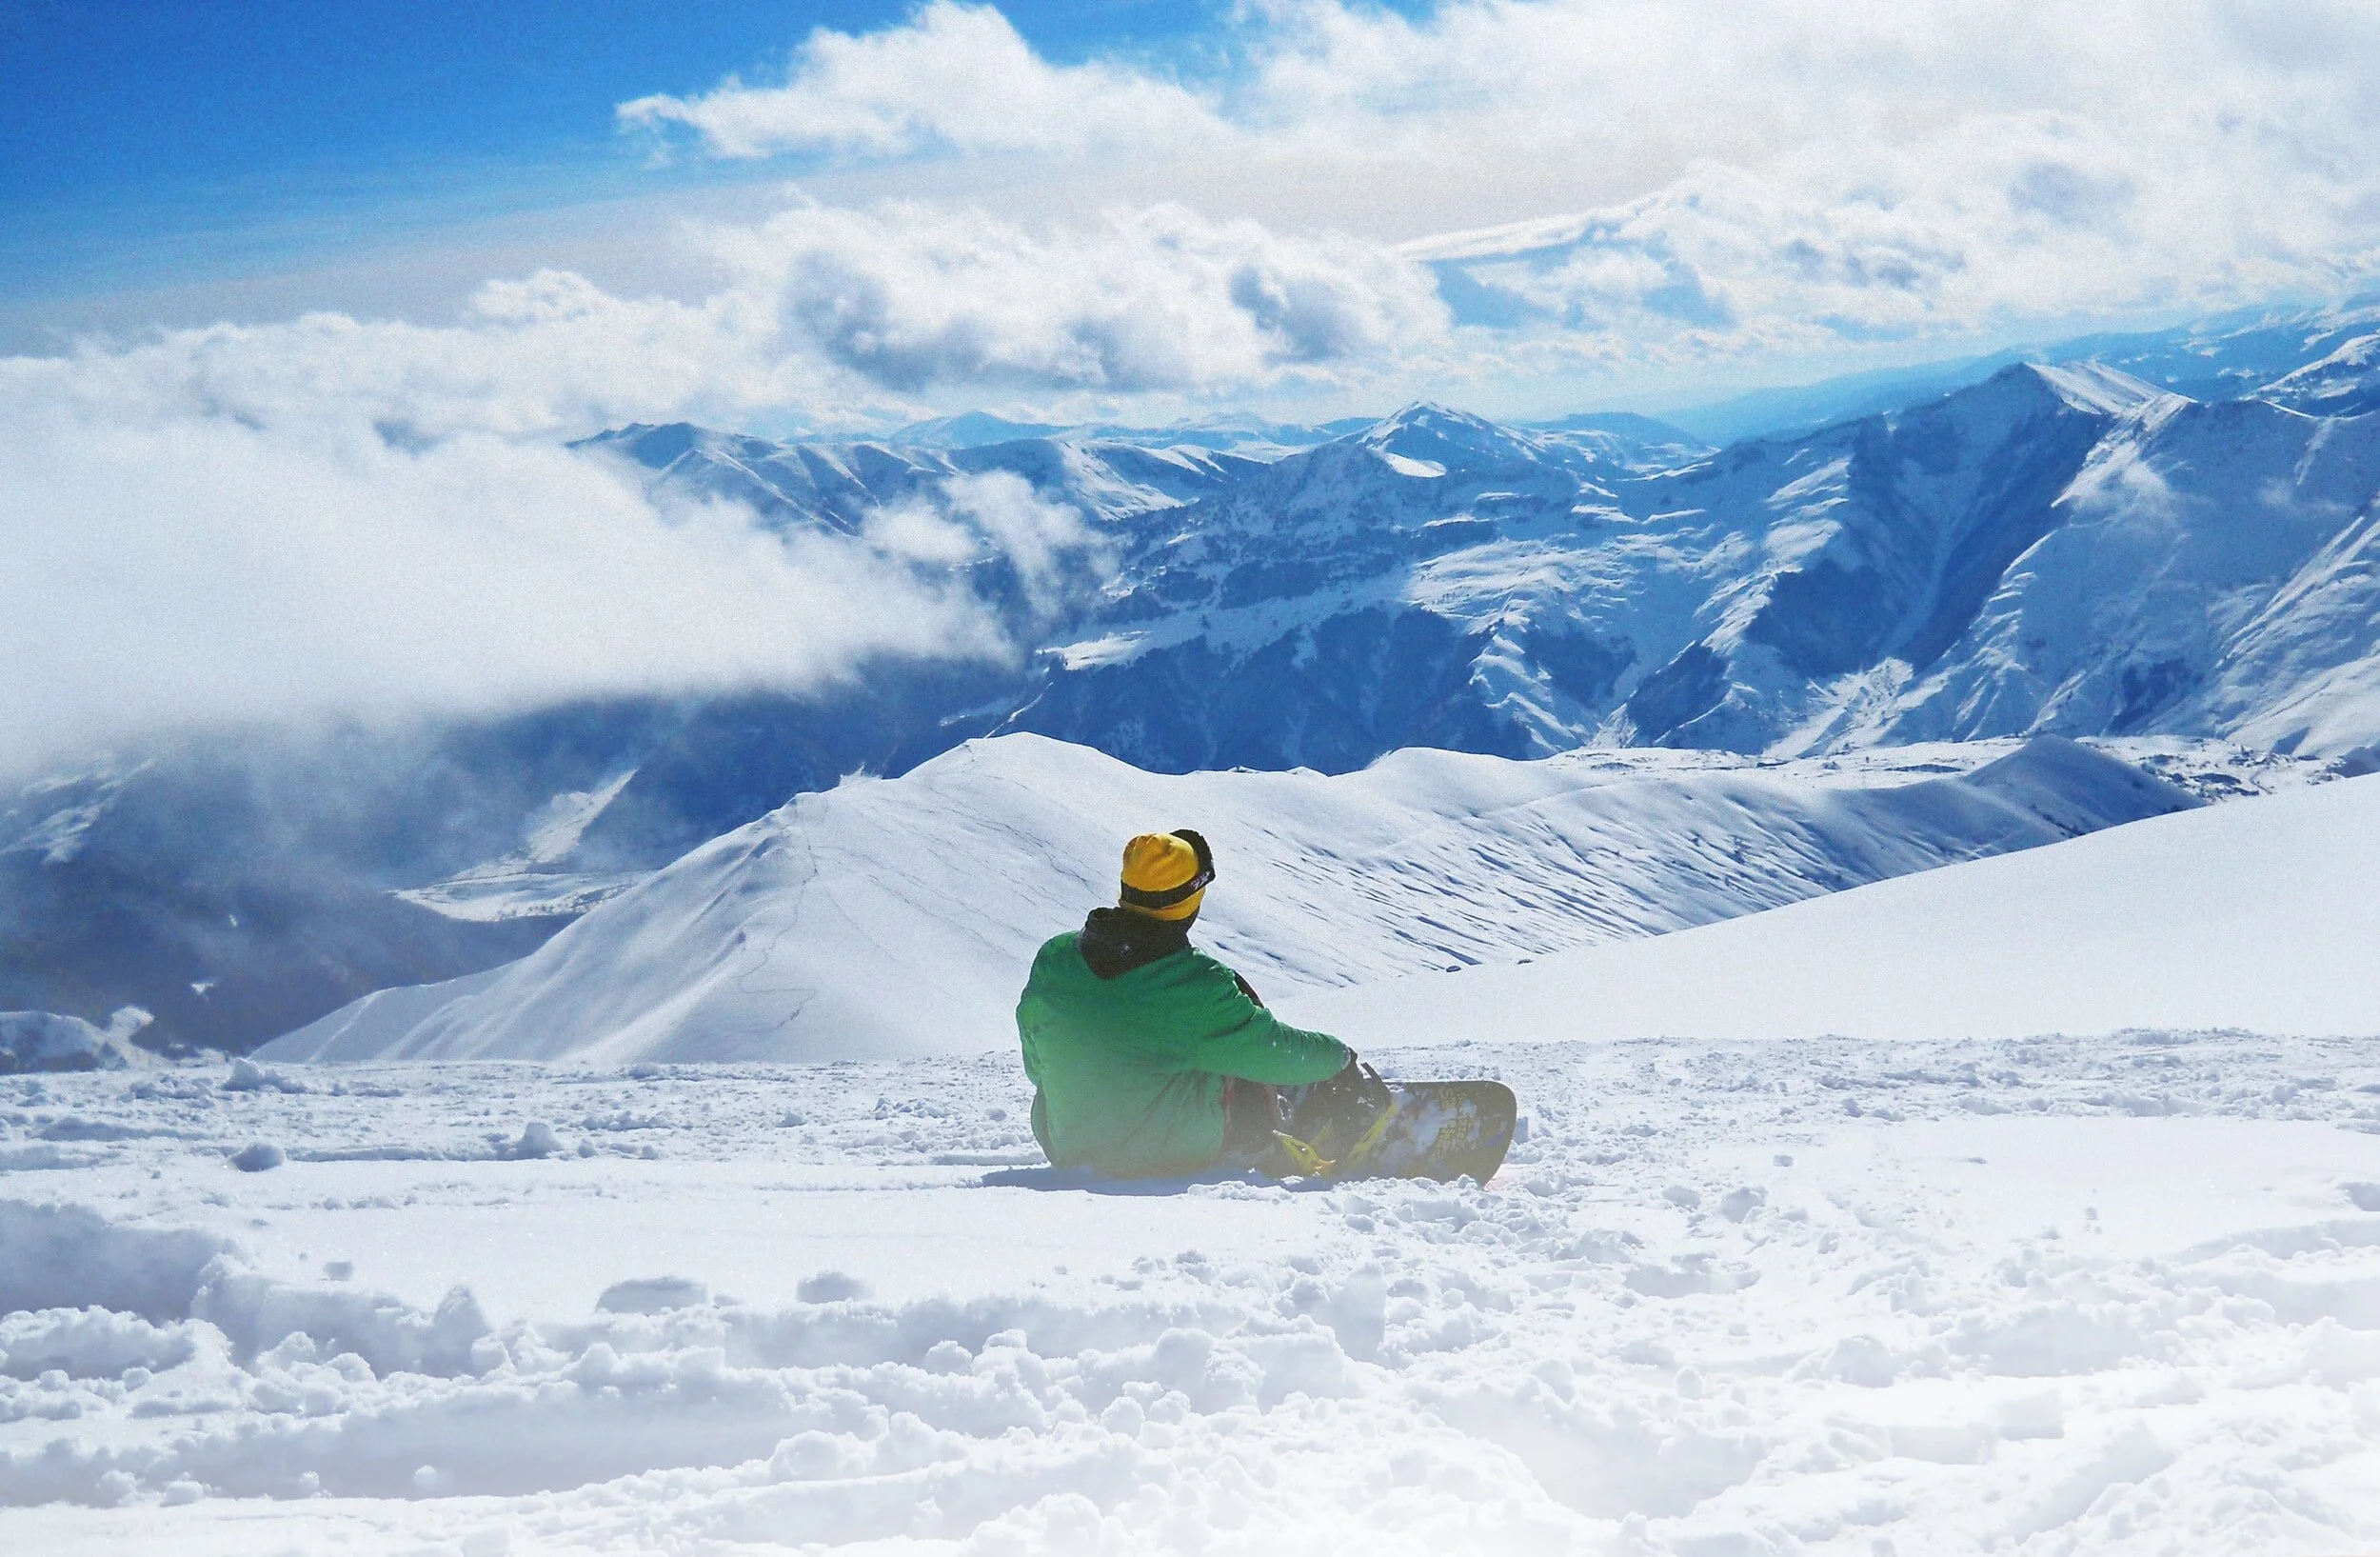
What To Take On A Snowboard Holiday | Beginner Snowboard Tips
For a lot of people, the first time you go snowboarding can seem quite daunting, especially if you have grown up in a country where snow is not very common. This post is all about the things I wish I had known before my first trip that would have made my life easier and the trip more enjoyable.

STAYING WARM ON A SKI TRIP
Ensuring you are feeling warm throughout the day can be make or break for your enjoyment levels. Nobody wants to sit shivering on a chairlift. Luckily, being on snow doesn’t mean you have to be cold and by following one or a combination of these tips you will be able to stay out for hours.
KEEPING YOUR CORE WARM
Keeping your core warm is super important when in a winter environment. If you can maintain a warm core you are less likely to feel the cold at your extremities. Using a layering system is the most effective way to ensure you can maintain a warm core.
USE A LAYERING SYSTEM
Your layering system is the layers that you wear all the way from your skin to your outer layer. By wearing more thin layers rather than one thick layer you can trap the air and heat between each layer. Warm trapped air means a warm you. Another benefit of a layering system is that if you get too cold or too warm you can add/remove a layer to regulate your temperature more effectively.
Start with a base layer - this goes next to the skin and will wick your sweat away from your skin to prevent you from getting damp and cold from the moisture. Merino base layers are great but can be expensive, so if it’s your first time you will be fine with a synthetic base layer. Avoid wearing cotton next to your skin as these will hold the moisture and you will get colder quicker and they take longer to dry.
Mid-Layer - Wear a mid-layer in between your base layer and your outer layer. This can be a fleece or an insulated jacket. This layer will provide further insulation from the cold and another barrier to the elements should water/snow pass your outer layer.
Outer Layer - Your outer layers should be waterproof. As a first-timer, it is likely you will spend some time sitting or falling in the snow. The worst thing I have seen people wear to their snowboard lessons is denim. Jeans are not going to be a good barrier to the elements. I’ll talk more about the outer layers in Staying Dry.
If you are going on your first trip, there is no need to spend loads of money.. consider brands such as Dare2B who offer effective gear at reduced prices.
KEEP YOUR FEET WARM
Keeping your feet warm is going to have a major impact on your enjoyment! Wearing snowboard-specific socks will help you keep your feet warm and comfortable. When we snowboard our bodies sweat as we are active and it is this moisture that makes our feet cold. Snowboard socks are made from materials that wick this sweat away from our skin helping to keep us warm. If you can, spring for merino wool socks as these will wick moisture efficiently, dry quickly, and prevent odor.
WARM HANDS
For me this one is simple… Mitts over gloves. The only time I have had cold hands on the snow is when wearing gloves. By wearing mitts your fingers are combined together in the same area sharing heat and maintaining a more comfortable temperature. If you find yourself in a situation where you are getting cold hands consider using hand warmers which are cheap and effective.
PROTECT YOUR HEAD
It is a well-known fact that we lose the majority of our heat through our head so maintaining a warm head is going to keep the rest of us warm. Helmets are important for safety but they can also keep you feeling warm. Most helmets come with nice protective ear pads to keep the wind from getting in. If a helmet is not your thing you will want a beanie or headband.
PROTECT YOUR FACE
Keeping your face warm and protected from the wind feels great. I ride with a face mask pretty much all day every day even when the sun is shining. A face mask will keep you warm and protected from both the wind and the sun. Pro Tip - Carry a spare and change them over at lunchtime as the area around your mouth can get wet.
STAYING DRY
Staying dry is equally important and you will want to have an effective barrier to the elements. A waterproof jacket and pants are a must but also consider the breathability. You will find a waterproof and breathability rating on all snowboard clothing and anything above 10k/10k should serve you well. Goretex is the industry standard and will be found in the more expensive outerlayers but there are many great alternatives. Patagonia use H2No and The North Face use Futurelight so be sure to check what’s available.
If you don’t own any waterproof or snowboard-specific outerwear most resorts or local shops rent these at a reasonable price.
PROTECT YOUR FACE
Out in the elements, your face can take a battering from the wind and the snow so it is important to keep it protected. Here are some of the steps you can take to protect your face.

GOGGLES
Wearing goggles is an important barrier between your face and the elements but they will also protect your eyes from the sun. Obviously, goggles are going to form a barrier from the wind and snow to help improve your visibility in tough conditions but they can also prevent snow blindness. Snow blindness is caused when the sun’s UV light reflects off the snow into your eyes essentially causing a sunburn on your corneas.
SUN PROTECTION
You may not think it but as discussed above protection from the sun is very important in snowy climates. Pack some sun cream for those bluebird days as the snow will reflect the sun onto your skin. If you want to avoid that panda eyes goggle tan look this is a must.
Similarly, it is important to carry a lip balm or chapstick. Riding in the wind and the freezing conditions can make your lips go hard and dry. Lip balm should keep your lips protected and moisturised.
STAY SAFE
WEAR A HELMET
Becoming more and more popular as people begin to realise the importance for protection are helmets. Helmets are there first to protect your head but also keep you warm and can be personalised to add to your unique style. If you are looking for the ultimate in protection search for a helmet with MIPS technology that will reduce the chances of concussion.
KEEP YOUR PHONE HANDY
You will probably want your phone with you anyway to document your day and get some awesome photos but a phone is equally important for safety. Most resorts now have dedicated apps where you can access the piste map on the go and also contact ski patrol if needed. Pro tip… make sure your phone is on an inside pocket to keep it warm, you can also place it inside a spare sock to keep it insulated. The cold can seriously affect battery’s so if you want it to work wrap it up.
PROTECTIVE PADS
If it is your first day on snow it is likely that you will fall over at some point. That’s ok, it is all part of learning. Consider bum pads and knee/elbow pads as these will limit the impact of these falls. There is some debate as to whether or not you should use wrist guards as the research is conflicting… I wouldn’t recommend it but you can do your own research on that.
LIFT PASSES
So it’s your first day and you’ve spent the whole morning waiting in line to get a lift pass… that sucks! It makes a lot of sense to order your passes online. Not only can you get them posted out or head to the fast collection points but you can also save money this way. When buying a lift pass look into the different options at your ski resort. Some resorts offer discounted passes to just access the beginners lift or throw in bundles with lessons. Shop around. There are also resorts like Flaine that let beginners access the beginner’s magic carpet area for free!
FINAL THOUGHTS
Now you are prepared to head on your first snowboard trip it’s time to have fun. Most of all, throw yourself into the experience and I am sure you will love it. Be sure to let me know how you got on in the comment section and maybe we will cross paths on snow someday!

Budget Friendly European Ski Resorts
Skiing and snowboarding are awesome activities that should be accessible to everyone. The beautiful mountain scenery coupled with the adrenaline of turning down a pristine ski slope is hard to beat. That is why millions of people enjoy a European ski trip on a yearly basis.
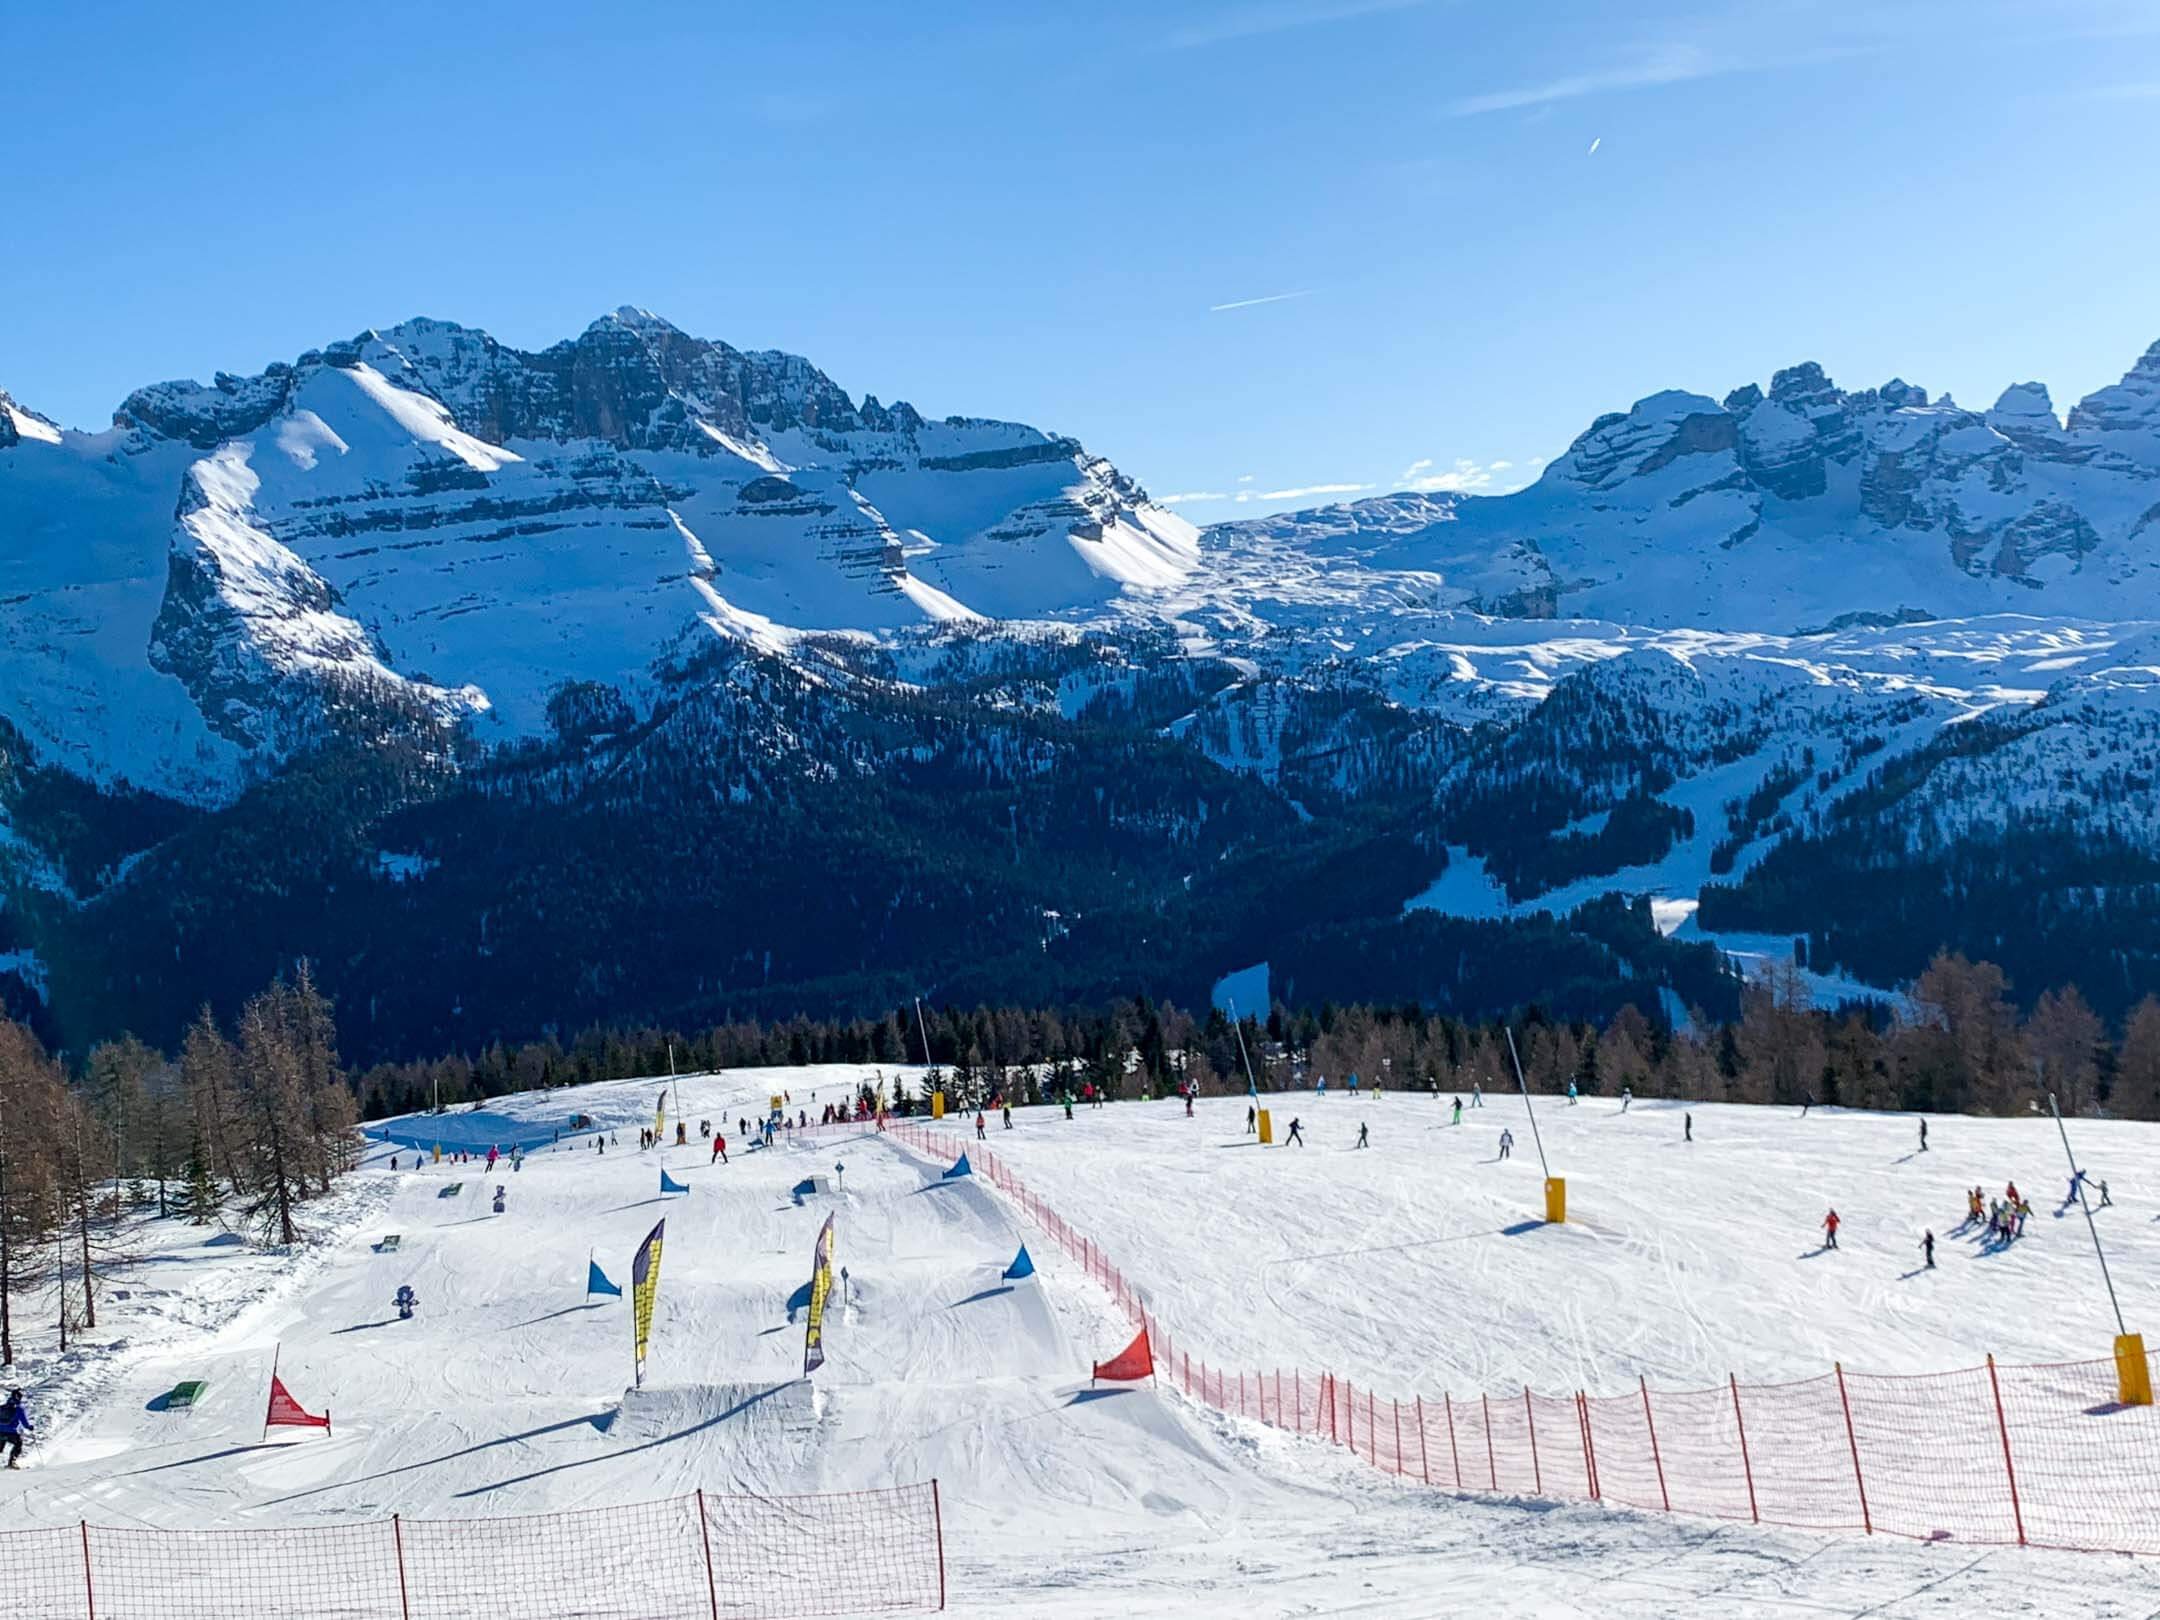
Sadly one of the major barriers preventing potential skiers from trying a ski holiday is the price. Many people assume that skiing and snowboarding can only be enjoyed by the wealthy, but this is not the case. However, if extravagance and luxury are what you are after there are also plenty of European ski resorts that will fit the bill.
With this in mind, I have used my experience to handpick a selection of great-value ski resorts that won’t hurt your budget but still have great facilities. Could these be the best-value European ski destinations?
1. BULGARIA
Bulgaria is a great option as a budget-friendly ski and snowboard destination. With three main resorts; Bansko, Borovets & Pamporovo, not to mention a number of smaller resorts, there is plenty to choose from. Bulgaria is also a great option for those looking for a holiday with no stress.
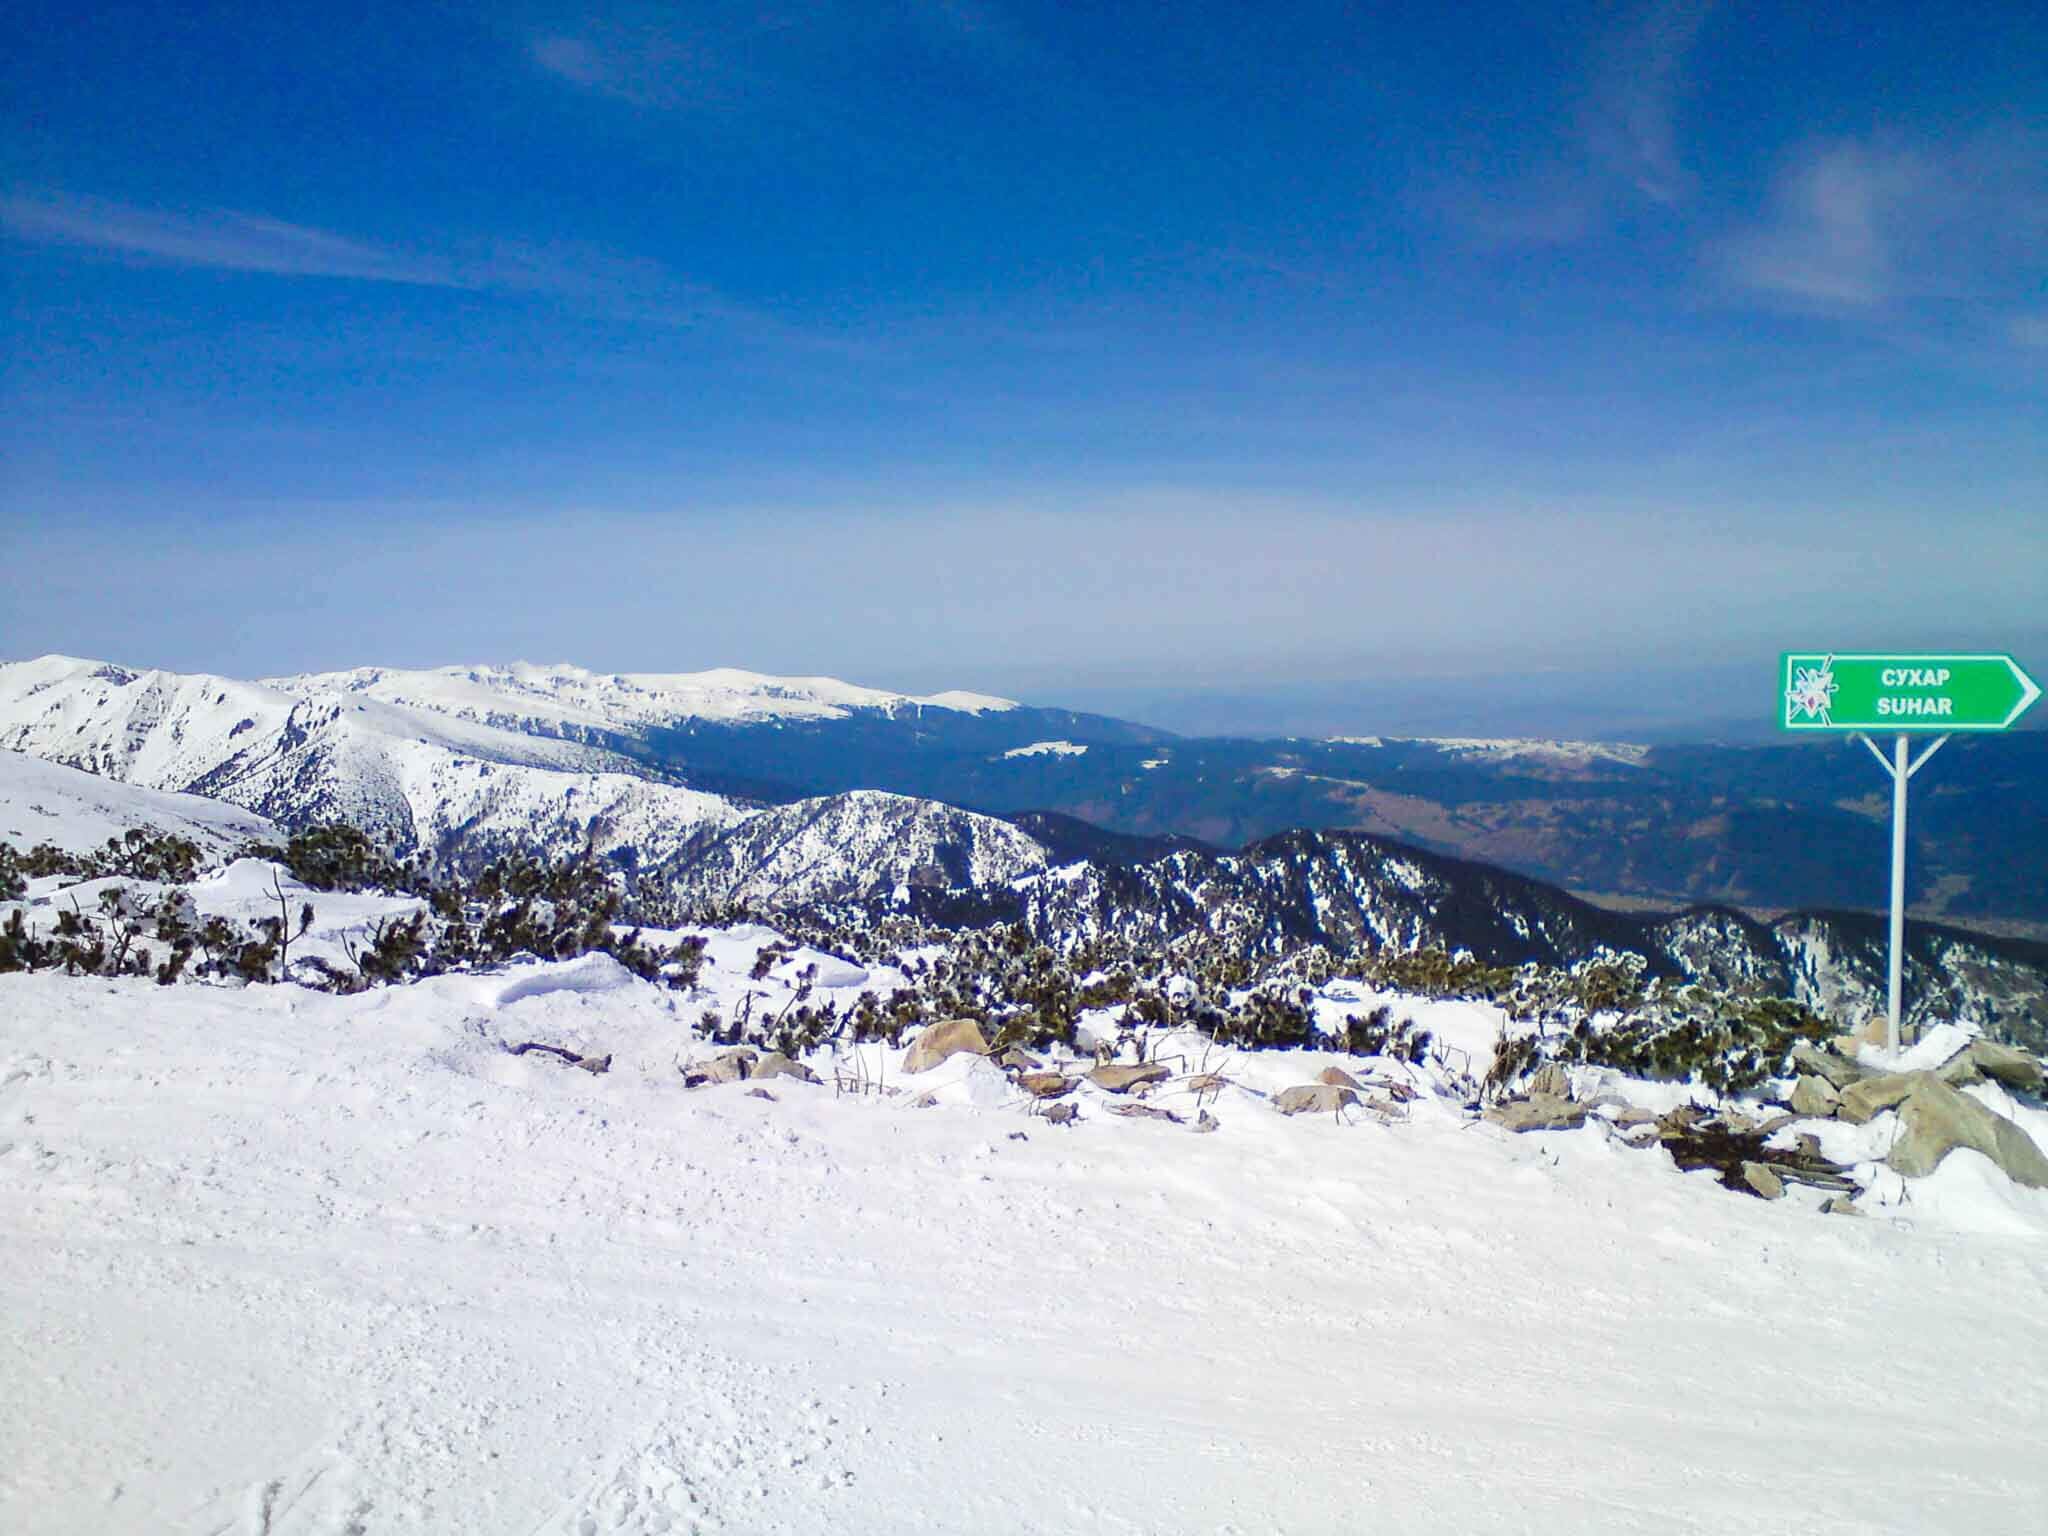
Most accommodation options in Bulgaria offer attractive prices on half-board accommodation close to the slopes. The ski schools are fantastic and have English-speaking instructors. Your lessons will be much more affordable than learning in France.
A quick google search found a one-week ski holiday to Bansko on a half-board basis for £500pp. That’s; flights, transfers, accommodation and food all taken care of, allowing you to make the most of your stay.
To learn more about Bulgaria as a ski holiday destination click here

2. SLOVENIA
The secret is out and Slovenia is now a mainstream destination. Luckily for you, a lot of the focus on Slovenia surrounds summer travel to the famous Lake Bled. Therefore people neglect winter trips ensuring that Slovenia remains one of the cheapest European ski destinations.

Photo @grotandthemob Krvavec Slovenia
The location of the Julian alps is a beautiful setting for a ski resort and Vogel doesn’t disappoint. Close to the shores of Lake Bohinji and a short drive from Lake Bled, Vogel is a small ski area offering 22km of uncrowded, unspoilt slopes.
Vogel is a perfect resort to learn at with a number of gentle slopes .The more experienced will be able to take advantage of the off-piste and terrain park. The resort has a few places to eat at very reasonable prices with a large pizza costing around €7.
For those considering this idillic location expect to spend around €600 for a weeks half board accommodation, including flights and transfers. Cheaper options can be found by booking Airbnb stays and considering a self-drive transfer from the airport.
3. ITALY
Italy is a big hitter on this list. It is home to some incredible ski resorts, some of which can be the opposite of budget-friendly! That being said I have dived into the archives to find some Italian ski resorts that offer exceptional experiences but remain affordable.
Recently I took a trip to the Skirama Dolomiti ski area where I was able to have a week’s holiday living on a very strict budget. Booking my accommodation via Airbnb I stayed in a self-catering apartment in the town of Castillo near Marilleva ski resort. Castello was perfectly suited to access 150km of pistes that allow skiing in the more pricey Madonna di Campiglio. You can find the apartment here
Similarly, there are a number of great Italian ski resorts that allow cross-border skiing. This means the budget-savvy can get their accommodation in Italy where the Euros go further but still ski in France as well. Consider La Thuile as a base to ski between Italy and Frances La Rosière ski resort.
A number of factors for your ski trip will be cheaper in Italy without sacrificing the quality. The food, ski school and lift passes are all generally cheaper than across the border in France.

4. FRANCE
Ok, I get it. I have just spent the last three suggestions stating how a trip to Bulgaria, Slovenia or Italy will be cheaper than France. For the most part, I stand by that statement however there are resorts and options in France that will allow you to stretch your budget.
In general, a ski trip to France will work out more expensive due to the ski-in ski-out accommodation and the cost of getting food in those purpose-made villages. However, there are destinations in France that will allow you to ski some incredible resorts but at a fraction of the cost.
Grand Massif
The Grand Massif is a combined ski area with snowsure skiing in the resort of Flaine. Linked to Flaine are the resorts of Les Carroz, Samoèns, Morillon and Sixt-Fer-à-Cheval which offer great value for a trip to the Grand Massif. The resorts of the Grand Massif are linked by lift and free bus meaning that it is really easy to base yourself in Sixt but ski in Flaine. Similarly, Samoèns and Les Carroz have some great accommodation options. For example, I stayed in a small but convenient apartment in Samoèns. The apartment Les Rhodos was adjacent to the main gondola and above a brilliant French bakery.

The Three Valleys
Similarly to the Grand Massif, The 3 Valleys or Les Trois Vallees is a combined ski area. This world-renowned ski area is home to the resorts of Val Thorens, Meribel and Courcheval. These are fantastic but not for the budget conscience. If you are looking to save some money opt for Orelle or Brides Les Bains as your entry point to The 3 Valleys. A stay in Orelle offers access to the three larger ski areas via a gondola and lift links to Val Thorens. Once in Val Thorens your options are unlimited and allow you to explore the whole area. Staying in Orelle is great and you can see what this great ski area has to offer on a powder day here. Alternatively, a stay in Brides-Les-Bains means you are more central to the Three Valleys ski centres. A journey up the Télécabine De L’Olympe takes you into Meribel but at a much more affordable price.
5. ANDORRA
Andorra has favourable tax laws that bring down the cost of any trip to this beautiful mountainous region. There is no sales tax so consider the impact that will have on the cost of your lift passes, lessons, rentals and consumables.
A trip to Andorra still means modern resorts with fantastic facilities in an easy-to-reach location. Grandvalira offers 200km of pistes with a range of slopes to suit everyone. Set amongst the backdrop of the Pyrenees the views are stunning.
A real money saver for your trip to Andorra can be found in the cost of flights with the most popular access coming via Barcelona. Barcelona is an International airport where many budget operators will run multiple daily flights through. The transfer to the resort can be considered a little arduous at around 3 hours but buses run for around €15.


6. CZECH REPUBLIC
The Czech Republic is well known for cheap holidays with its capital city Prague a favourite amongst budget backpackers. Renowned for its nightlife and cheap beer, the Czech Republic should not be cast aside as a boozy city break destination but embraced as a winter treasure chest. There are a number of incredible mountain areas around the Czech Republic including; the Krkonoše Mountains, Šumava and the Jeseníky Mountains.
All offering something different, the resorts of; Špindlerův Mlýn, Kouty nad Desnou and Klínovec are amongst the most popular. The latter of which forms part of a linked ski area with 140km of pistes in the North West of the country.
Harrachov, another Czech resort even offers lift passes for €10 per day with Rokytnice and Jizero offering 6-day passes for £75. Throw in the costs of accommodation and cheap flights into Prague and the Czech Republic might be a great option for a European ski trip.
There are some suggestions for places to ski on a budget but i’d love to hear from you! Have you ever had a bargain ski holiday? What is your favourite budget ski destination? Let me know by commenting below.
How To Choose Your Snowboard Stance
Ensuring that you have the perfect snowboard set up for you will be a determining factor on how much fun you have on the mountain. Snowboard stance is a huge part of your snowboard set up and will help you dial feel comfortable and balanced on your snowboard. There is not a one size fits all approach to determining your snowboard stance so this post aims to provide you with advice that will help you decide the best snowboard stance set up for you.
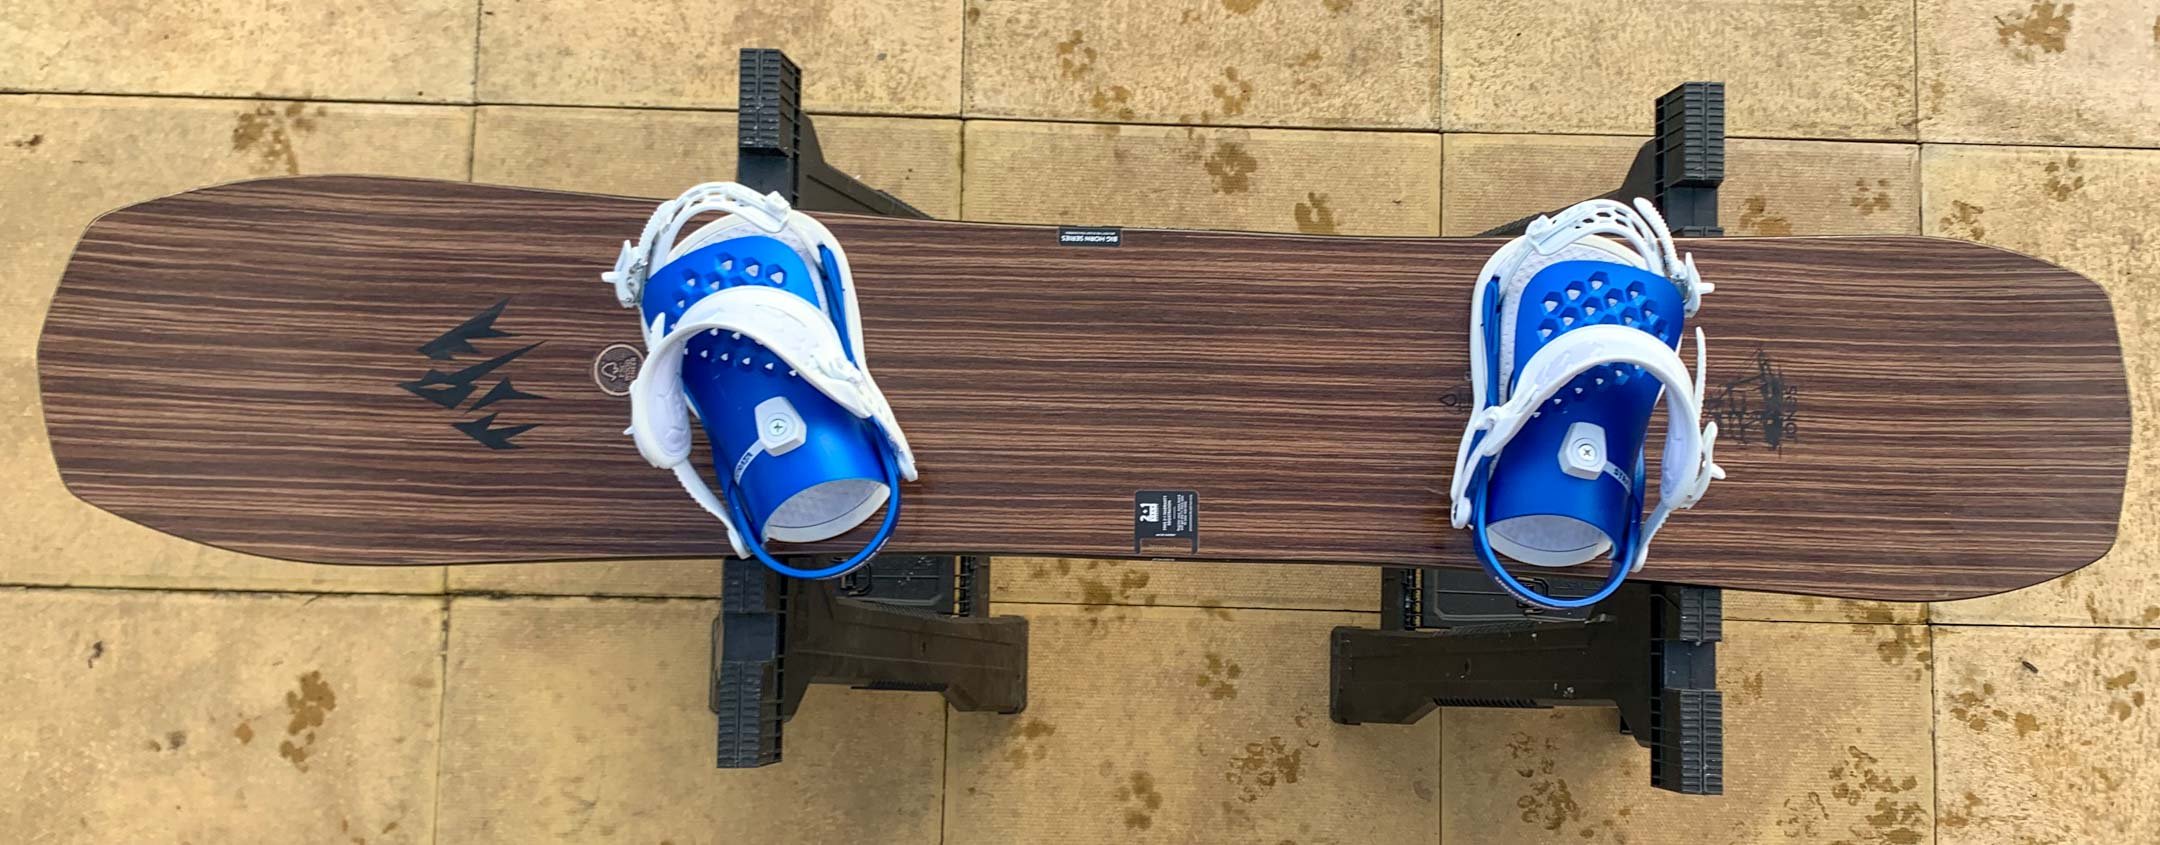
WHAT IS MEANT BY SNOWBOARD STANCE?
Let’s start by defining what is meant by snowboard stance. Your snowboard stance refers to your bindings position on the snowboard. This can include; where to position your snowboard bindings, the angles your bindings are set to, the width of your snowboard stance, and whether you set up regular or goofy.
WHAT DETERMINES YOUR SNOWBOARD STANCE?
Your snowboard stance will be influenced by a number of factors with perhaps your riding style and what you want to do on your snowboard being the most influential. You may choose to adjust your stance depending on the conditions and where you intend to ride that day. For example, It is unlikely that you will ride with the same stance in powder as you would in the park. You may still ride with the same angles but it is likely that you will get better powder performance with a set-back stance. You should also consider your height and the type of snowboard you are using when choosing your snowboard stance.

REGULAR OR GOOFY?
One of the first decisions you will make when learning to snowboard is whether you ride regular or goofy. These terms refer to whether you ride with your left foot forward (regular) or right foot forward (goofy). This can be a hard decision to make if you have no context to refer to as its likely you will be making this decision before stepping onto your snowboard. Luckily there are some tests you can do that may provide some indication as to whether you will snowboard regular or goofy.
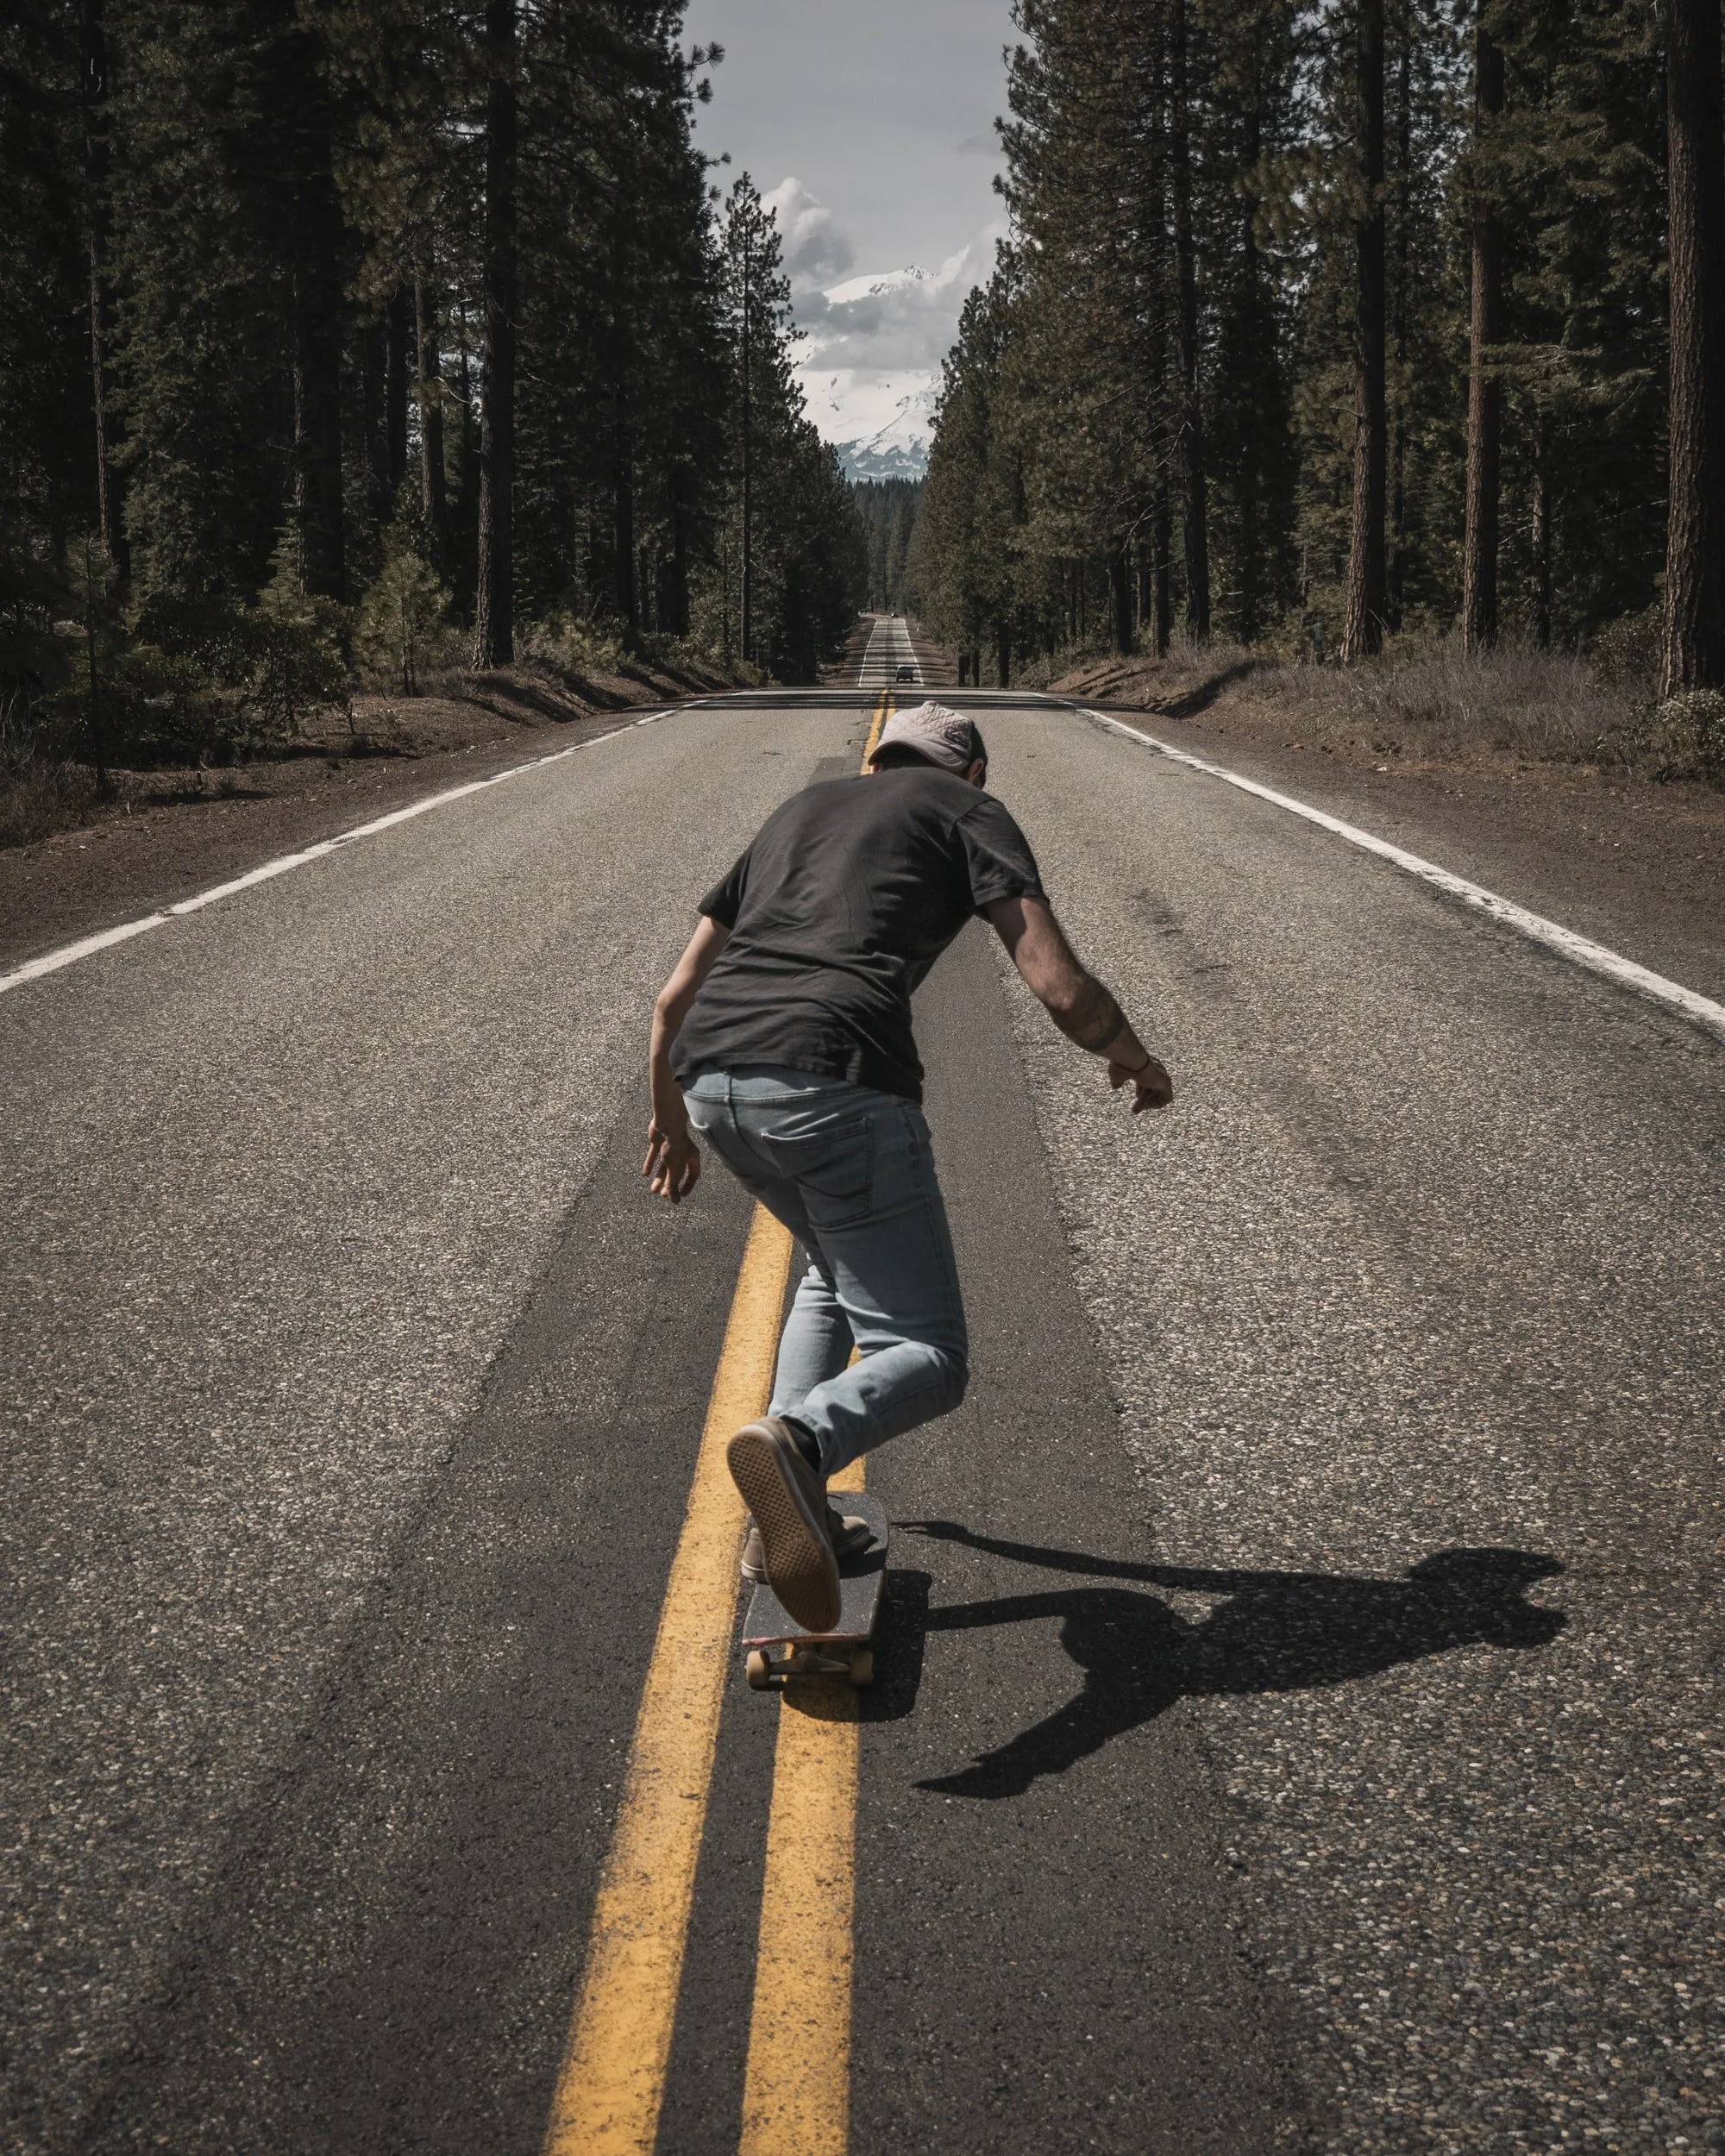
Do you have any previous board sport experience? Whether it is surfing, skating or wakeboarding your previous experience in board sports should help you decide whether you are regular or goofy. If you ride a skateboard with your left foot forward it is most likely you will be regular on a snowboard as well.
The Push Test
This doesn’t always work but can be a good indication of whether or you are a regular or goofy snowboarder. Close your eyes and have someone gently push you from behind. The foot that you step forward with is most likely going to be your front foot on your snowboard.
The Slide Test
Everyone loves a good slide along a hardwood floor and this test can help you determine whether you are goofy or regular. Set up with a pair of socks take a short run up and then slide across the floor. If you are already at the ski resort, you can do this on the snow in your snowboard boots. The foot that you place forward is the foot that you will use to lead your snowboard.
Dont Worry
If you are unsure then there is no need to panic. For beginners most boards are set up centred in duck stance (both bindings at the same angles) this means that the snowboard should ride the same in both directions. Take a couple of runs alternating the foot that was forward. This should help you determine whether you are regular or goofy stance.
Selecting The Correct Snowboard Stance Width
Often overlooked your snowboard stance width will affect your balance on your board therefore affecting how easy it is to manoeuvre the snowboard. Like with most aspects of snowboard stance there is going to be some trial and error involved in choosing the correct width for your snowboard stance and personal preferences.

Reference stance
Most snowboards come with recommended stance marked on the board. This is known as your reference stance. Although this is a good guide it is not a one size fits all approach and you should allow for some flexibility with your stance width. The reference stance is the stance that that board has been designed around but depending on whether you like to ride a slightly shorter or longer board this may need some adjustment.
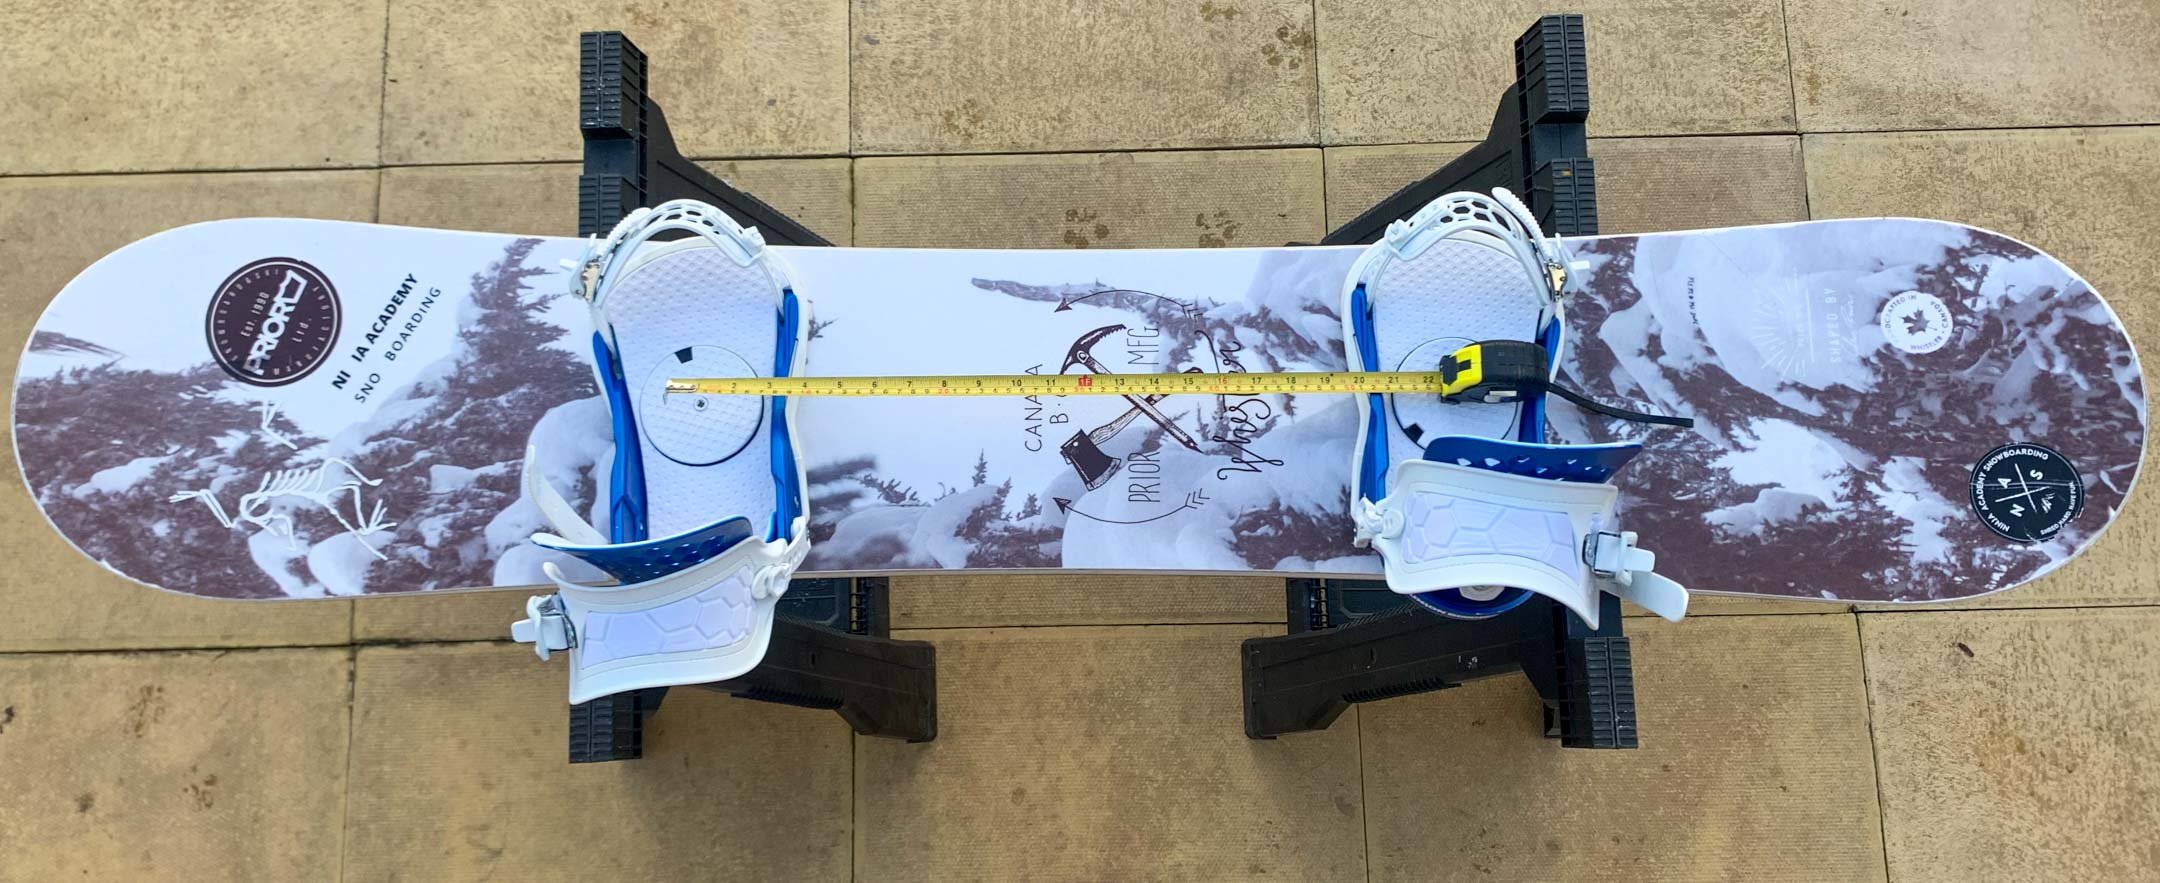
Measure your stance from the middle of both bindings
I am 6ft and ride with a 22.5inch stance width. This took some refining over time and is the width I feel most comfortable with. It is likely if you are shorter than me you will want a narrower stance width. Similarly a taller rider may want to increase the width of their stance in comparison to mine.
Using a snowboard stance calculator is a good place to start but you should refine this information over time to get your desired stance width.

SETBACK OR CENTRED STANCE
Whether you decide to ride with a setback or centred stance on your snowboard will likely depend on two things; where you are riding (piste, park or powder) and how much time you spend riding switch.
If you like to ride switch then having a centred stance is better for ensuring that your snowboard rides and feels the same both in your regular and switch stance. This can be useful for landings for 180’s, 560’s etc where you land facing the reverse of how you take off. A centred stance can help you feel balanced on the board whilst performing ground tricks and butters as well.
If you like to ride directionally whether on or off-piste then having a set-back stance may suit your riding style. Having a setback stance in powder reduces the amount of effort you need to put in to keep your boards nose elevated out of the snow. This means you are less likely to have that dreaded back leg burn on those powder days. Another benefit to riding with a setback stance is that your board has a shorter tail. This means the board can be easier to Ollie or drive through your turns using your back foot.

Twin snowboards are normally set up centred.

Freeride boards normally have some setback to improve carving and powder performance
HOW TO CHOOSE YOUR SNOWBOARD STANCE ANGLES
Setting your snowboard angles correctly is one of the most important aspects of your snowboard set up. Your binding angles will determine how efficient your body can be at driving the snowboard through a turn. You may wish to adjust your binding angles depending on the type of snowboarding you are doing. Let’s delve deeper into some of the snowboard binding angle options.
WHAT ARE SNOWBOARD STANCE ANGLES?
Setting binding angles refers to how the bindings are angled on the snowboard. Bindings come with a baseplate that allows you to set stance angles between +30 and - 30 degrees. We will delve into the nuts and bolts of binding angles below but it is most common for the front foot to be a + angle and the backfoot a - angle.
FRONT FOOT
I have never met a snowboarder that doesn’t have their front foot angled towards the nose of their snowboard. Furthermore I can’t think of any reason why you wouldn't. The extent to which you angle your front binding will depend on your style of riding and what you want to achieve. An angle of +15 degrees is popular and is in the middle of the possible options. Utilising a +15 to +18 front foot angle seems to be the sweet spot for most of those I have asked.
BACK FOOT
The back foot is where people tend to have more variation in their binding stance angles. This can be influenced by the style of riding that person likes to do the most. Let’s look into some of the popular options.
DUCK
Duck refers to having your front and back feet facing in opposite directions. True duck is where those angles are the same; for example +15 (front) -15 (back) degrees. A duck stance is popular with freestyle orientated riders that like to spend time riding switch as well as regular. Snowboard bindings angles for park do not need to be true duck stance but this may help you feel more balanced when riding switch.

BACK FOOT ZERO
Having a Zero angle on your back foot means that your backfoot runs perpendicular to the snowboard. Using a zero binding angle on your backfoot is where I started before playing around with other stance angle options. Having a zero angle can help you drop your back knee linearly towards the snow helping you lean into toe-edge carves.

BACKFOOT POSITIVE
This has never felt good for me but is popular especially amongst freeriders who like to carve. Running a backfoot positive binding angle can make it more tricky to ride switch, but this remains possible with practice.
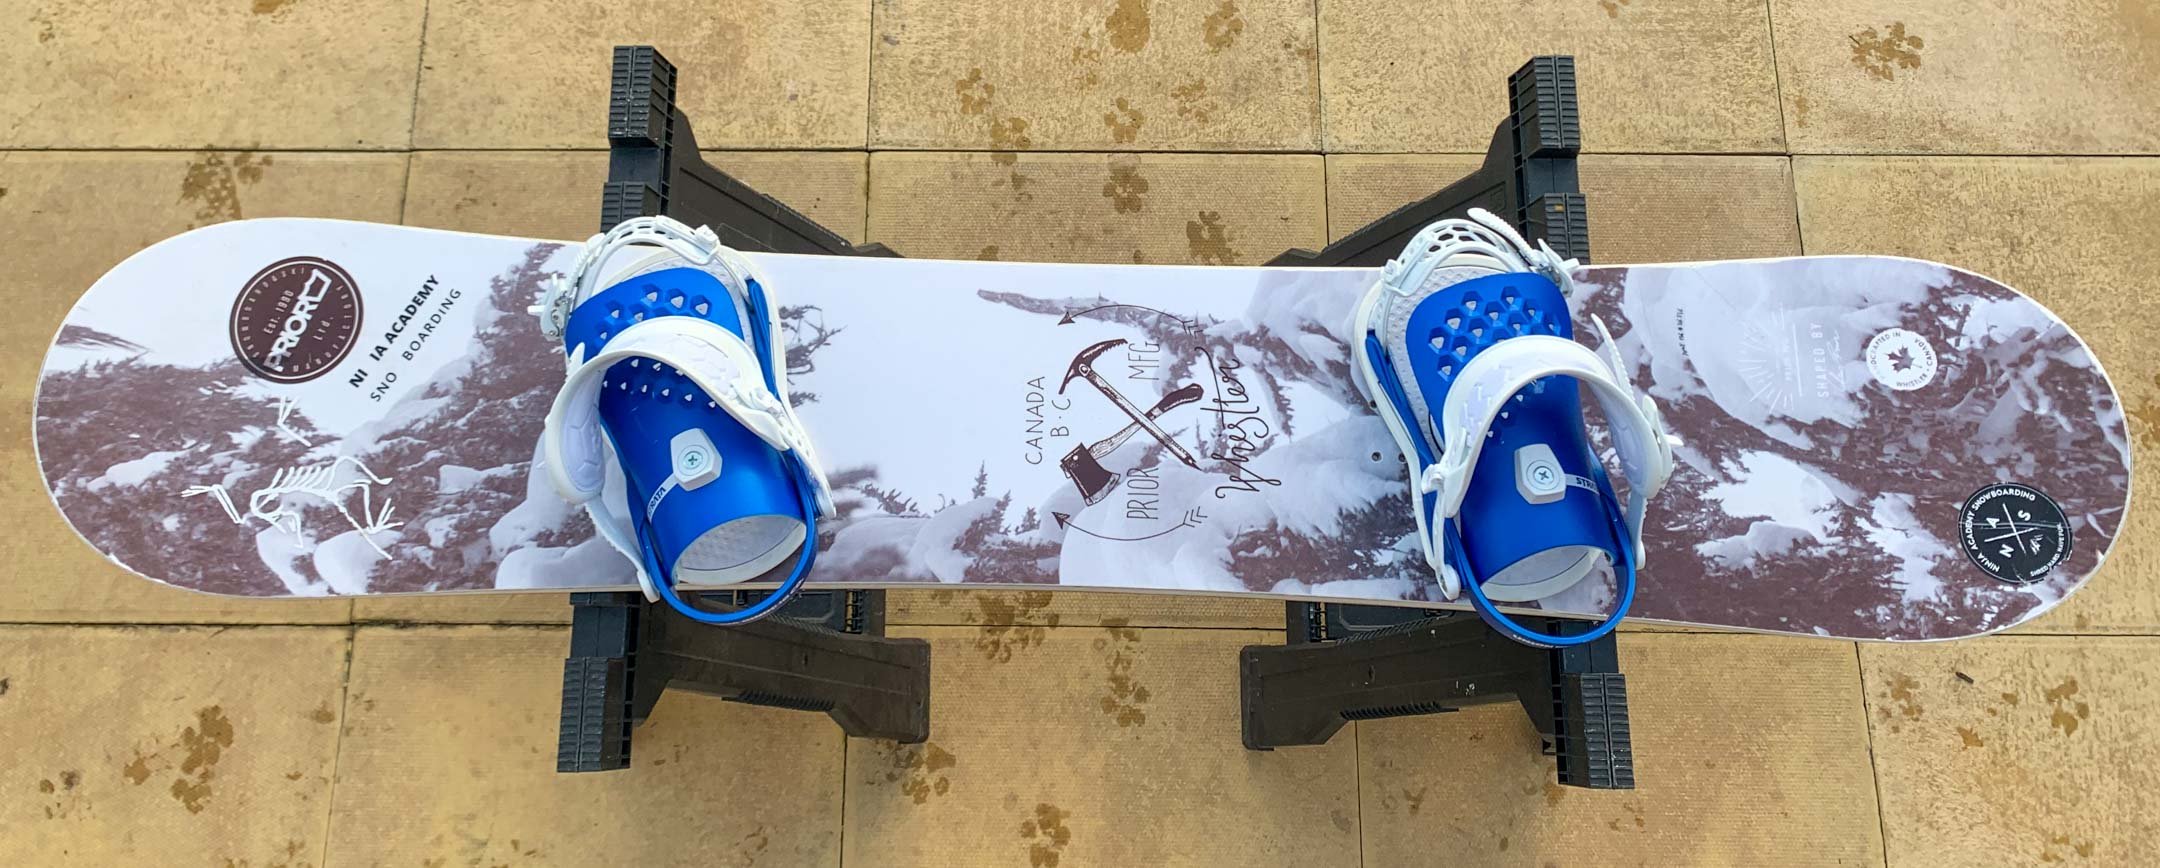
CHANGING YOUR STANCE
Changing and adapting your stance over time is natural and is part of how you and your snowboarding evolves. Taking the time to adapt your stance will allow you to feel out your preferred stance with micro adjustments that will eventually land on your preferred stance. You may wish to adapt your stance differently depending on the board you are riding and where you plan to head that day. Personally my stance width tends to stay the same regardless of the snowboard I ride, however my angles and setback will change dependant on where I want to ride that day.

How Much Does It Cost To Ski In Europe?
When having conversations with friends, cost is always the biggest factor in preventing them from taking the plunge on their first ski holiday. People often remark about how expensive a skiing holiday can be but does it have to be this way? I have always been good at searching for a deal and as long as you are open minded your ski holiday could cost less than you thing.

More complex than the average beach or city break, the additional costs of; lift passes, ski carriage or equipment hire and ski lessons can soon add up. This is enough to put some people off a trip to the snow, but with some forward planning these additional costs can be reduced and integrated into an affordable ski trip package.
Transport
Flights
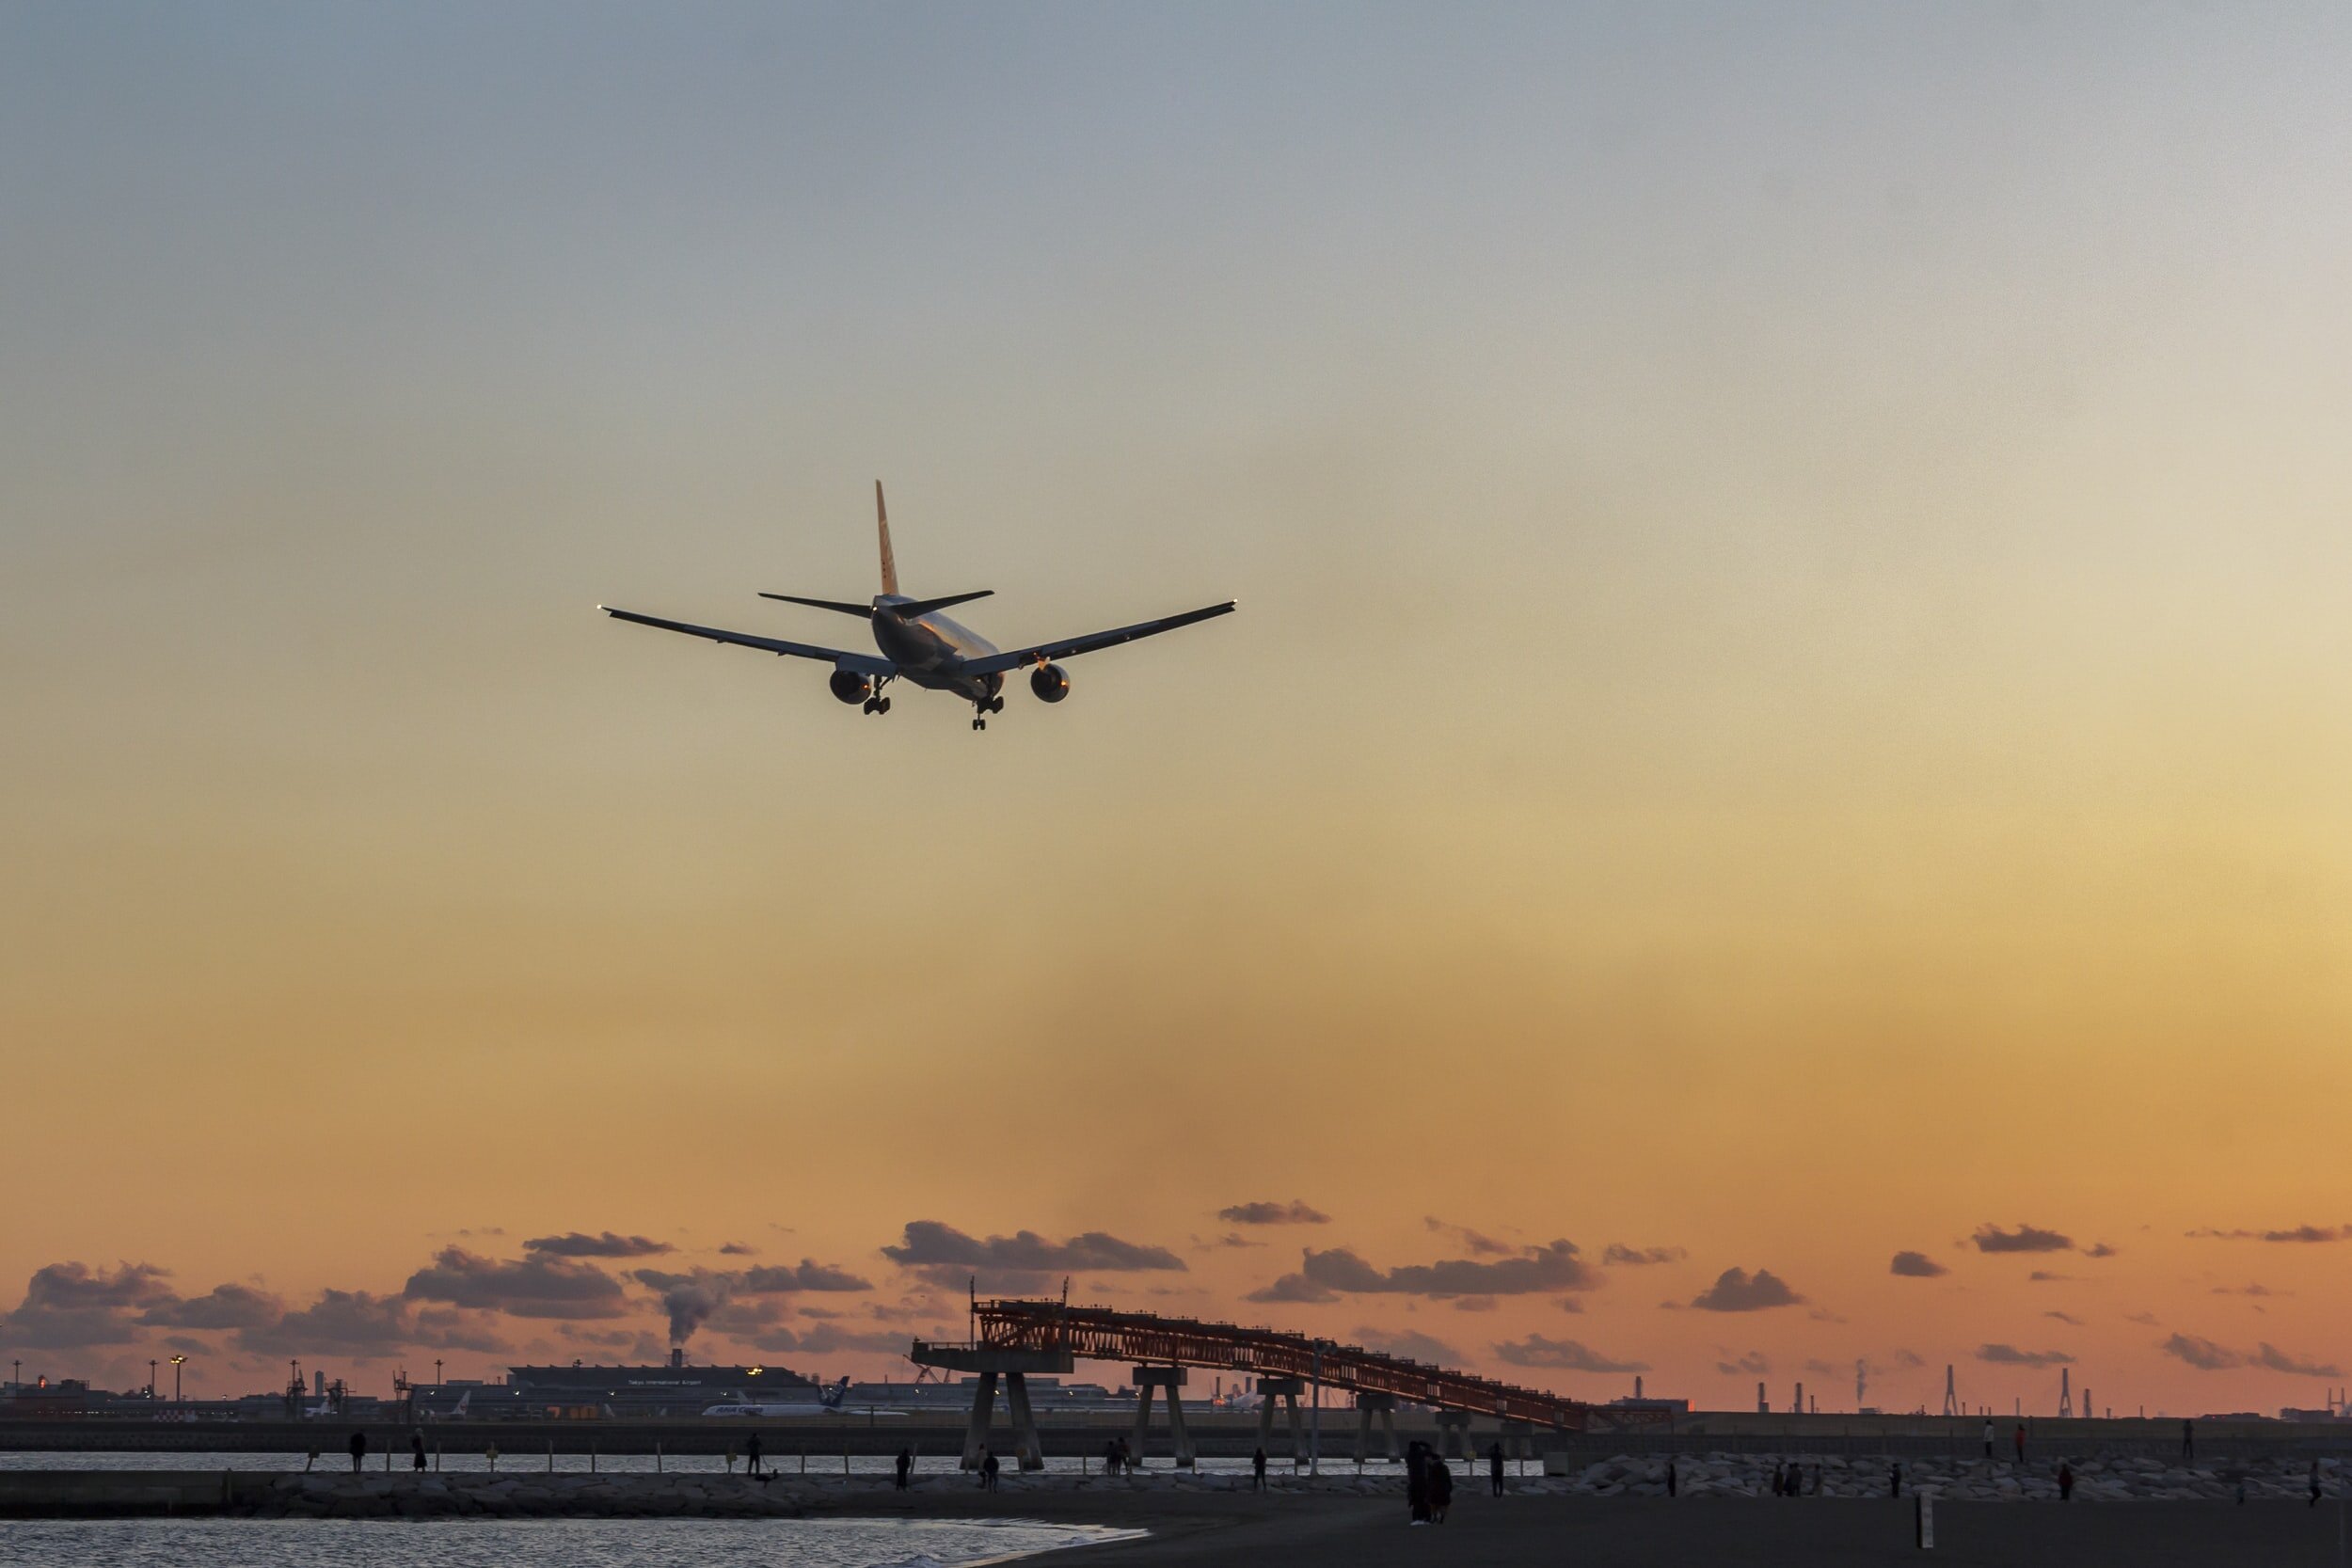
Transport to your ski destination can be one of the first things to hit your pocket. With over 1 million brits heading on ski holidays every winter, travel at peak times can mean peak prices!
Looking into flight prices for a ski trip during the school Christmas holiday saw flights on the popular London to Geneva route with British Airways rise from £74pp to £133ppm. This shows the importance of flexibility if you want to get value for your ski holiday this winter.
Cheaper flights were available with budget airlines however these were not inclusive of baggage fees. This is especially important if you are travelling with your own ski gear as with British Airways you ski bag can count in your luggage allowance.
Booking flights early will reduce costs significantly so plan ahead. You can check the latest flight prices here.
Transfers
If you are planning to fly to resort then it is likely you will require either car hire or an airport transport on arrival. For a week car hire for a mid sized vehicle could cost between £350-£400, not so bad when split between a group of you. But when you factor in the cost of petrol and the risk of damaging the car and being hit with exorbitant excess fees a airport transfer can work out as a better option.
There are so many companies operating Airport-transfers in Europe that prices are very competitive. Obviously consider getting a group mini bus to save costs but be aware this may lead to you waiting around at the airport for other passengers to arrive. The last time I took a airport transfer was with GoMassif from Geneva. They were great and cost was around €80 for the round trip.
Train
Not just good for the environment but also friendlier on your wallet, have you considered taking a train to a ski resort? There are many advantages to taking the train, especially if you are travelling with your own ski gear! No luggage weight allowances mean you can pack that bag as full as you like without the risk of incurring excess luggage fees. Not only this but travel by train usually works out cheaper than equivalent flights to Europe. Consider taking the Eurostar from London to Bourg St Maurice where you will be able to ski at the resorts of; La Rosière, Les Arcs, La Plagne, Tignes and Val d’Isère. Check the latest train times and prices here.
Driving
Driving holidays have always been great fun, although now there is certainly a wider appeal. Driving to a ski resort is not only a great way to save money and help the environment but in this modern post Covid world it’s also a great way to avoid contact with lots of other people. Self-drive ski holidays can also offer you the flexibility to travel when you want but also offer freedom of movement when in resort. If you fancy skiing at a different resort, just jump in your car and go! There are also a few negatives with more time spent travelling and less room to move than on a train, but all things considered a self-drive ski trip will suit many.
Be aware that if driving you will need to ensure your car is road legal in Europe for winter driving and this can incur extra costs.
Accommodation
Accommodation costs in ski resorts are not cheap, and this will contribute to a large cost of your holiday. Luckily over the past few years Airbnb and Flipkey have broadened the options available to skiers and snowboarders through private apartment rentals. In turn, this added competition has had a knock on effect on Hotel owners who have had to reduce prices to compete.
Accommodation costs can vary greatly depending on the resort you choose to ski in and your accommodation preferences. It is possible to stay in Samöens in the Grand Massif for between £430 and £1000 based on two people sharing for one week. For same week in January, it is possible to stay in Borovets, Bulgaria for £157pp based on two people sharing. If you are unsure about snowboarding in Bulgaria you can check the Bulgaria snowboarding guide here.
I guess with accommodation it is up to you to decide where you want to save the money.

Ski or Snowboard Rental
If you own your own gear feel free to skip this bit, although you may want to consider the cost of Ski Carriage! Ski Rental can sometimes be combined in some package holidays, which can be cost effective and hassle free. If you are needing to add ski or snowboard rental to your costing then at least there is a degree of flexibility.
Ski rental companies often offer three tiers of packages, Bronze, Silver and Gold. Some will wow you with the exciting Platinum offering but in reality if you are renting skis you probably won’t tell the difference - no judgement.
Depending on your level and the type of skiing you will be doing, you should be able to come to a conclusion as to which package to get. If you are a beginner, stick to bronze, there is little point in investing extra money in a more versatile ski as you will most likely be staying on-piste.
An example Silver package of Boots, Ski’s and Helmet rental will cost €119 for one week in Morzine.
My advice, if you catch the bug and can see yourself skiing or snowboarding year after year then invest in your own gear. Even if you don’t want/need a full ski set up investing in decent boots will lead to a happier time on the mountain.
If you are looking into purchasing your own gear be sure to check my Gear Buying Guides for some advice.

Ski Lessons
Learning to ski or snowboard can contribute to the cost of your ski trip sky rocketing. There are always new things to learn so taking a lesson can be of real benefit, even to experienced skiers and snowboarders. You can save money on lessons by taking half day sessions which give you free time to put your new skills to the test on the mountain. Taking your lesson in the afternoon is often more affordable.
Deciding an appropriate resort to learn in can also make a huge difference to the cost of your ski lessons. Lets compare the cost of ski lessons in Morzine versus Bankso. New Generation ski school Morzine offer a six day 3 hour lesson package for €430 per person. Alternatively, a similar package in Bansko will cost only €115.
If you are a beginner it is unlikely you will make the most of all the terrain surrounding Morzine in the Port Du Soleil so it may be financially more viable to head to Bulgaria or Andorra, where lessons are cheaper.
As you progress you may benefit more from more intense private lessons over shorter time periods. This will allow you to work on your skiing technique and then test yourself around the mountain.
Ski Pass
Ski passes can either be amazing value or a right rip-off. I ALWAYS look for a ski pass that will help me make the most of my whole season. Next year that will be the Magic Pass. If purchased early the Magic Pass offers summer and winter access to some of the best Swiss ski resorts for 399CHF (€365). For someone who skis more than one week a year this is well worth the investment especially when compared to large French ski areas.
A 6 day Adult Port Du Soleil lift pass costs €295, whereas a 6 day Three Valleys Pass costs €321! Both great ski areas but also harder on the wallet! As with most things, booking early can help you secure discounts so plan ahead.
Beginners should keep an eye out for resorts where there is no charge for the beginners areas. Flaine is a great example of a resort that allows beginners to use their magic carpet and beginners slope at no cost!
Food and Drink
General life in a ski resort isn’t cheap! If you stop for lunch on the mountain you will soon see that the price of food and drink can be extortionate. If you are looking to pinch the penny’s then consider taking your lunch onto the mountain. Preparing a sandwich can save you €15-€50 on the mountain.
Similarly, drinks on the mountain are not cheap. Look to take part in the popular Happy Hours to save some money in the bars.
You will find that food and drink is more affordable outside of France and Switzerland. Italy can offer good food at exceptional value, so it is worth considering this when opting for your destination.

How Much Will A Ski Holiday Cost?
Well hopefully you can see that there are compromises and choices to be made which could help reduce the cost of your next ski holiday in Europe. The total cost of a European ski holiday can vary significantly depending on destination and choices.
Bulgaria
If you are a beginner or looking to save some cash, considering a ski trip to Bulgaria could be perfect. With cheap flights and accommodation in addition to reduced prices on; ski lessons, lift passes and ski rental it is possible to ski in Bansko or Borovets on the cheap. Packages including flights and accommodation are available for as little as £440. With the addition of lift passes, rentals and lessons you could be all in for well under £1000!
France
As a premium destination, French ski resorts charge the highest prices. Considering a trip to Morzine a 3* Hotel within a short walk of the centre of Morzine will cost around £839 in January. When you consider the addition of lift pass, rental and lessons you could be breaking the £2000 barrier.
Andorra
Andorra could be an interesting alternative to the French Alps with package deals from Crystal Ski offering 7 days Half Board accommodation and flights for under £500
What Represents Value For You?
I’d love to hear from you on the following… Can ski holidays can be good value for money? What compromises are you prepared to make to reduce the price of your next ski trip? Would you rather pay more to ski in France or are you happy to try alternative destinations? Let me know below in the comments.
Tips For Skiing and Snowboarding In Early Season
SKIING AND SNOWBOARDING IN EARLY SEASON CONDITIONS ISN’T ALWAYS EASY OR NICE. WHETHER THERE IS POOR SNOW COVERAGE OR ICY RUNS, THE FOLLOWING TIPS SHOULD HELP YOU HAVE FUN AND STAY SAFE WHILST OUT ON THE SLOPES.
SNOWBOARD TO YOUR ABILITY
The early season is not the time to be pushing yourself. For most of us, early ski season is exciting as it will represent our first laps on snow for a period of months. These early days are a great opportunity to get on snow and get your body warmed up for the months ahead. So during this time keep to trails that you feel comfortable on and make sure to warm up before hitting the hill.
MAKE CONTROLLED TURNS
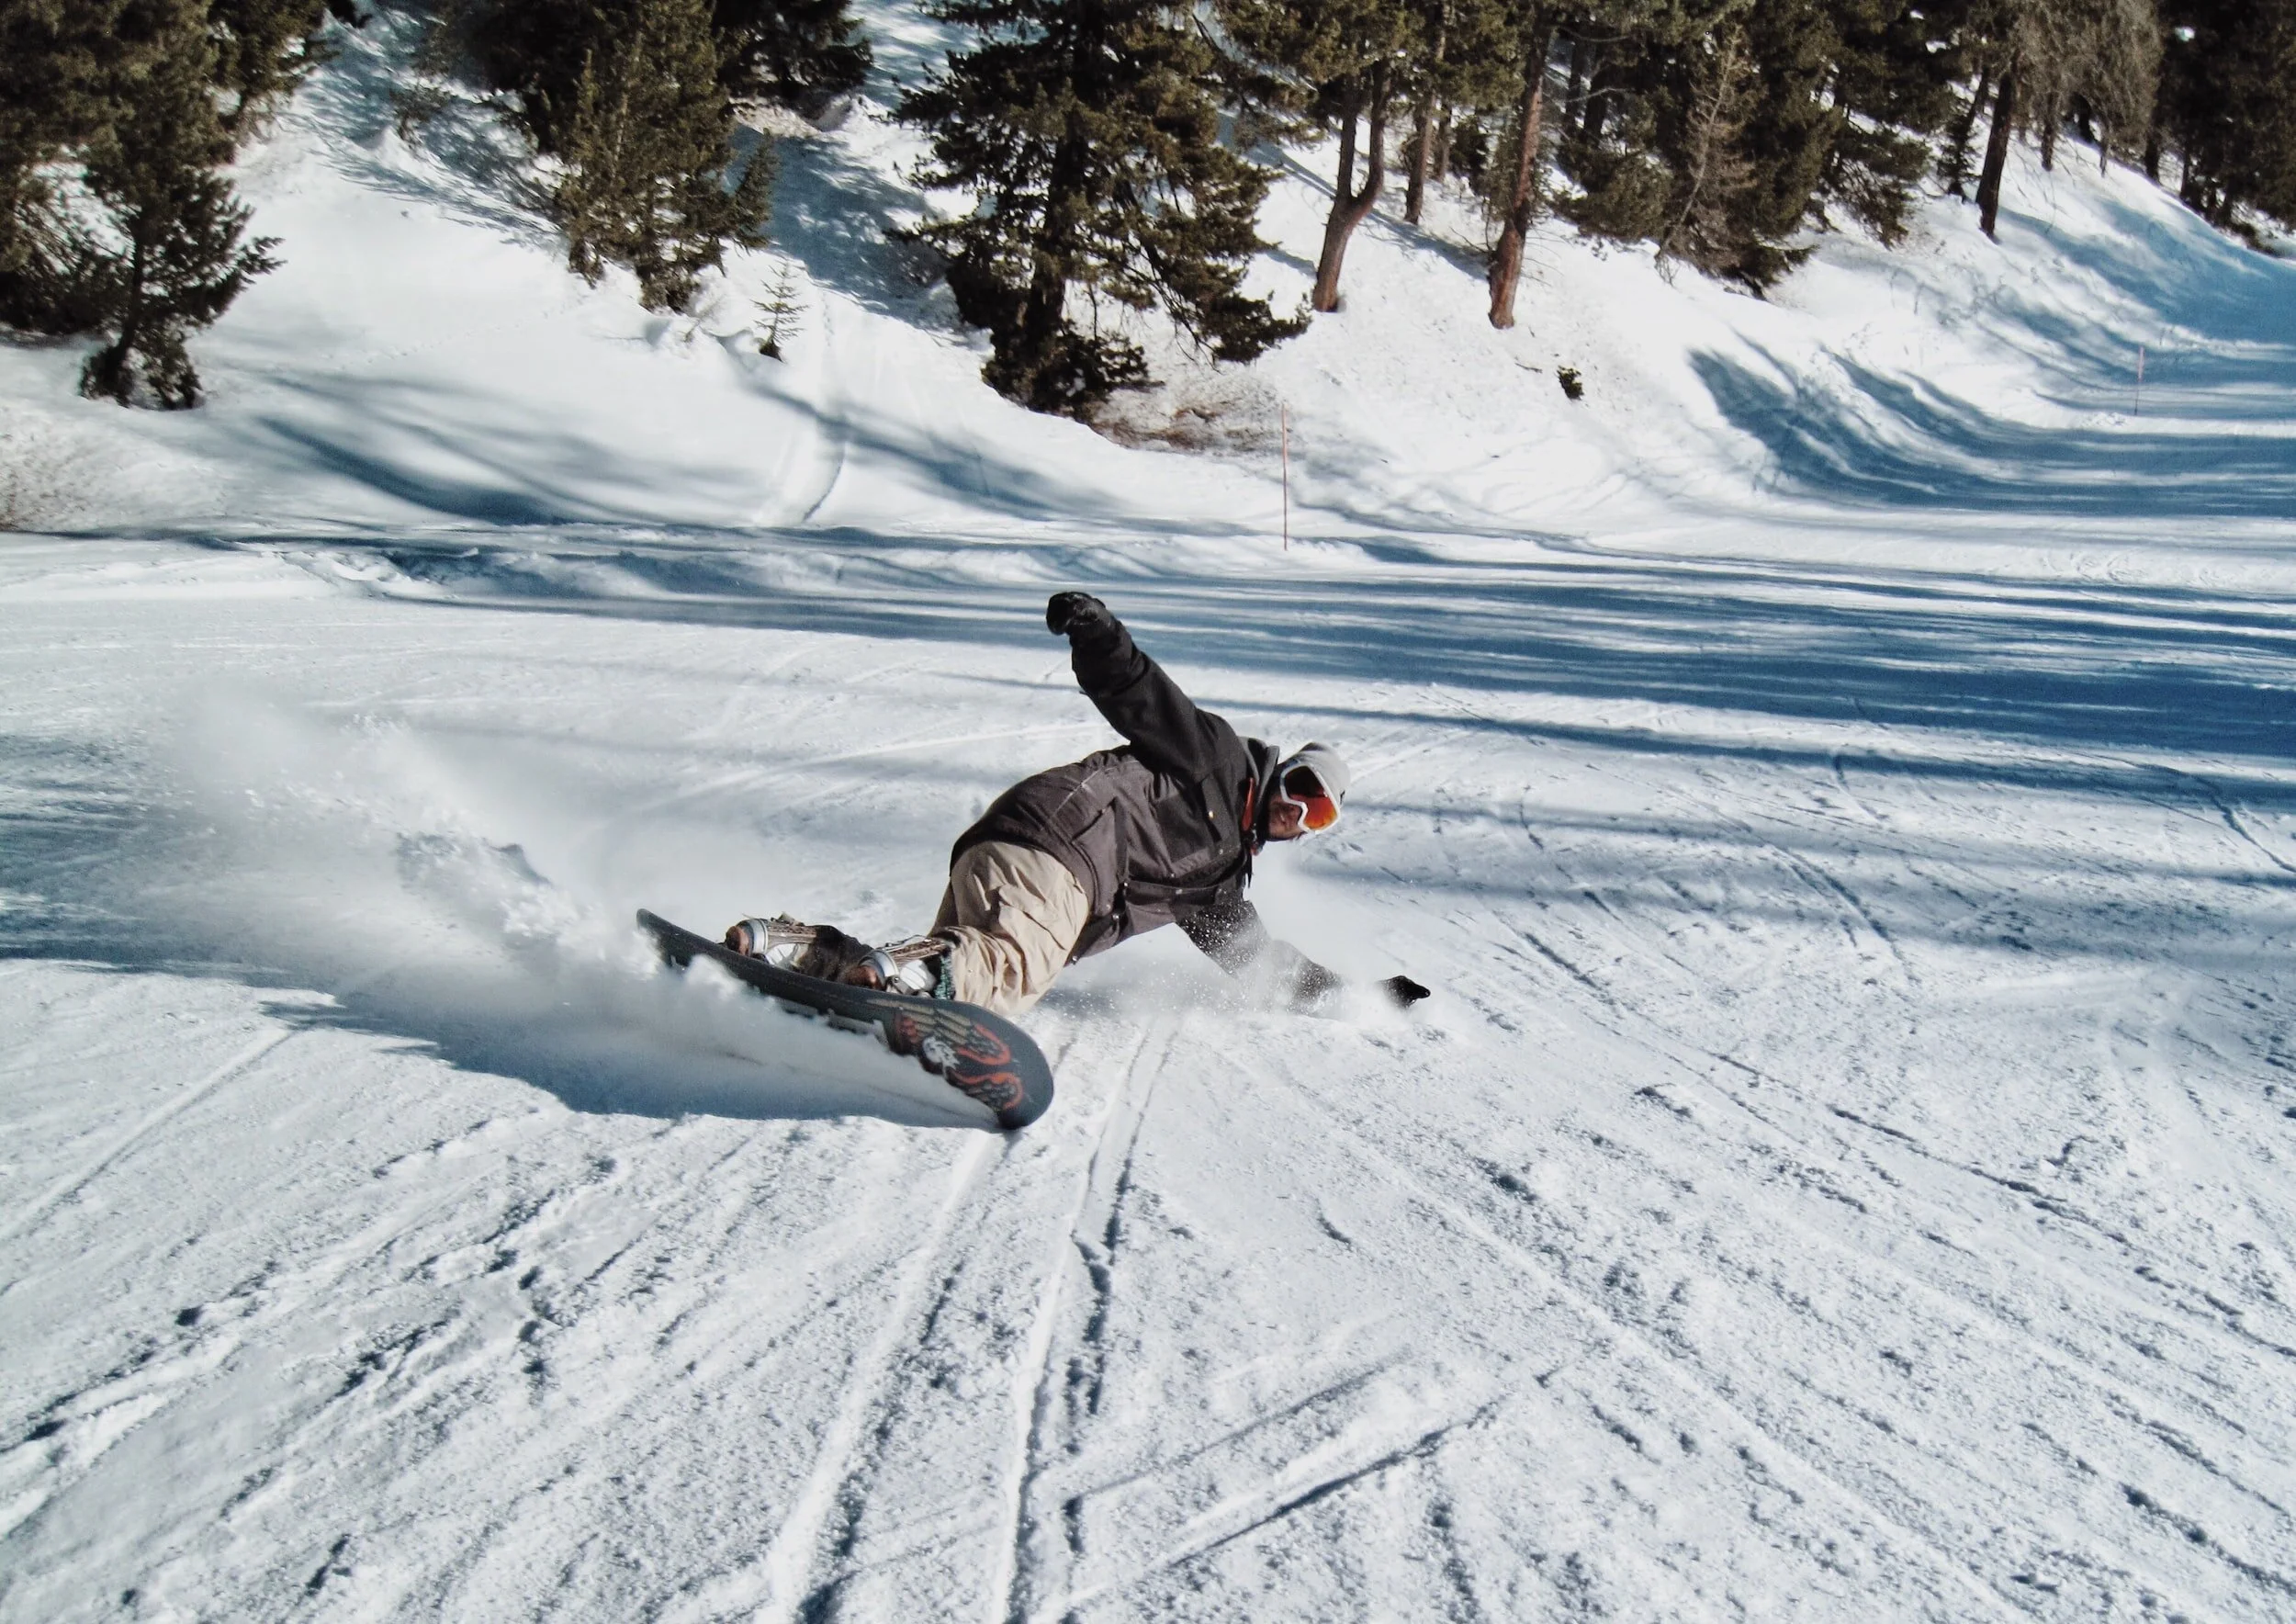
When adding together your first turns in months with the potential for poor snow conditions, accidents could happen. With this in mind, it’s better to slow things down and make controlled turns. By slowing down your riding in the early season you will better understand what is happening beneath your feet and prevent unwanted early-season injuries.
Photo Credit: @koudy1
LOOK AHEAD DOWN THE PISTES
Looking ahead and down the piste will help you spot any dangers or obstacles in your way. Early season snow is prone to rocks or icy patches and by keeping your eyes on your path you will be able to see them sooner meaning you can avoid them or react accordingly.
Photo Credit: @fr3nks
BEND THOSE KNEES
Flexibility at the knees is important for your stability on your skis or snowboard. By having some movement and less rigidity in your lower body you will be able to absorb any bumps in the snow and ride it out over those icy patches. Your knees will act to absorb the impact caused by bumpy snow or those pesky rocks peaking through the early season coverage.
Photo Credit: @maarten_jpg
STICK TO THE SIDES OF THE RUNS
In the early season with limited open terrain, ski resorts can get busy! Most people will ride down the centre of the runs meaning the snow quality can become sketchy with poor coverage. Try snowboarding at the side of the run where theoretically there is less traffic. At the sides, you should find better snow which will help give you confidence in your edge hold.
SCOPE YOUR RUN FROM THE CHAIRLIFT
Chairlifts are not just for a chat. Riding the chair is a great chance to see the pistes from a new perspective allowing you to make out any runs with poor conditions so they can be avoided. Scoping pistes from the chair will also help you avoid those runs that are overcrowded.
Photo Credit: @pamsaunders
FIND YOUR SPACE
There are not many things more annoying than setting yourself up for a turn only to realise your about to get cut up by someone who has snaked your run. In the early season when the pistes can become overcrowded, take your time and wait until you have enough clear space to make the turns you want. Anyway, its the perfect time to stop and enjoy the view!
I hope the above tips help you to start the season in a positive way and make the most of your days on snow. Avoiding injury early and building up your ‘ski legs’ will hopefully help you have a longer and more enjoyable season.