


Staying Safe When Tree Skiing
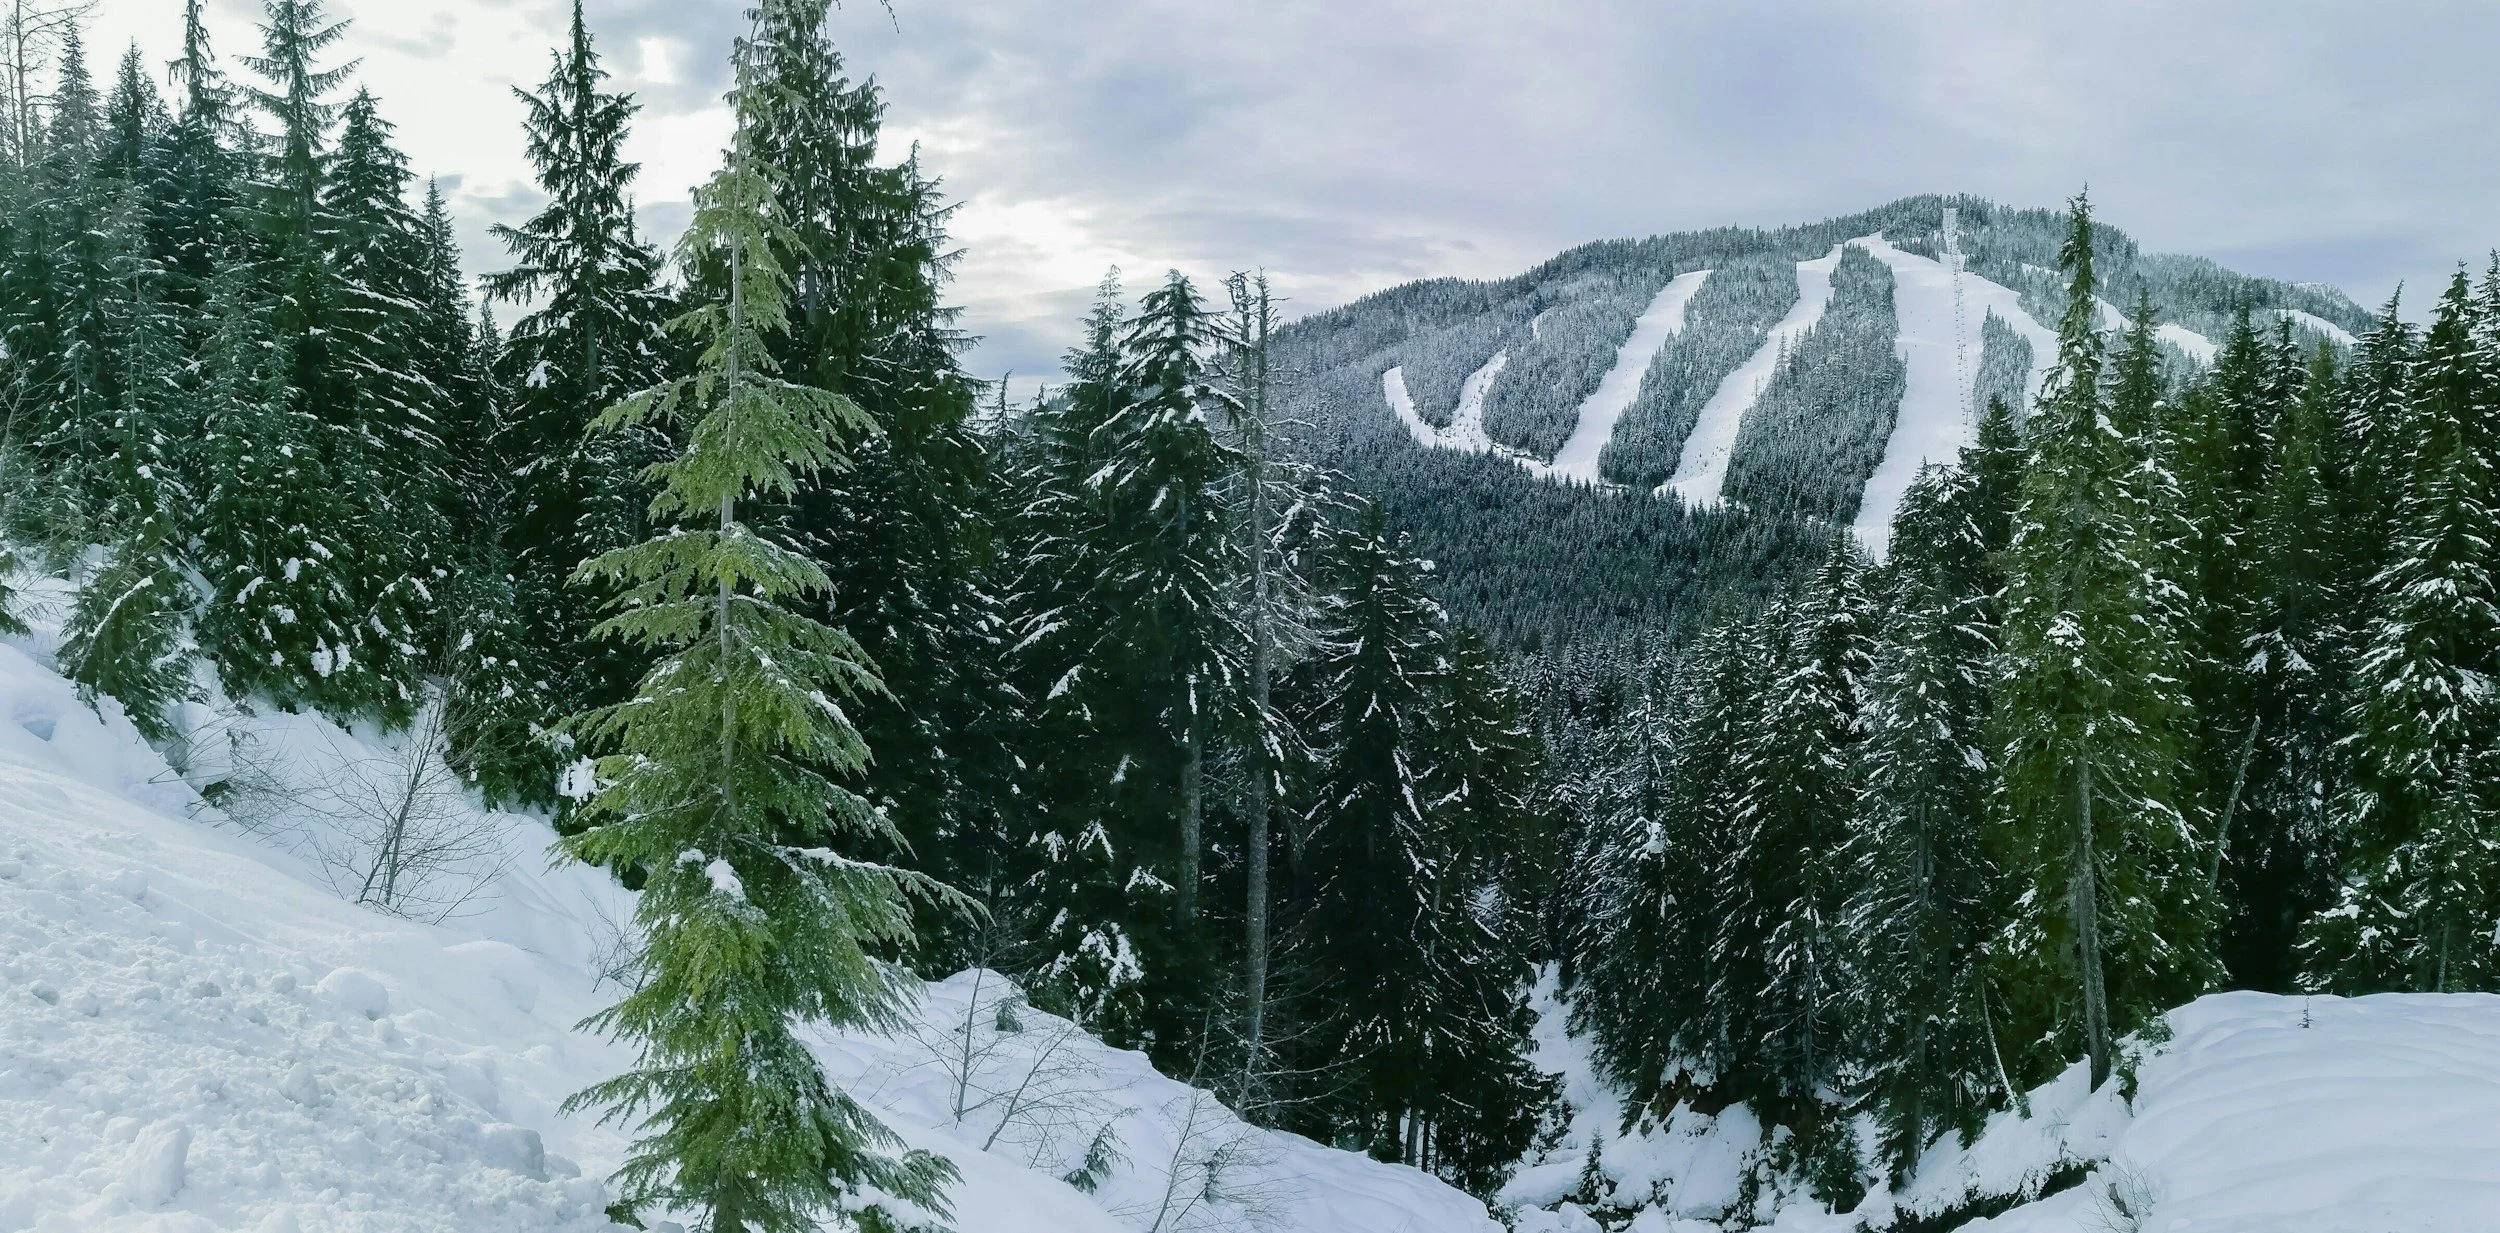
Tree skiing and snowboarding is simply some of the most fun you can have on a mountain. Tight glades, pitch changes, and sheltered deep snow create a playground that often beats open runs for variety and fresh tracks. But trees demand respect: they change the game from piste riding to a mix of route-finding, quick reactions, and serious safety preparation.

This guide is not an all encompassing survival kit but suggestions based on my experience riding in trees around the globe but note… I still find myself in sticky situations. This post is not intended as an alternative to proper training but more as a guide for some key aspects I consider when heading into gladed terrain. It is also well worth noting that trees around the world all ski different. Whether you are hitting the Snow Gums in Australia, North American Pines or the Tsuga Trees in Hakuba’s famous powder district all offer something a little different.
Below is practical, experience-based advice for staying safe and getting the most from tree runs — what to wear and pack, how to ride, and how to pick terrain. But first it is worth trying to understand why tree runs are so special.
Why We Love Tree Skiing
Trees or glades offer the snow protection and shelter from the wind and burning sun. This means that not only does the snow get preserved for longer but it also tends to keep it softer and less crusty. This means that heading into the trees a few days after recent snowfall can often reward you with some insane powder turns.
Tree runs tend to be a bit like a natural terrain park filled with natural features to hop, jump and weave between. Whether you are jumping a stump, navigating a natural corridor or finding some powder pillows tree runs really do tend to deliver more often than not.
The nature of tree skiing often means taking things a bit slower to allow you to navigate tight tree lines. These slower, dynamic turns often get you feeling in a flow state that are the reward for effective tree skiing. It honestly feels so good to smoothly pick your path between the trees ensuring that you are spraying some powder on every turn doesn’t hurt either.
The worst days are made better by trees. Everybody hates turning up at the mountain in a whiteout but if you do and there is decent tree skiing available it is like your day has been saved. The trees provide valuable context which allow you to continue enjoying your day on the snow rather than trying to work your way through a cloud. Actually, this is one of the reason why some of the worlds highest ski resorts are not my favourites. Take Val Thorens which has Europes highest ski resort village. On a bad weather day there is no context as Val Thorens sits above the treeline. Whereas Flaine, which is lower has some great tree skiing at lower elevations. Checkout the difference in these videos below to see what I mean.
Staying Safe in The Trees
You can never guarentee that you are safe when heading anywhere in a ski resort and the trees are no different. Whether it be high impact collisions, getting burried in a tree well or simply getting lost in terrain you are unfamiliar with, trees offer many dangers. Managed correctly, tree skiing can be well worth the effort so consider adding the following to your tree skiing safety routines.
Riding within your limits is key even for more able experienced skiers and snowboarders especially when riding in terrain that is unfamiliar to you. We have all been there; new resort, coupled with recent snowfall and we all start to forget about some of the key aspects of managing risk in the trees. When you do not know the terrain well be sure to slow down and get to know the terrain first.
Riding with a partner and ensuring that you always keep visual contact is another key factor of skiing and snowboarding in the glades. If something goes wrong you want somebody around who can help you out and call for help. Taking it in turns to ride pitches of terrain ensures that you stay in each others sight, can share any dangers found and of course… you have someone to get that awesome picture or video of you as they wait for you to ride down. Recently, I got way too excited on a powder day in Flaine and kept going when my friend took a well deserved break. You can see what happened in the video at the bottom of this section.
The avalanche risk in the trees can be lower but this doesn’t mean the risk is zero. Therefore, carrying essential avalanche safety equipment is advisable. Again this is definitely a do as I say not as I do, because I am stupid enough to opt to ride without my backpack at times in resort. Often I will still wear my avalanche transeiver but really I know that I should carry my whole avalanche safety kit (Shovel, probe, & beacon). Bringing a backpack is also great for some snacks and an accessible drink just incase you feel the burn and need to rest on the mountain rather than in a hut…. A reminder to myself to ensure I do this more.
This one is for those heading into the unknown, a new area of trees or sometimes a new resort entirely. Dont be affraid to scout something out first before commiting to a run. This is especially the case if you feel there is a jump/drop and you are not sure of the landing. Normally, either you or your partner are willing to take one for the team and scout it out first. This rule also applies to just stopping to check your line as you move into unknown terrain. Look out for terrain traps, changes in the environment (trees aren’t fixed forever) or other hazards.
The nature of tree runs mean that getting assistance with a recovery is harder in this terrain. At a minimum this means a longer wait for ski patrol (if in bounds) so be prepared as with point 3. Be sure to control your speed as controlled turns are preferable to blasting it in this terrain. If you feel you are going too fast you probably are.
Communication is key. It is really easy to get serperated in gladed terrain so be sure to communicate. Whether this is clear communication such as “dropping left,” or “stopping.”, or even just your holars and whoops as you ride through the terrain. Ensuring your group know where each other are can prevent people getting stranded by themselves and prevents collisions when visibility is limited.
Plan your route out. I learnt this one early when at Marmot Basin where missing my route out ended up in one hell of a big hike in deep snow. Fair to say at the end of that experience I was done for the day curtailing my fun. This rule goes into knowing your terrain as planning the right route out can save you time, misfortune, and energy.
First aid and skills: Everyone in the party should carry a small first aid kit and know how to treat basic injuries and immobilize limbs. CPR and basic evacuation planning are good to review before heading in.
Watch for tree wells: A significant hazard around tree trunks where loose snow forms deep, hidden voids. Avoid skiing directly around the base of trees after heavy snow, and keeping sight of partners is essential.
What to wear and pack Pack for mobility, protection, and multiple contingencies.
This is always contentious as people always have their preferences… so feel free to listen to mine or ignore, that is of course your prerogative.
Dress in breathable layers so you can adjust on the move. Conditions change so having the ability to change your layering systems is one of the most important parts of staying comfortable in the mountains. I prefer a thin waterproof shell, coupled with a good quality base layer and mid-layer option.
Shell Jackets and Pants
Gone are the days of needing to purchase the more expensive Gore-tex shells. Yes, spending this money does provide you with a product that has been shown to stand the test of time but there are many new shells that are equally reliable. Patagonia have their own shell technology called H2No, The North Face use Futurelight, and Helly Hansen use Helly Tech. Each of these is a viable option. Regardless of your choice of membrane, opting for a shell jacket allows you greater versatility for temperature management whilst ensuring you stay dry.
Shell jacket and pants: Waterproof breathable shells with articulated fit for snowboarding through tree lines. Look for durable fabrics to withstand brush and branches.
Base Layers
Probably one of the most underrated bits of kit is your choice of base layer top and bottoms. Your main choices are a synthetic or merino base layers. Gone are the days of people wearing cotton surely? Merino for me is the standout winner with odour resistant properties and greater weight to warmth ration. Merino used to be really expensive but now I pick mine up from SportPursuit. If you sign up via this link you are supporting the website and you will have access to some great discounts. If you are trying to save some money there are some great synthetic options however be prepared for a good stench after a long day skiing trees.
Mid-Layers
I often alternate between a lightweight fleece (Arcteryx Delta) or a slightly thicker syntethic jacket (Arcteryx Atom) depending on the temps. On a cold day I may layer up and wear both. This is where having the lightweight shell suggested above pays dividends as it allows this flexibility. Often in a grabable place in my rucksack will be my puffy (Arcteryx Cerium). Lightweight, it’s like its not there but if I need to stop for a prolonged period I will through this on to boost my warth.
Gloves
This is a strange one for me as I run warm so wearing a thick pair of gloves isn’t usually my go to choice. That being said when snowboarding in the trees I opt for my Hestra Heli Mitts due to their long gaitor. Not only does this stop snow from flying up my sleeves but if I fall it gives me the reassurance that no snow is getting in however much I need to dig myself out of trouble.
Helmet
Sorry not sorry. In my opinion a helmet should be mandatory especially if you are opting to ski in the trees. Good quality helmets have MIPs which is a god send when it comes to head impact. Protecting yourself from impact whether it be a tree, the ground or your buddy could save a life. I use the OutdoorMaster Diamond 2 MIPs helmet which you can buy here with 20% off. Helmet: Mandatory. Trees multiply the risk of head impacts — use a well-fitting certified helmet.

Save 20% Just Click the Image
Goggles
My view on goggles has changed significantly in the past few years. No longer do you need to pay top dollar to get high quality goggles. Essentially, a photochromic lens is now an affordable option for many and its how I would suggest you go. Photochromic lenses adapt to the light meaning when you are in the protection of the trees, the lens will let more light in and when you pop out of the trees into the sun, the lens will reduce the amount of light that gets through to protect your eyes.
Over the past few years I have used many goggles but my go to would be either the Julbo Launcher Photochromic (Purchased from Sport Pursuit for big discount) or the Outdoormaster Ultra (Again save 20% here)
If you would prefer to opt for more traditional lenses than a low-light and contrast-enhancing lenses (yellow/rose) are often best in shaded tree areas. Carry a spare lens or goggles if practical.
Backpack
Ideally, when skiing in the trees you can wear a small backpack which will allow you to bring essential safety items with you. I would aim for a 20-25l backpack that has comfortable straps and a good waist belt for stability and support with the weight of the back. You do not want your pack fully loaded but I would aim to get the below items inside the bag.
Essential pack items
Hydration: Lightweight water bottle or hydration bladder.
Snack: High-calorie, quick energy (bars, gels, chocolate).
First-aid kit: Small kit with bandages, tape, wound treatment, and a space blanket.
Communication: Whistle for signalling, and two-way radios if group members want better communications than shouting. Radios are a pro option, I have never used one but I am interested in testing a system like Cardo Outdoor.
Beacon, probe, shovel: If you’re in avalanche terrain or venturing beyond controlled boundaries, carry and know how to use avalanche rescue gear. Even inside trees, slides and tree wells can create burial risk.
Repair kit: Multi-tool, ski/snowboard straps, small zip ties, duct tape.
In short, gladed terrain offers some of the most rewarding and enjoyable skiing and snowboarding you'll find, provided you approach it with respect, the right skills, and the right preparation. The key takeaways are simple: know the snow and avalanche conditions, refine your tree-skiing technique, travel with partners and the necessary safety gear (avalanche transceiver, probe, shovel), and make conservative terrain and route choices that match your ability.
When you combine good judgment with solid skills and proper equipment, you’ll dramatically reduce risk and increase the enjoyment of glades. Gladed runs reward patience and attentiveness, stay within your limits, communicate with your group, and embrace a mindset that prioritises safety over a single run or line. That balance is what lets you explore these beautiful, wooded slopes season after season.




Visiting Milford Sound From Queenstown
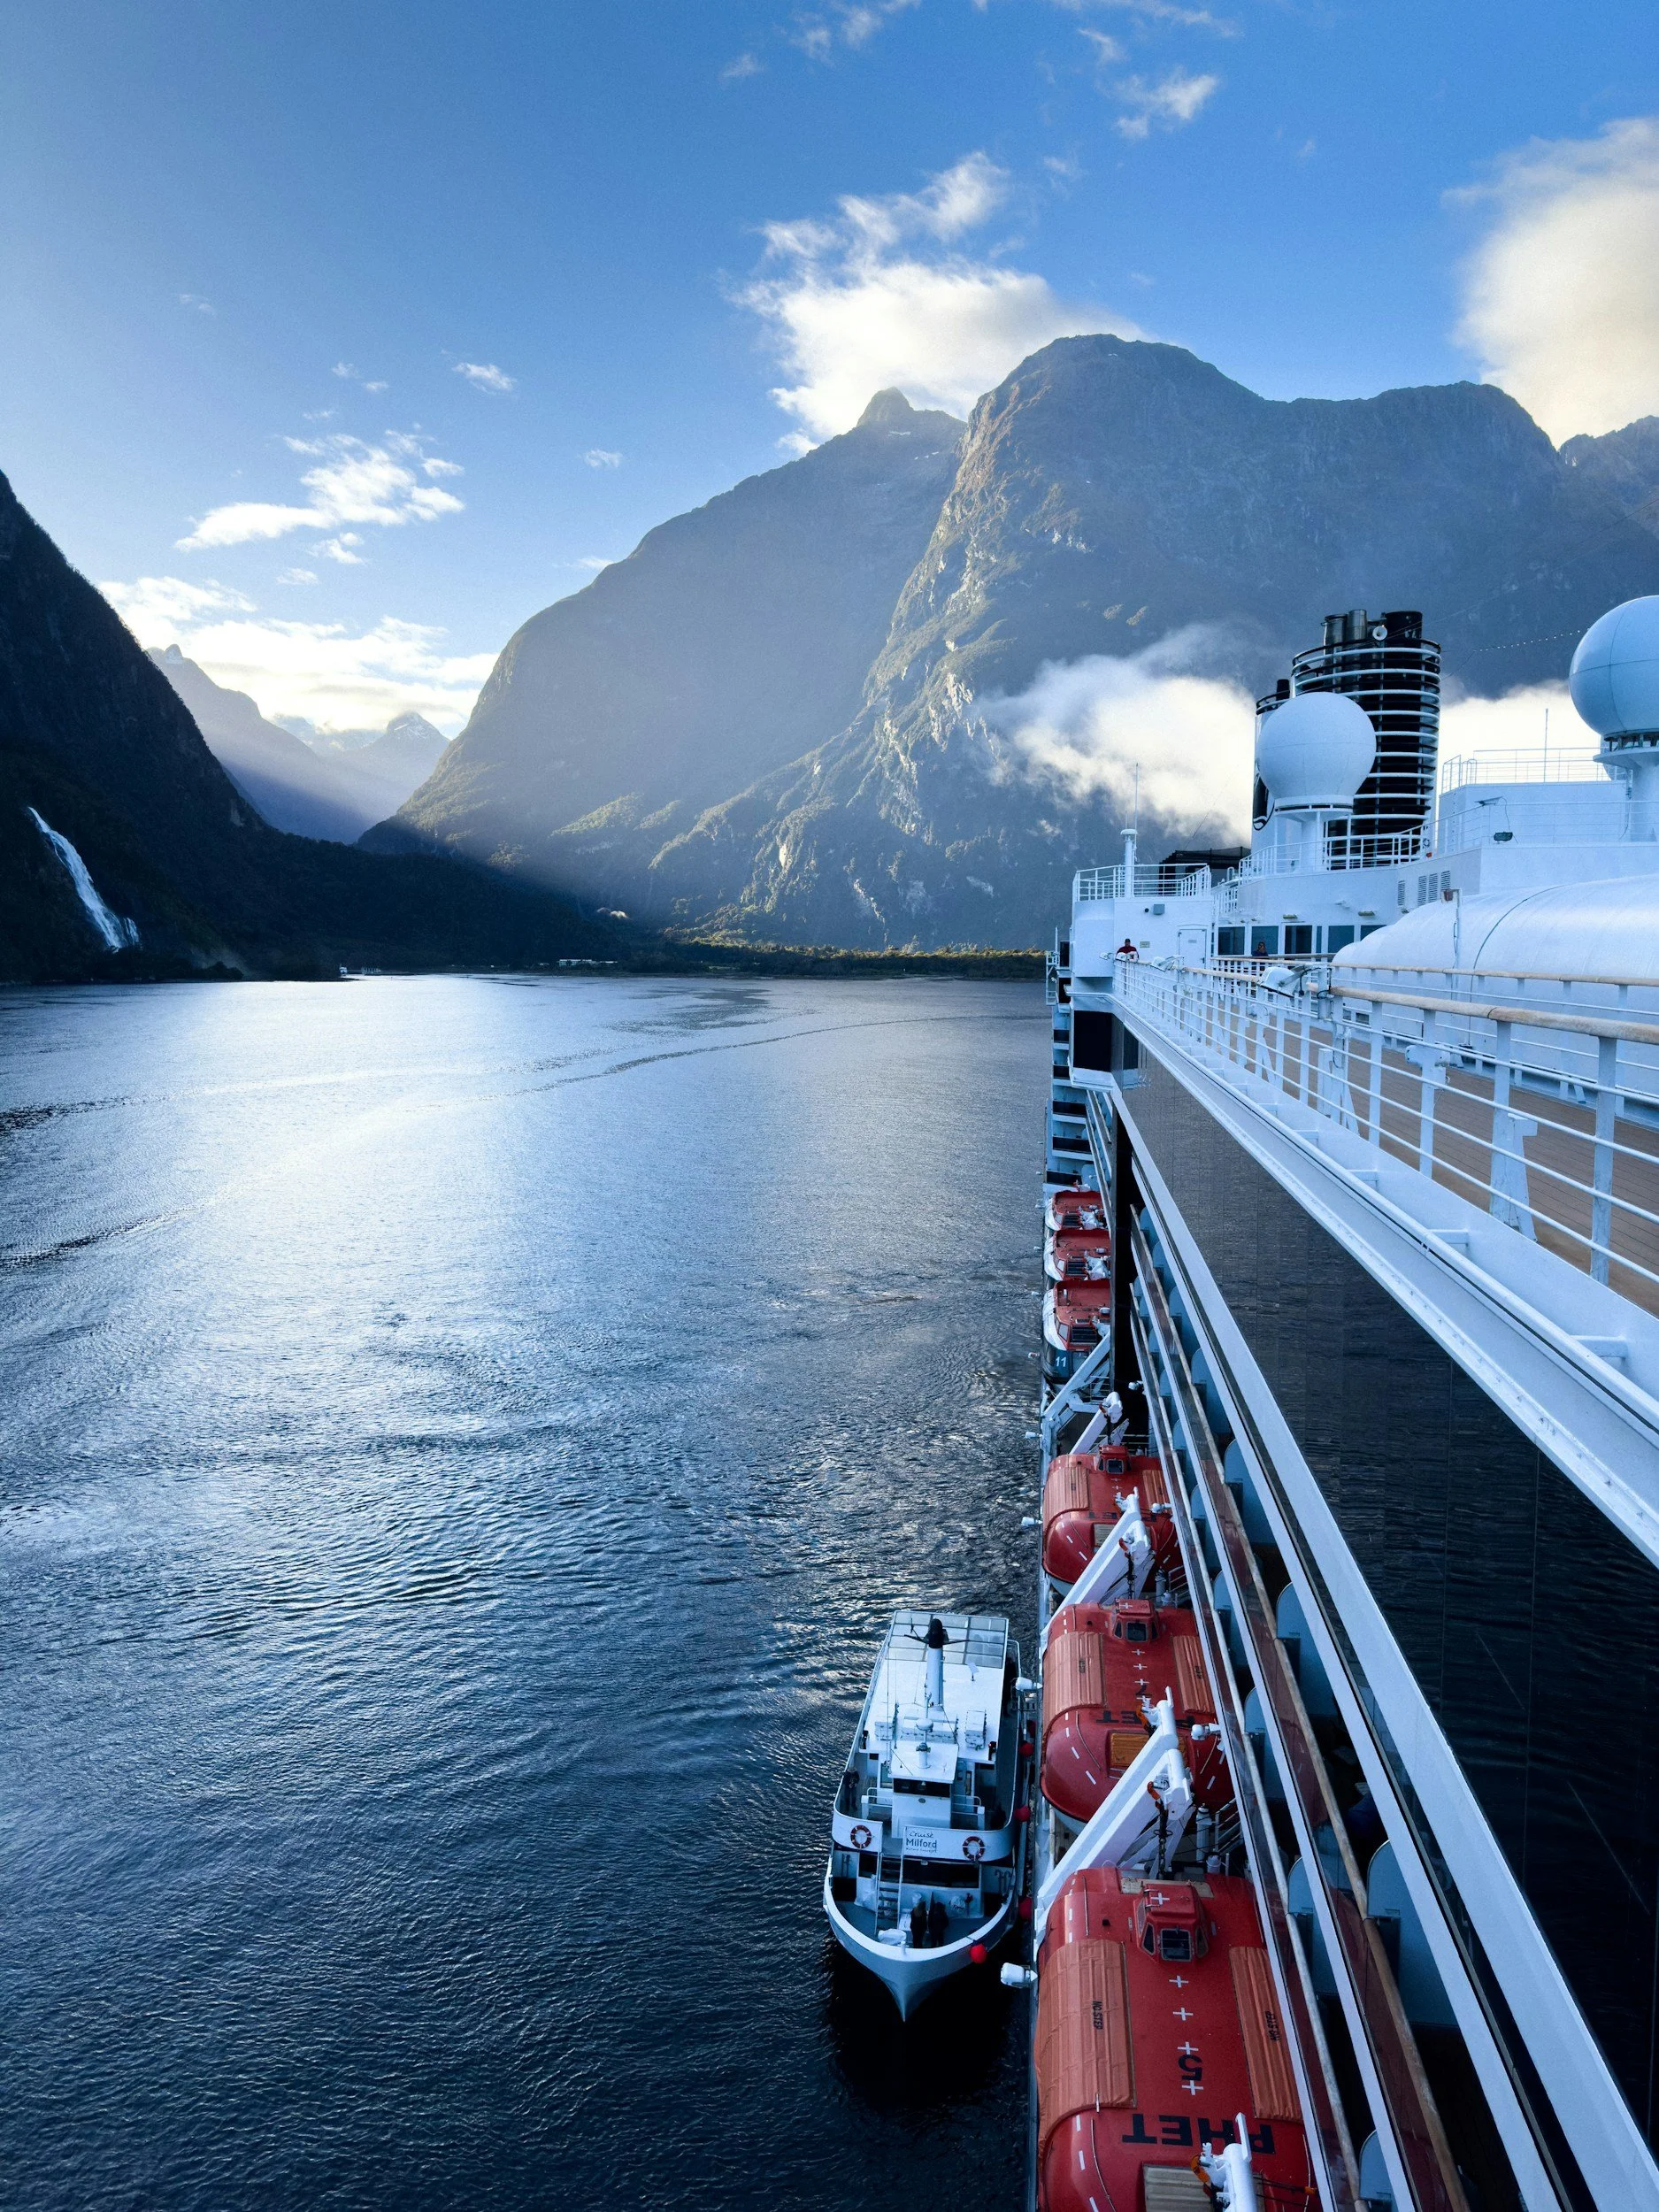
If you are looking for a place to disconnect from the modern world and rediscover nature, there is no better place to start than Milford Sound. Set in the stunning Fiordland National Park, the impressive ocean inlet is one of the wettest places on earth but don’t let that put you off. A well-timed trip to Milford sound can offer some of the best views in the world and that really is not an exaggeration. The combination of imposing mountains reflecting in the water coupled with the numerous waterfalls and epic clouds really are not to be missed.
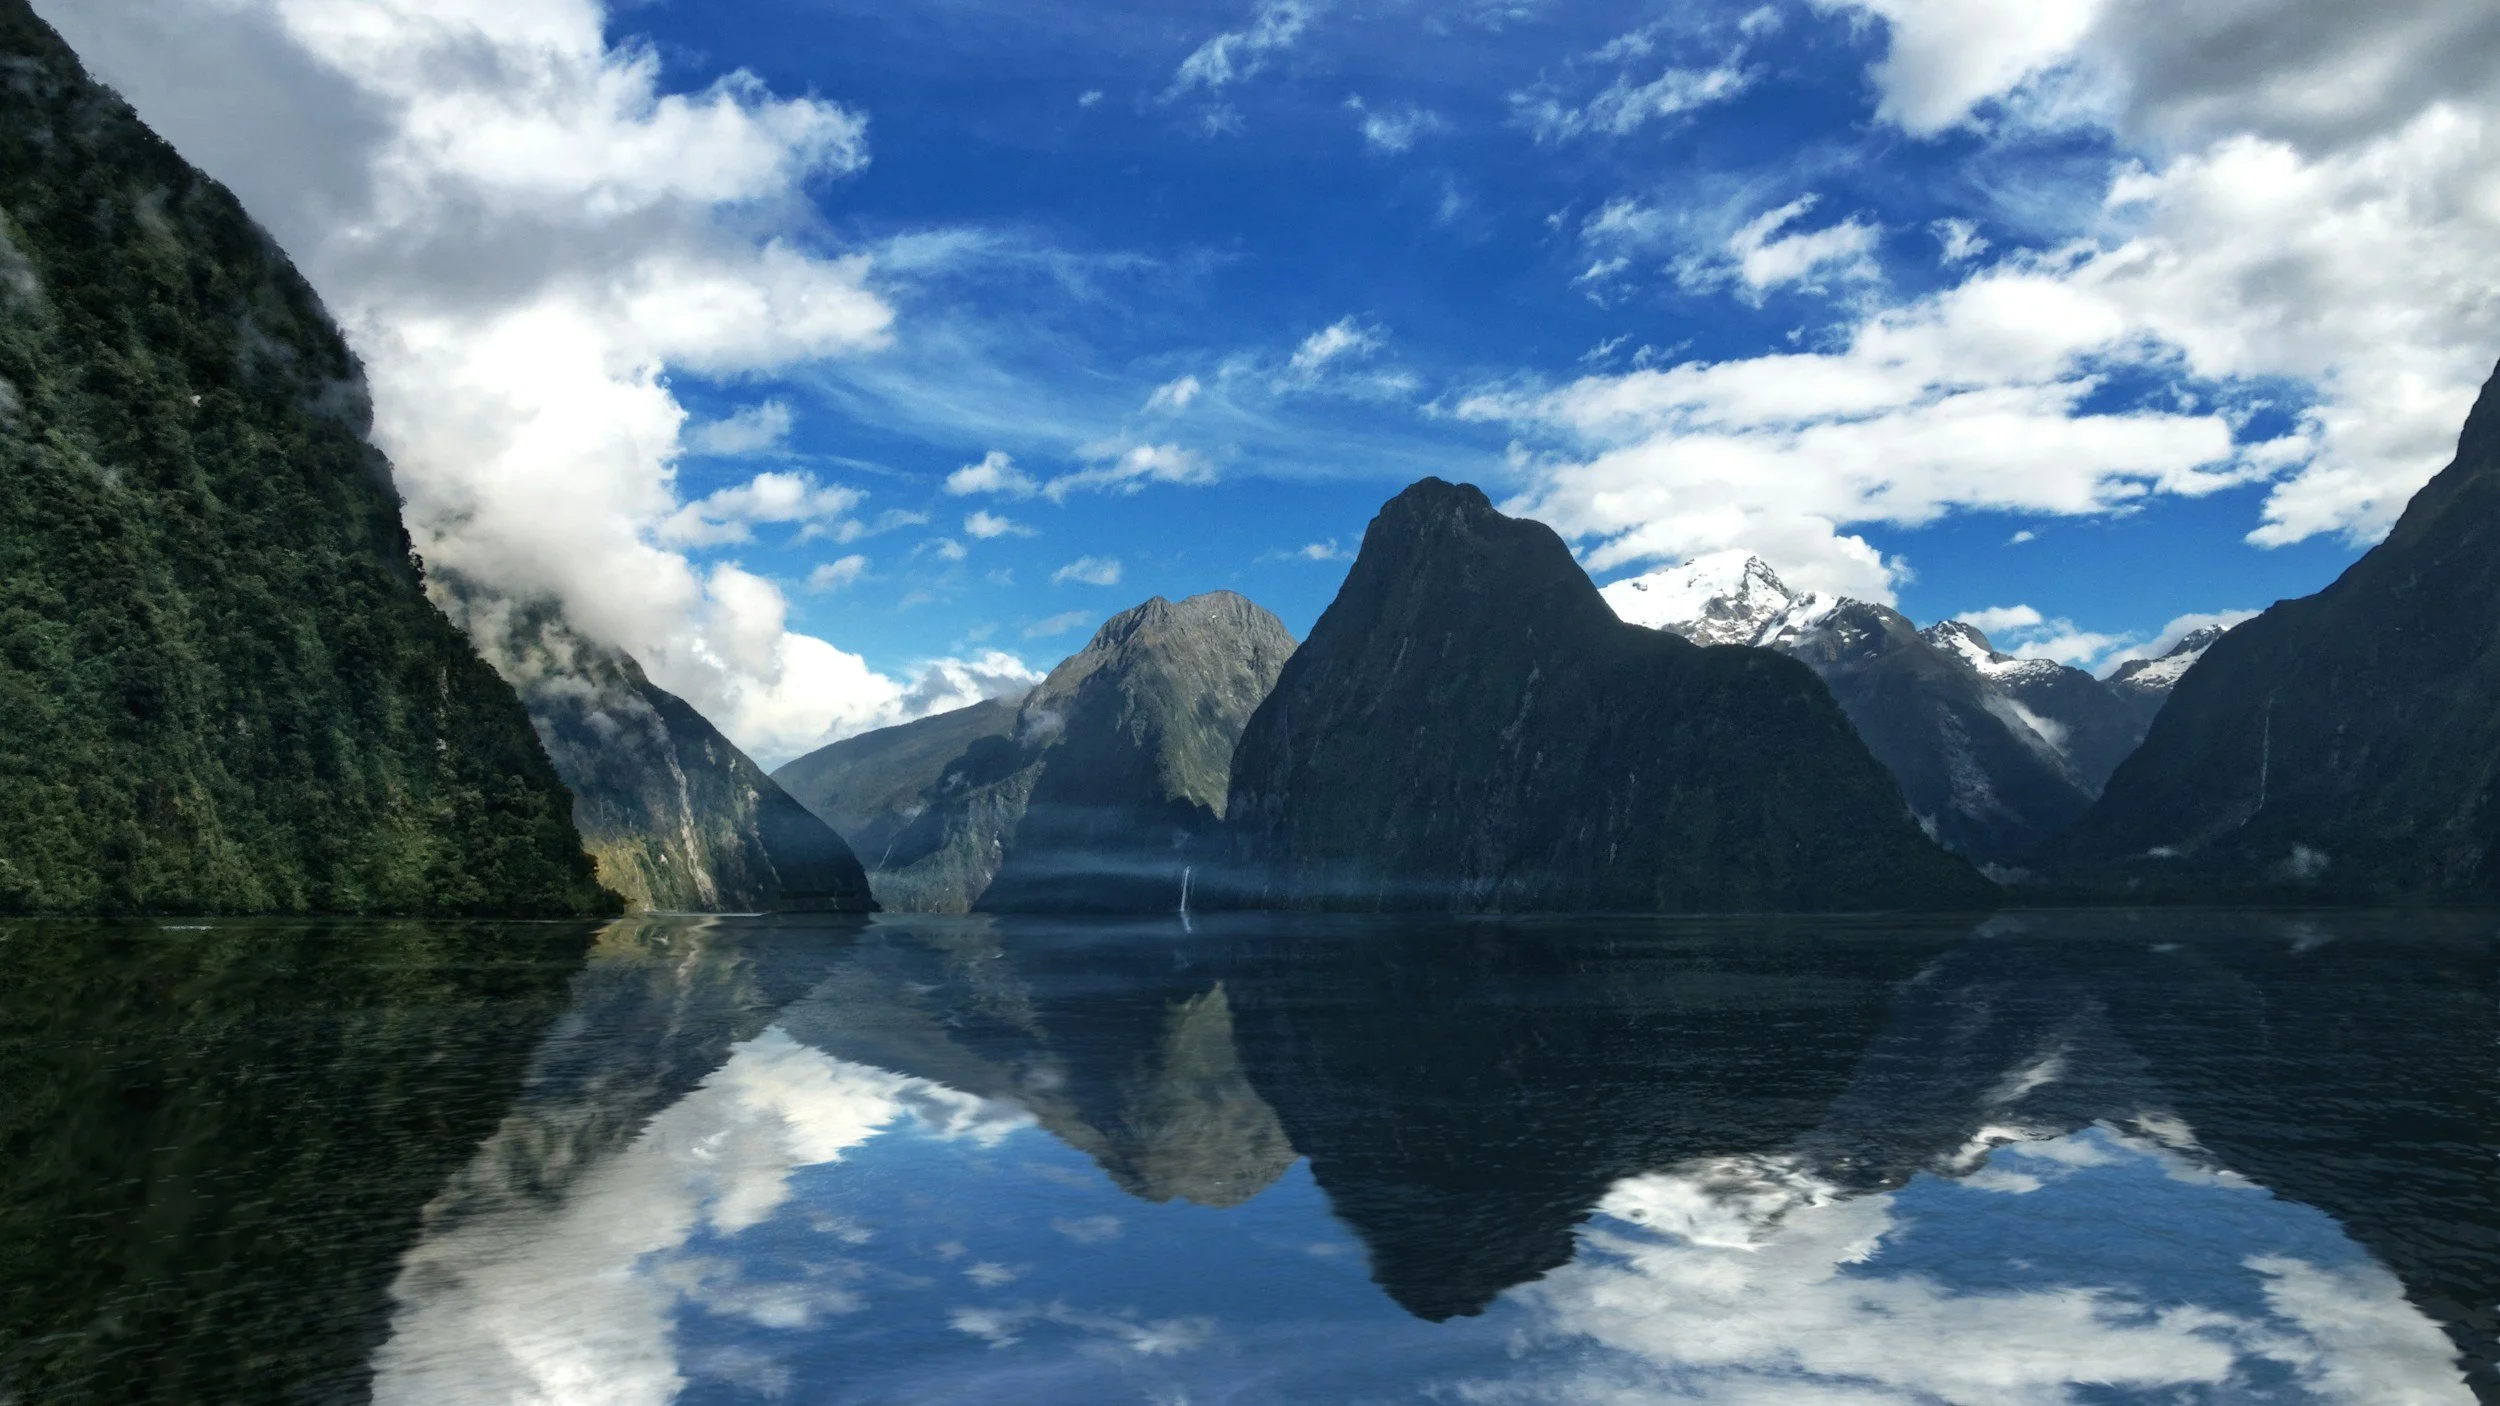
Home to two permanent waterfalls, Mitre Peak, and some incredible wildlife, it is no surprise that Milford Sound is one of the most popular New Zealand visitor attractions. Although a number of the local hikes are closed in winter for safety, I would recommend a winter visit as way to avoid the crowds. There are other ways to explore the local area and I would encourage anyone visiting to take a Milford Sound cruise.
On your cruise you will see lots of local wildlife including penguins, seals and if you are really lucky humpback whales and bottlenose dolphins. Although I was unable to see whales on my cruise it didn’t detract from the experience exploring an area of outstanding natural beauty. Mitre Peak is imposing, rising 1690m from the water to tower above the surrounding landscape. Additionally, Milford Sounds Stirling and Lady Bowen waterfalls are a reminder of the wet climate. You can see more of my Milford Sound experience by watching the video below.
DRIVING TO MILFORD SOUND
The drive to Milford Sound was a massive part of the experience for me. The 280km journey from Queenstown is stunning and although your sat nav will say it is a four hour drive be prepared for it to take much longer due to the plethora of photo stops along the way. Homer tunnel, The Chasm and driving alongside Lake Wakatipu make this one of the most scenic drives I have undertaken. I took the drive in winter so the roads were uncrowded but be aware due to the winter conditions chains should be carried and this can affect your journey time. The Milford Road is also prone to closures in Winter so plan to factor this into your trip. The benefit of driving means that you can structure your own timeline for your visit. I opted to arrive late at night so I was able to be up before the crowds the next morning. This really paid off as it wasn’t until I was leaving Milford Sound that I saw the Queenstown tourist buses arriving.
OTHER TRANSPORT OPTIONS
COACHES TO MILFORD
Regular bus tours operate out of Queenstown and this could be a more budget friendly way to visit Milford Sound. The buses tend to stop in the main sightseeing points along the route so you can stretch your legs and take in the scenery. You do sacrifice having Milford to yourself with this option as most coaches arrive mid-day meaning the ferries and tours can be more crowded.
FLY TO MILFORD
If you have a larger budget why not consider flying into Milford Sound. There is a small local airport that allows access to tour operators and private licensed pilots. If the weather is clear I can imagine this would be an incredible way to see Milford Sound, being able to take in birds eye views of Mitre Peak and surrounding waterfalls. Although I did not take a Milford flight with this company I can recommend Aspiring Helicopters in Wanaka who operate tourist flights. I took a scenic flight around Wanaka and was very impressed with their service.
MILFORD SOUND LODGE
Unfortunately for me Freedom camping wasn’t permitted at Milford Sound. This meant finding accommodation but in hindsight I am glad I stayed at the Milford Sound Lodge. The lodge offers a range of accommodation options including powered campsite berths which allow access to the main amenities. If like me you are on a budget, you probably won’t make use of the on site restaurant and bar but instead opt for the kitchen and lounge facilities. The kitchen at Milford Sound Lodge is perfect for camper van travellers and I was able to prepare a few evenings dinners making my life easy for the coming days. On site shower and laundry facilities were also available and were some of the better washrooms I experienced in New Zealand campsites. Prices vary greatly by time of year and the type of accommodation you want so check out their website for more info.
CONNECTIVITY AT MILFORD SOUND
If you are planning on live-streaming or constantly updating your social media whilst at Milford Sound, you’d better think again. Wifi is limited as well as expensive and you will have no phone signal. Your phone signal will disconnect as you approach Homer Tunnel so it is best to be sure of your route and have any accommodation booked by this point.
FREQUENTLY ASKED QUESTIONS
What is Milford Sound?
Milford Sound is a fiord on the southwest coast of New Zealand’s South Island, within Fiordland National Park. Renowned for steep cliffs, waterfalls, and abundant wildlife, it’s one of New Zealand’s most visited natural attractions.
How do I get to Milford Sound?
Most visitors travel by road from Te Anau (about 2 hours) or Queenstown (about 4–5 hours). There are also coach tours, small-plane flights, and scenic cruises that depart from Queenstown or Te Anau. Road access is via State Highway 94 (the Milford Road), which can be subject to weather-related closures.
When is the best time to visit?
Milford Sound is beautiful year-round. Summer (December–February) offers longer daylight and warmer temperatures. Winter (June–August) brings dramatic waterfalls and snow-capped peaks. Expect frequent rain anytime; the sound’s lushness and many waterfalls are a result of high rainfall.
What should I pack?
Waterproof jacket and pants, warm layers, sturdy shoes with good grip, hat and gloves in colder months, sunscreen, insect repellent, a refillable water bottle, and a camera with weather protection. If you plan a boat trip, bring a small dry bag for electronics.
What activities are available?
Scenic cruises (day and overnight), kayaking, guided nature and wildlife cruises, diving and snorkeling (for the Adventure Diver), hiking (Kepler, Routeburn, and Milford Track start/nearby), scenic flights, and photography tours. Choose based on fitness, budget, and desired perspective—kayaking gives closeness to the water; cruises offer comfort and commentary.
How long should I allow for a visit?
A typical visit by road with a daytime cruise can be a full day (10–12 hours round trip from Queenstown). Flights and overnight cruise options shorten travel time. If you want to hike nearby or relax, allow 2–3 days.
Do I need to pre-book tours?
Yes—especially during peak season (December–February) and for popular activities like kayaking, overnight cruises, and scenic flights. Book well in advance for guaranteed spots.
What wildlife can I expect to see?
Common sightings include bottlenose dolphins, fur seals, and a variety of seabirds such as shearwaters and terns. Rarely, visitors might spot penguins. Wildlife sightings aren’t guaranteed but are frequent on calm days.
Are there restroom and food facilities?
Facilities at the Milford Sound Visitor Centre and parking area include toilets and a café/shop. Options are limited, so bringing snacks and water is sensible.
Is Milford Sound accessible for people with limited mobility?
Some cruise operators and viewing platforms are accessible; the Milford Visitor Centre offers accessible facilities. However, road access and certain walking tracks can be challenging. Check with specific operators for accessibility options and assistance.
What about weather and safety considerations?
Weather can change rapidly. Rain, wind, and cold are common. Watch for road advisories and closures, and ensure vehicles are fuelled and equipped for long drives. On water, follow crew safety briefings, wear appropriate clothing, and consider seasickness medication if prone to motion sickness.
Are dogs/pets allowed?
Dogs and most pets are not allowed in Fiordland National Park, with limited exceptions for working animals. Leave pets at home or in approved boarding while you visit.
Can I camp in Milford Sound?
There are designated campsites in Fiordland National Park, but camping within the Milford Sound valley itself is restricted. Backcountry camping requires permits and adherence to park regulations.
Do I need permits for hiking?
Some tracks in Fiordland (like the Milford Track) require advance booking and a hut/camping pass during the main season. Day walks around Milford generally do not need permits, but check Department of Conservation (DOC) rules and seasonal restrictions before you go.
Any tips for photographers?
Arrive early or stay late for softer light and fewer crowds. Rain and mist enhance drama—embrace them. Use a waterproof cover for gear, bring a sturdy tripod for low-light shots, and include foreground elements to emphasize scale.
How crowded does Milford Sound get?
It can be busy, particularly in summer and during cruise departure times. Consider off-peak seasons, early departures, or limited-capacity kayak trips for a quieter experience.
How long is the Milford Road drive and what should I expect?
From Te Anau it’s roughly 2 hours (75 miles/120 km); from Queenstown about 4–5 hours (120–170 miles/200–275 km) depending on stops. Expect narrow, winding sections, scenic pullouts, single-lane bridges, and limited fuel/phone coverage. Allow time for stops at viewpoints like Mirror Lakes and the
STILL GOT QUESTIONS?
If you have any questions about Milford Sound or the drive from Queenstown be sure to drop them down in the comments. Have you visited in Milford Sound in summer? I’d love to hear about your experience.

Salomon Speedway Split Overview
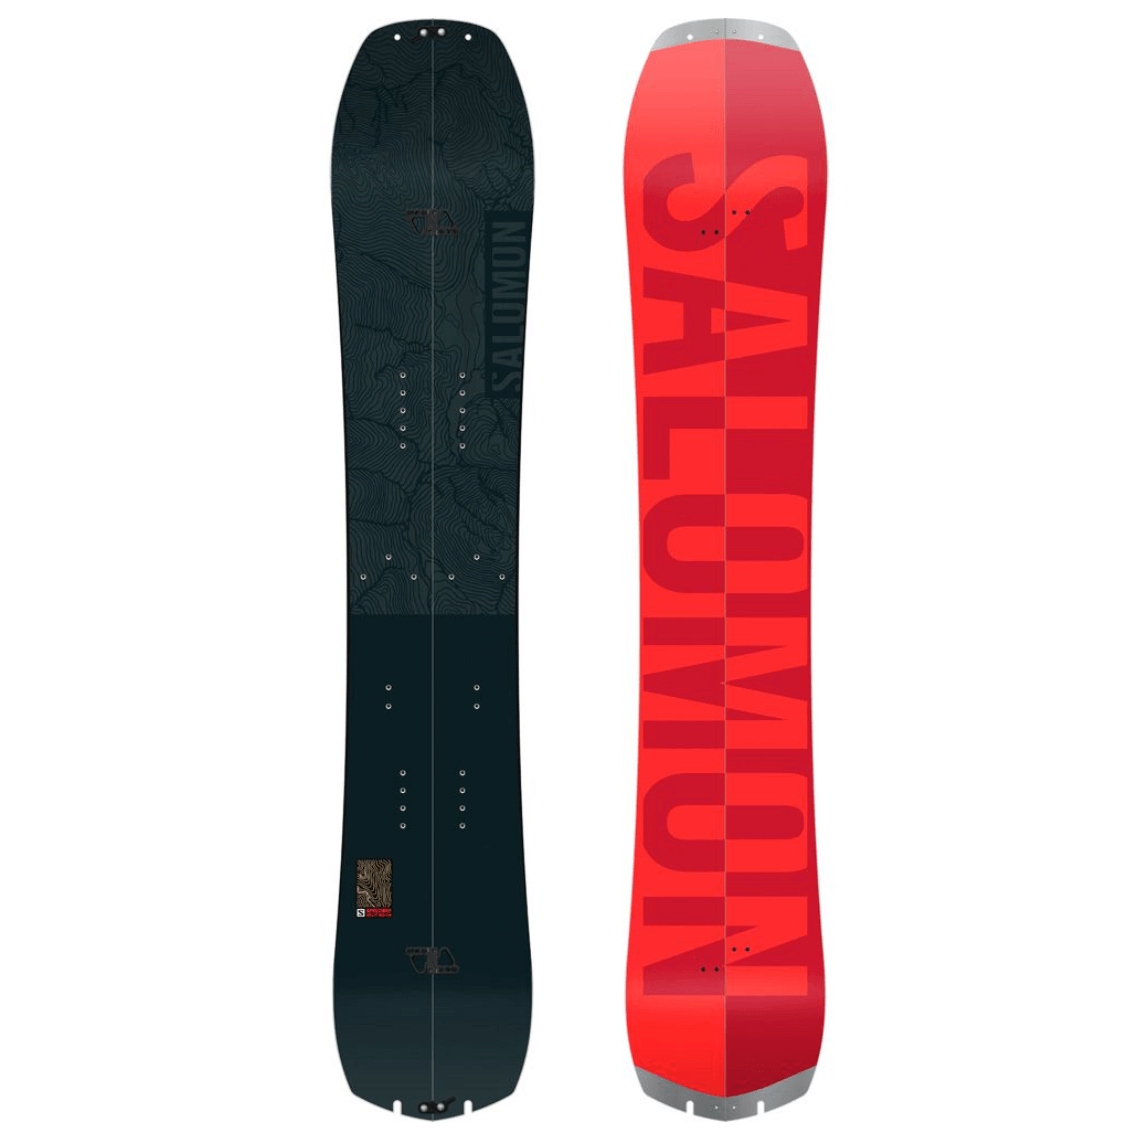
Salomon makes some of the best-value snowboards on the market and this has transferred into their splitboard range. The Speedway has shown itself to be a top performer in solid form winning awards and accolades from various snowboarding publications. As a Splitboard, the Speedway gives you a ride that will love charging on the way down. Its elongated nose and taper allow the Speedway Split to float easily in powder and the backseat camber puts the control under your back binding. Salomon has made the Speedway Split from their top-end materials producing a board that is both durable and lightweight.
ABOUT THE SALOMON SPEEDWAY SPLITBOARD
Board Profile
The Salomon Speedway Splitboard has a backseat camber profile. This is a design where the camber is placed under the back binding and leads into a flat section at the nose. There is rocker added on the nose and tail to help with turn initiation and float in deeper snow. The backseat camber design has been used successfully on Salomon Speedway and Super 8 solids which both ride well on and off-piste.
Flex
The Speedway Split has a stiff flex that helps it to remain responsive and reliable. The Speedway’s responsive flex allows the board to be incredibly stable at higher speeds and aids turn initiation.
Board Shape
The Speedway Splitboard has a tapered directional design. The nose of the Speedway is around 10-15mm wider than the tail allowing the front of the board to stay above the snow as the tail drops back to prevent leg burn. A tapered design improves powder performance without sacrificing edge hold on the piste. The Tapered design is coupled with a Quadratic Sidecut. This is a progressive sidecut which allows for easy turn initiation.
The Insides
Salomon spared no expense when assembling the core of the Salomon Speedway. The Ghost Green Core is utilised in the Speedway Split as a way to drop the weight whilst optimising performance. The Ghost Green Core uses paulownia wood which is extremely light and is found in Salomon’s top-end boards.
In addition to the Ghost Green Core, Salomon have added Damplifier to the Speedway Splitboard. Damplifier is a honeycomb effect used in the nose and tail to drop weight. Using Damplifier means that the Speedway Splitboard is lighter for the way up without negatively effecting performance on the way down.
The Base
A Salomon Sintered EG base is used on the Speedway Splitboard. Sintered bases require more TLC with regular waxing but they run much faster than extruded bases. The Sintered EG is designed for a fast ride, but also strengthens the base by utilising Gallium.
The Edges
Salomon wanted to optimise edge hold without causing those nasty edge catches that are common with camber snowboards. To achieve this the used a 1° bevel at the initiation and exit of the edge with a 2° bevel between the bindings.
The Sidewalls
Salomon uses ABS sidewalls which is the short way to say Acrylonitrile Butadiene Styrene. Basically, these are solid and I have had them on a number of boards. The ABS sidewall dampens vibrations through the board and absorbs impacts on jumps.
Additional Features
The Salomon Speedway Splitboard comes complete with custom cut Pomoca Skins which will save you money and time. This is a really nice addition from Salomon.
The Terrain
The Salomon Speedway Splitboard is designed for use outside of the resort boundary’s where exploration is leading the way. The board can be used in the resort and will perform great on groomers. You are unlikely to find the Speedway Split anywhere near the terrain park.
The Rider
The rider of the Speedway Splitboard should be confident riding a stiffer deck. The Speedway is directional and although it can be ridden switch this is not where it excels so it would suit an omnidirectional rider.
Sizing
The Salomon Speedway is available in three sizes; 155, 160, and 165. Because of the damplifier in the nose and tail Salomon say that you can size up from your regular board length by 3-5cm so consider this when choosing your size.
Related Posts







Dolphin Watching Akoroa
A trip to New Zealand is not complete without viewing some of the incredible wildlife that calls these islands home. Prior to visiting Akora I was fortunate to have already witnessed New Zealands Fur Seals and Kea’s on a tripp to the insanely beautiful Milford Sound. With this in mind, and the weather closing the mountain at Mt Hutt I made a quick trip to Akora in search of the worlds smallest dolphins.
ABOUT AKOROA
Founded by French settlers, the town of Akoroa sits in the Banks Peninsula on New Zealands South Island. The location is actually an extinct volcanoes crater! Akoroa is a small town that has around 700 permanent residents. This means Akoroa can have a locals feel, but they are well equipped for tourists with plenty of little boutique hotels you can stay in. Lining the streets of Akoroa you will find quaint cafe’s and art galleries and obviously as its New Zealand a merino wool inspired clothing shop.
HECTOR DOLPHINS
Being the worlds smallest dolphins makes Hector Dolphins a bit special. They can be spotted around the South Islands coast line often playing in large pods. During the summer months the Akoroa Harbour can offer a great opportunity to see these playful animals in the wild as they will venture closer to the harbour. Being winter we would need to venture further to increase our chances, but sightings are still possible. Hector dolphins are only found in New Zealand and as one of the rarest breeds of dolphin I thought I would take the risk and go on a cruise.
BLACK CAT CRUISES
I took my tour with Black Cat Cruises who provided a great service. The cost of the ticket was 85NZD (Prices may be more at peak times) and the cruise lasted around two hours. Sadly as with everything prices have now increased to the following: Adult (16+) – $125 ($130 from 1 Sept 2026) Child (5-15) – $60 Under 5 – Free
Leaving from the pier, the tour heads out of the harbour and with information provided by the captain you will leave with lots of knowledge about Akoroa and it’s history. The captain navigated their way to some great spots for wildlife watching and we saw; sea lions, hector dolphins and lots of bird life.
I am not paid to promote Black Cat Cruises.
MY THOUGHTS
I was really unsure as to whether I should take a sightseeing cruise. I was keen to see the dolphins, but thought 85NZD represented a big outlay with little guarantee of seeing dolphins. There are more popular times of the year to visit than winter and planning effectively will maximise your chances of spotting dolphins. In hindsight, I would still opt to take the cruise as the scenery was gorgeous and exploring the harbour in itself was a great experience.
I was fortunate that despite the conditions our captain was knowledgable enough to find a pod of dolphins and it was incredible to watch them playing and enjoying the attention. Sometimes it is easy to find reasons not to do an experience… I am really glad that actually I went ahead with this experience and would recommend it to others.
BE AWARE
Two companies are available for cruises from Akoroa harbour. At the time of my visit Black Cat Cruises were 3NZD cheaper, although this may change. The other company does take less passengers on their boat so at busy times this may be worth the supplement. At no point is a sightseeing tour a guarantee you will see Hector dolphins and you will not receive a refund should you be unfortunate. Luckily you will definitely see some wildlife as Akoroa harbour is home to seal colonies and plenty of bird life. Even without the wildlife the tour will take you past some stunning scenery.

How Cheap Is A Snowboard Holiday To Bulgaria?
Snowboarding is an exhilarating winter sport that attracts adventure seekers from all over the world. While popular destinations like Switzerland, France and Austria may come to mind when you think of snowboarding, Bulgaria offers an affordable and exciting option for those on a budget. In this post, we will take a closer look at how cheap a snowboard holiday to Bulgaria can be, specifically to the resort of Bansko.
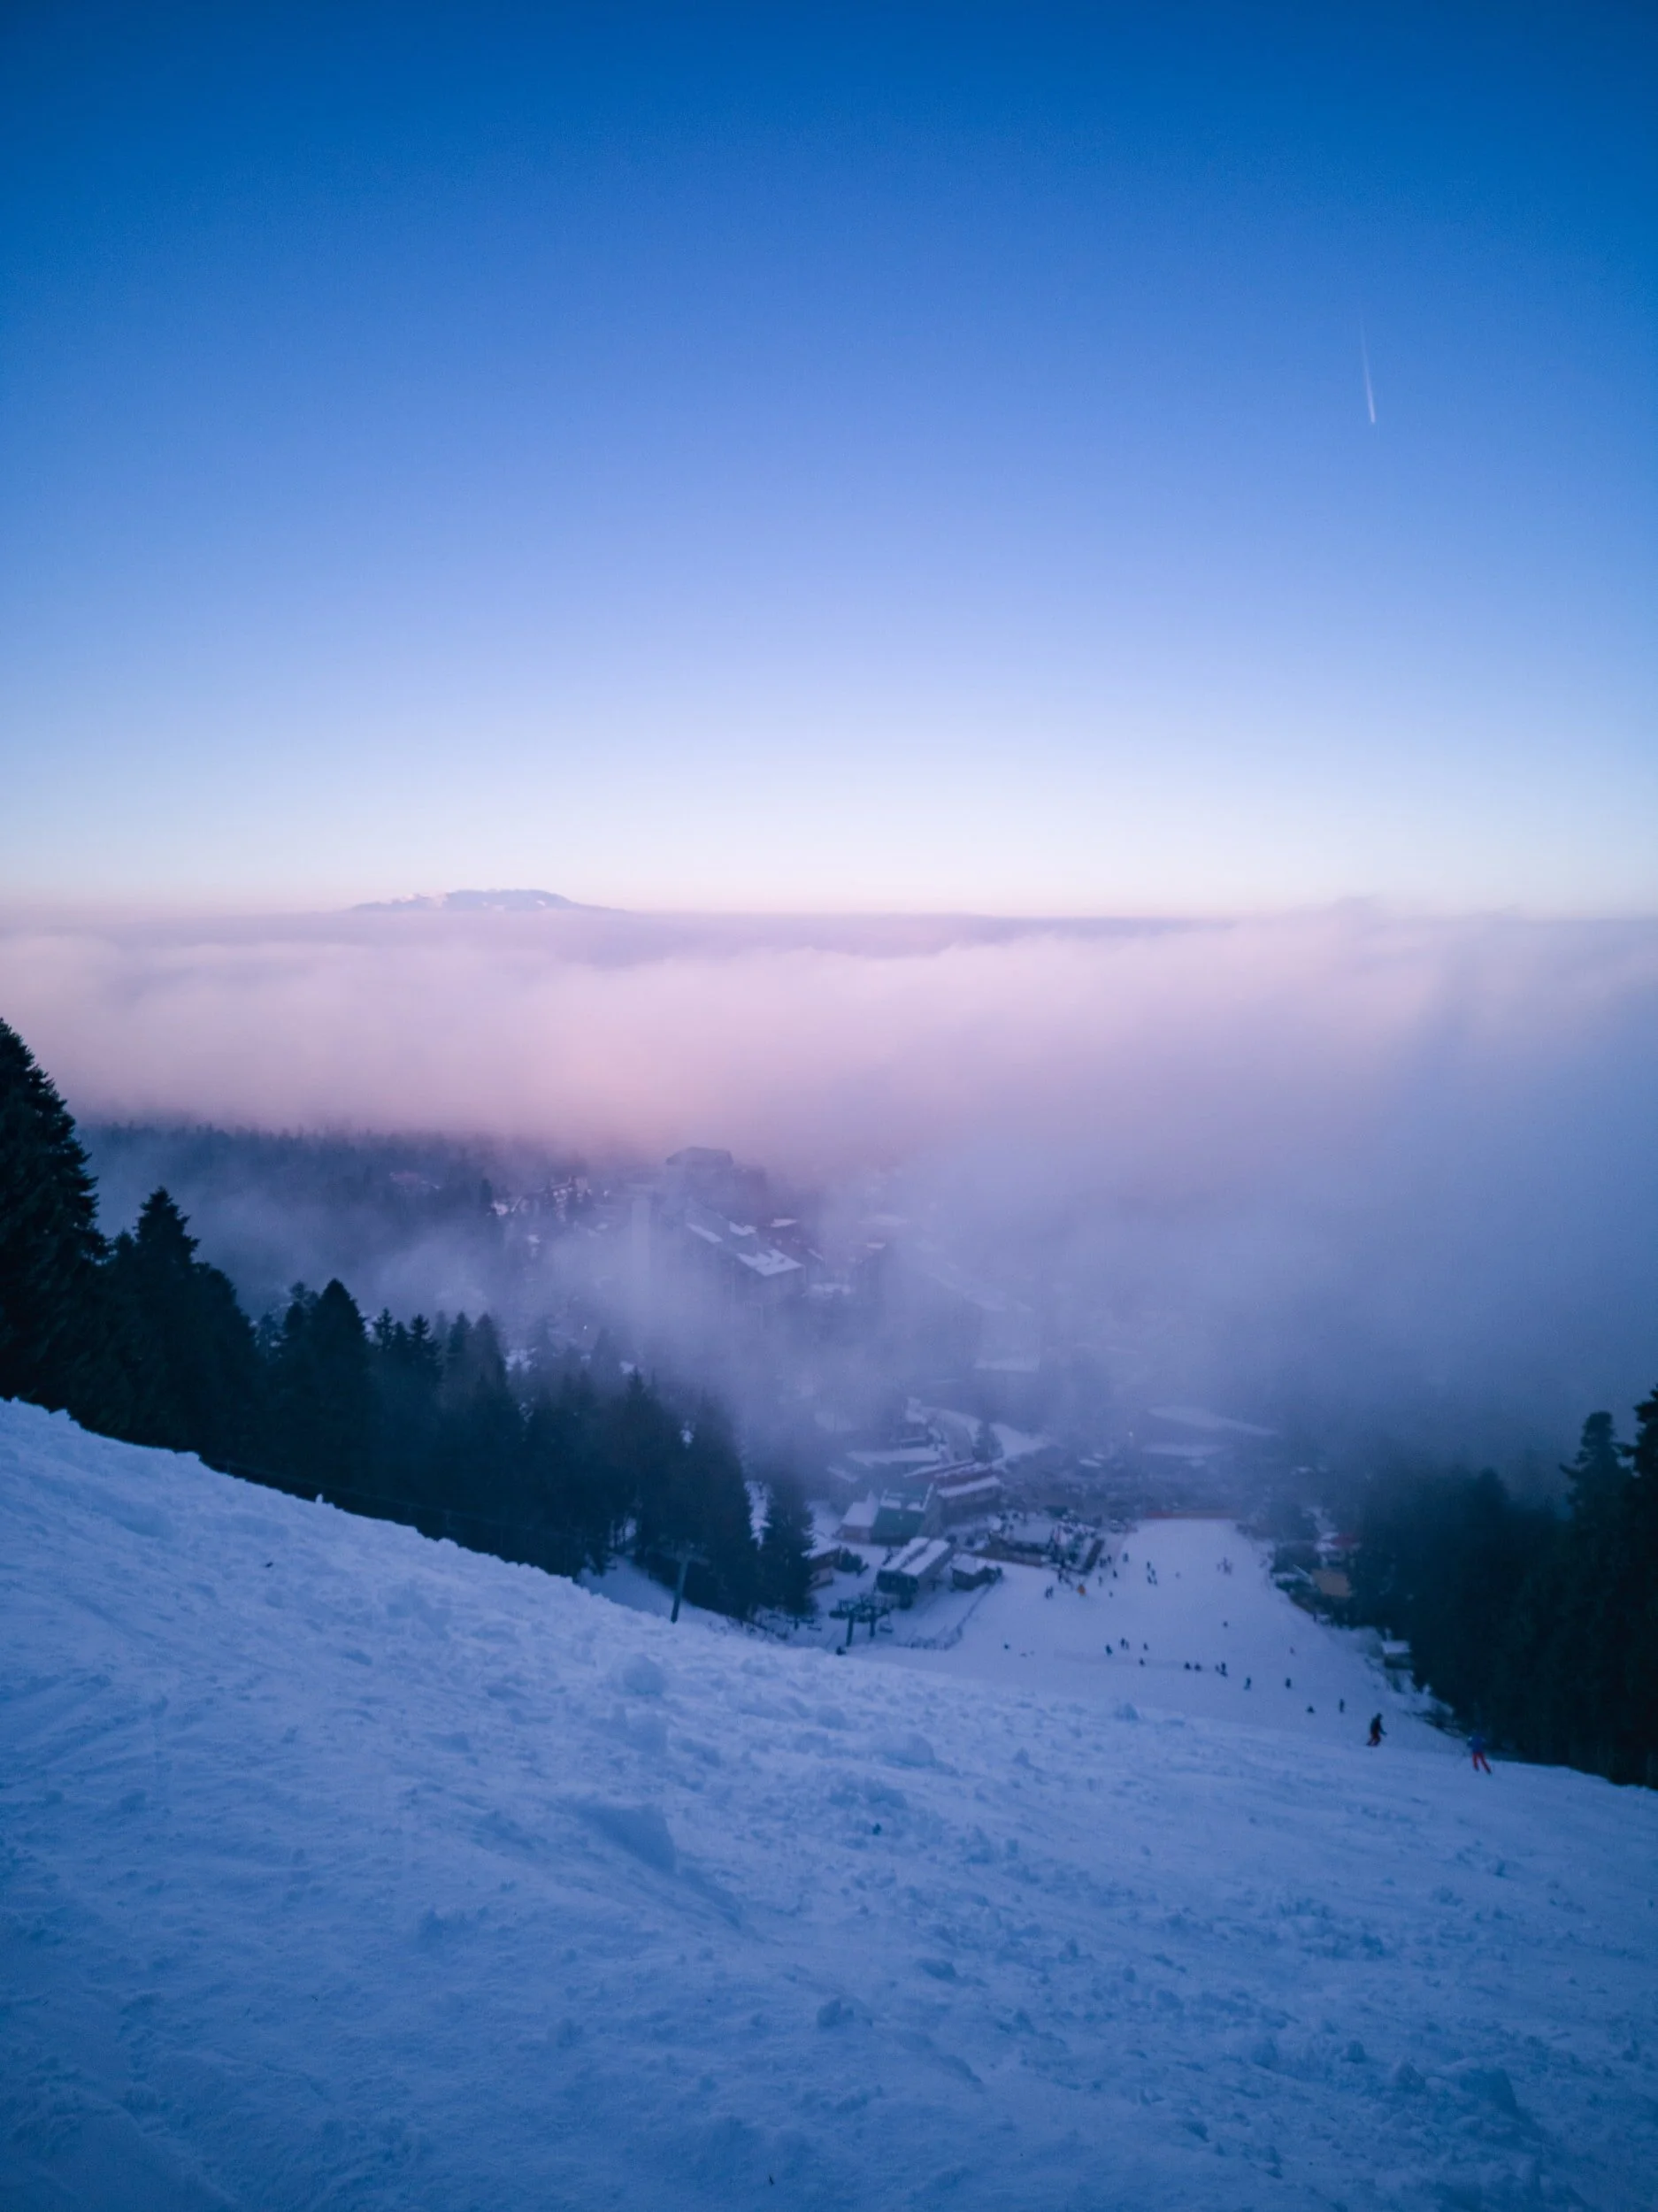
Photo Credit @antoniachekrakchieva
Did you know that Bulgaria is one of the most affordable places to ski or snowboard in Europe? As a student, my friends and I took advantage of this and booked trips to Borovets and Bansko. However, planning a ski holiday involves many considerations, such as travel, accommodation, lift passes, ski hire or carriage, ski school lessons, and apres-ski expenses. I decided to investigate how budget-friendly a snowboard holiday in Bulgaria is compared to other European destinations.
FLIGHTS
Accessing the ski resorts in Bulgaria is easiest from Sofia the countries captial. Getting to Sofia during the winter ski season from the UK is relatively easy and cost-effective with many airlines operating seasonal routes. These direct routes are available from various UK airports to Sofia, such as Ryanair, Wizz Air, and easyJet, with prices ranging from around £30-£80 depending on the time of booking and availability. You may have to consider additional baggage costs if travelling with your own skis or snowboard. However, with Bulgaria being a beginner friendly ski and snowboard destination it is likely that you will be hiring equipment when in resort.
TRANSFERS
Once you arrive at Sofia airport, the most convenient way to travel onwards to Bansko is by bus or private transfer, which takes around 2-3 hours and costs around €10-€15 per person. Alternatively, you can also rent a car and drive to Bansko, which takes around 2.5 hours and costs around €50-€70 per day. Overall, travelling from the UK to Bansko during the winter ski season is a great value-for-money option.
ACCOMMODATION
Accommodation across Bansko is varied with a range of accommodation options, from budget hostels to luxury hotels. A comfortable mid-range hotel with breakfast can cost around £20-£30 per person per night, way less than the comparable accommodation in the French or Swiss Alps. Alternatively, you could opt for an apartment or chalet, which can offer more space and flexibility. A two-bedroom apartment can cost around £200-£300 per week, which works out to be around £20-£30 per person per night. With plenty of accommodation to suit a range of budgets finding a place to sleep in Bankso doesn’t need to break the bank.
SKI PASSES
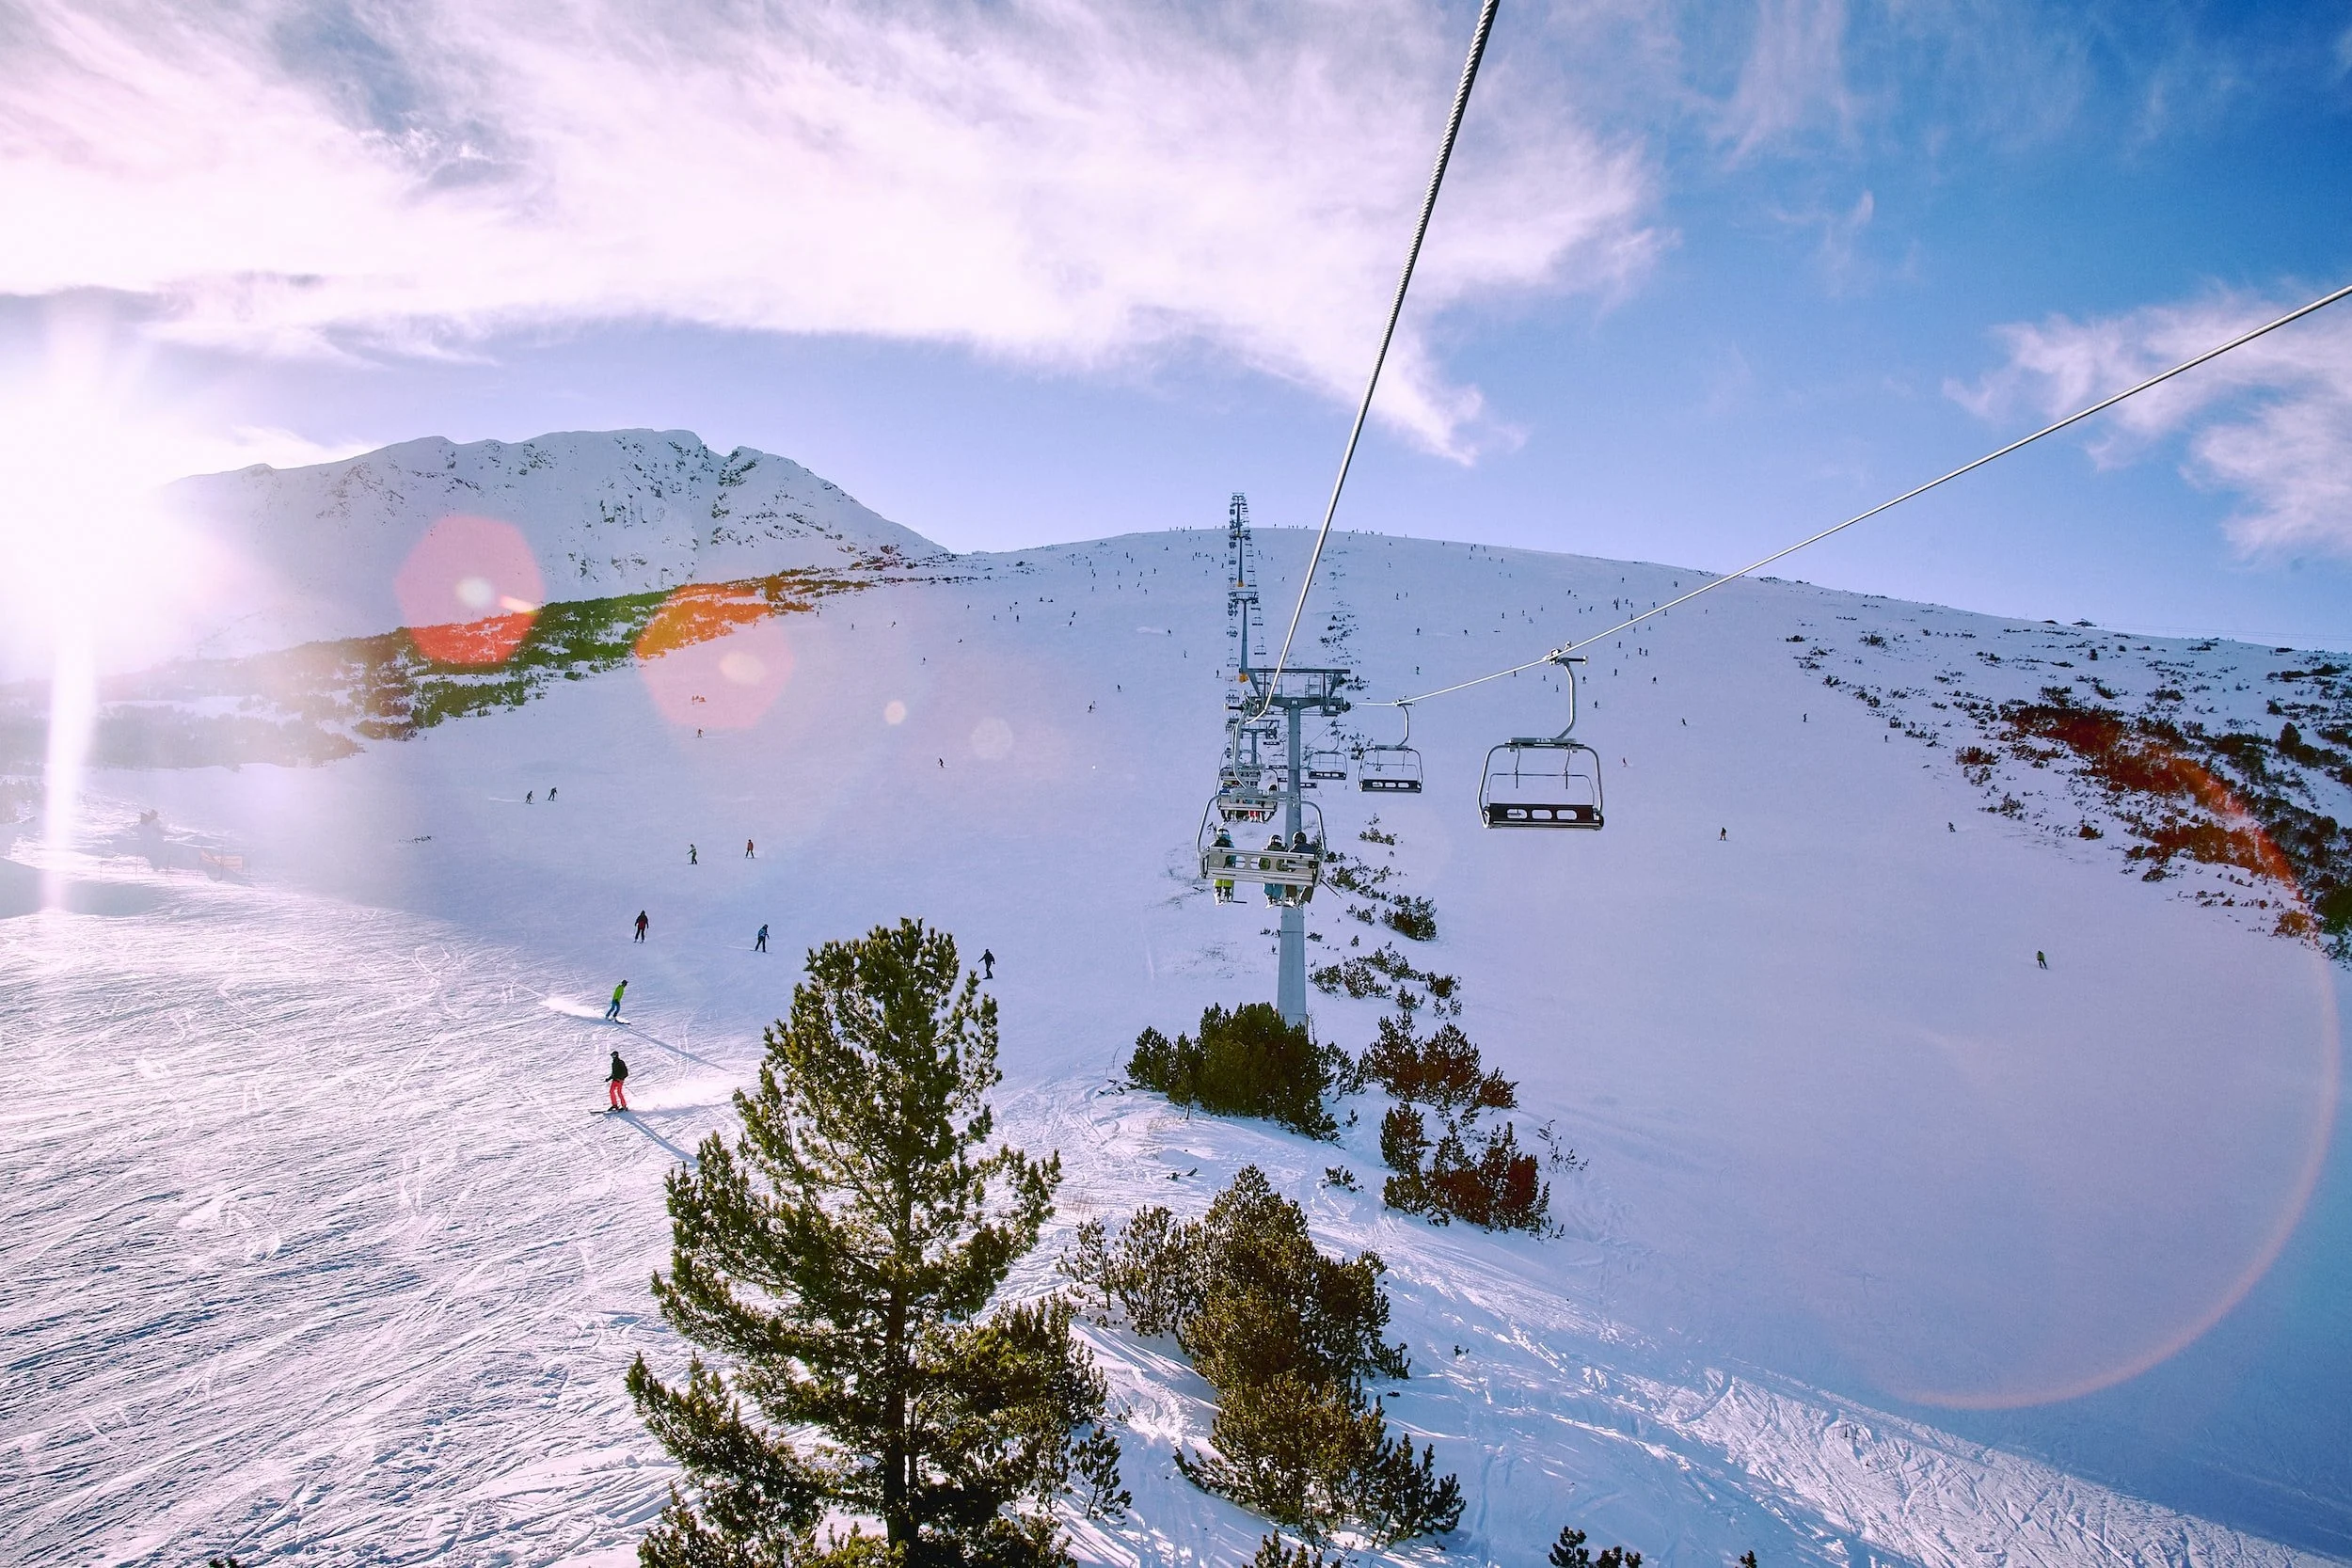
One of the main expenses of a snowboarding holiday is the ski pass. Bansko offers some of the cheapest ski passes in Europe, with a six-day pass costing around £130 per person. This pass gives you access to 70 km of pistes, 16 lifts and a snow park.
LESSONS
If you are a beginner or looking to improve your snowboarding skills, you may want to consider taking lessons. Bansko has several ski schools that offer group and private lessons. Group lessons cost around £90 for six days, while private lessons start from around £30 per hour.
FOOD
Bulgaria is known for its delicious and affordable cuisine. In Bansko, you can expect to pay around £5-£10 for a meal in a local restaurant. If you are on a tight budget, there are also plenty of fast food options and supermarkets where you can buy food for a fraction of the price.
OVERALL BREAKDOWN
To summarise, here is a breakdown of the cost of a snowboard holiday to Bansko:
Flights: £50 Accommodation: £20-£30 per person per night Ski pass: £130 Lessons: £90 for group lessons, £30 per hour for private lessons Food: £5-£10 per meal
Assuming a seven-night stay with six days of skiing and group lessons, the total cost for a snowboard holiday to Bansko would be around £450-£550 per person. Of course, these prices are subject to change depending on the time of year, the level of accommodation you choose and other factors, but they give you a good idea of how cheap a snowboard holiday to Bulgaria can be.
In conclusion, if you are looking for an affordable snowboarding holiday that offers great slopes, stunning scenery and delicious food, Bulgaria is a great option. Bansko in particular is a charming resort that caters to snowboarders of all levels, and with prices this low, you can enjoy a fantastic winter holiday without breaking the bank



Raise Ski Resort Guide
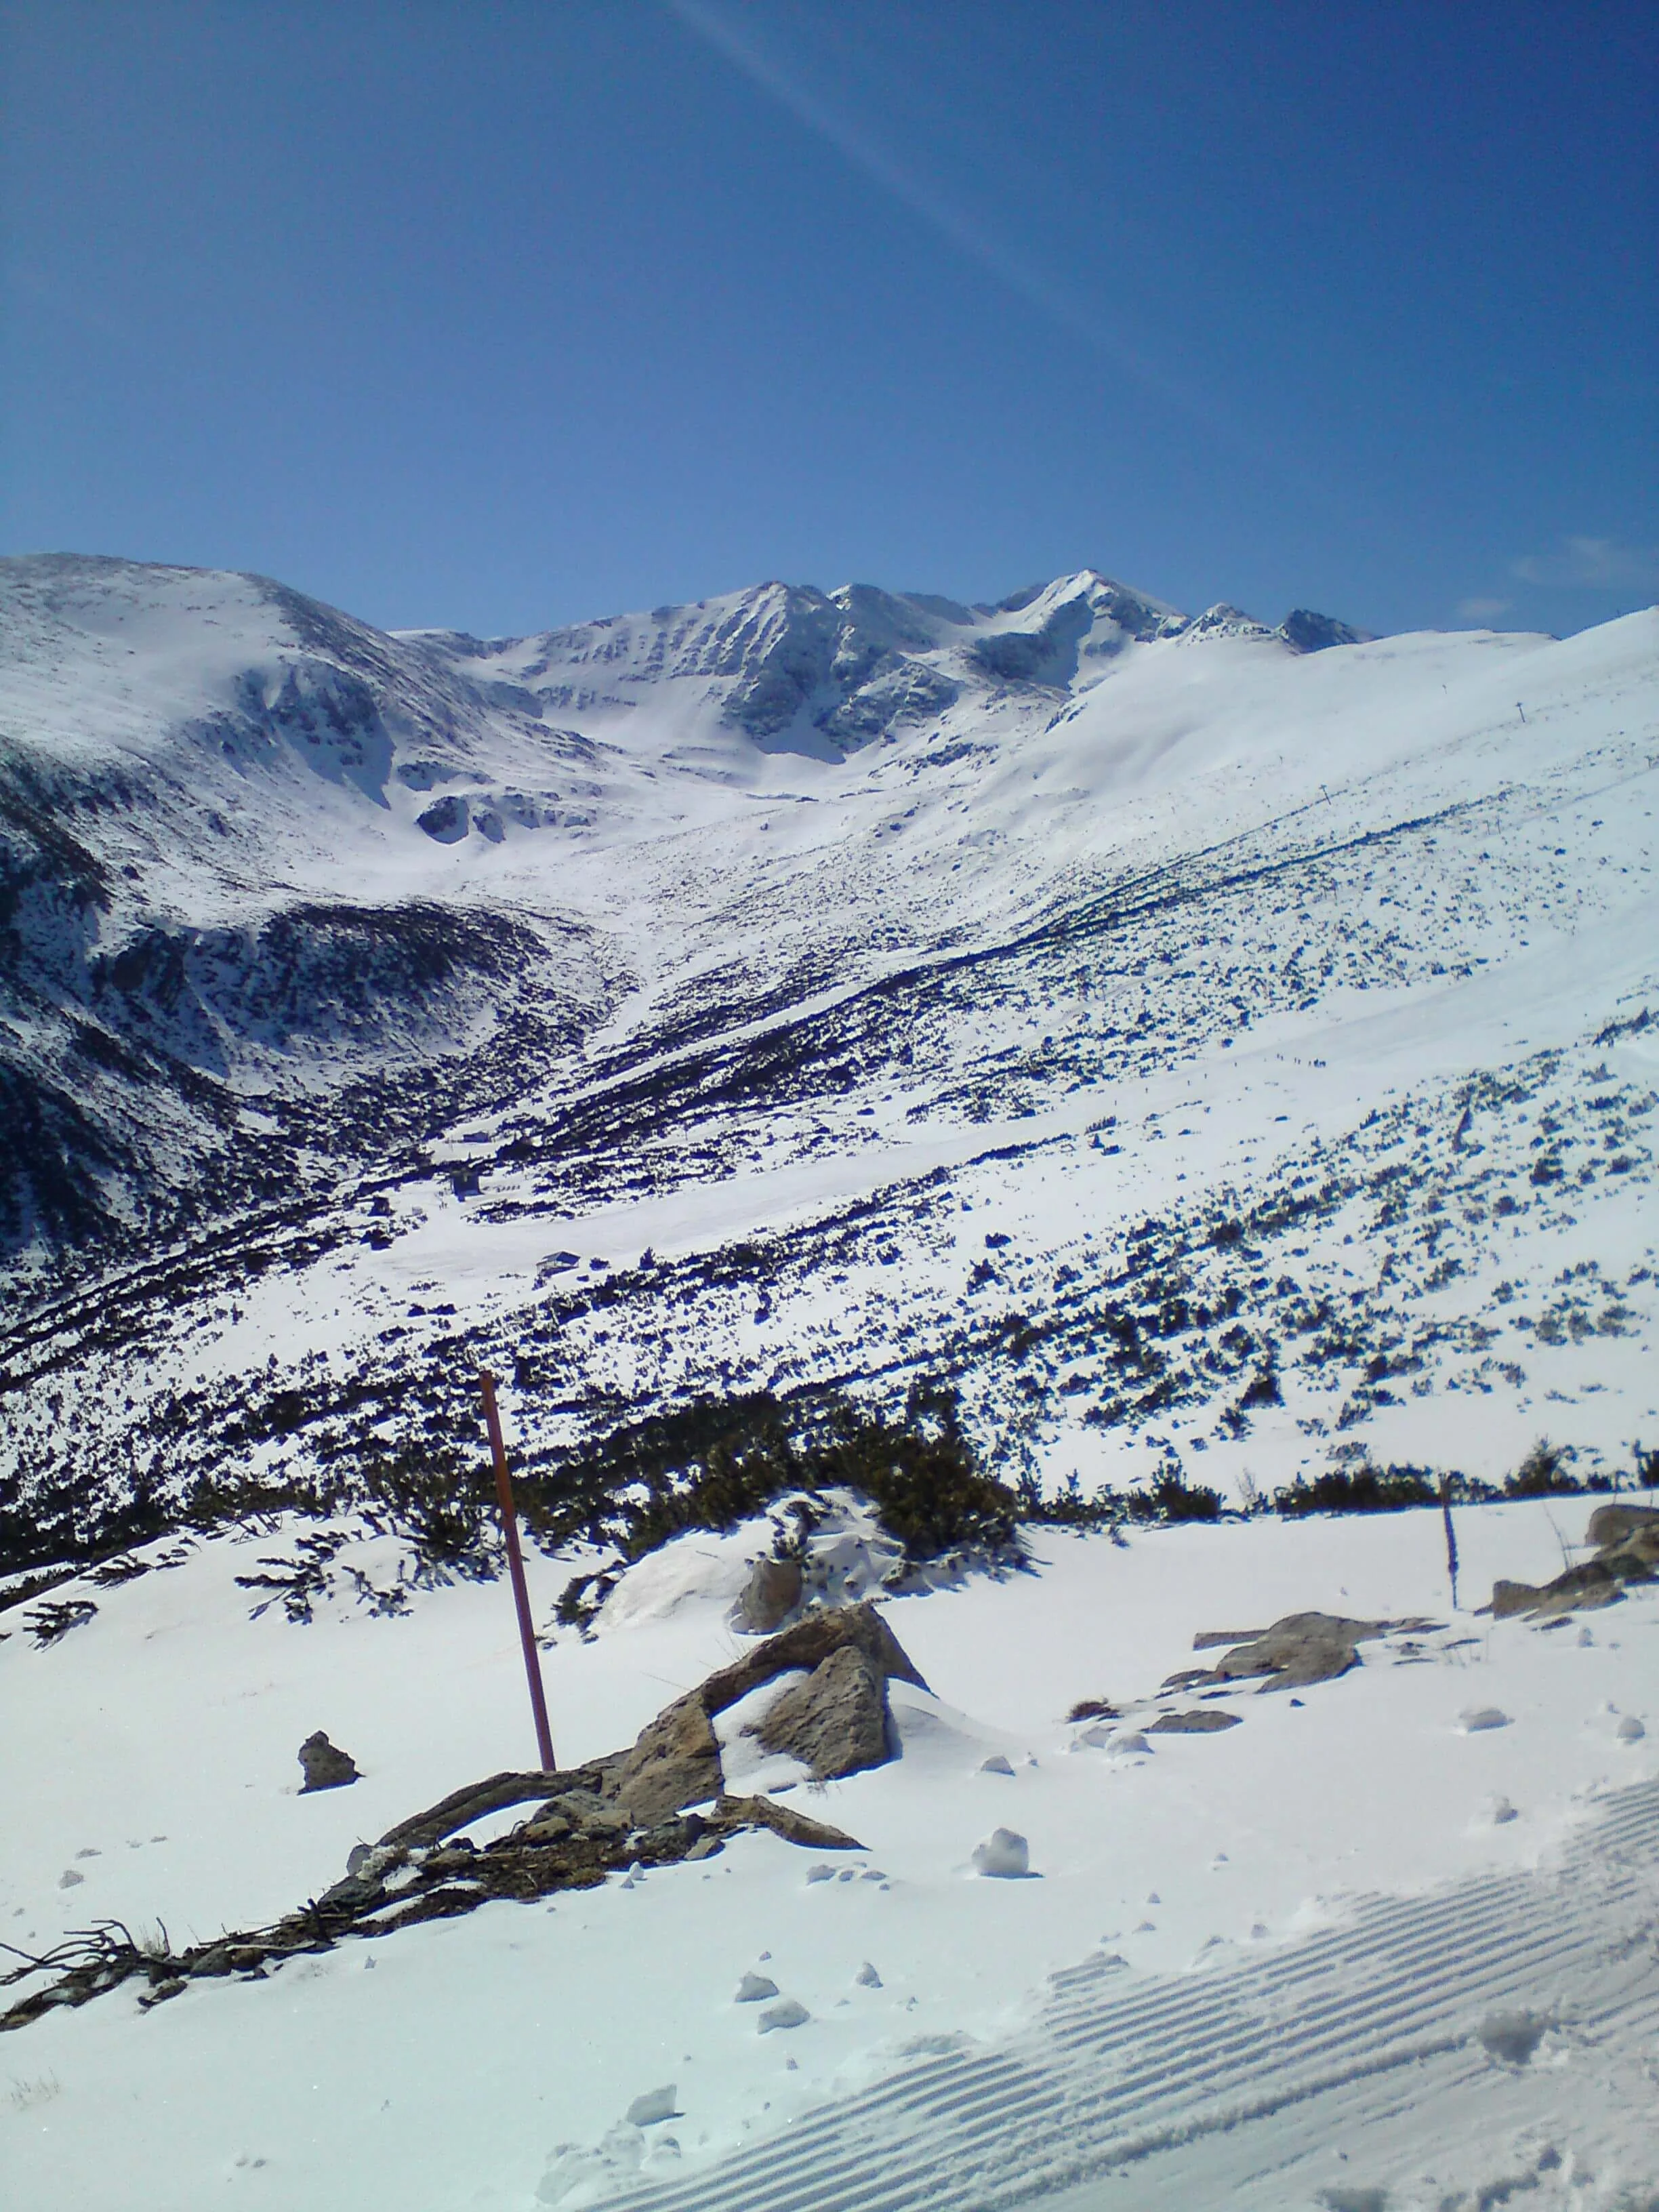
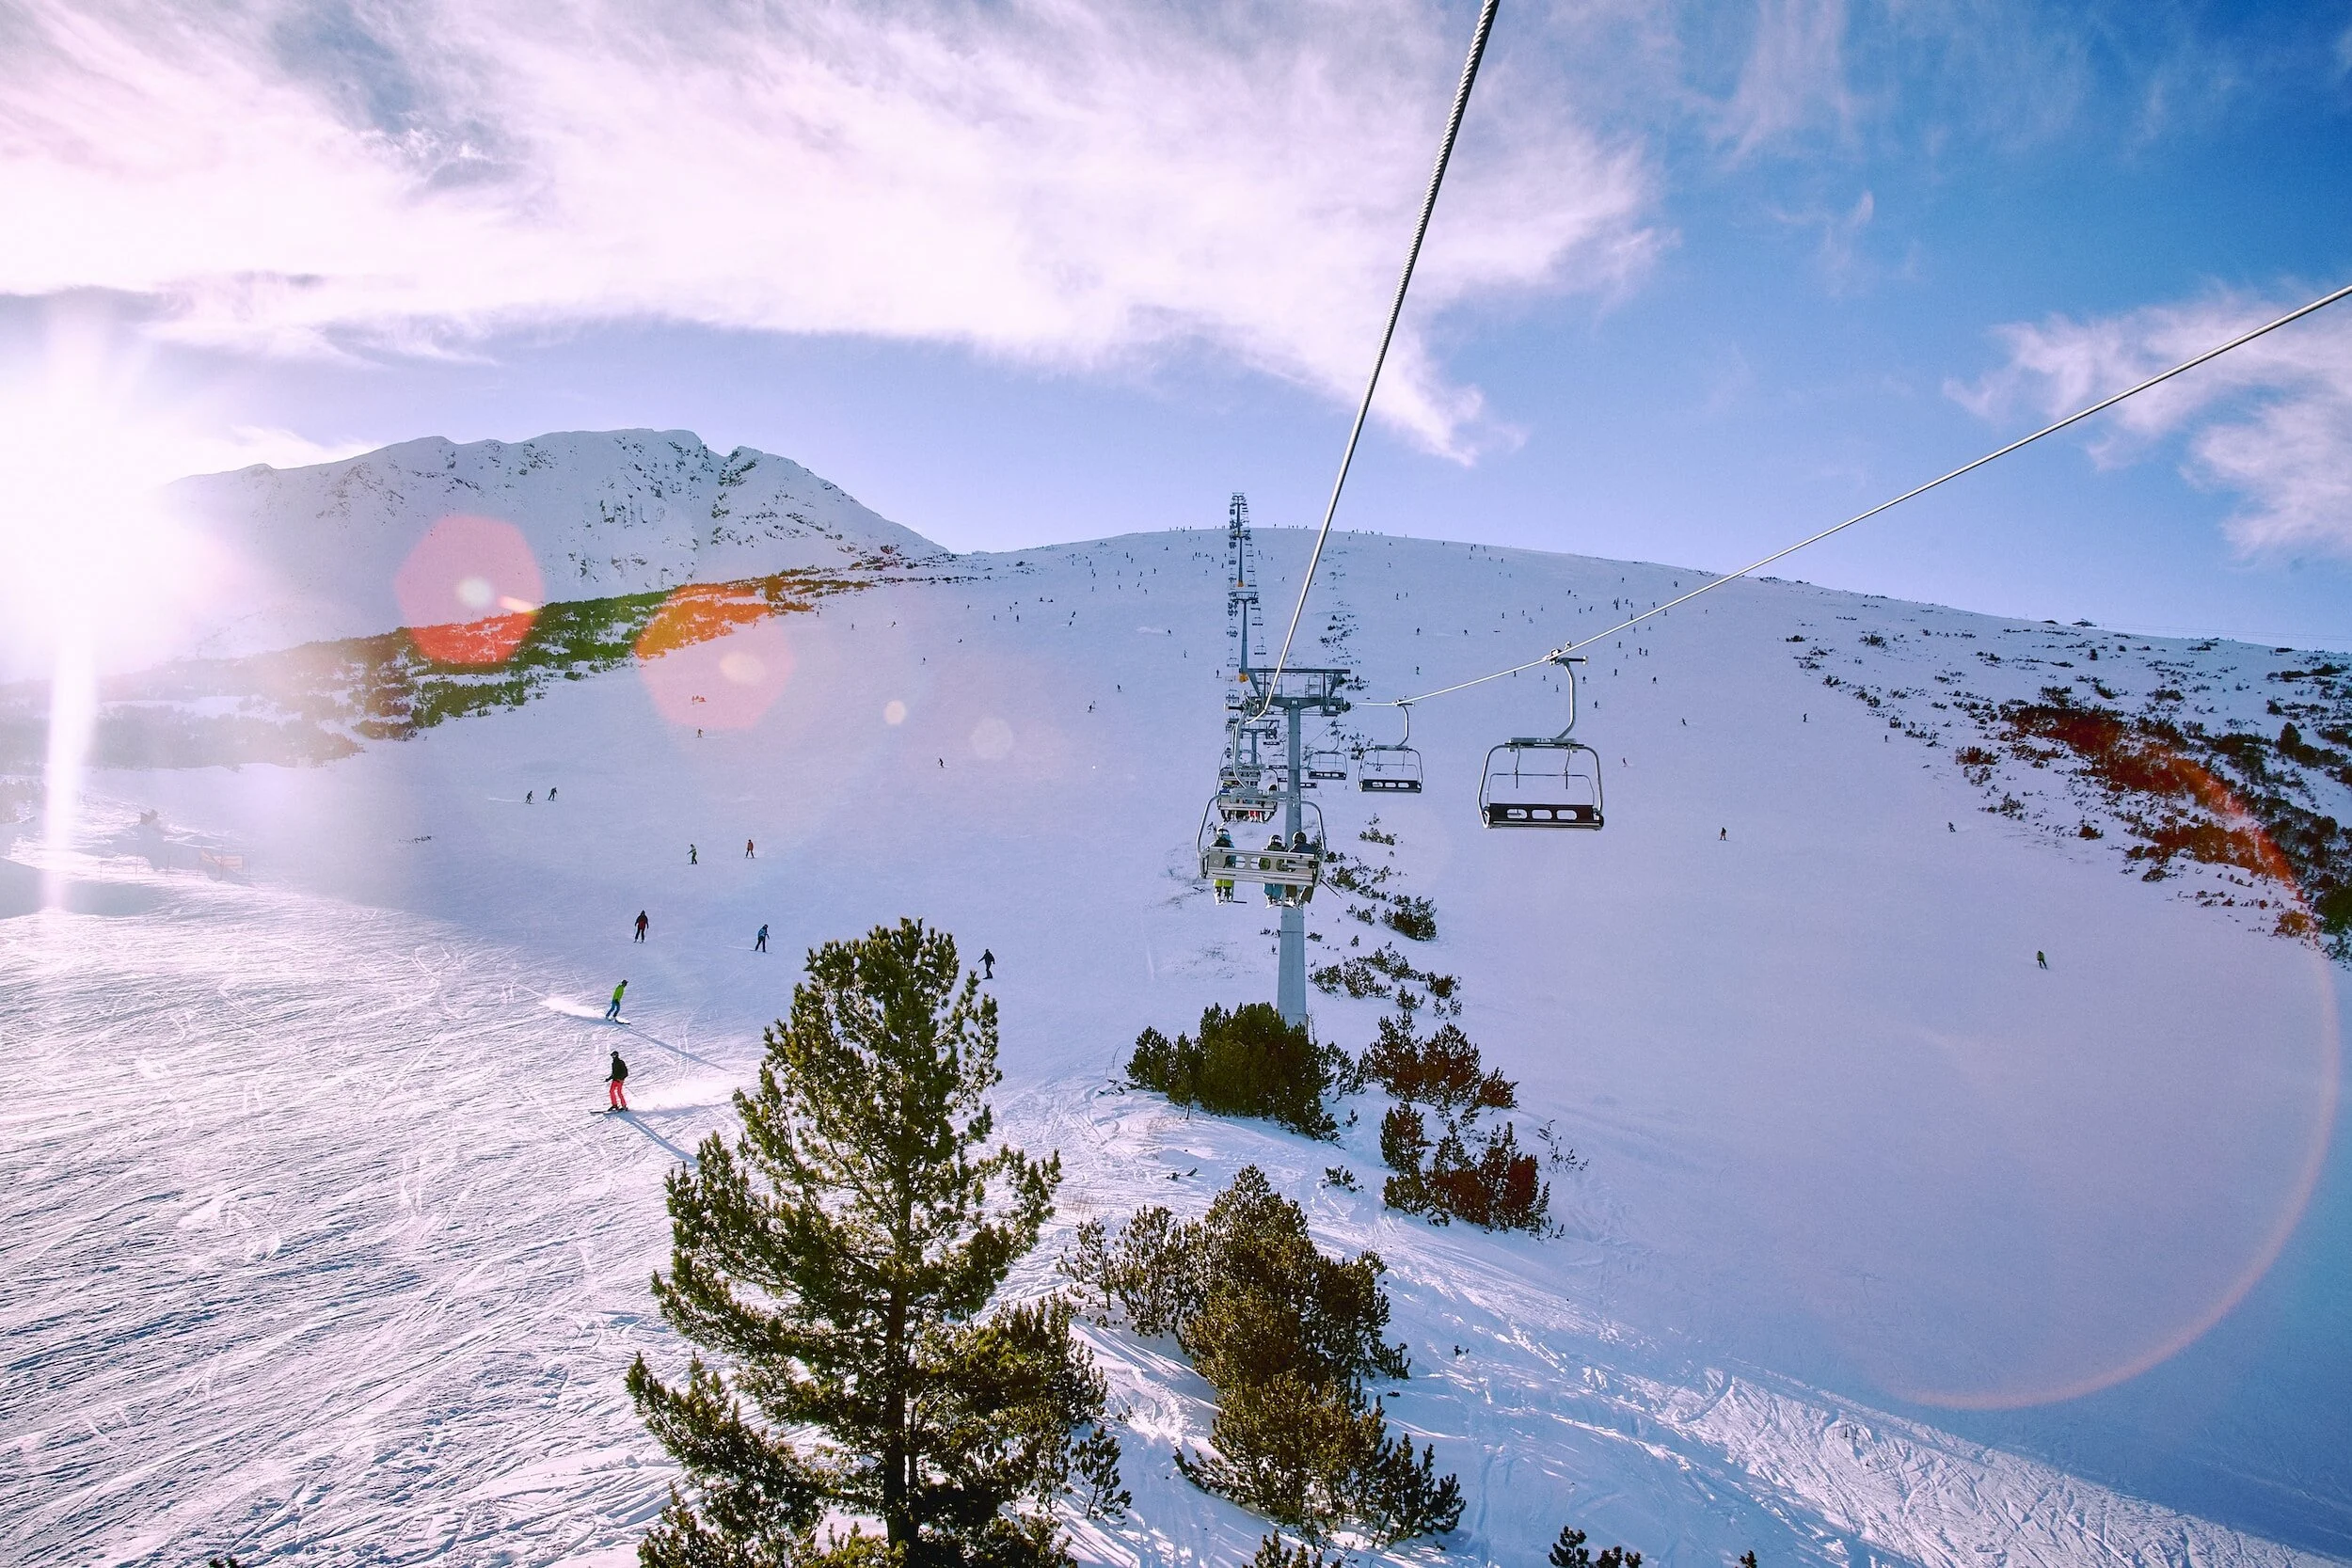
When I first heard about Raise I thought it was a joke. Being from the south of England and growing up wishing for just one white Christmas I just hadn’t considered that further north the conditions would be in place to run a ski tow. Older and wiser Raise, now my local ski resort, is the home to the Lake District Ski Club who operate the tow at Raise.
RAISE FIRST IMPRESSIONS
The ski tow at Raise is a good one hour walk from the car park. I arrived on the Glennridding side and parked up by YHA Helvellyn. From the moment I parked up I began to get a feel for Raise. Welcomed by another enthusiastic skier, I was getting my first impressions of the community feel. We began the walk in the sun with snow a distant sight, but gradually ascended towards the snow line. It dawned on me that there will be no apres crowd here. Everyone at Raise is there for the skiing, this left me even more excited to meet other like minded souls.
As we reached the snow line, the members hut and the tow lift became visible and everything was feeling more real!
RAISE SKI AREA
The ski area at Raise is small but offers 9 ungroomed runs. Snow fences are used to trap the majority of the snow and ensure that the Cumbria’s windy conditions don’t spoil all the fun! The ski area offers opportunity to explore further with backcountry routes possible on The Dodds and Helvellyn. The longest run at Raise is nearly a mile long, which pails in comparison to the 16km offering at Bansko but I know where I had more fun.
Two runs of note are Savages Gully and Presidents Run. Savages Gully was the original run at Raise dating back to the use of a tractor tow whereas Presidents Run is the easy route back down to the base, named after a former ski club president who wasn’t very capable.
The views from the ski area are impressive with views across Ullswater and Thirlmere. From the top of Raise you can see across to Helvellyn which is impressive covered in snow.
LIFTS AT RAISE
There is one lift at Raise ski resort. A simple button tow lift that runs 360m up to the top of Raise. The Lake District Ski Club was founded in 1936 and has run a tow maintained by the club members ever since. The lift operates around 60 days during a good winter with maintenance meetings taking place during the summer to ensure everything is in working condition.
RAISE SNOW RECORD
Unlike skiing and snowboarding in the Alps the annual snowfall at Raise is unlikely to be massive. But a little bit of snow can offer up some fantastic conditions. Depending on the year the amount of days Raise is open can vary greatly but good years offer the potential for 40-60 days of lift assisted snowboarding in the Lakes!
SEASON DATES
Although never consistent it is possible for the season to start at Raise in November. There will be periods throughout the winter without enough snow to run but as the video above shows… good years can offer snow in May!
RAISE LIFT TICKETS
MEMBER LIFT TICKETS
Member season passes are £50 and allow for unlimited use of the lift tow on Raise.
DAY PASSES
A day of skiing at Raise will cost £30 for non members although depending on conditions and time of arrival discounts are offered.
TRAVEL TO RAISE
WHERE IS RAISE?
The easiest route up to Raise is from the village of Glenridding. There is a car park at the end of a long road between Glenridding and the YHA Helvellyn. This road is more gravel then road and when covered in snow would require winter tyres and snow chains for non 4x4 vehicles. The car park is reserved for hostel guests and ski club members so if you are neither of these things you will need to walk the track from Glenridding.
HOW TO GET TO RAISE
Getting to Raise will require a one hour walk up hill to the tow. The route follows a winding track up to raise. You should be well equipped with correct footwear and if you can carry your ski’s/board on a rucksack you will be happier. I walked up day one in snowboard boots which was fine, but day two I opted for walking shoes and was much more comfortable.
Depending on the amount of snow it is possible to skin up from the snow line. If you have touring gear this will make your ascent much quicker.
RAISE PROS
Ski resort in England
Really nice community run ski resort
Ski all winter as a member for £50
Spectacular setting with awesome views of the Lake District Fells
RAISE CONS
Unreliable snow
Not everyone will appreciate the long walk up to the ski tow






Steel Knotts | Wainwright's Far Eastern Fells
Steel Knotts is one of the quieter, more compact fells tucked into the Far Eastern Fells of the English Lake District, sitting between Ullswater and Haweswater. At 432 metres (1,417 ft), it lacks the drama of the higher summits, but rewards walkers with unexpectedly fine ridge walking, interesting rocky features and clear views over Ullswater, Martindale and the Helvellyn range. Its position makes it a useful addition to longer walks — commonly paired with Hallin Fell, Loadpot Hill or as part of a circuit from Patterdale — yet it also works well as a short, sharp outing from the Ullswater shores.

Steel Knotts Summit Views
STEEL KNOTTS INFORMATION
Steel Knotts sits on the eastern flank of the Far Eastern Fells. Although longer walks to Steel Knotts can be accessed by linking the Ullswater Way from Glenridding or Patterdale, I have always accessed this diminutive fell from Howtown or Martindale.
Steel Knotts is a compact, craggy fell with a distinctive northern face that drops steeply toward the valley. The summit area is rocky underfoot in places, interspersed with grassy sections and low, wind-sheared heather. The fell feels more intimate than the higher central Lake District peaks — its ridges and rock outcrops give strong character and provide good scrambling on steeper sections for those comfortable with hands-on moves. Paths are well trodden but can be narrow and muddy after rain.
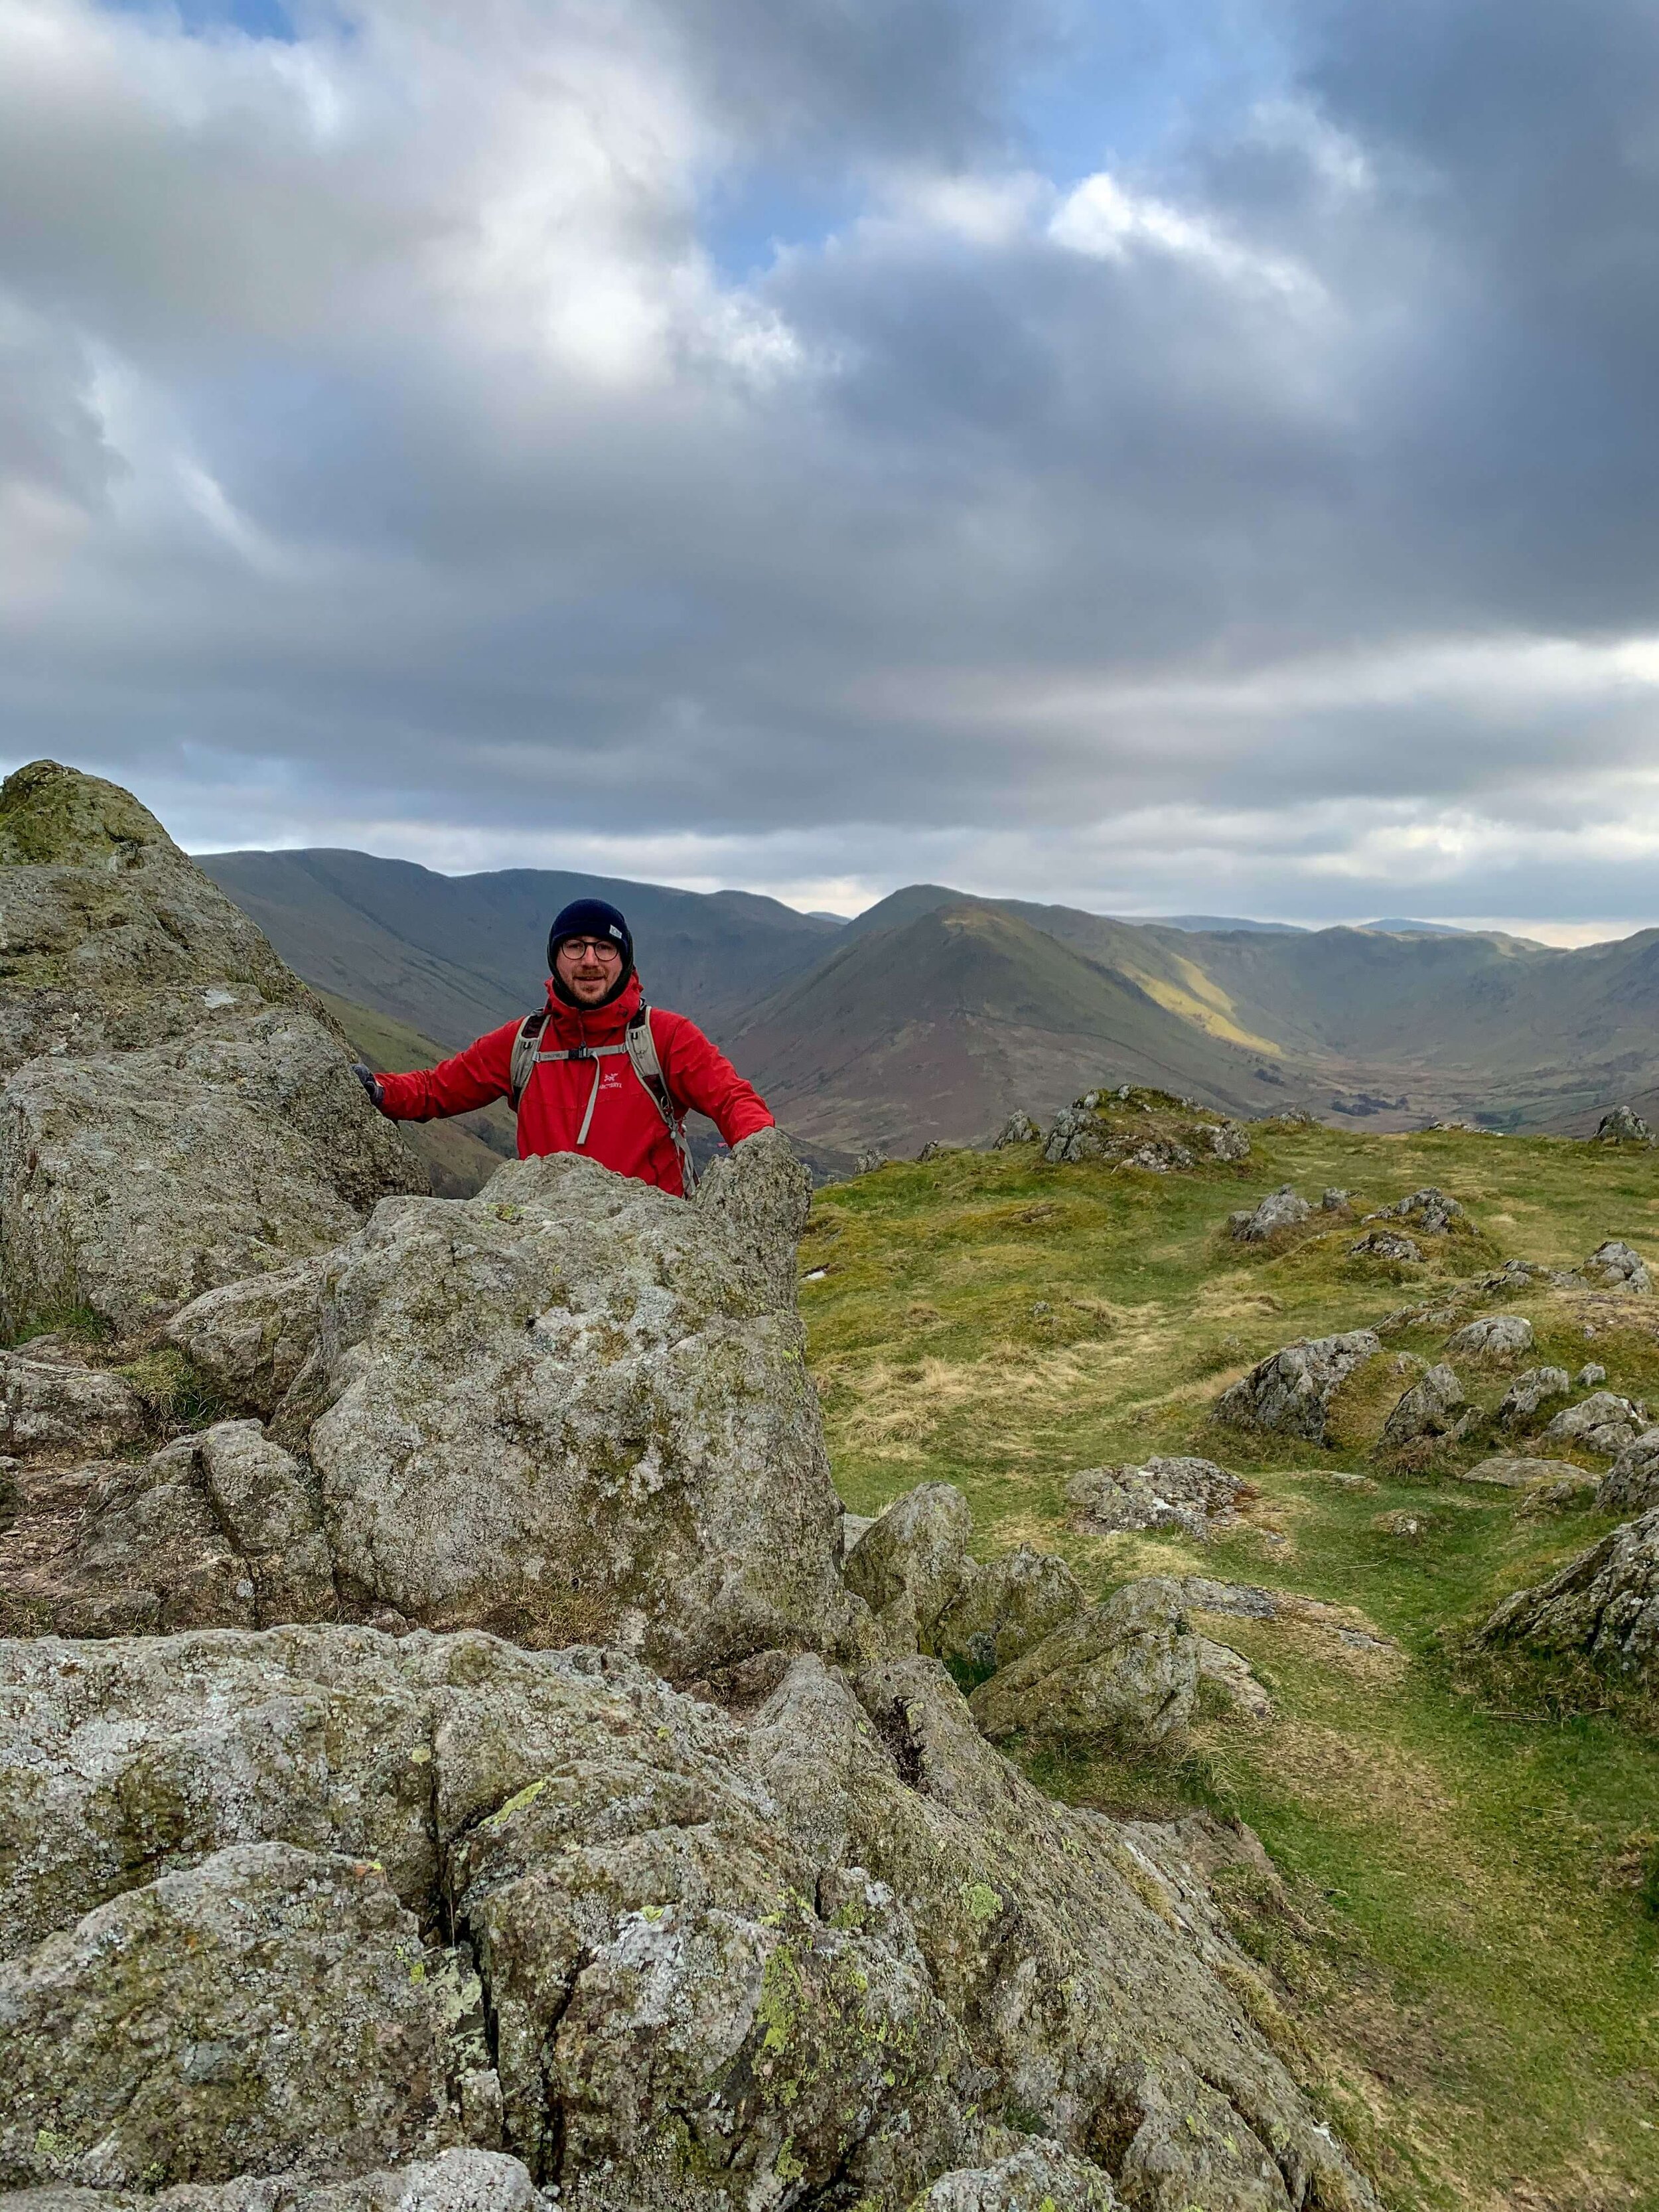
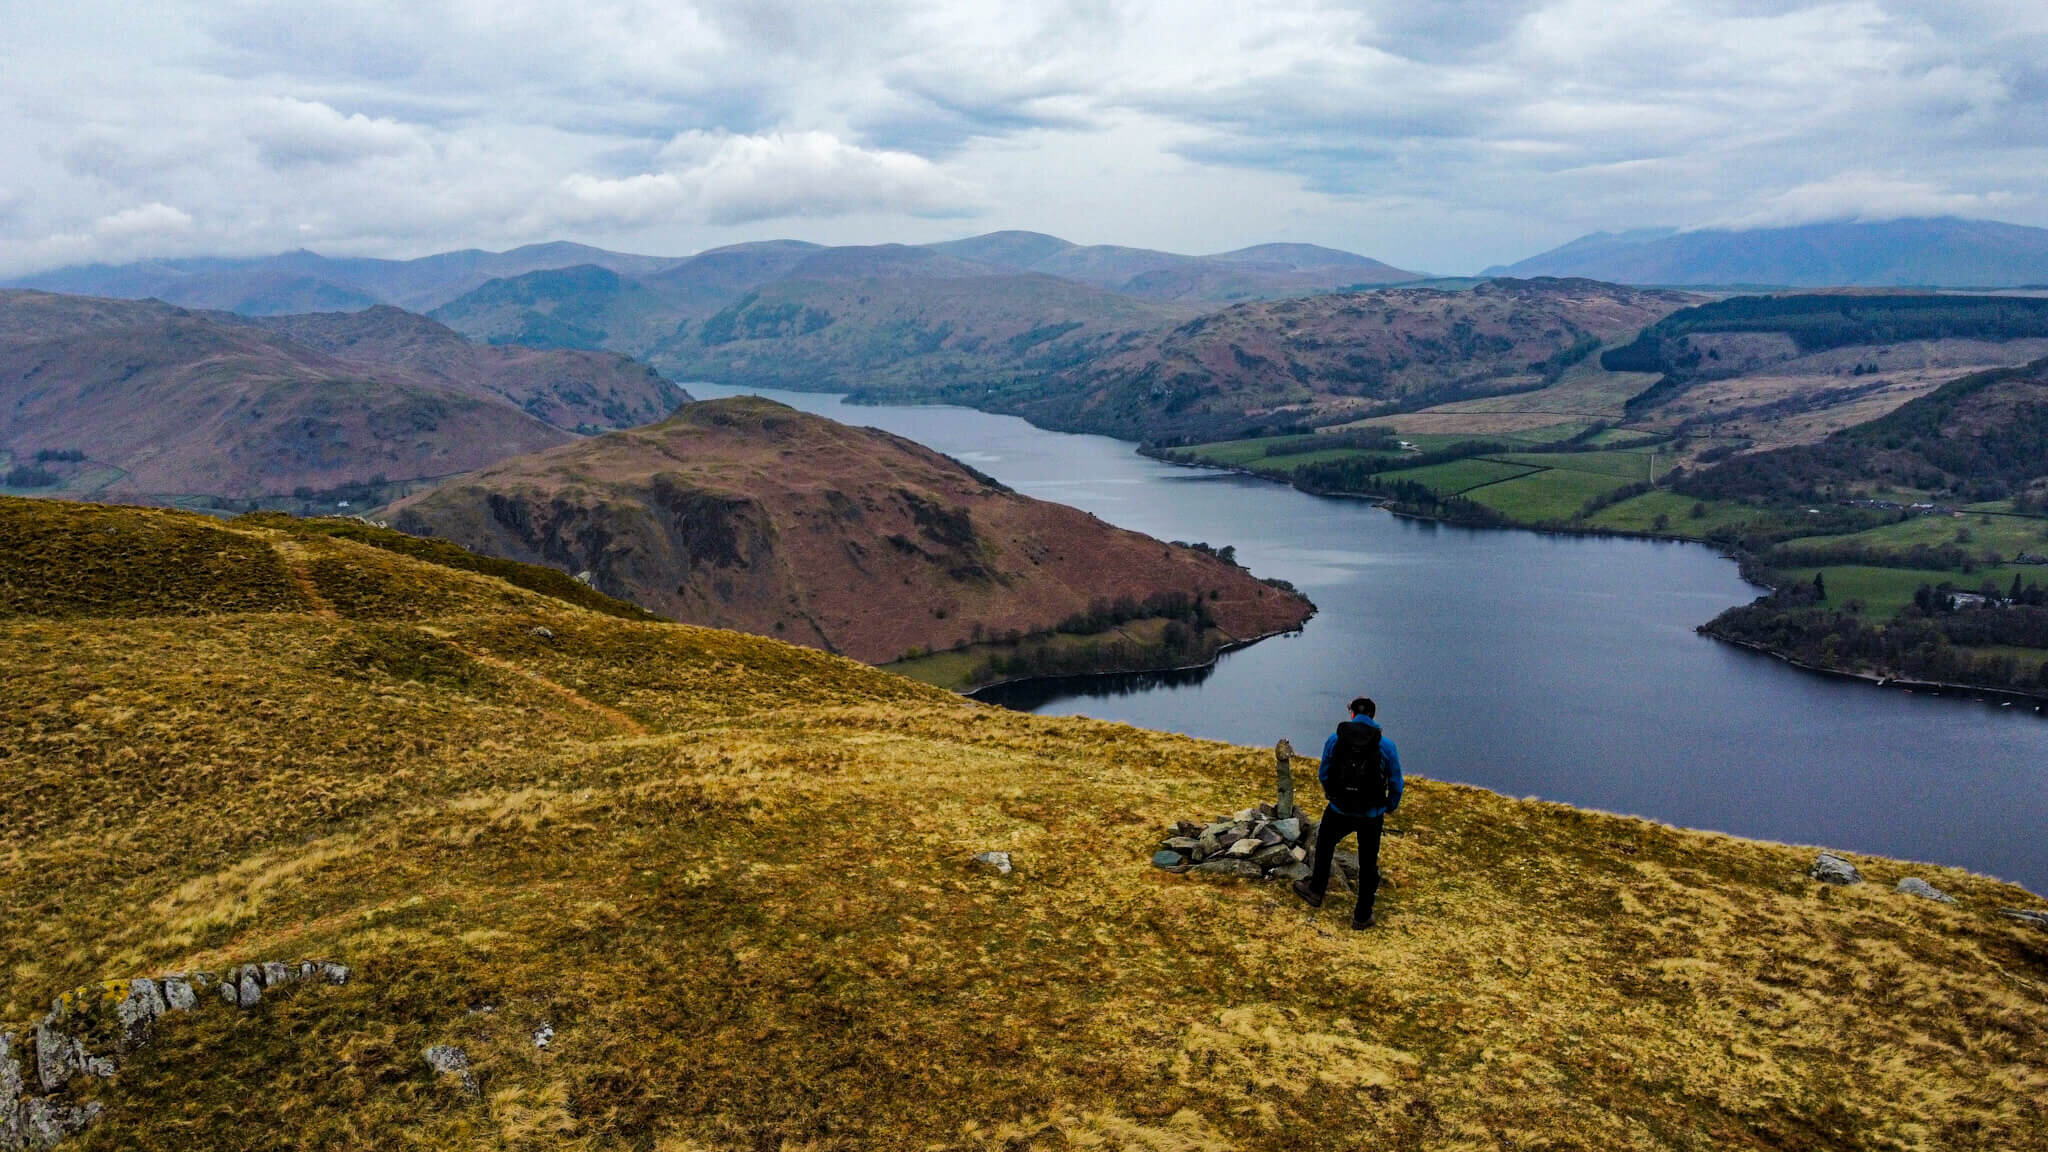
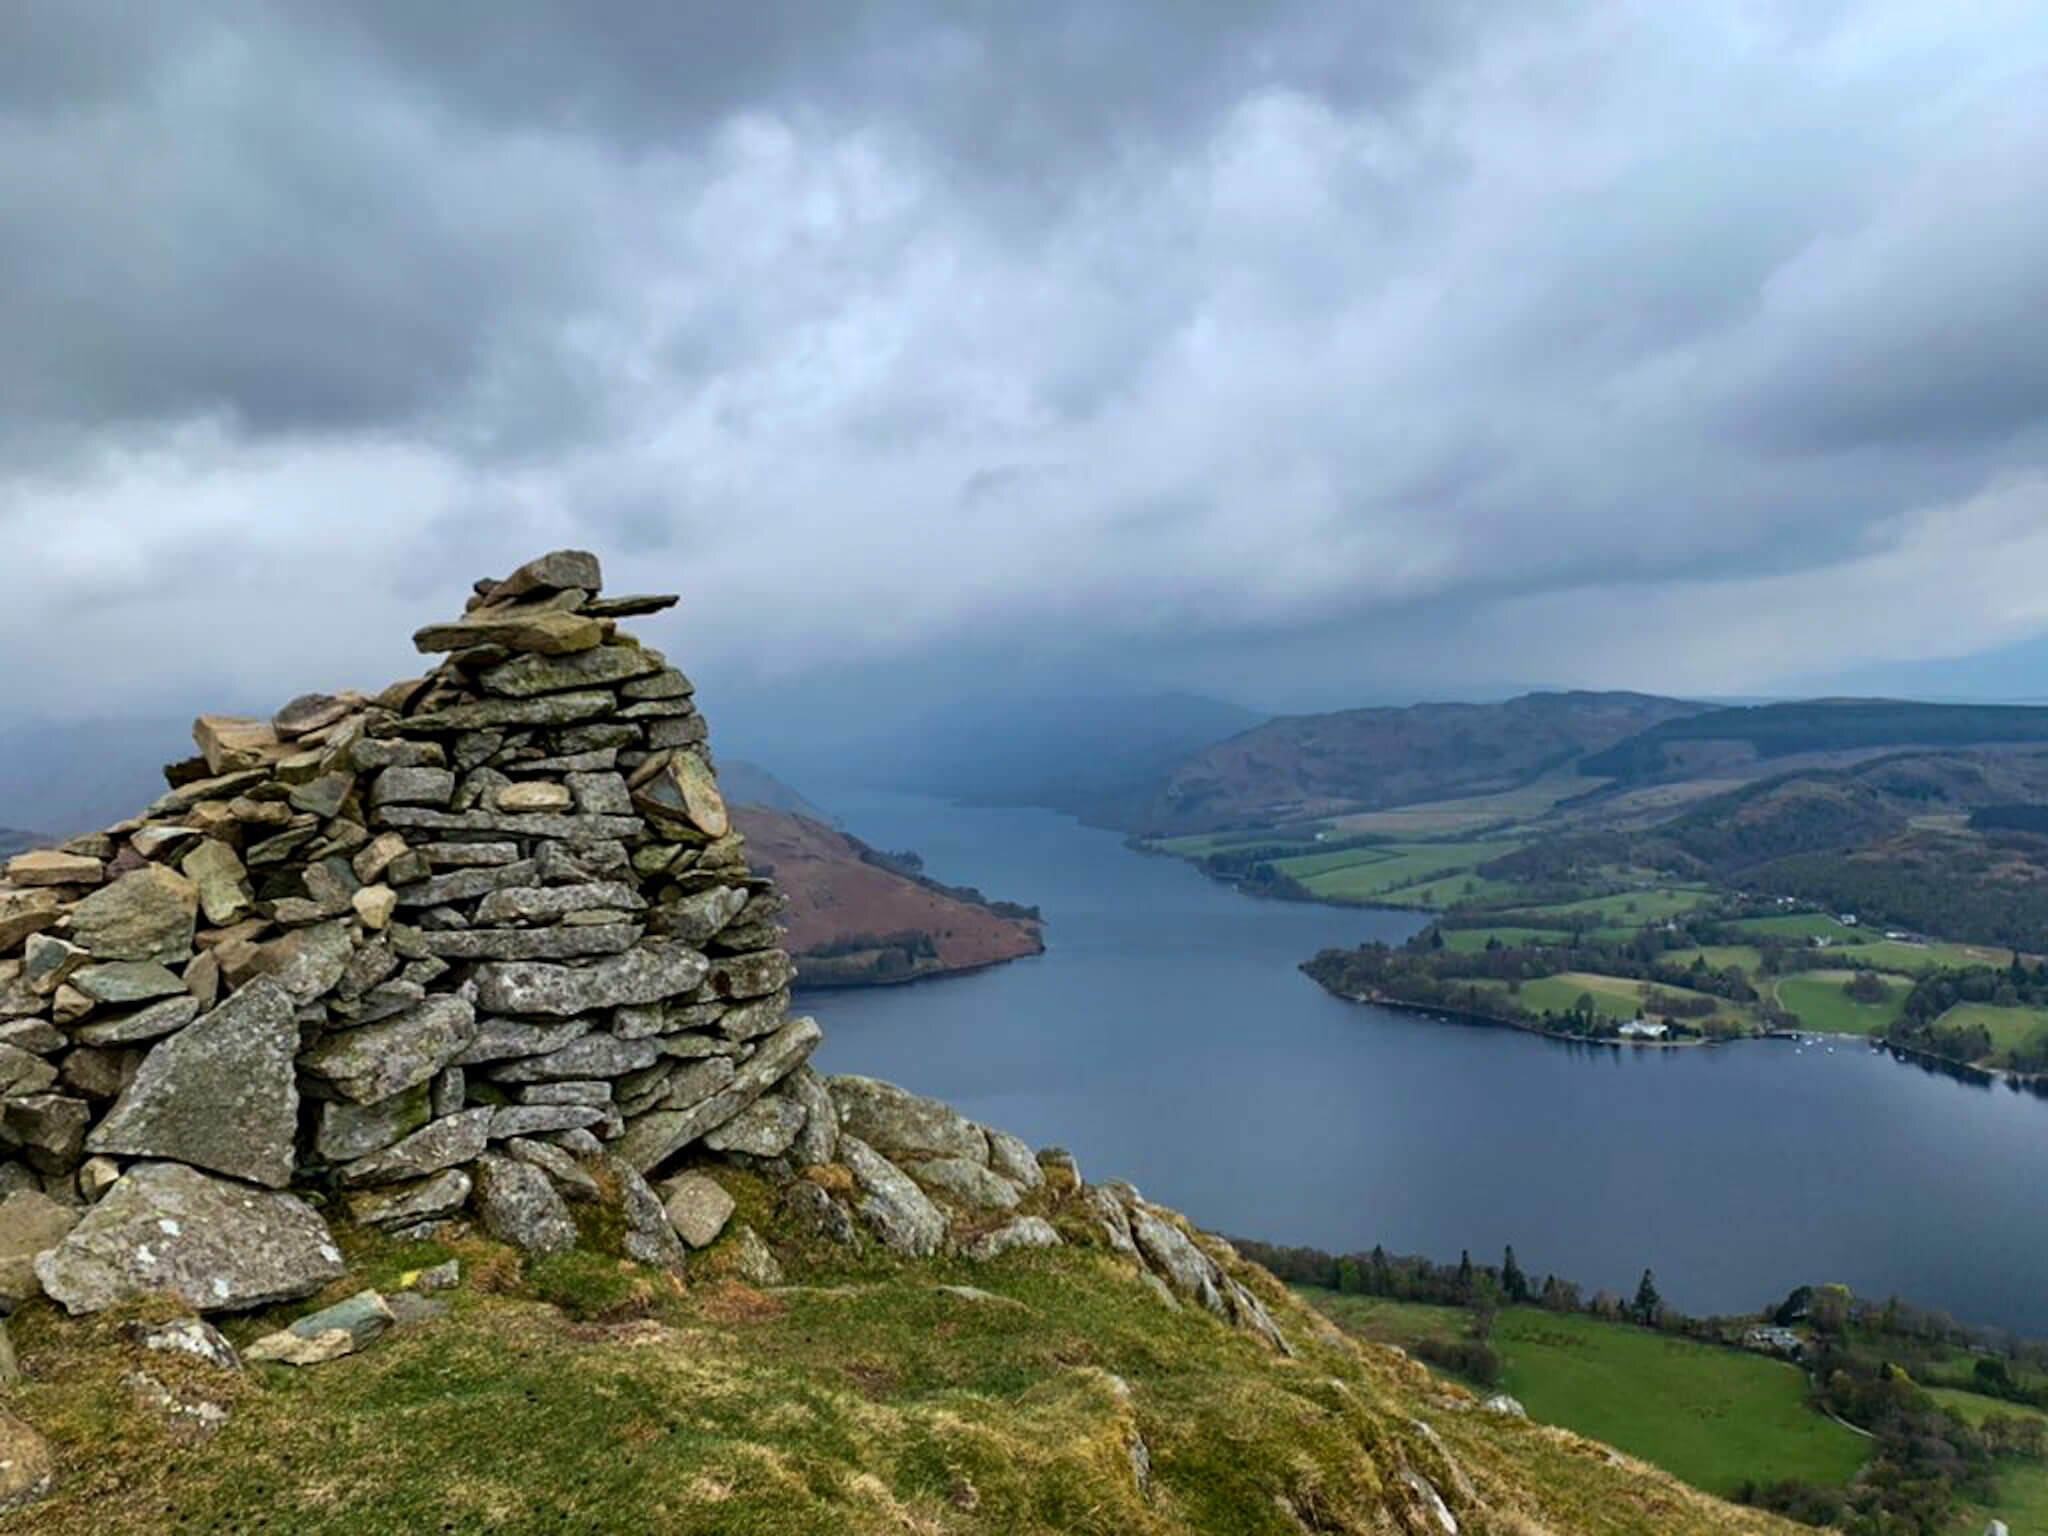
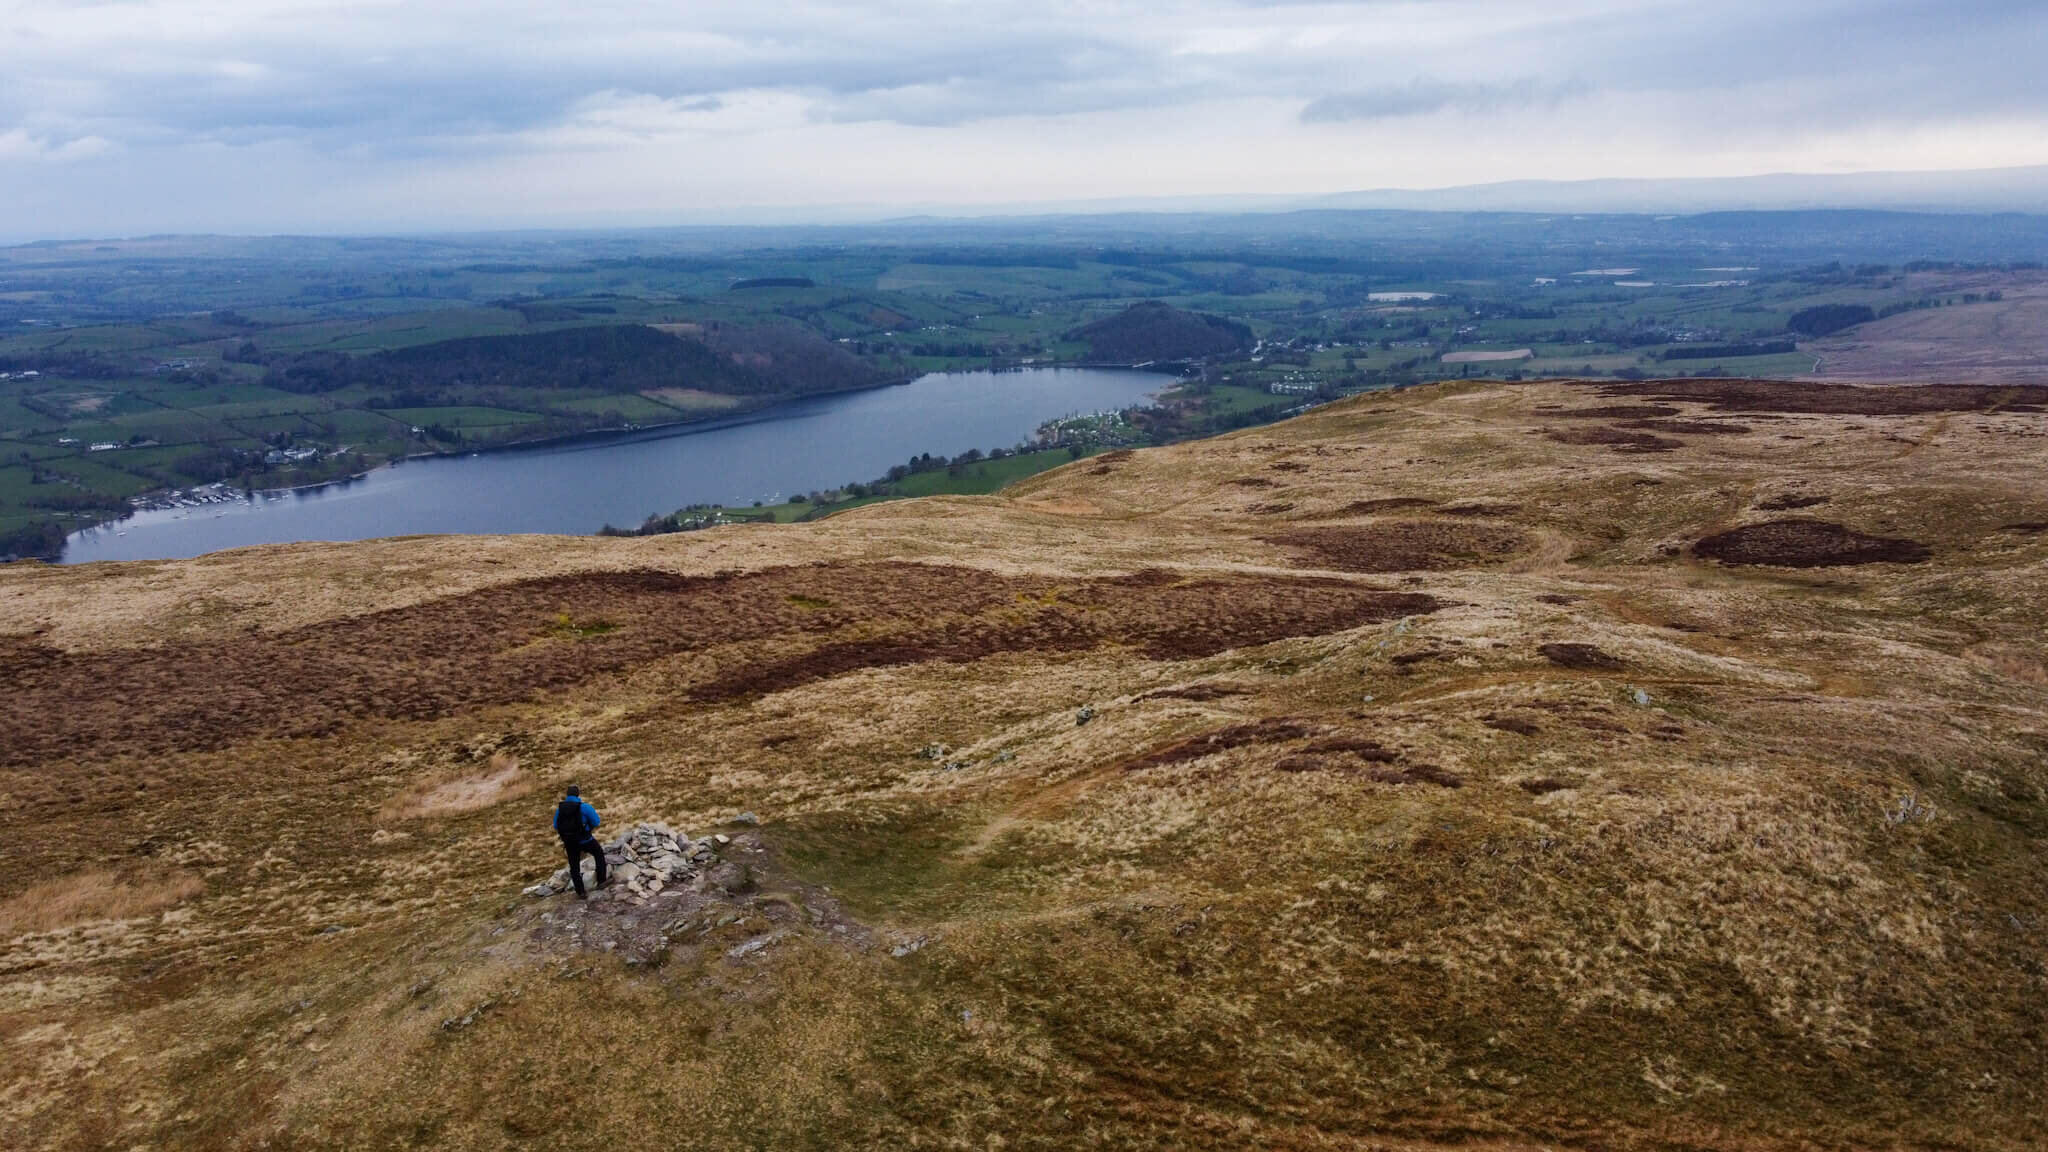
The summit is marked by a rocky outcrop that is distinctive and offers views which are excellent for the height. In one direction are views pictured above which take in the Nab and the Martindale Horseshoe. In the other direction is Ullswater and the nearby Hallin Fell.
Ullswater stretches out to the northeast with steep farmland and woods below, while the Helvellyn range towers to the west and south-west. To the east and north-east you get a clear sense of the Eden valley and the Pennine foothills beyond. On fine days the water-glass sheen of Ullswater framed by surrounding fells makes Steel Knotts a rewarding, compact viewpoint.
Steel Knotts works year-round. Spring and autumn give good colour and fewer crowds; summer brings longer daylight but more walkers. Winter conditions can make the crags icy.
For a relatively small fell, Steel Knotts offers dramatic local scenery, sweeping views over Ullswater and a satisfying, varied walk that can be short and sharp or part of a longer, more challenging day on the Far Eastern Fells. It’s ideal if you want mountain character without the sustained commitment of higher summits.
HEIGHT IN METRES 432m
HEIGHT IN FEET 1417ft
RANGE Far Eastern Fells
GRID REFERENCE NY 440 181
STEEL KNOTTS VIDEO
STEEL KNOTTS MAP
STEEL KNOTTS GALLERY




RELATED POSTS




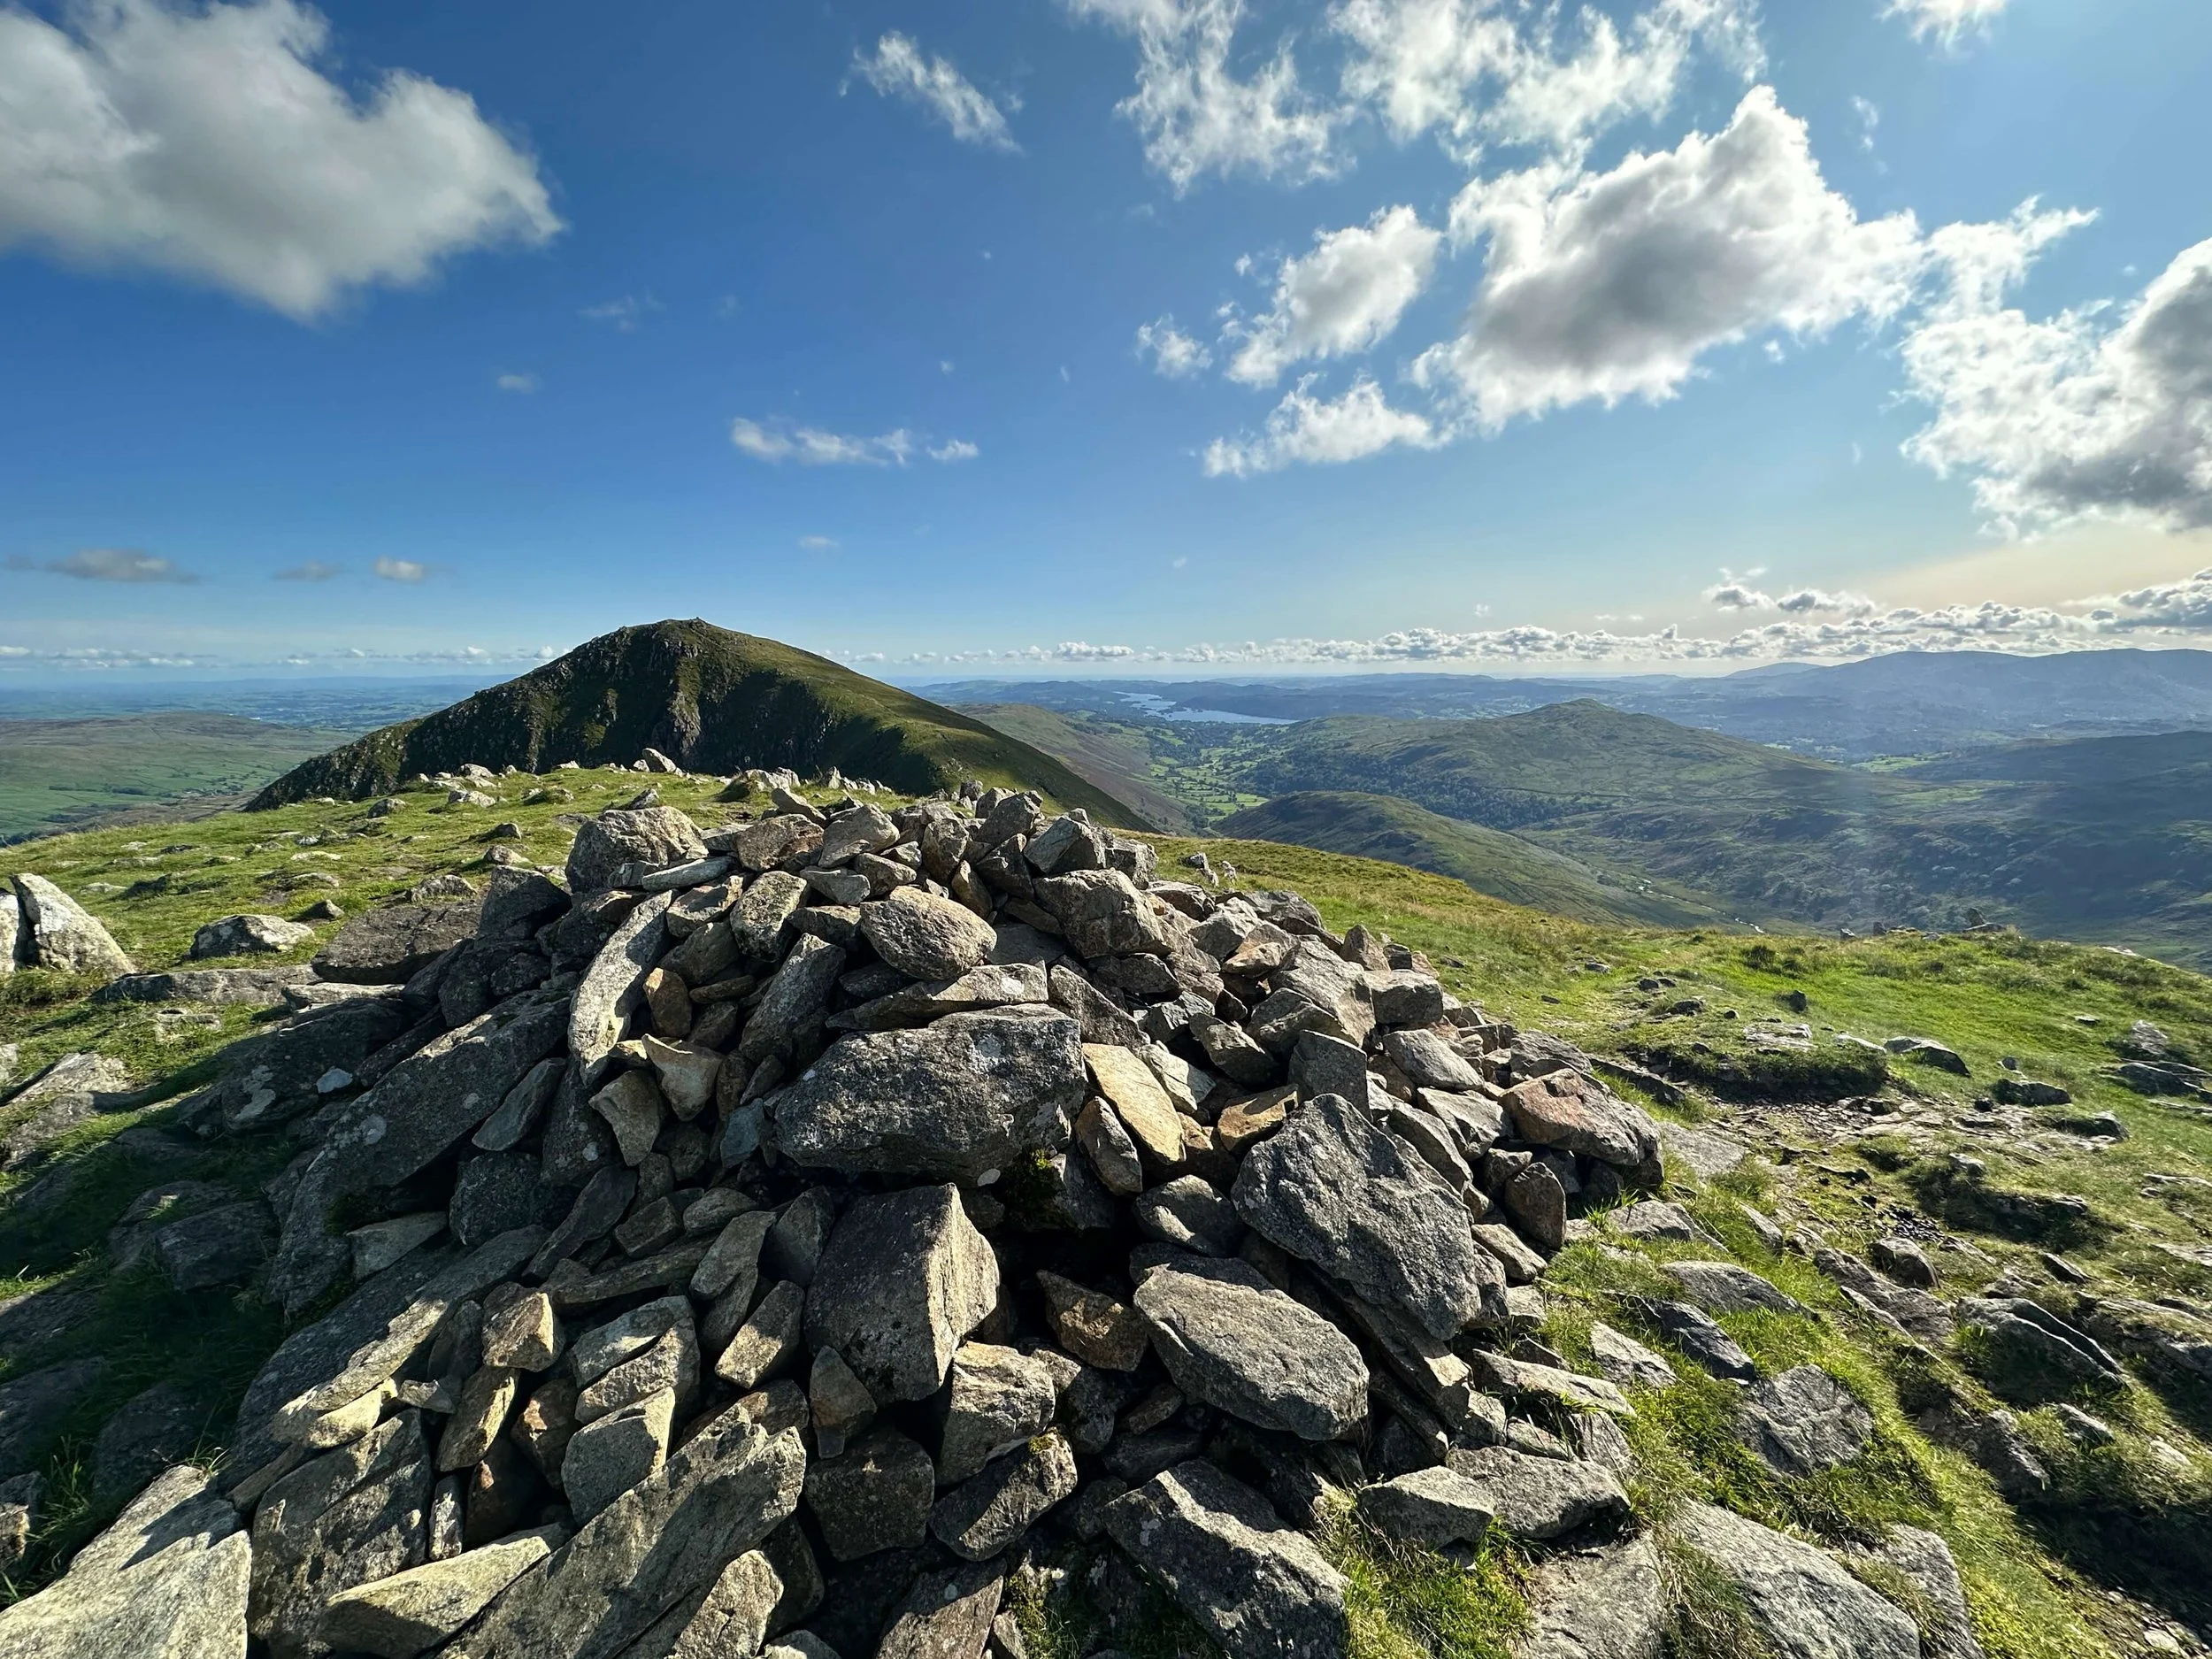

Hallin Fell and Steel Knotts Circular Walk
If you are looking for a short walk that offers exceptional views, it really is hard to beat Hallin Fell. In Wainwright’s own words Hallin Fell is “beautifully situated overlooking a curve of Ullswater and commanding unrivalled views“. Combining Hallin Fell with Steel Knotts makes for a beautiful circular walk that takes in some of the best views in the Far Eastern Fells.
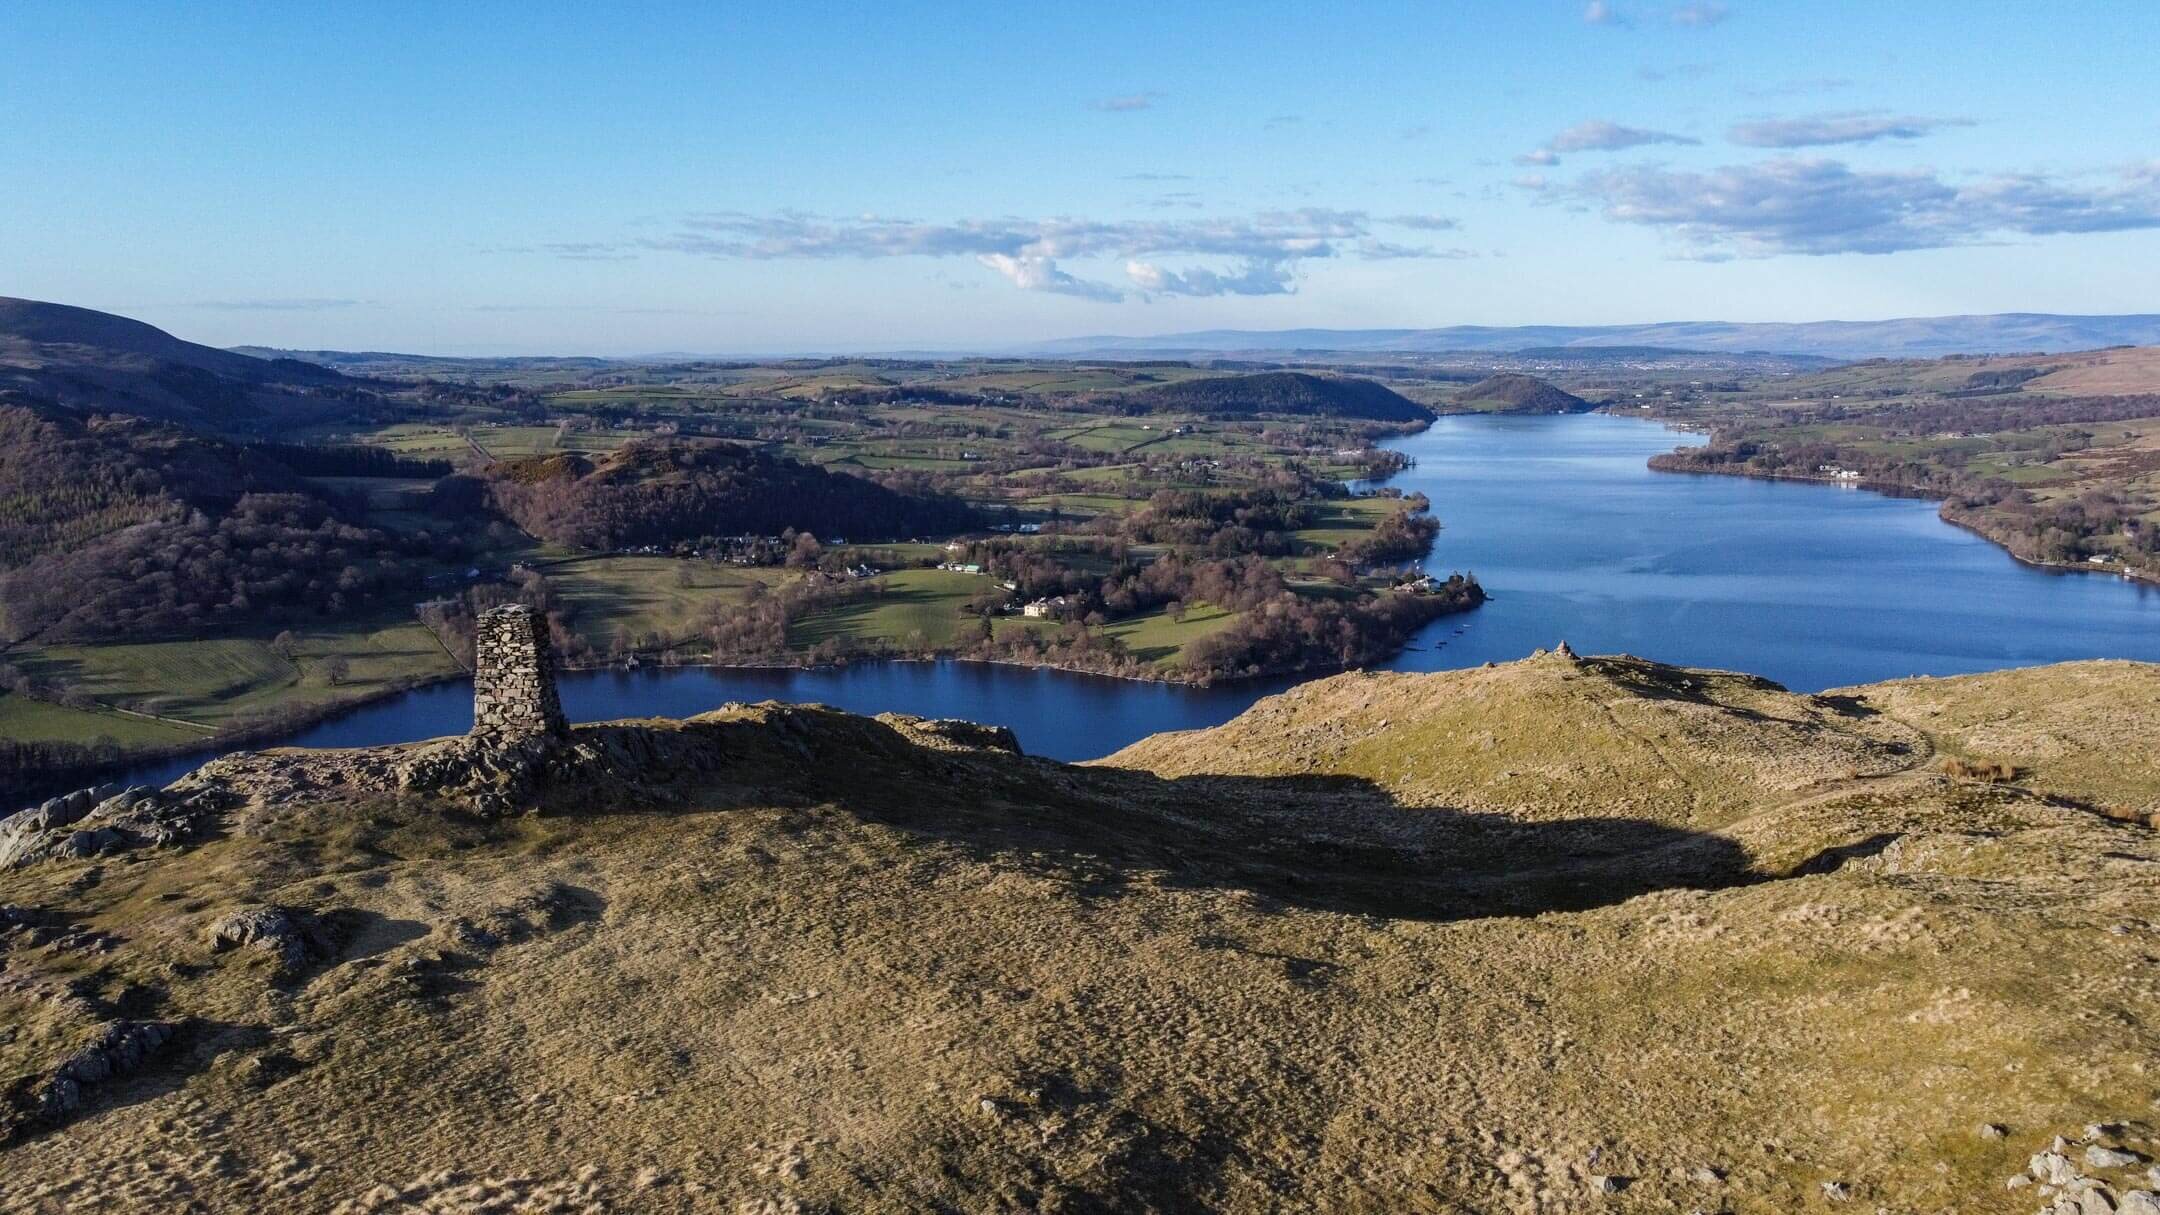
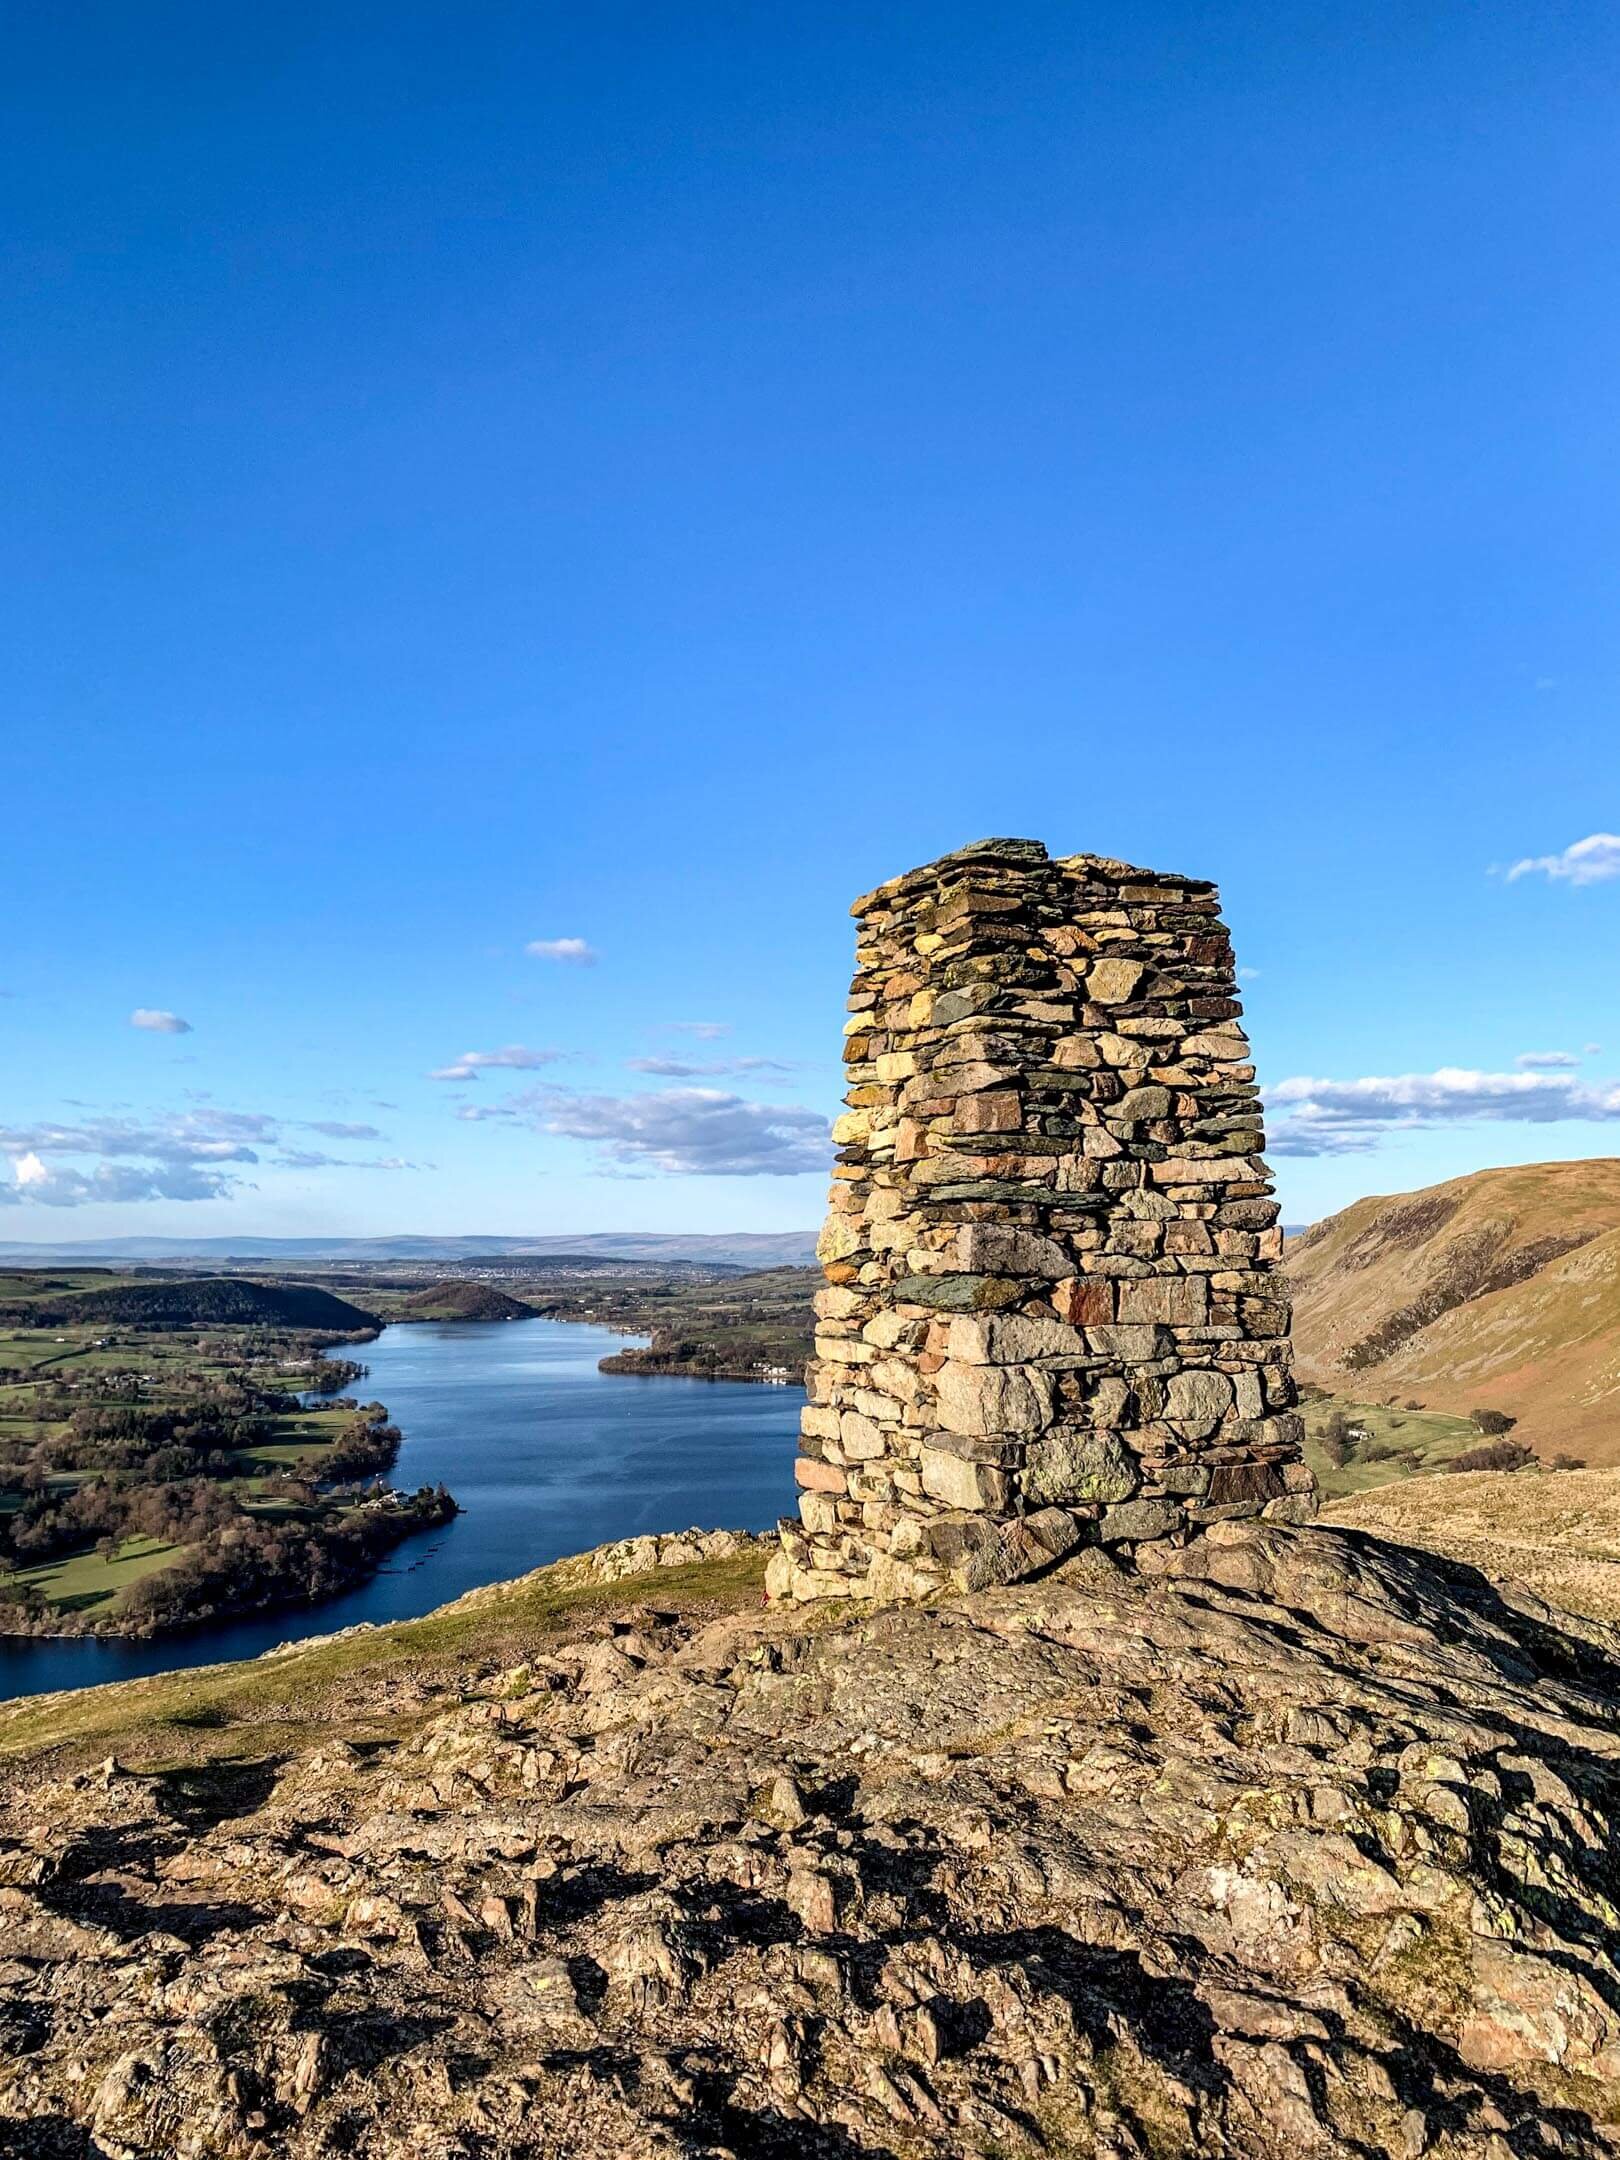
View of Hallin Fell Obelisk looking back towards Pooley Bridge
This Hallin Fell and Steel Knotts walk ensures scenic views of lakes, valleys and distant peaks whilst ticking two Wainwrights of your list.
This post covers the route that I took to climb Hallin Fell and Steel Knotts, however as with all outdoor activities caution should be taken and you should ensure you have the correct equipment, knowledge and understanding to complete your walk. With this in mind, other routes are available and may be more suitable, so proceed with caution. An example being my route up Birkie Knotts was the most direct route. Other more subtle paths are available and should be considered.
That being said, this route is popular amongst Lake District walkers as it is fairly simple, short, but offers substantial rewards in regards to the views.
WALK OVERVIEW
OS MAPS ROUTE
Start - Howtown Pier
Parking is available at Howtown Pier on the road side. Be sure not to park in the passing places as these are vital to ensure traffic can flow. If the roadside parking is full or you fancy a shorter walk, you can also park at the Church in Martindale. (UPDATE- Very little roadside parking is available by the peer. Parking at Martindale or the Howtown Hotel, if a guest, is best)
Tip - Park in Pooley Bridge and take the Ullswater Steamer to Howtown. The lake crossing certainly adds something special to any Howtown adventure.
Distance - 7.2km / 4.5 miles
You can reduce this by parking in Martindale, however, the stroll past Ullswater and Howtown Pier is nice and that’s why I included it in my walk.
Duration - 2hr 40 - 4 hr
Depending on fitness levels and how often you are stopping to take photos of the stunning Ullswater.
Difficulty - Moderate
It is hard to justify difficulty for me as everyone’s boundaries are different. That being said this walk is very achievable to the majority of people. You can ensure the route is easier by taking a more subtle path up Birkie Knotts which could be quite steep to some.
Total Ascent - 512m
Map - You can find my full route here on Ordance Surveys website
PREPARING FOR YOUR HALLIN FELL & STEEL KNOTTS WALK
NAVIGATION
As with all good walk preparation you will need a way to navigate on your walk. I use the OS Maps App on my phone and you can find my route here
If you are navigating using your phone be sure to do the following;
Download the map before you leave wifi - you CANT guarantee you will have signal in the mountains.
Bring a battery pack or way to charge your device.
Print a copy of the walk before you leave from the Ordance Survey Website as a back up.
I also use my Suunto Watch as a backup navigation tool, however if you are not confident that your technology will last you should purchase the Ordnance Survey Map for your walk.
WEATHER
If there is one thing that is for certain when walking in British Mountains is that you can never be sure of the weather. Even on days that are forecast glorious sunshine it is best to be prepared for the worst, as conditions can change rapidly.
Check the latest Hallin Fell weather here
WHAT TO WEAR
When hiking in the UK it is important to remain flexible and with this in mind layers are certainly your best option. Mountain environments can be unforgiving and weather can change quickly. It is normal to see winds increasing and temperatures dropping as you reach your chosen summit. Make sure to pack a spare layer for the summit.
Suitable footwear in the form of walking boots or shoes is advised, especially when conditions are less than ideal. A good pair of walking boots will offer your ankles support, keep your feet dry and ensure you have grip especially on those wet days. Yes, you probably could make it to the top in that old pair of tennis trainers… but will your feet thank you?
WHERE TO START
Getting to the start of the walk involves driving down some narrow country roads towards Howtown and Martindale from Pooley Bridge. Be careful as traffic can be busy at peak times and there are few places to pass. It is important to keep an eye out for the last passing place as it is not uncommon for you to need to reverse back down the road.
The postcode for Howtown if you are using your Sat Nav is CA10 2LZ and this should lead you to the Howtown Pier. Parking is possible by the Pier on the roadside but this is limited.
If you fancy a cool alternative to access Howtown consider taking a trip on the Ullswater steamers.
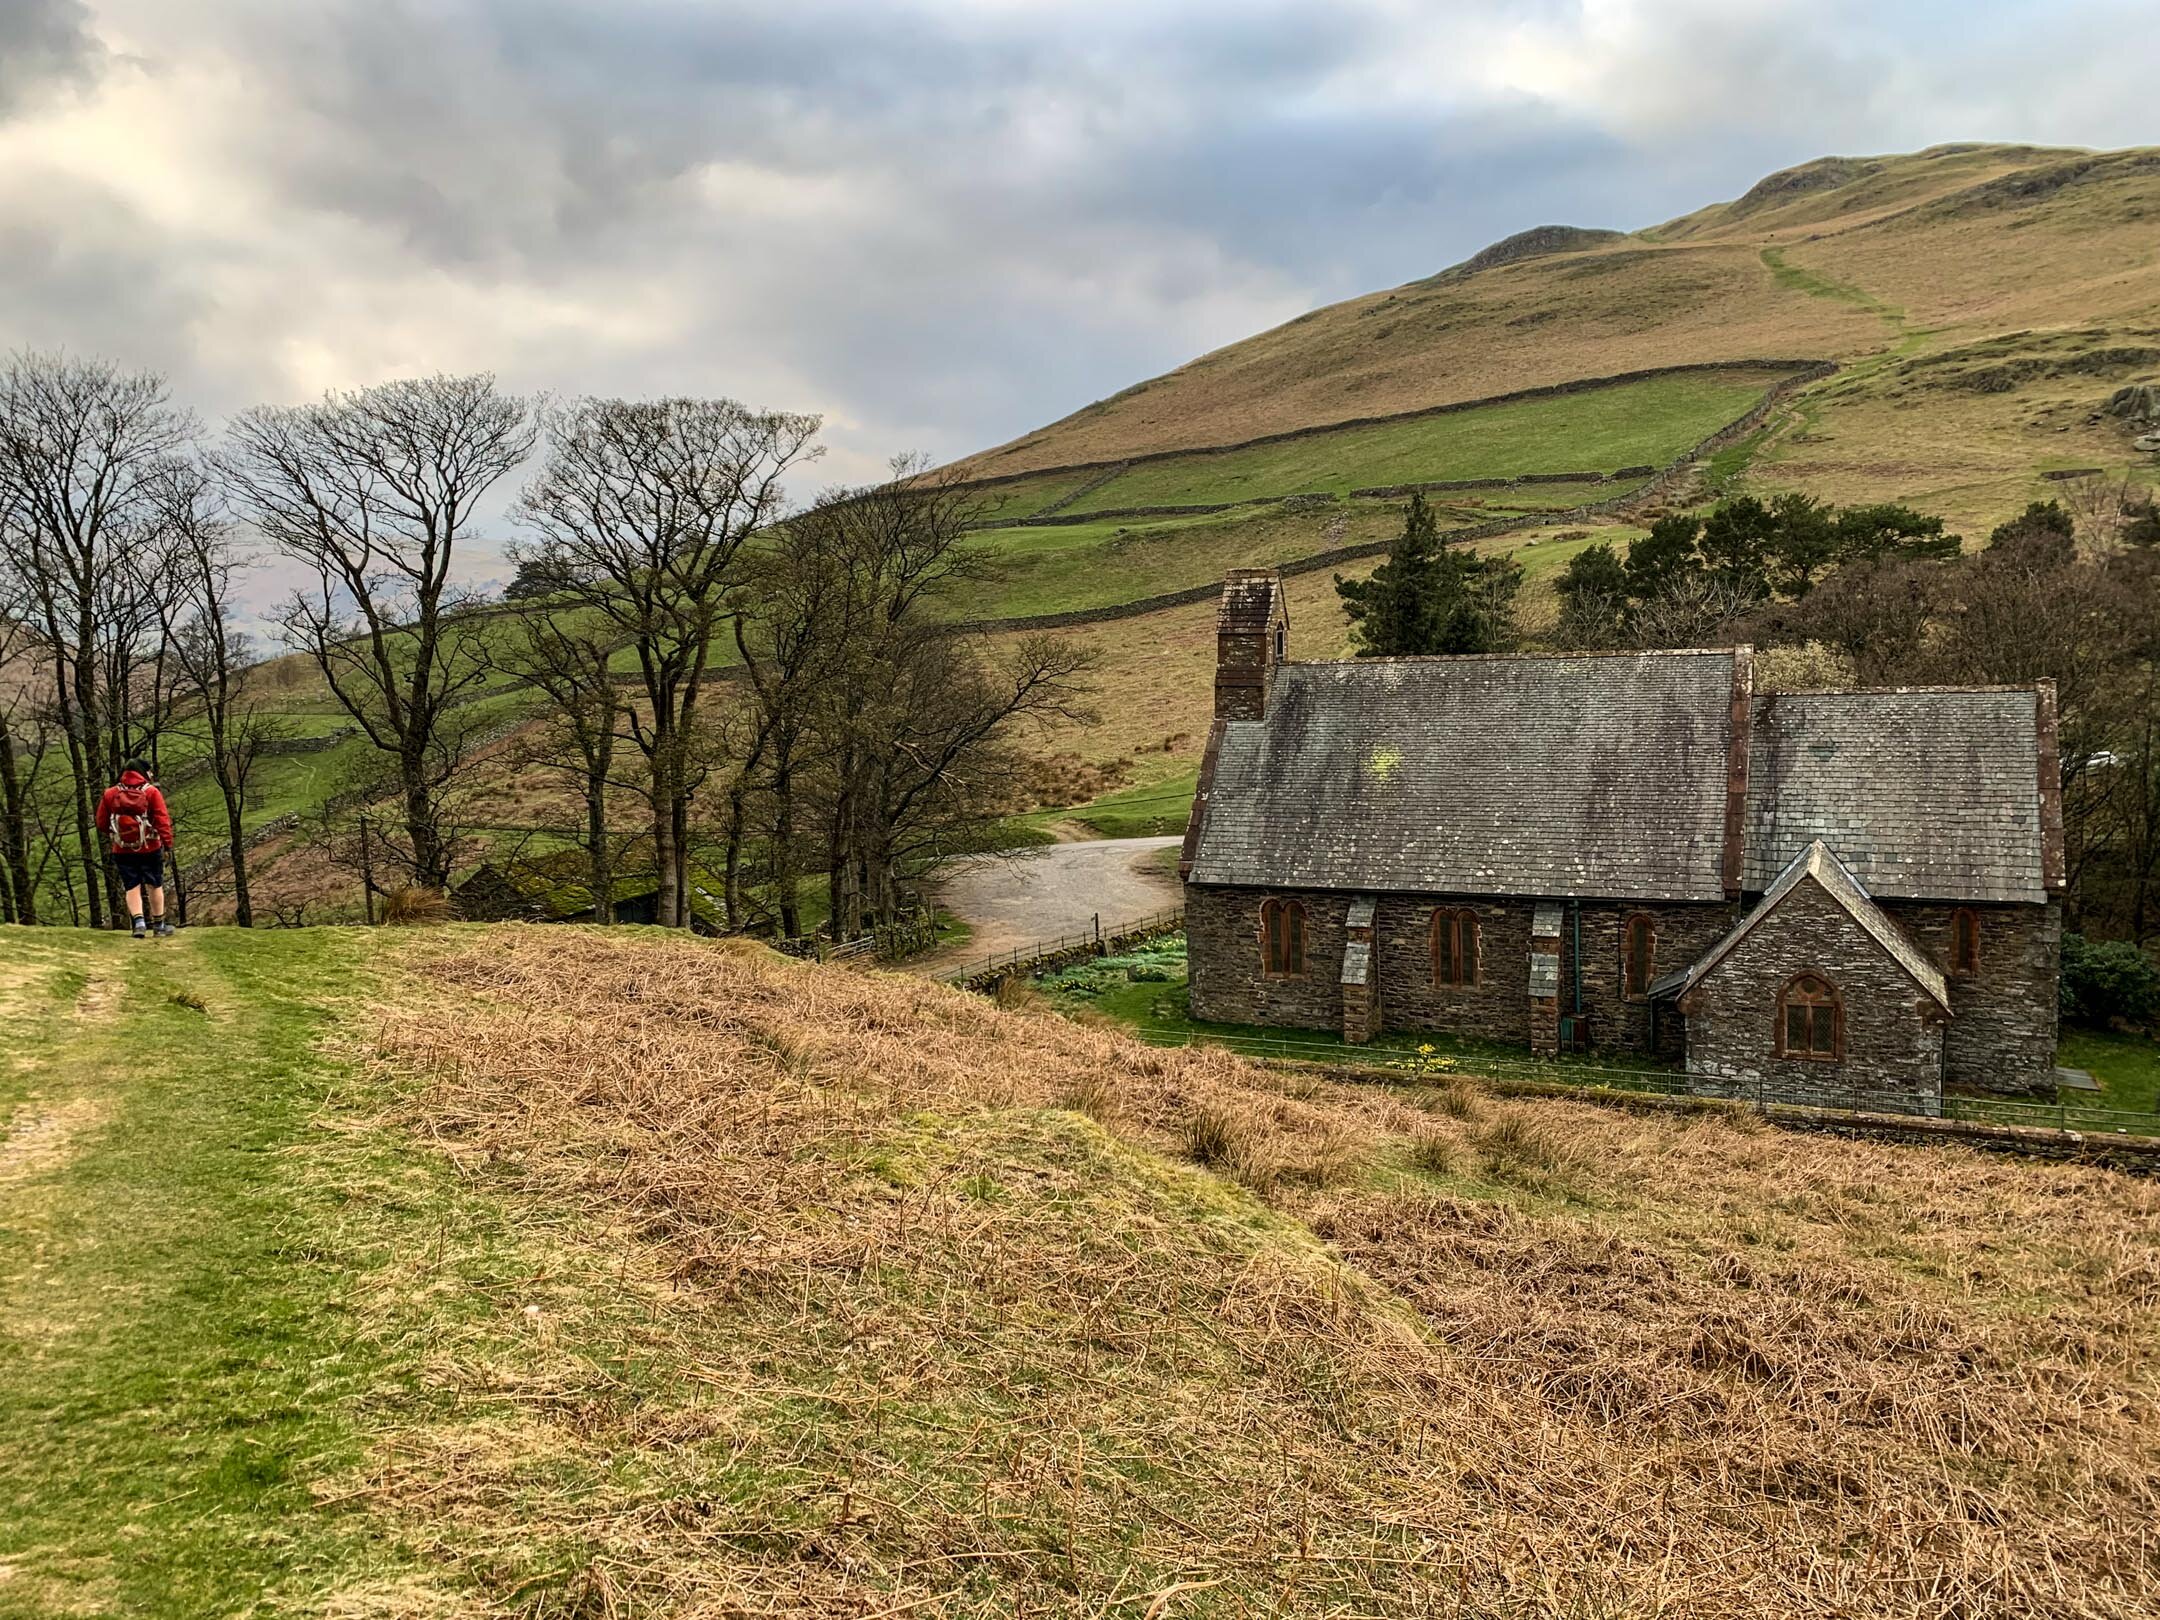
Church in Martindale that sits between Hallin Fell and Steel Knotts
Parking is also possible by St Peter’s Church in Martindale. The church sits at the base of the paths to Hallin Fell and Steel Knotts so is ideally located. This area can become busy so be sure to head up early or late to guarantee a parking spot.
Parking in both Howtown and Martindale is free but be sure to be considerate of other road users. The road is used by farm vehicles and blocking it could result in your car getting ‘bumped’ by a tractor.
FACILITIES
Unlike more popular areas of the Lake like Keswick and Windermere there are no facilities in Howtown and Martindale. To me this is a positive as it draws less people but it is worth noting you should be prepared for a wild wee if you get caught short.
HOWTOWN PIER TO HALLIN FELL VIA STEEL KNOTTS ROUTE
Starting your walk from Howtown Pier is nice as it means you begin your walk at water level with a scenic stroll along the edge of the lake. Parking by the pier in Howtown can be tough to come by during peak times. Consider setting of early to ensure a parking space. Alternatively, use the Ullswater Steamers boats from Pooley Bridge to drop you in Howtown. You can find the timetable here.
Taking the footpath along the Lake leads to a set of narrow steps that lead you onto the base of Hallin Fell. Taking a right at the top of the steps leads you on a beautiful walk around the base of Hallin Fell, but I will save that for another day. Turn left and follow the path up towards Martindale. The path overlooks a winding road that leads to Martindale and the path meets the road at the top by St Peter’s Church.
When you reach the Church of St Peter in Martindale it is likely you will see cars parks along the road. This is an alternative starting point to your walk.
Wherever you choose to start your walk you will need to follow the footpath behind the Church towards Birkie Knott. The path up Birkie Knotts is steep but well trodden with a clear footpath to follow. I prefer taking the steeper route up, however if you prefer, it is possible to take a more mellow route to the right of Birkie Knott.
A brief stop at the top of Birkie Knott will be well deserved and rewarding with views looking back towards Pooley Bridge and Dunmallard Hill. This is also a pretty decent spot to watch the steamers pulling into Howtown.
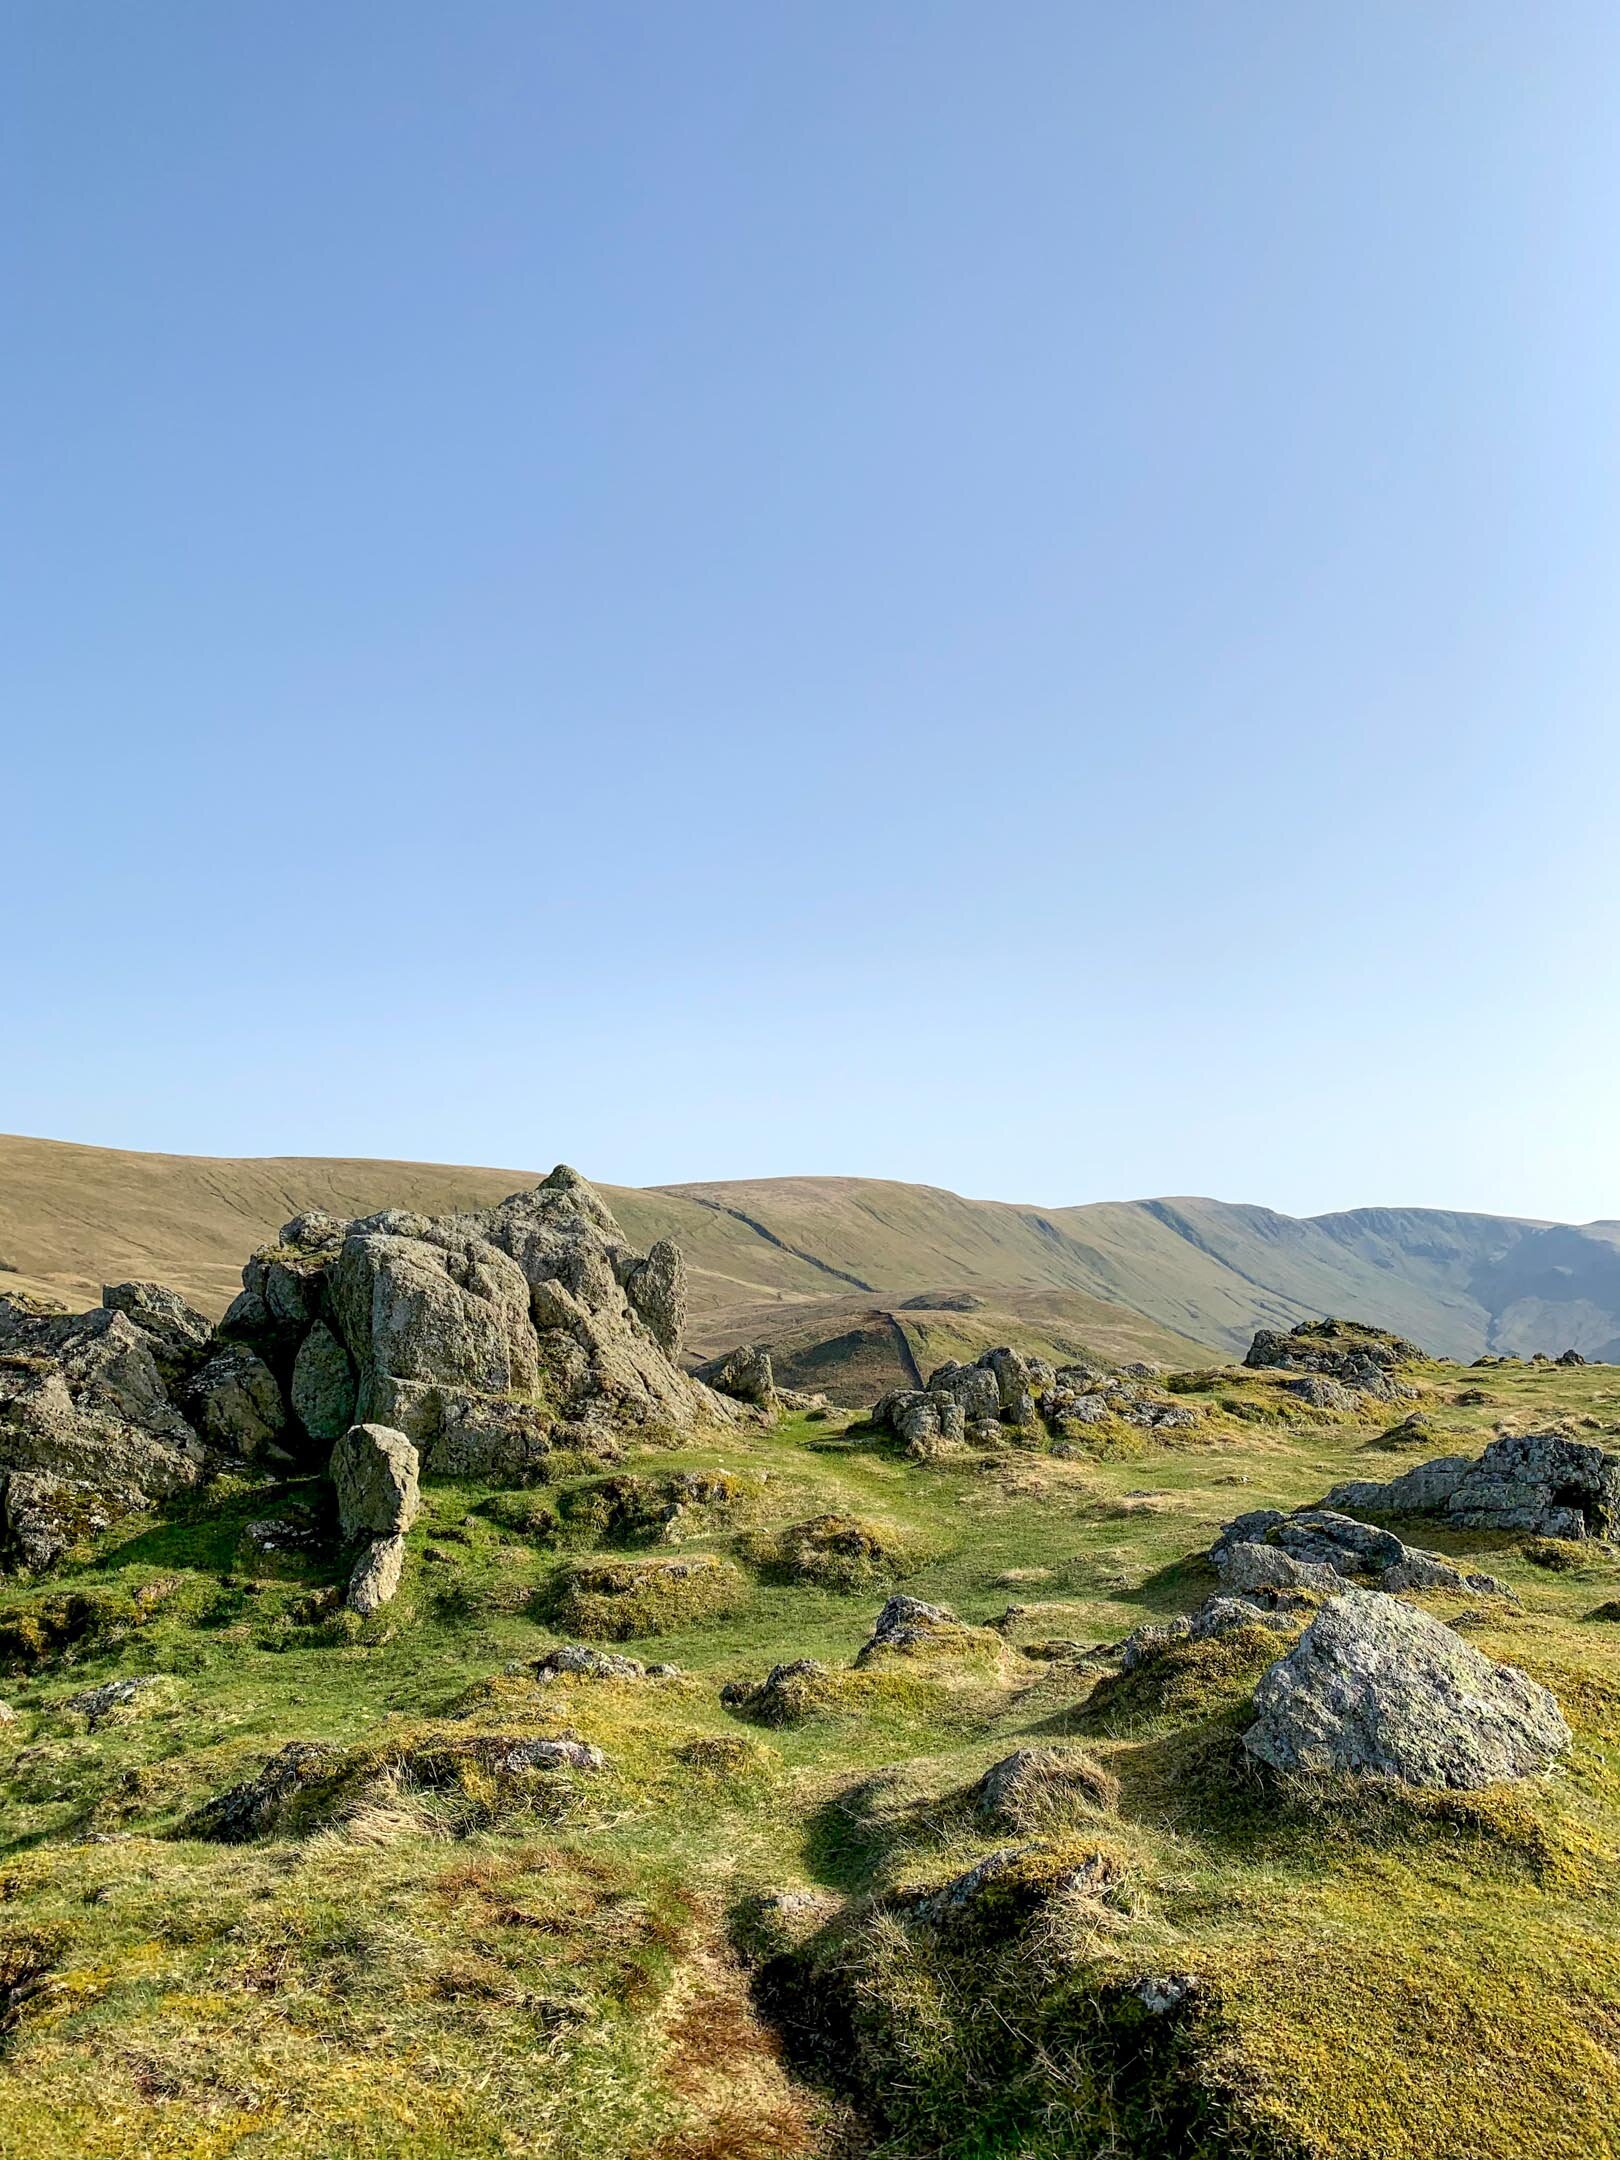
Steel Knotts Pikeawassa Summit
Continue onwards towards Steel Knotts along the mellow but winding path that runs along the ridge. The rocky ridge of Steel Knotts is unmistakable with a imposing summit name Pikeawassa. The ridge itself is around two miles in length and overlooks the steep valley of Fusedale. On a clear day you will be able to take in some beautiful views of the Martindale Horseshoe and the Helvellyn range from Pikeawassa. At 432m, Steel Knotts Pikeawassa is achievable for many and has to this point been one of my favourite Lake District summits.
To continue onwards to Hallin Fell take the path towards Brownthwaite Crag before meeting a stone wall. From the wall you will be able to see a path that loops back towards the church at Martindale. Running above Nettlehowe Crag, with some uninterrupted views of Beda Fell on the opposite side of the valley, this path is a really enjoyable aspect of this walk.
As mentioned, this path will lead you back to the church at Martindale and all you have to do is cross the road onto Hallin Fell. There are various paths up Hallin Fell with the most popular potentially being one of the steepest. You will see the wide, well trodden path leading its way up Hallin Fell and your only job is to follow it.
As seen from Hallin Fell
When walking the path up it is essential to take time to turn around and look at the scenery behind you. The views back towards the Martindale Horseshoe are impressive, letting your mind run away with the many possibilities of walking routes in the area. It was on this part of the walk that I decided to make Beda Fell Episode 2 in #mywainwrightsproject
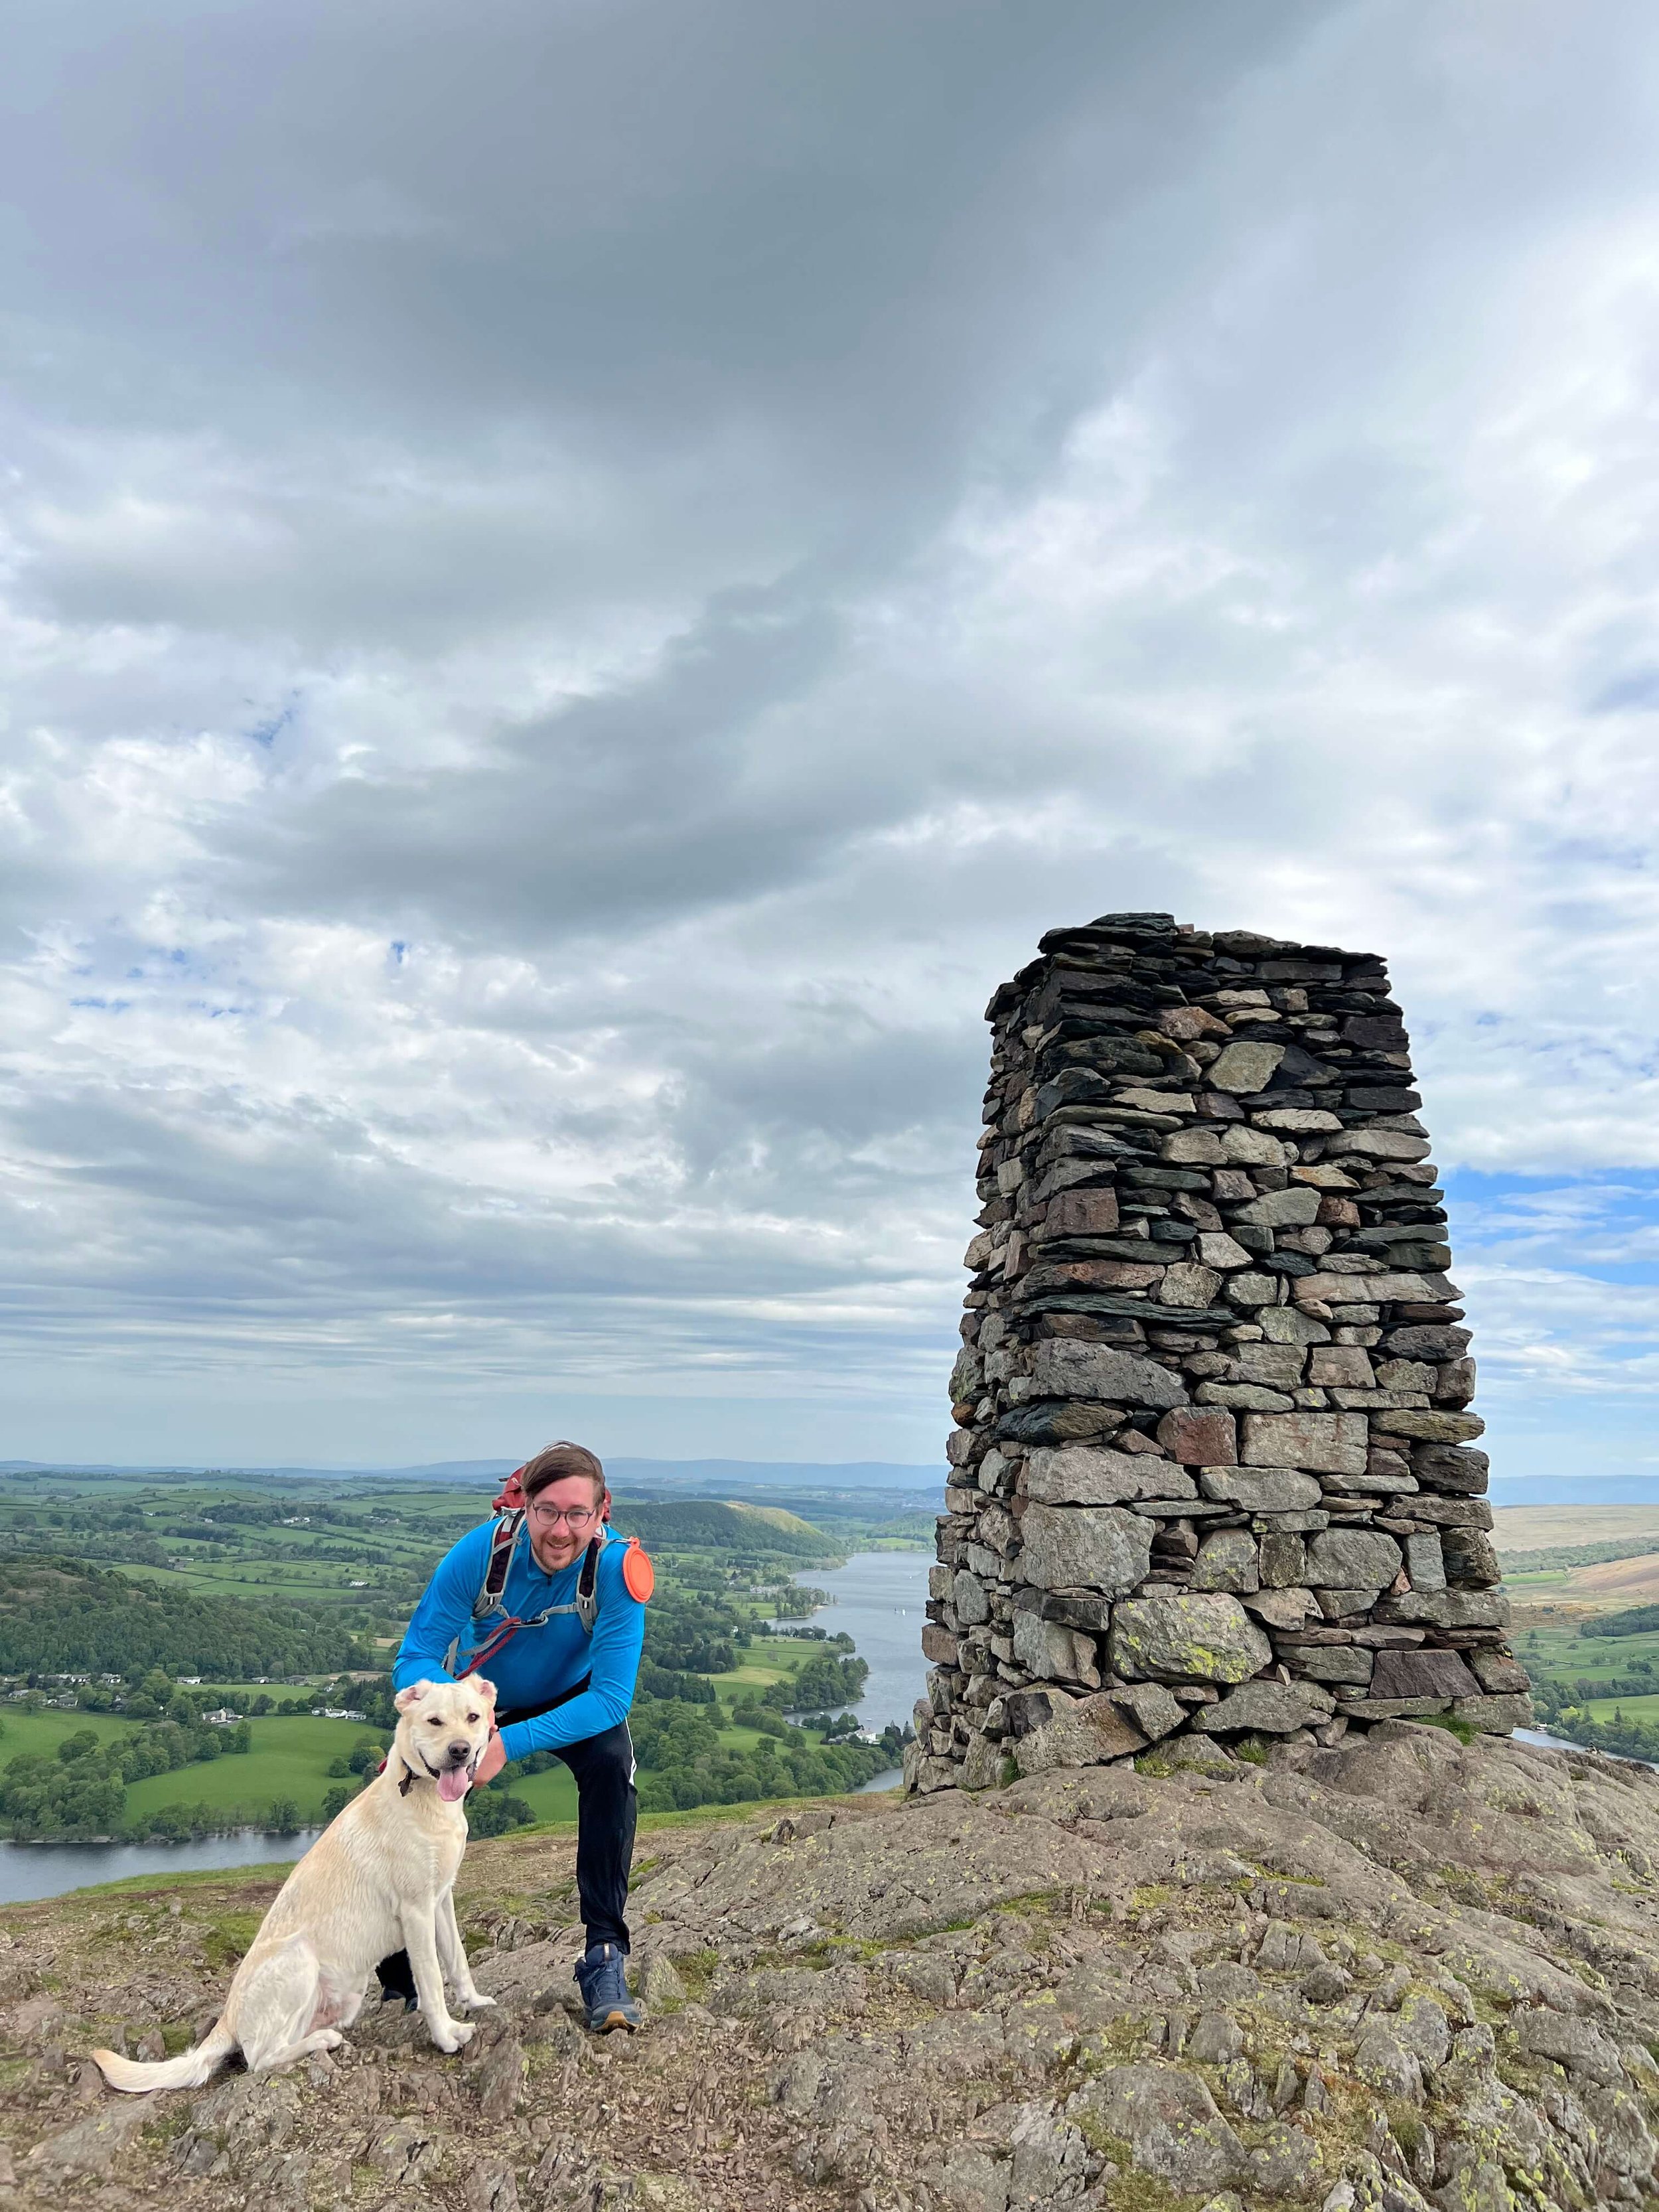
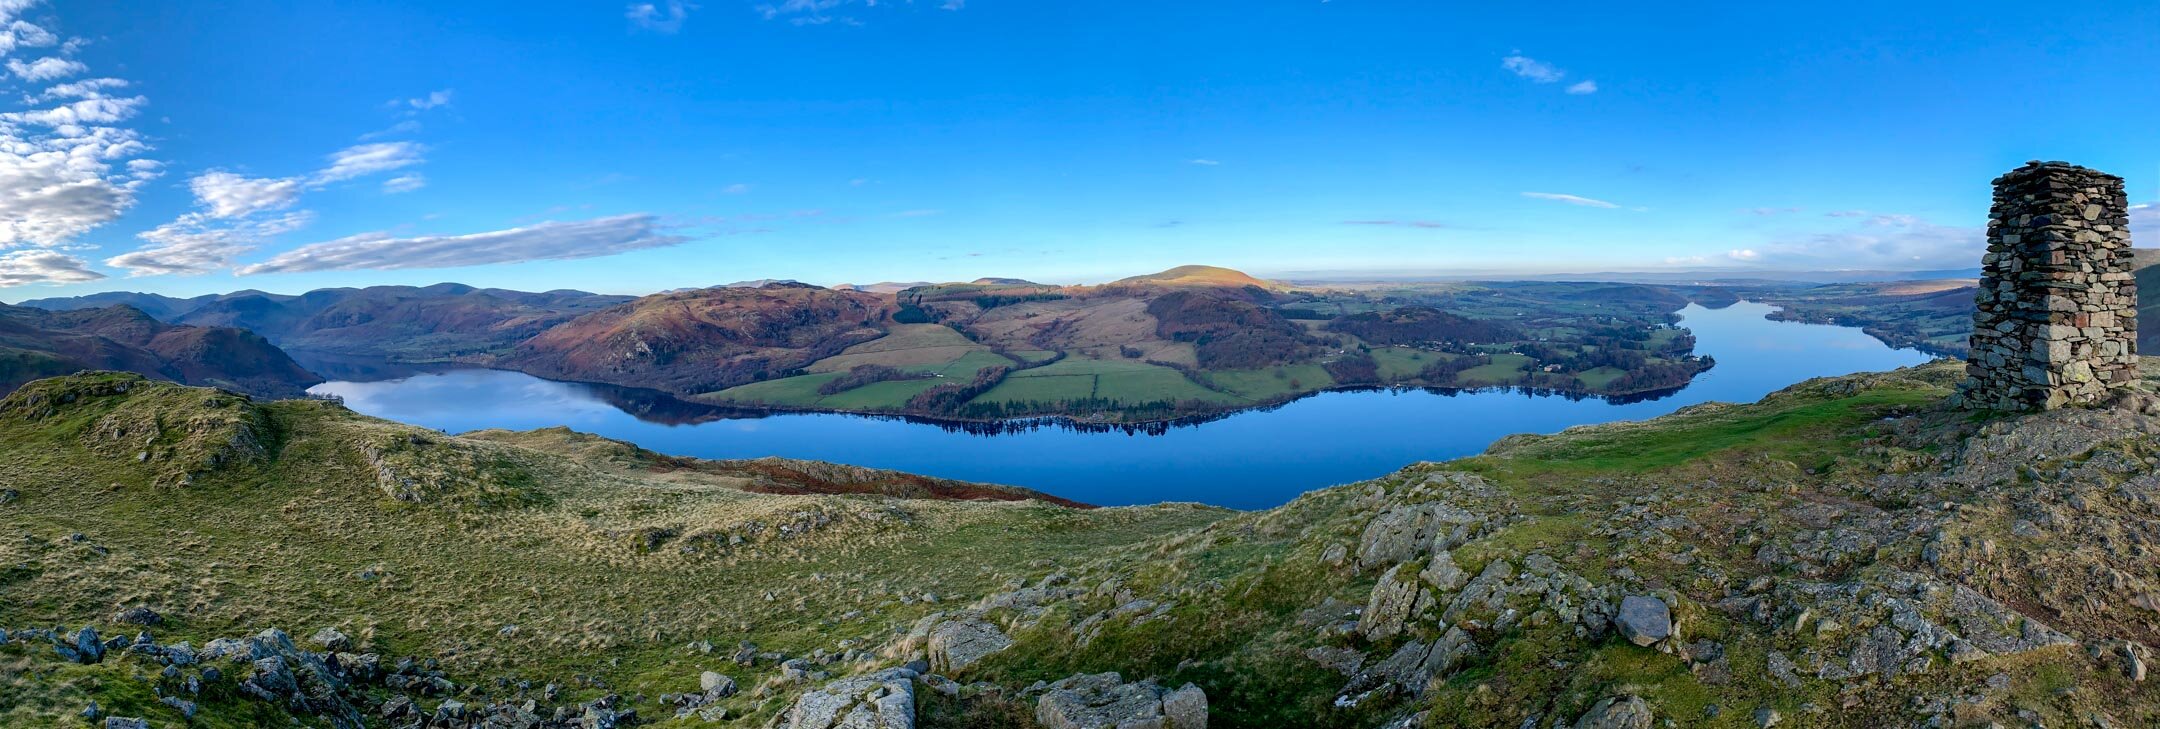
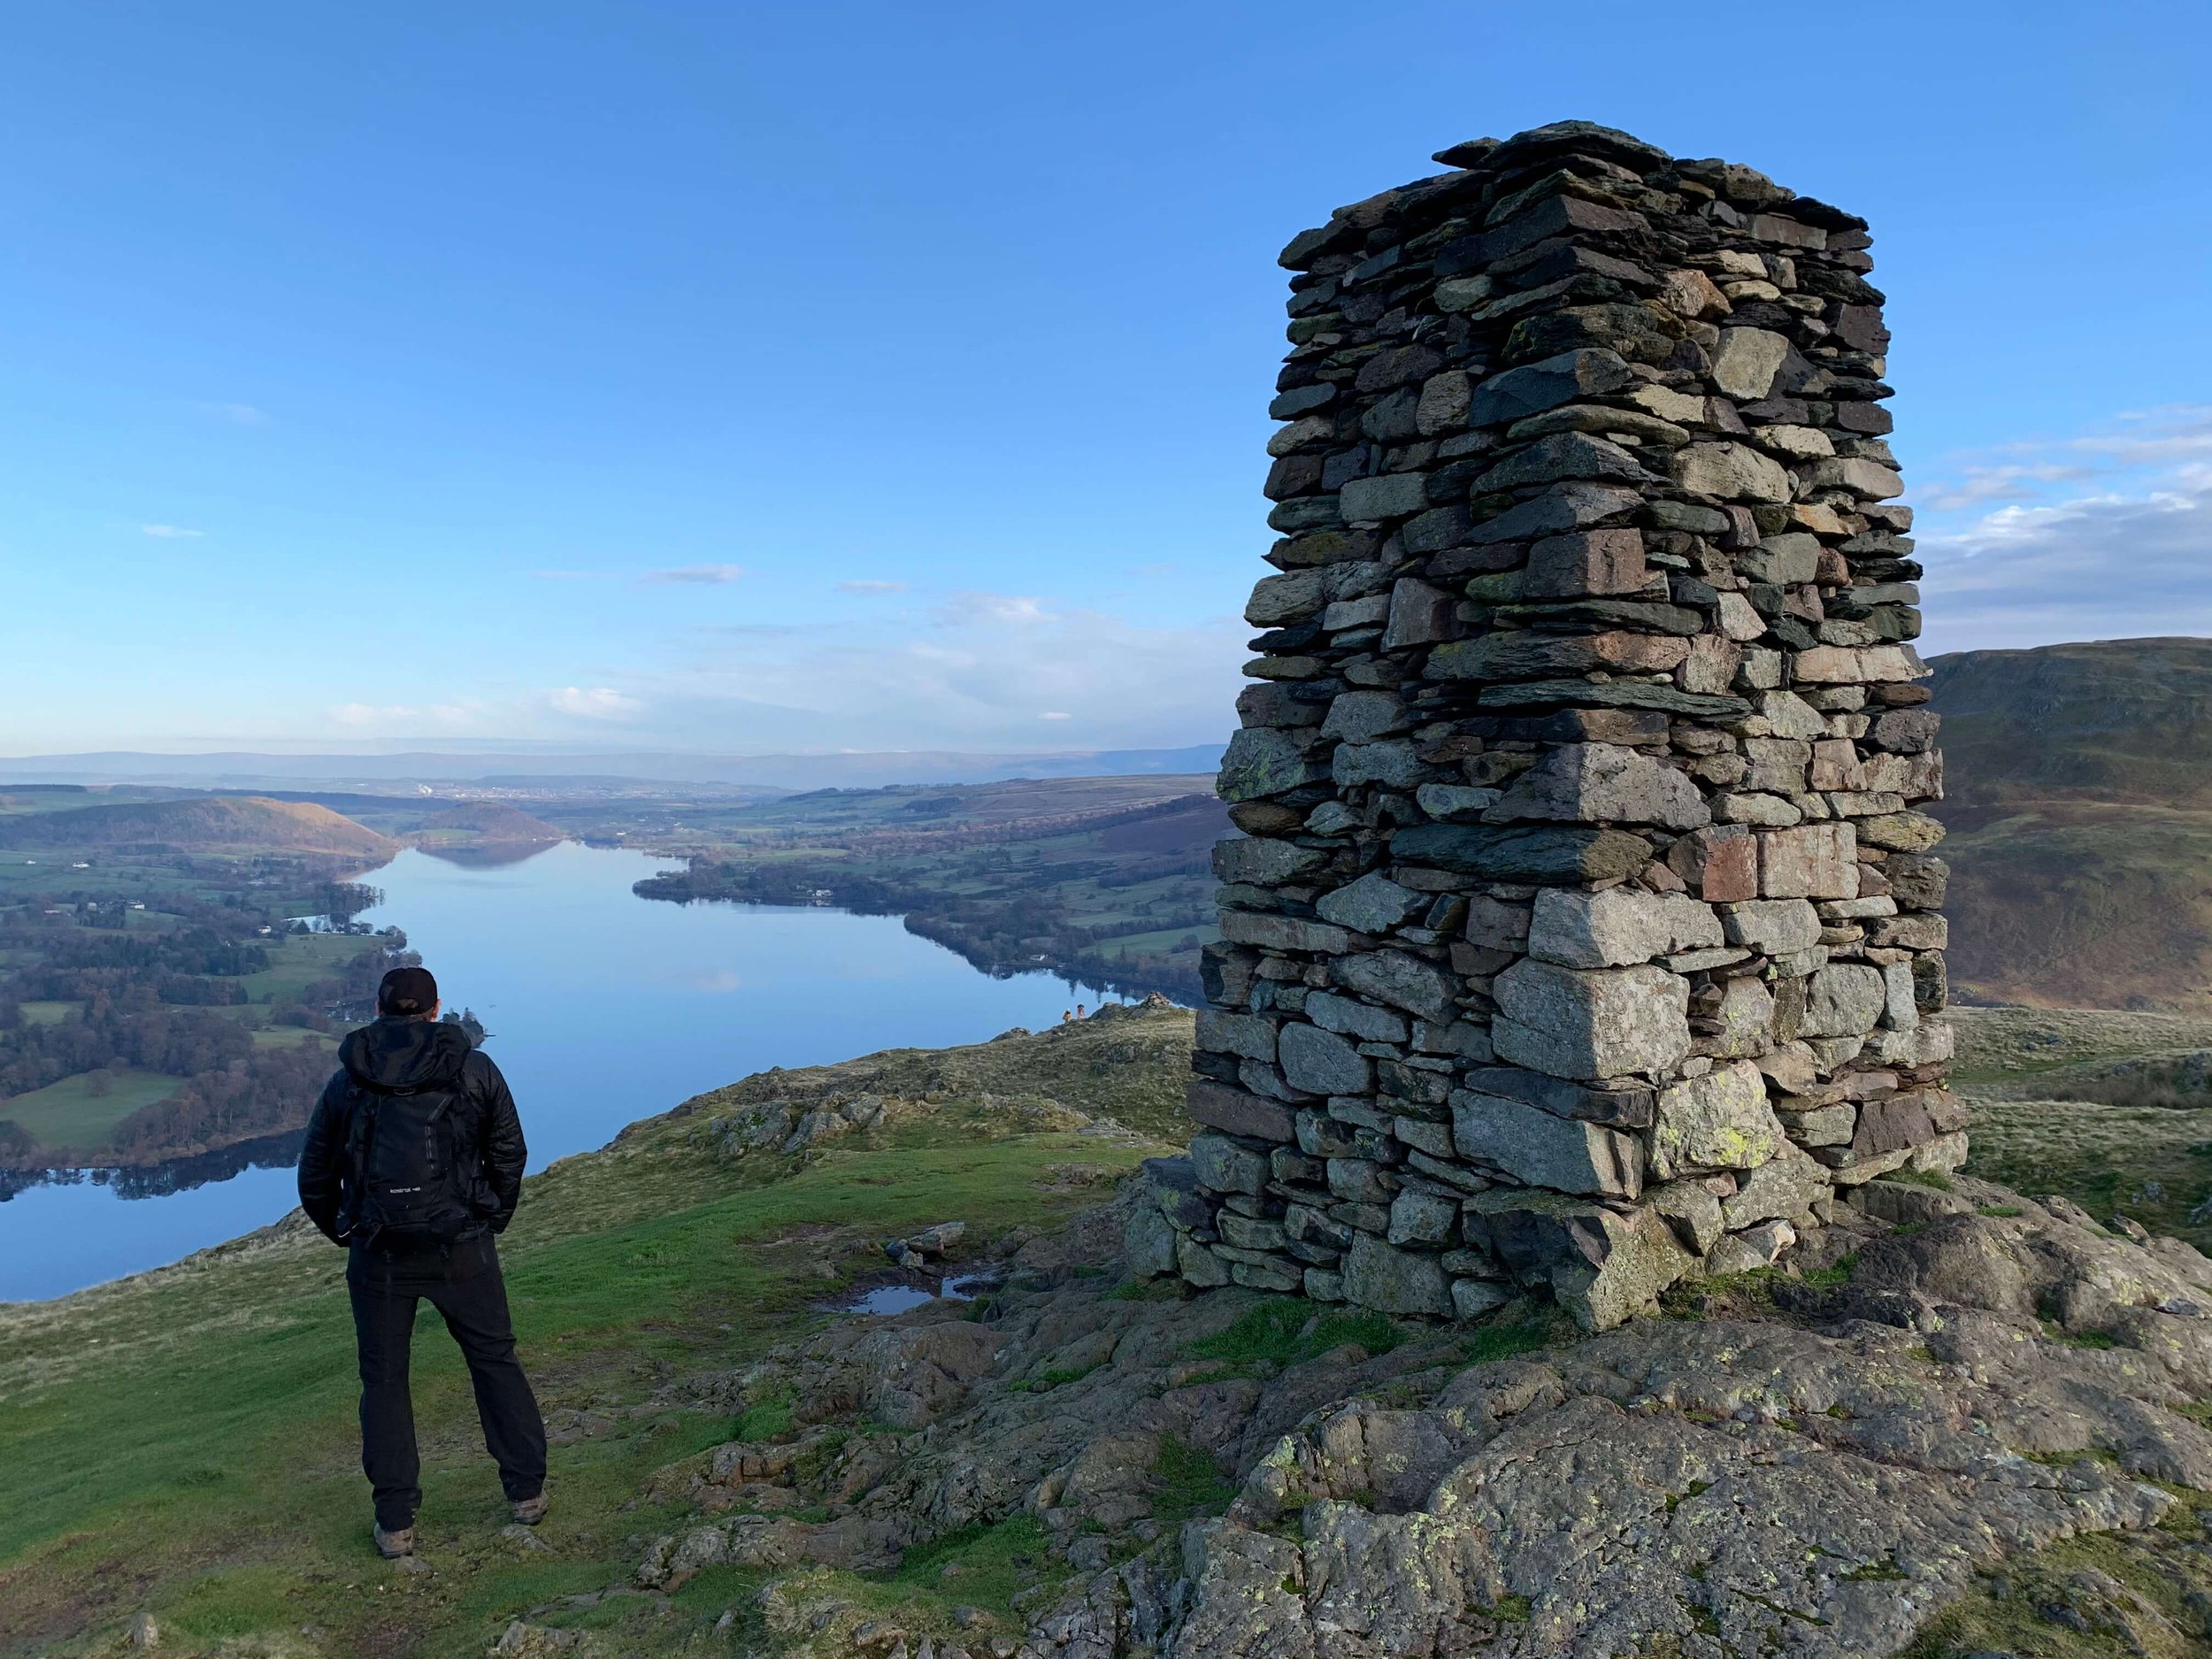
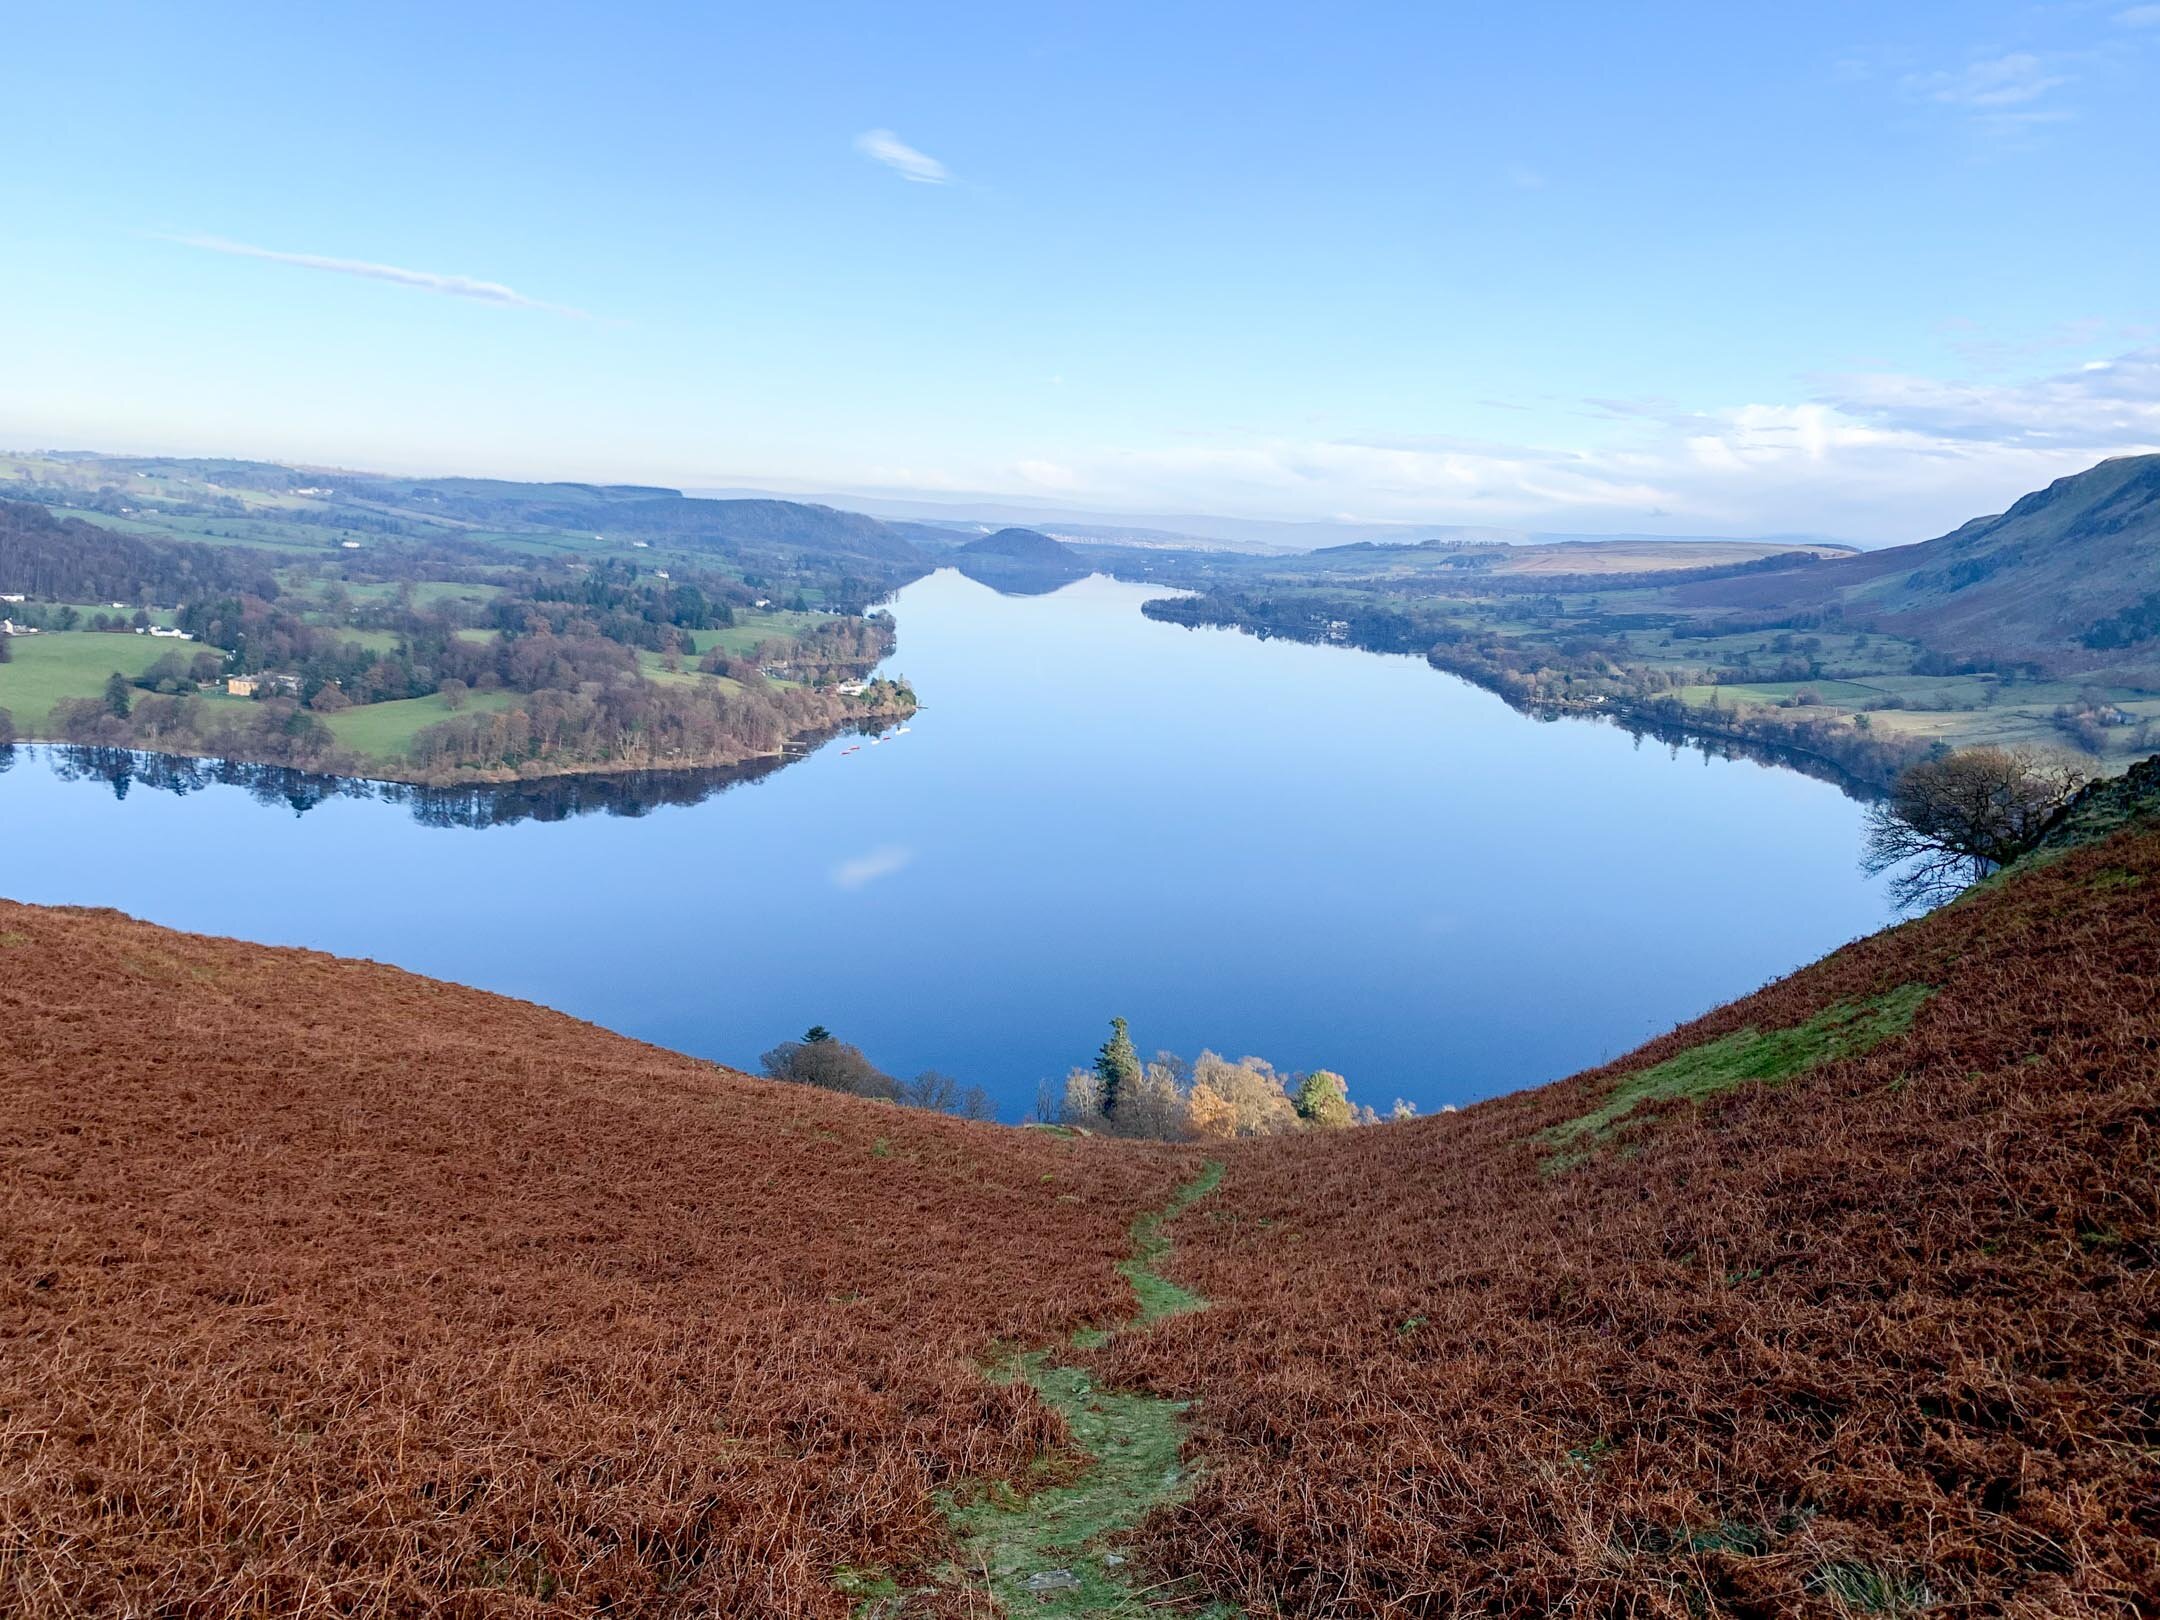
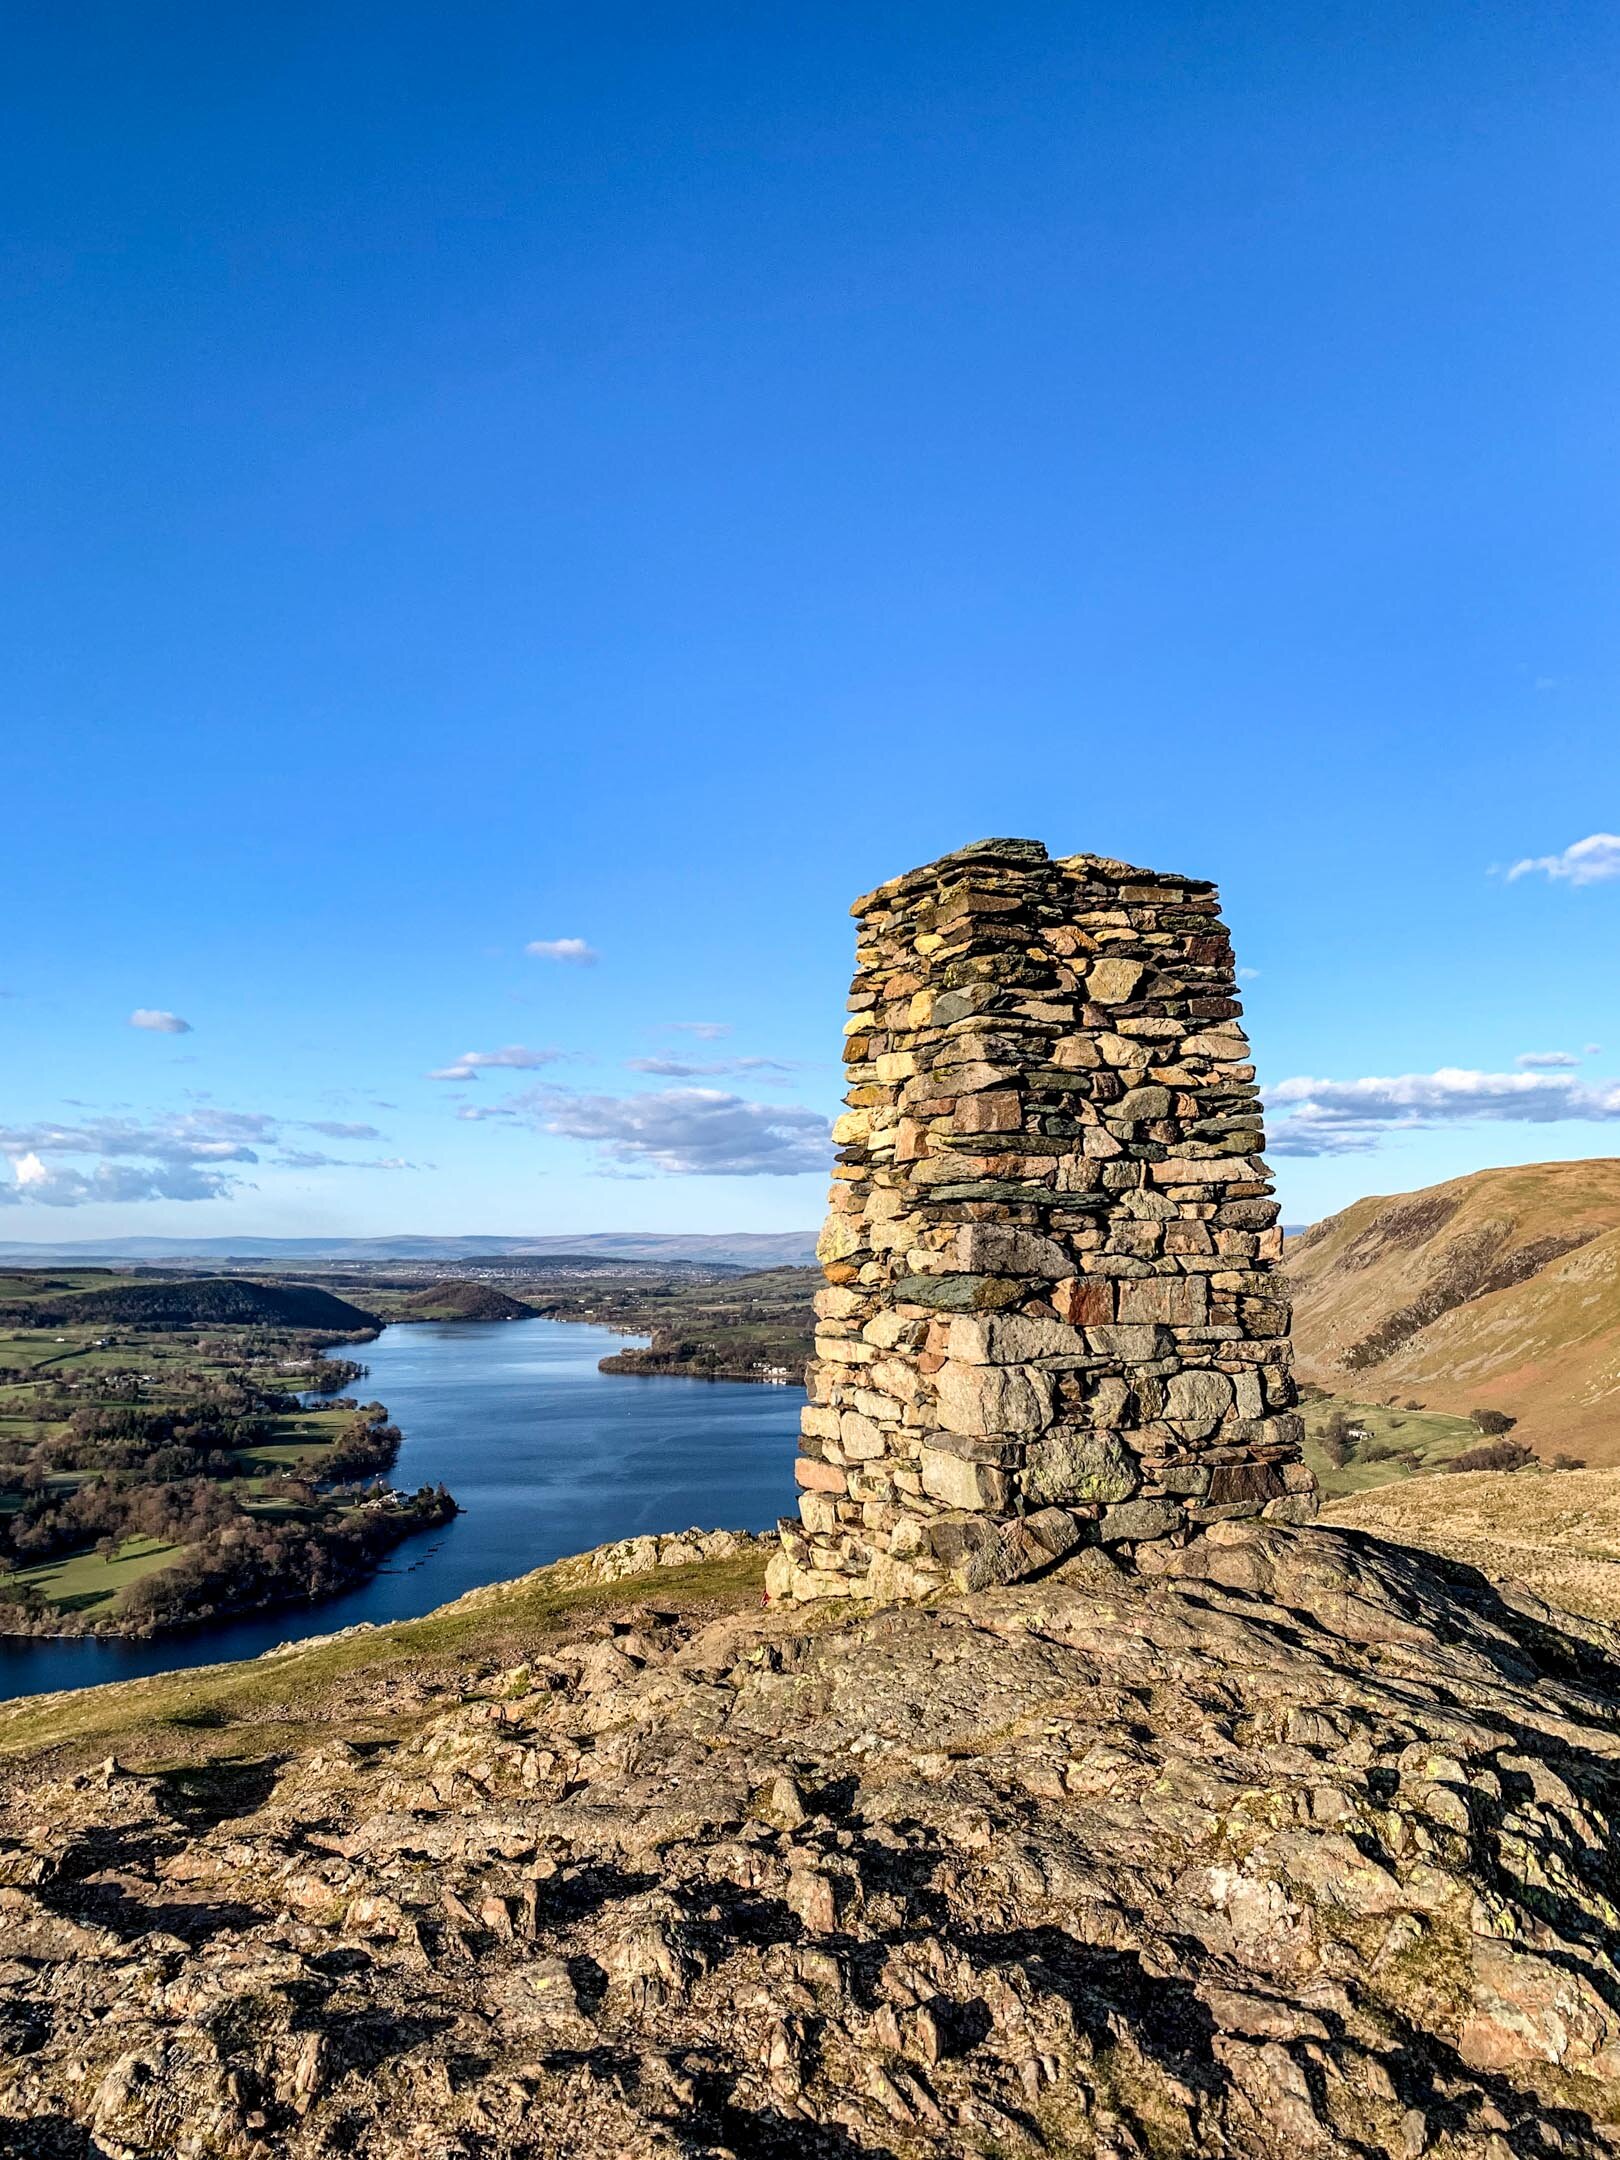
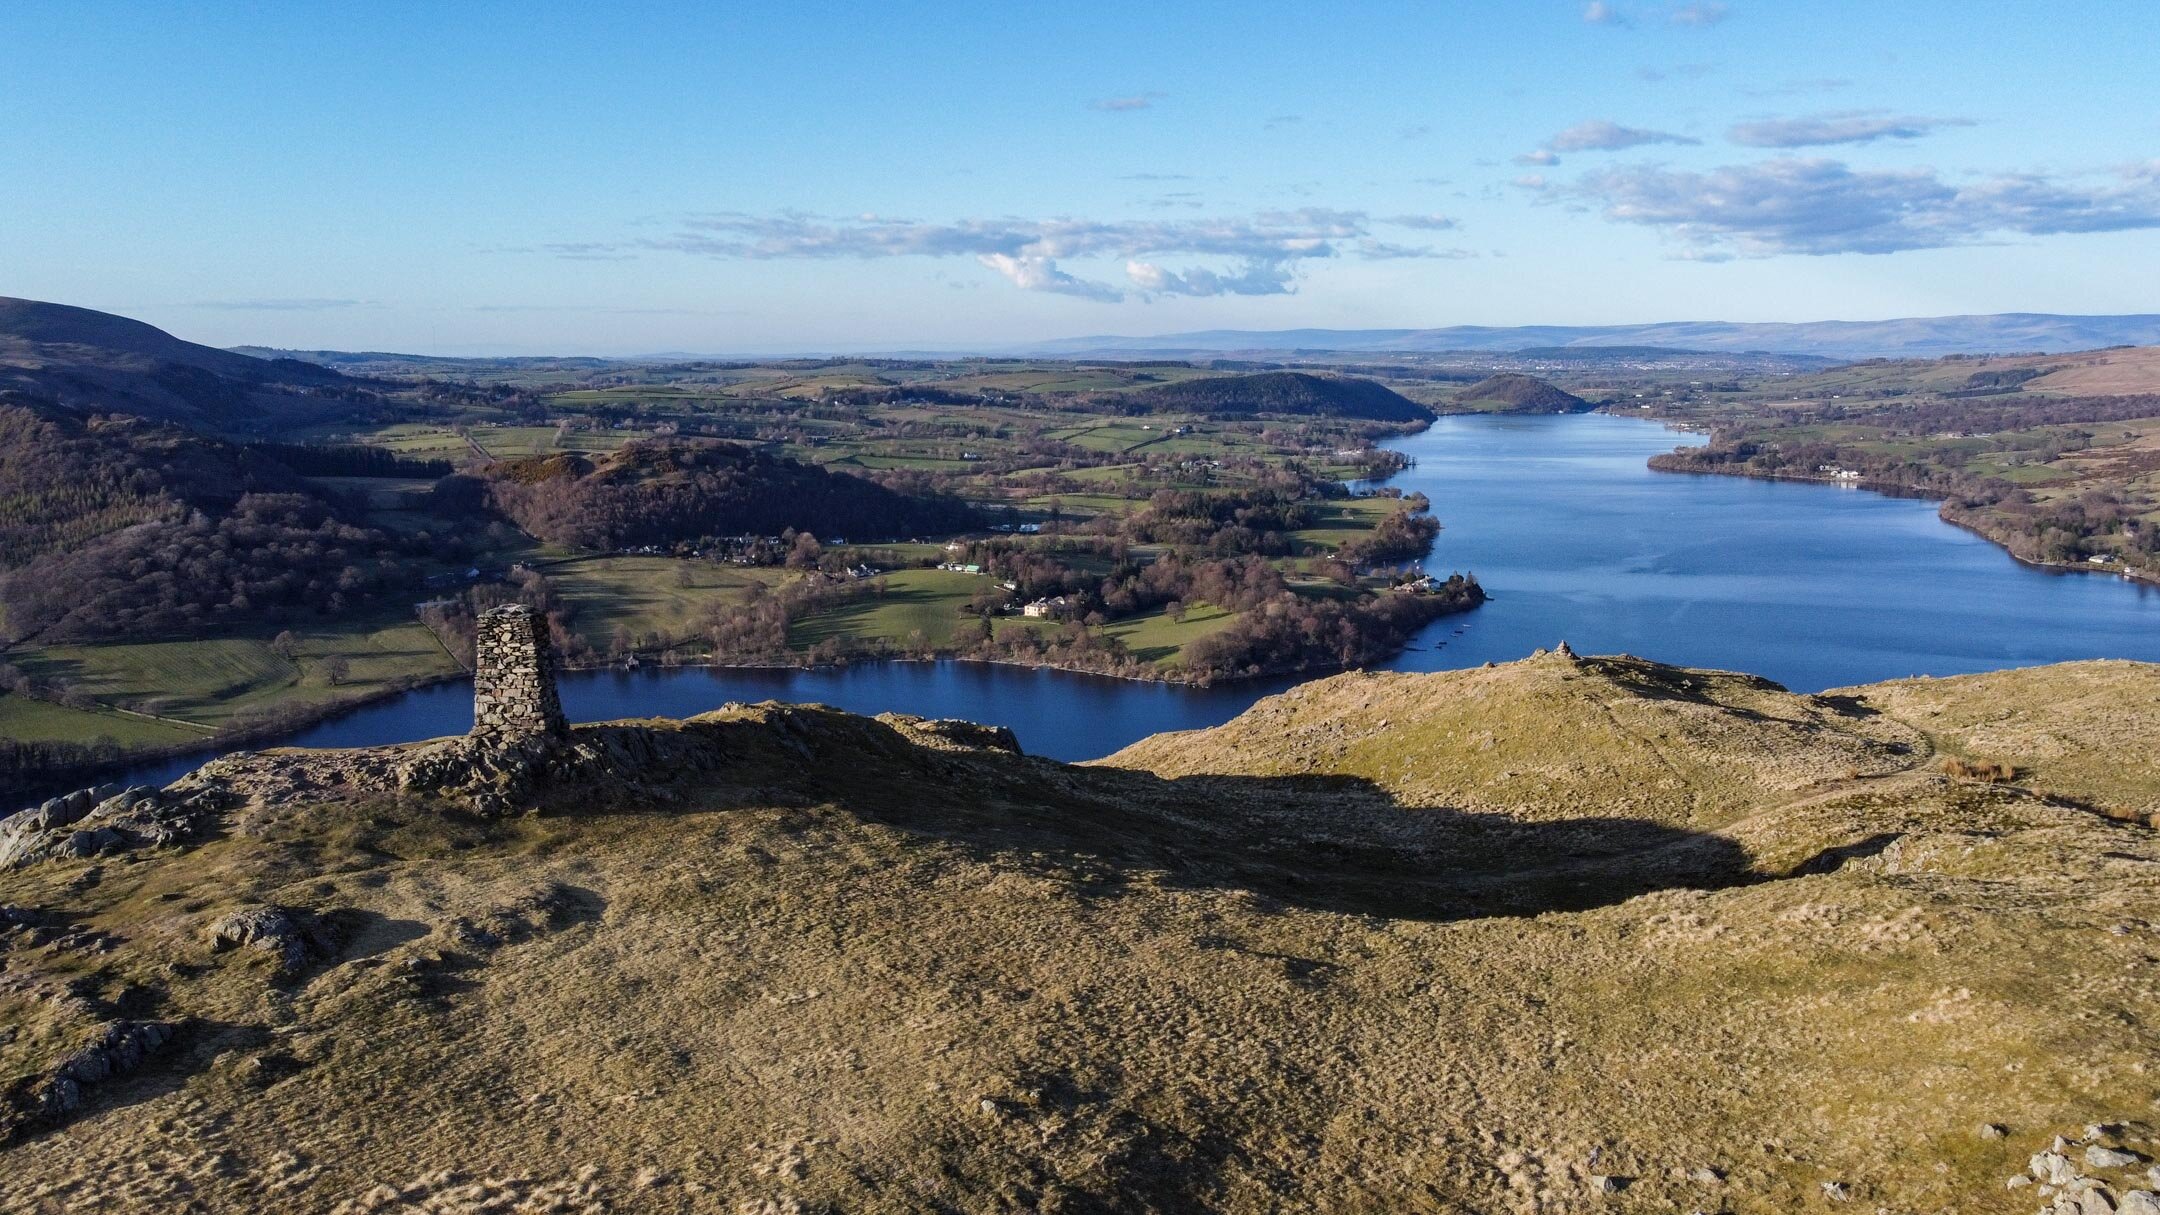
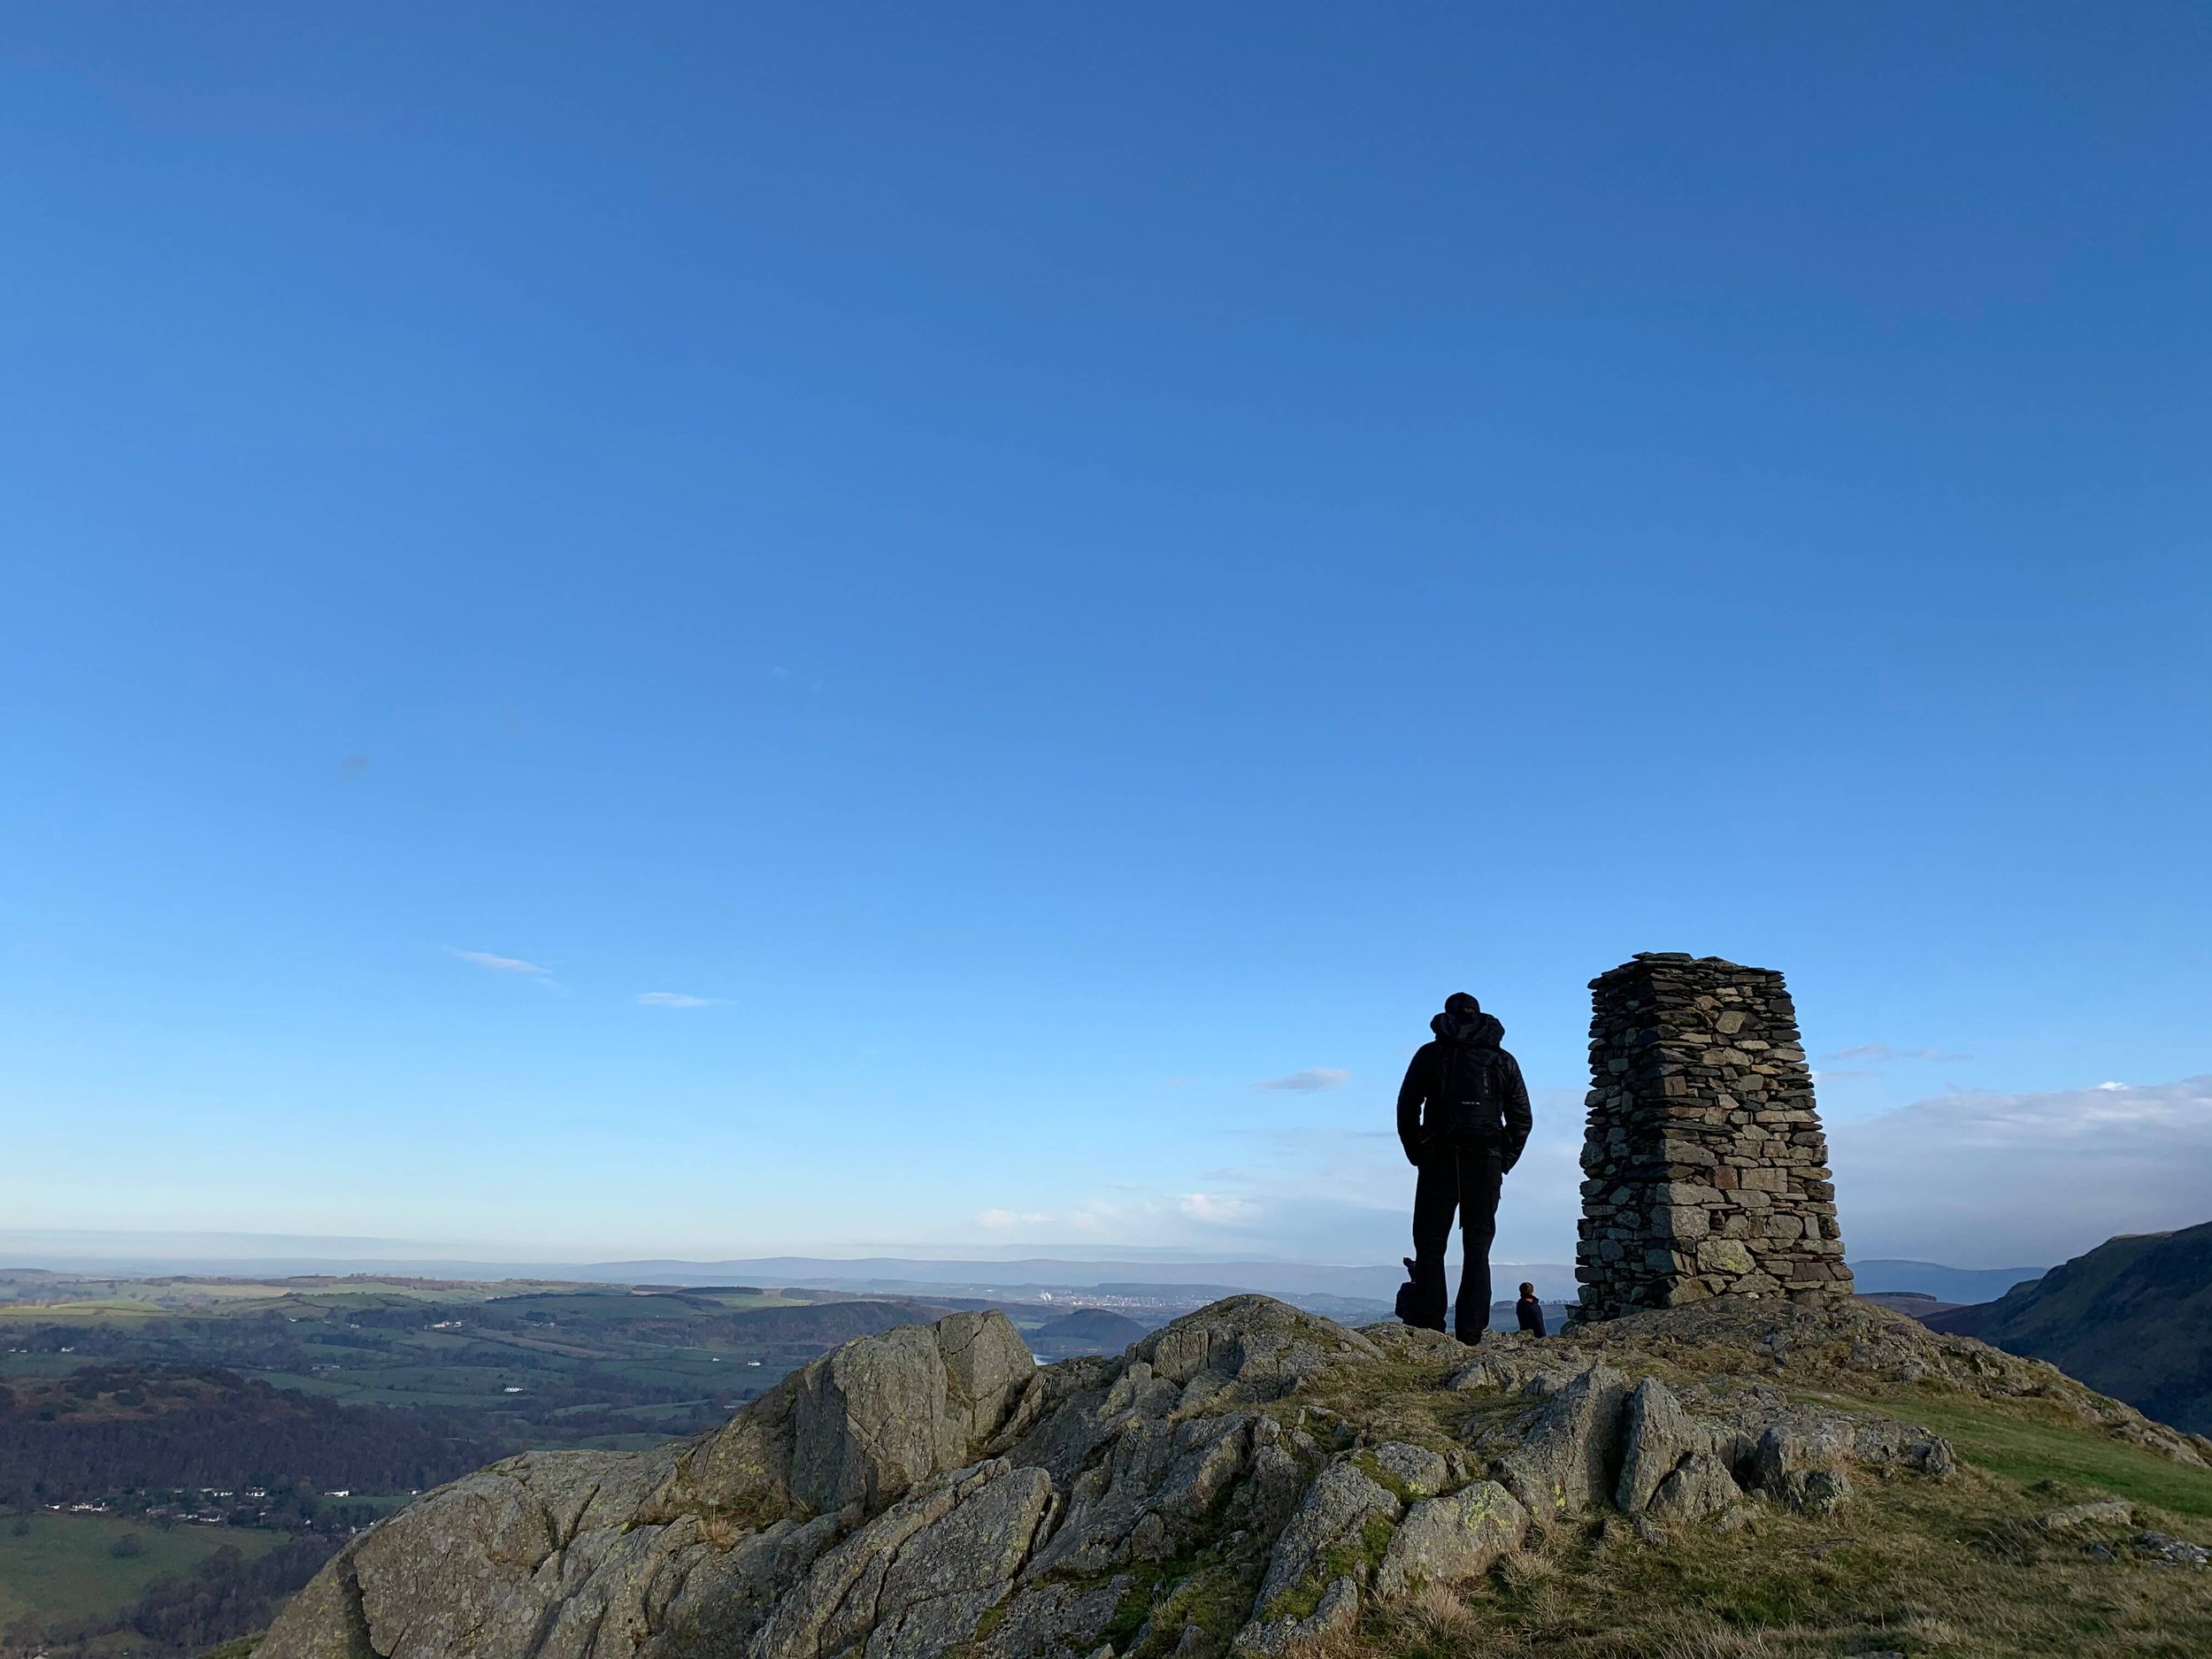
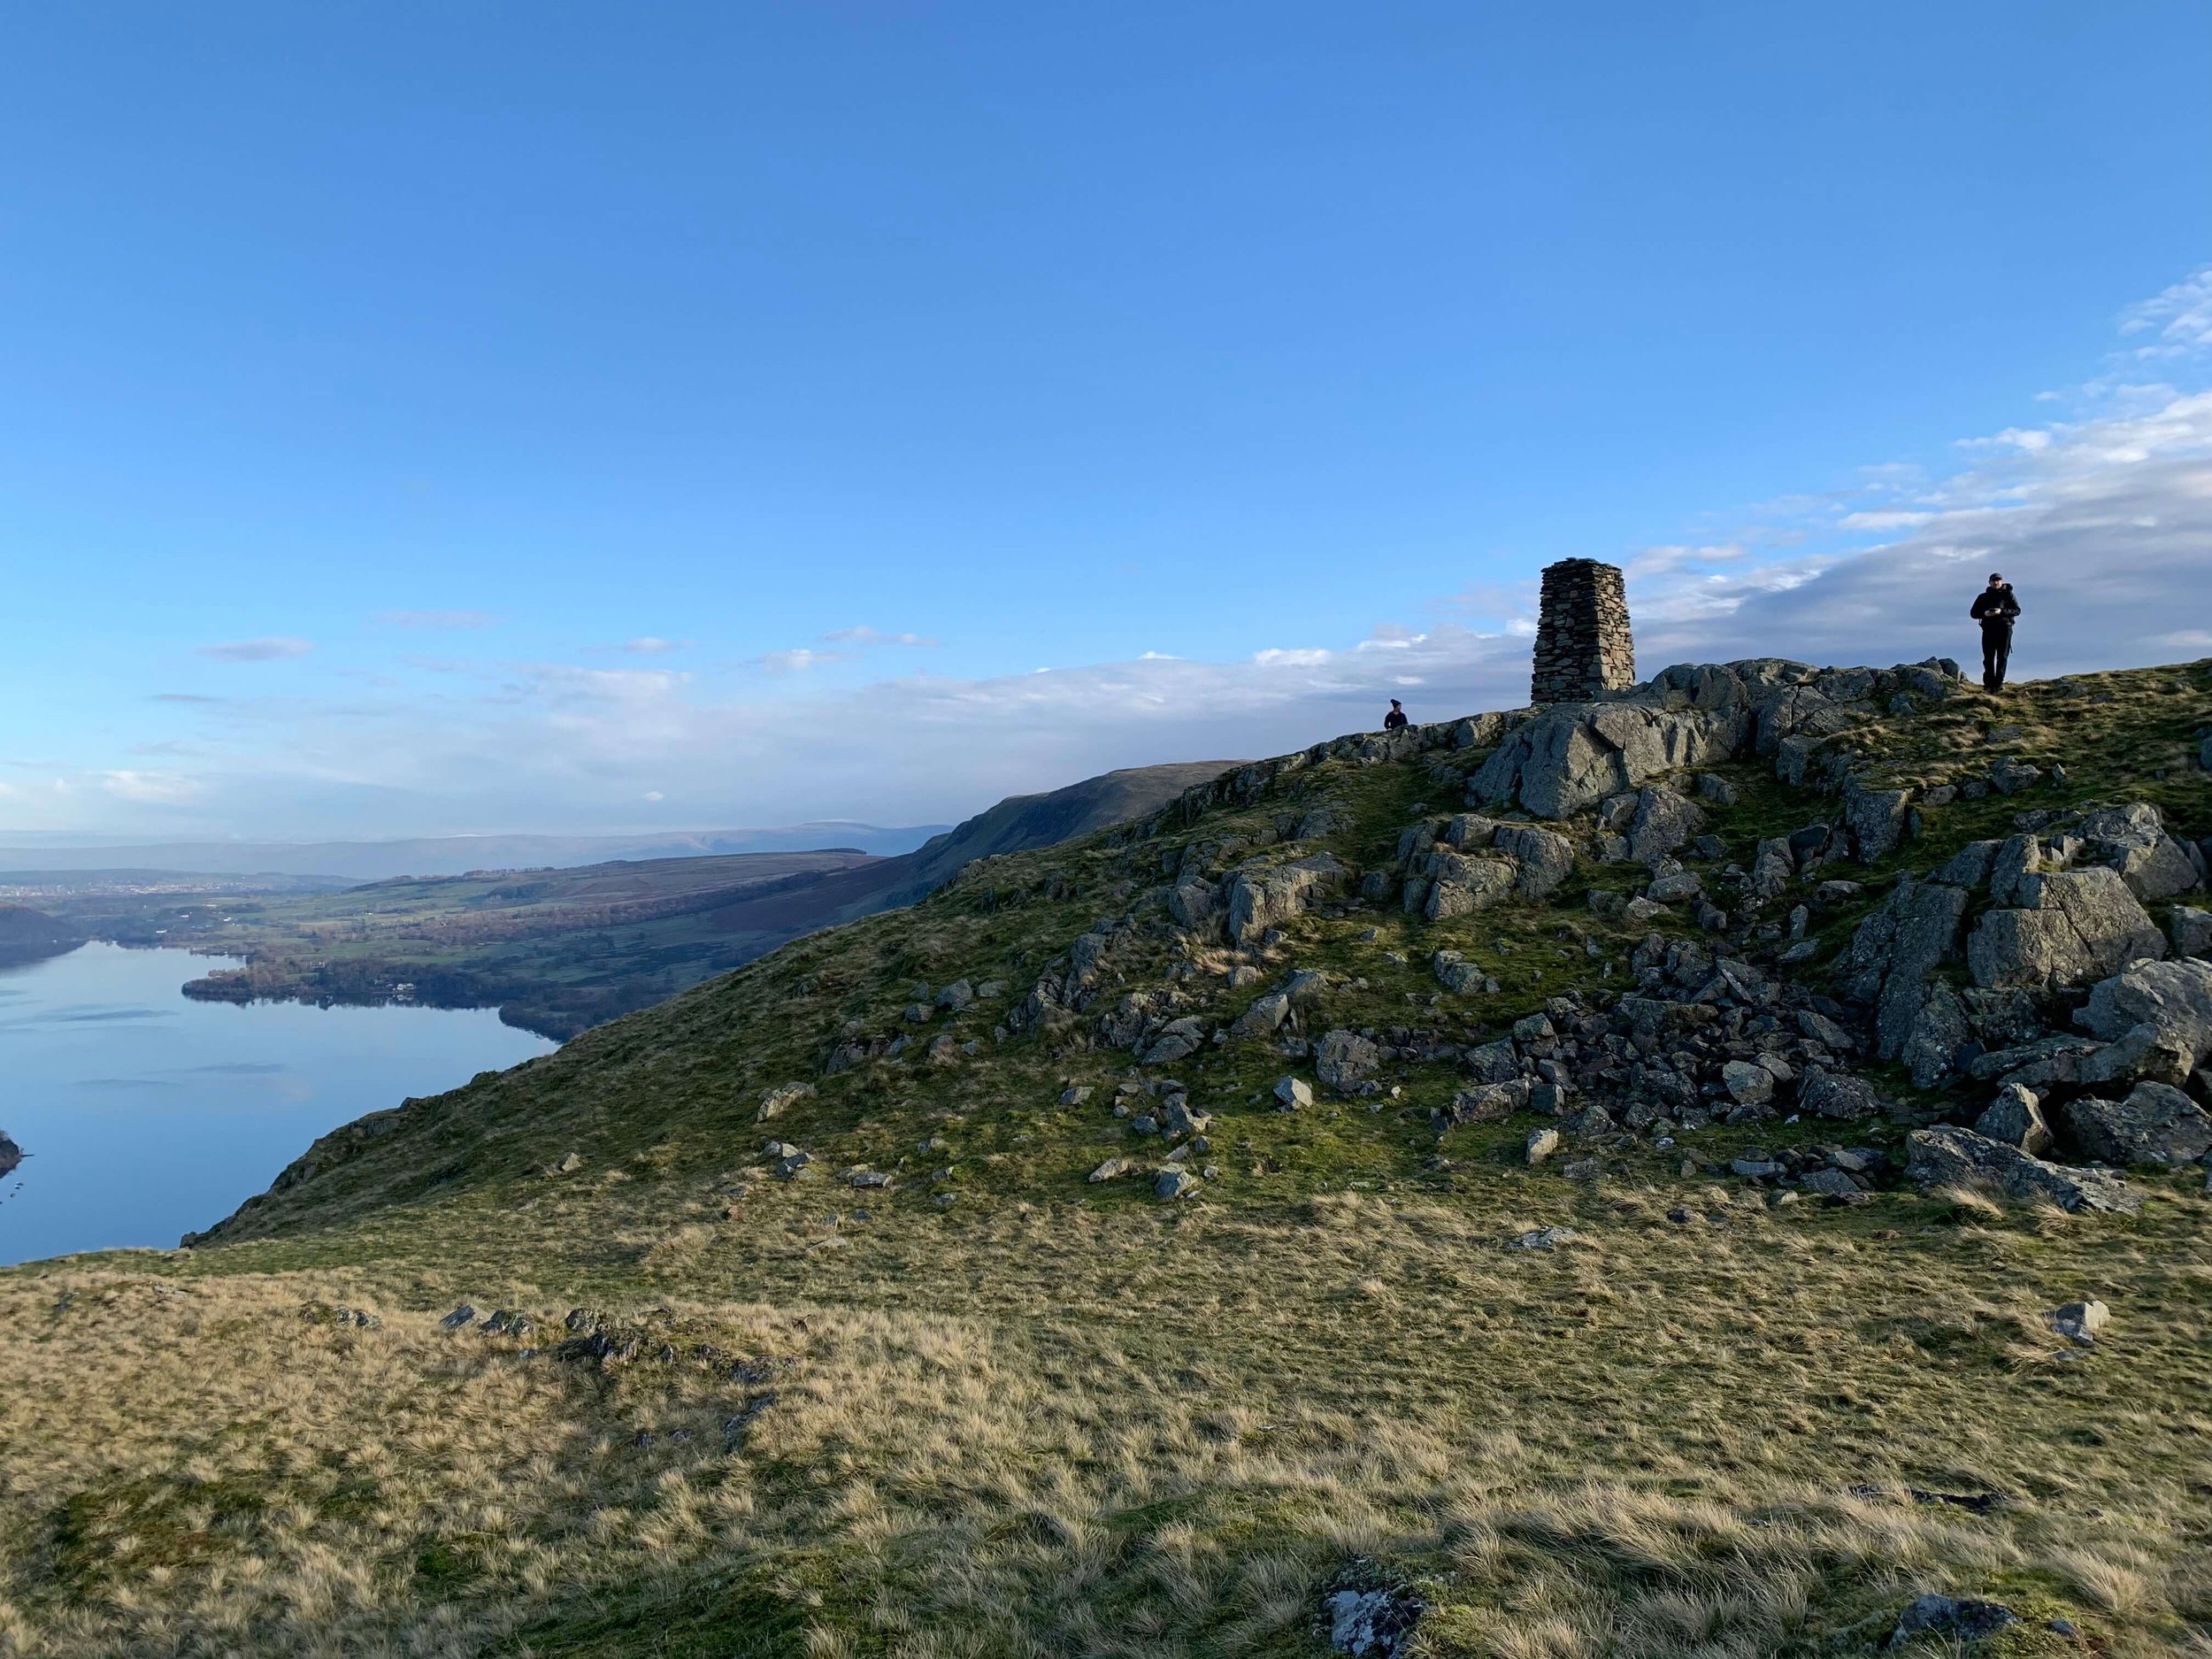
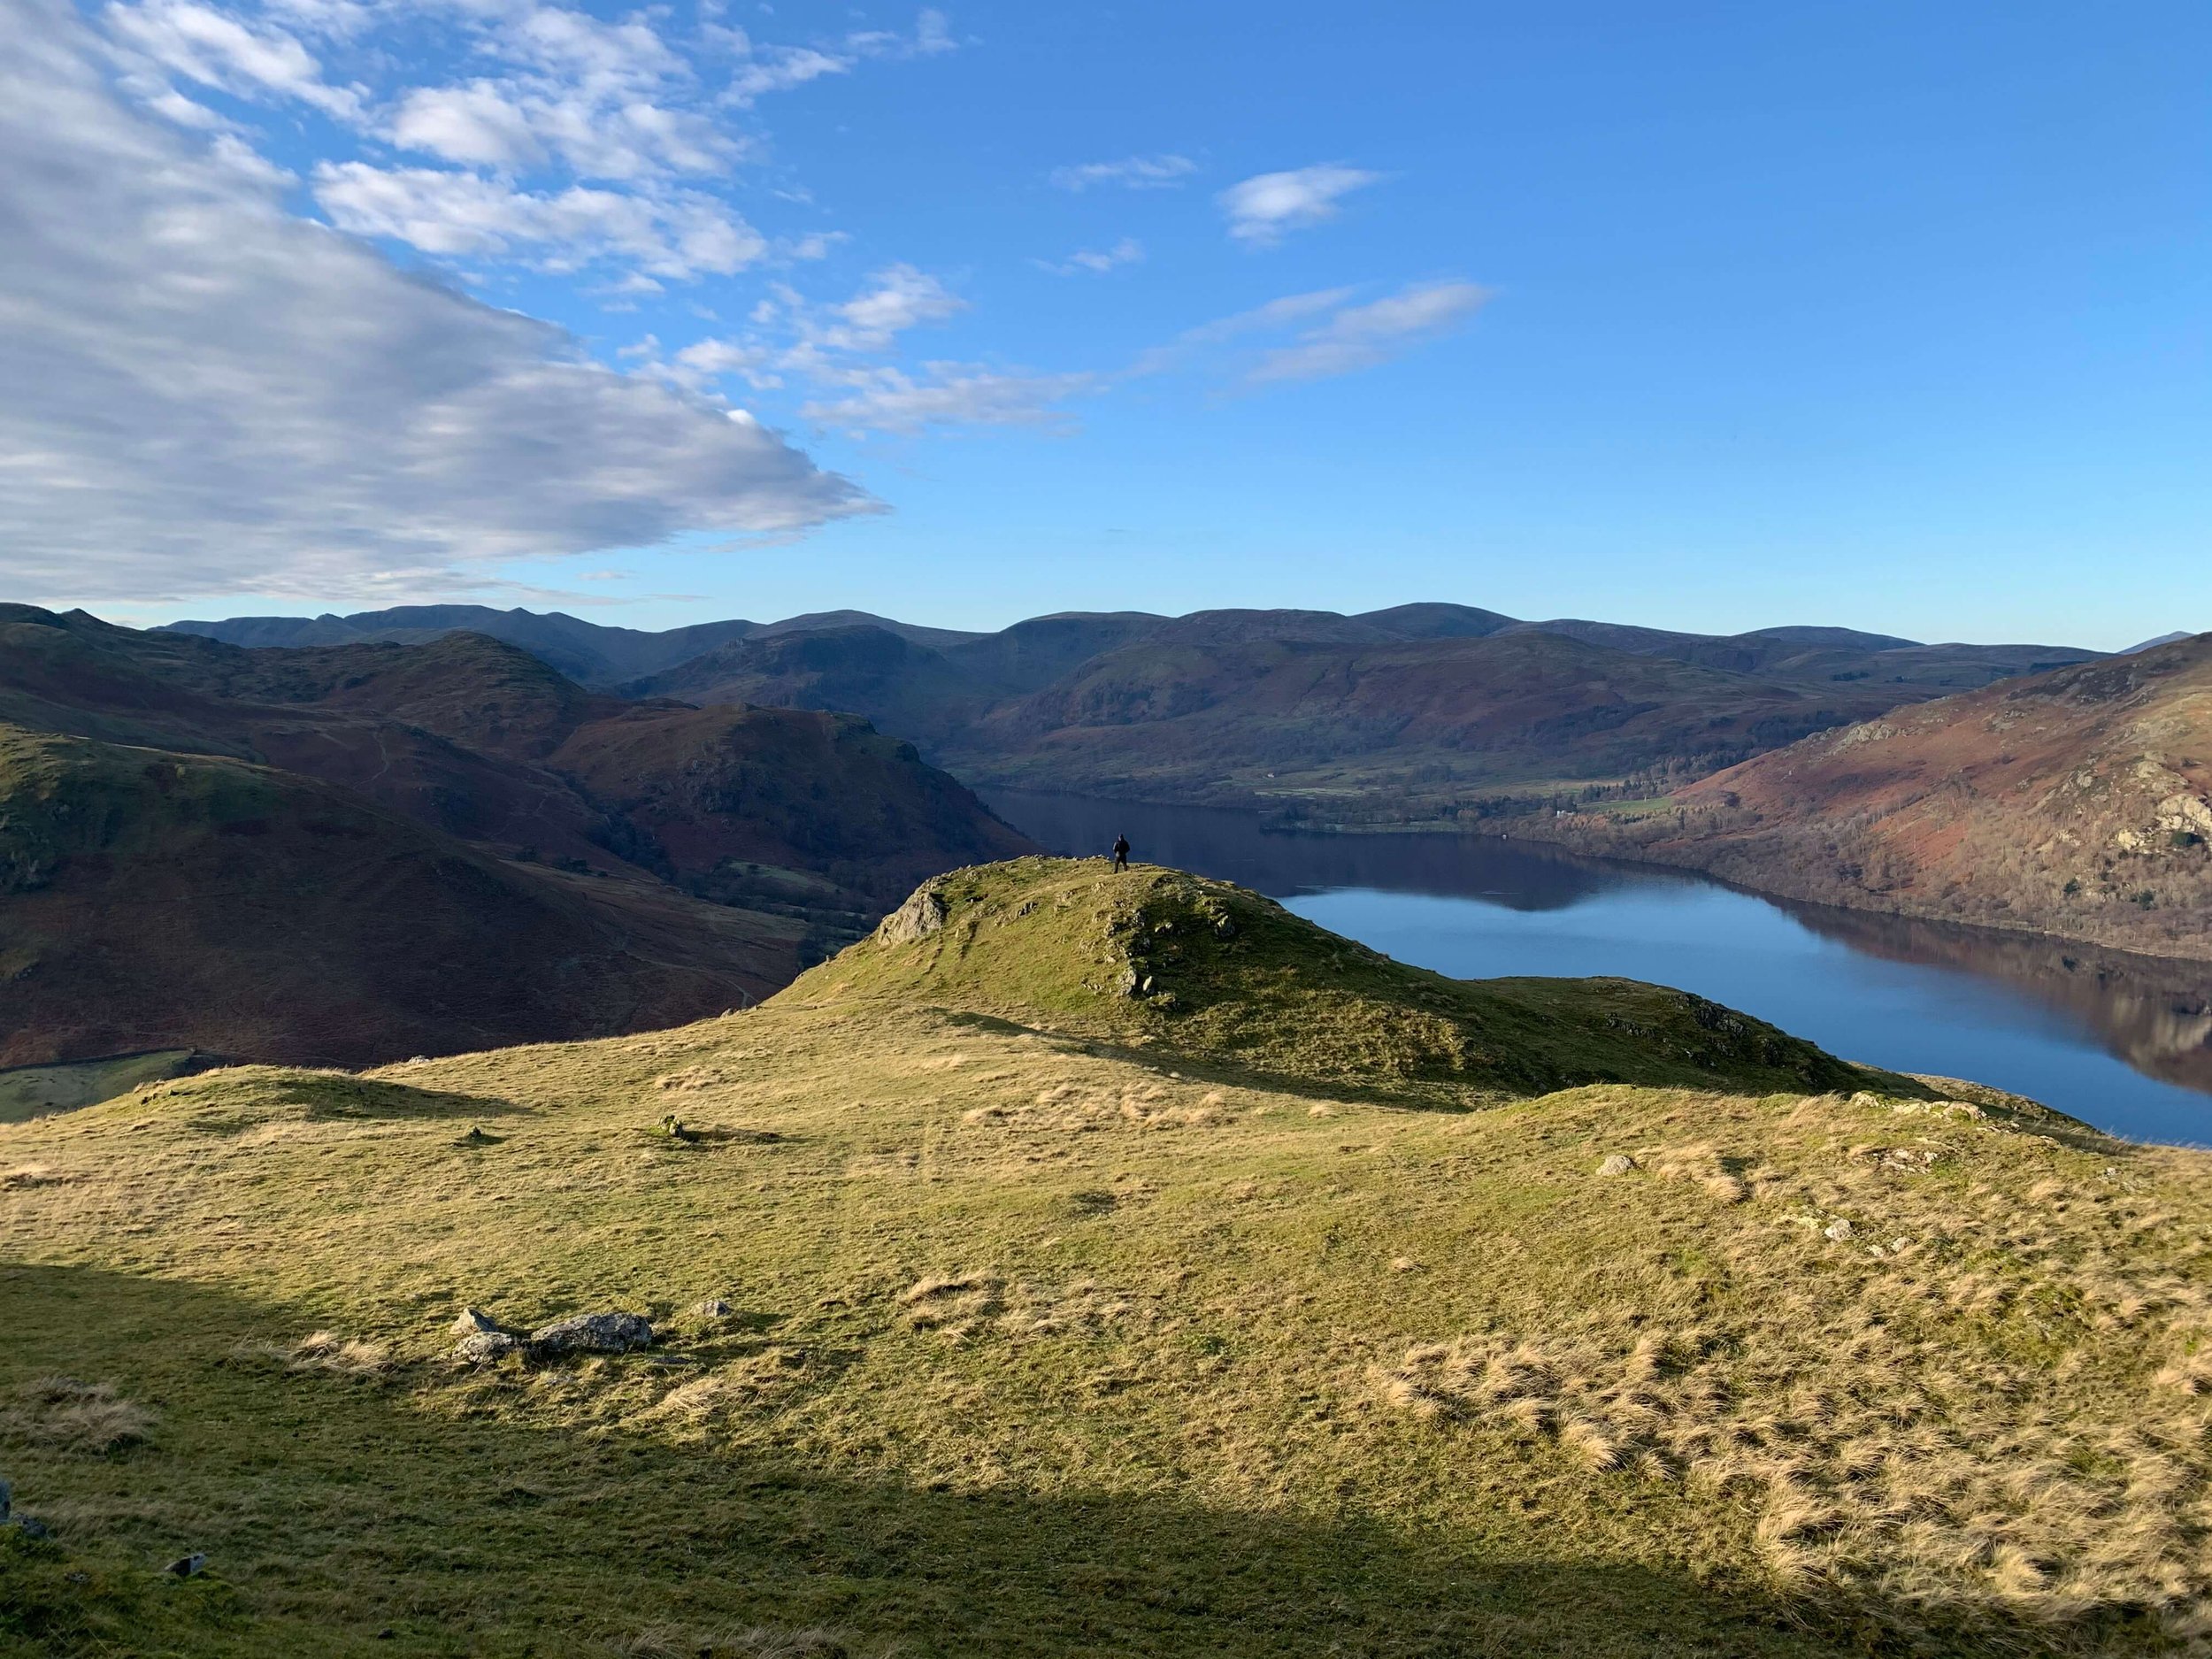
One of the most impressive parts of this route up Hallin Fell is just how well the path hides the views of Ullswater until, at the last minute, revealing stunning views of the lake on three sides of the fell. As you round the final bend at the top of the path the Obelisk reveals itself and it is hard not to feel blown away, and not by the Cumbrian wind. The views from Hallin Fell rival many places in the world where hills and mountains meet lakes or water. And it is this, combined with the simplicity of the walk, that makes Hallin Fell popular with walkers from all over the UK.
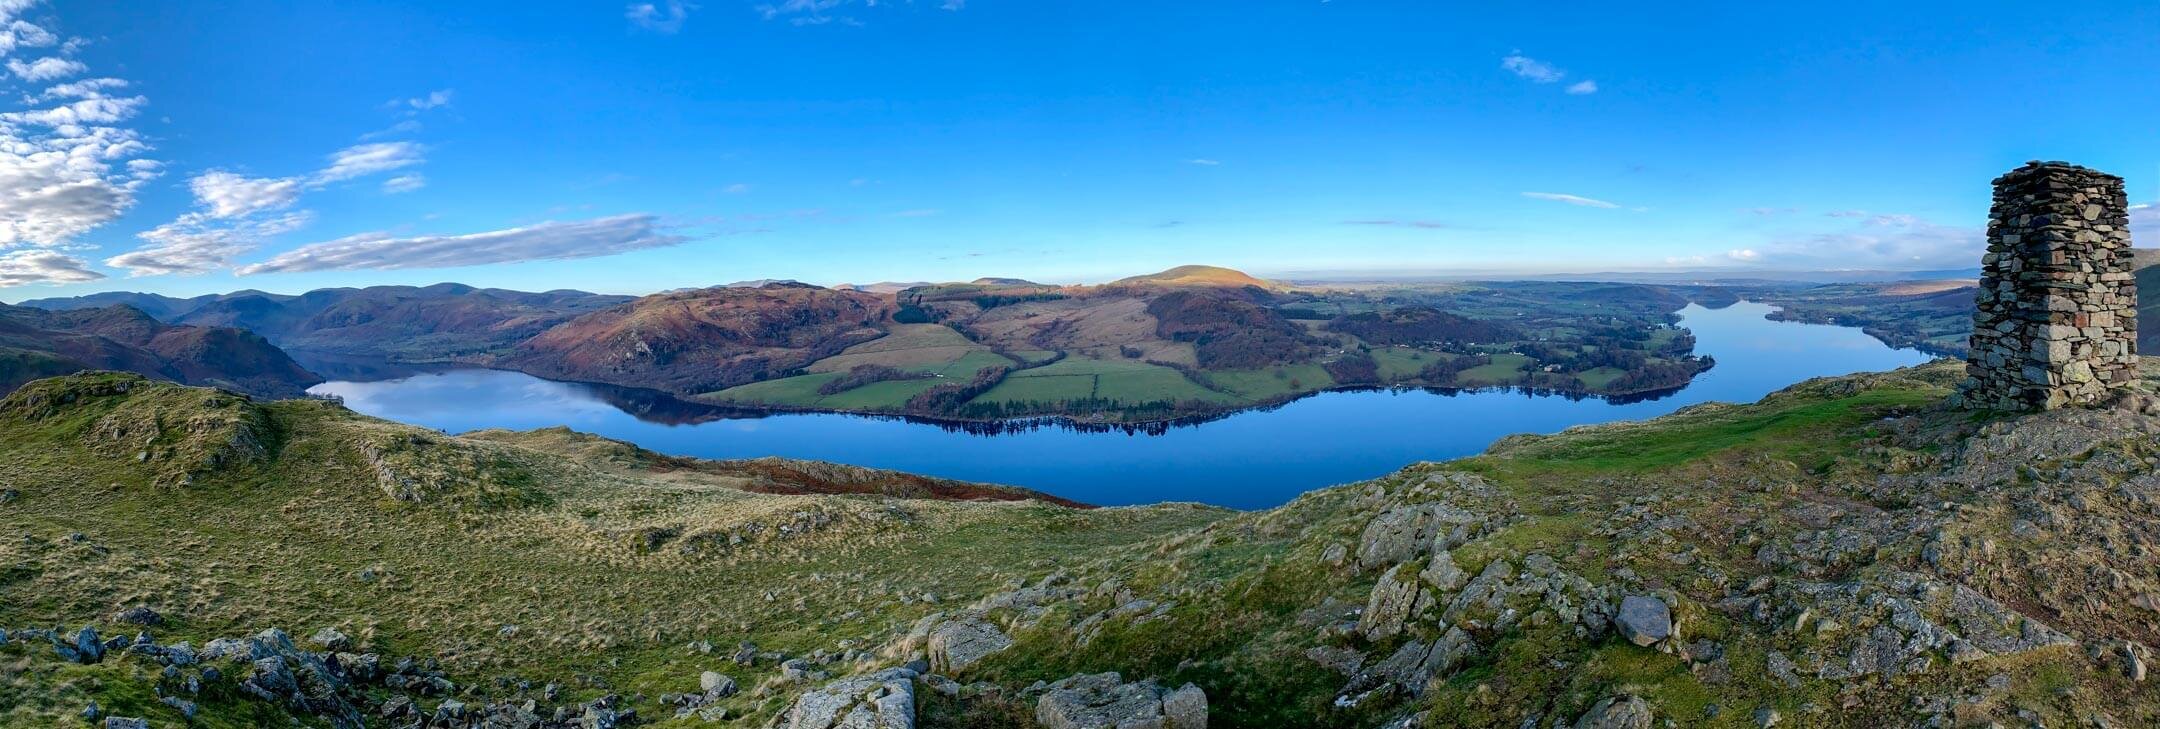
Incredible views from atop Hallin Fell
After you have filled your camera roll with the many epic panoramas visible from atop Hallin Fell it is time to descend. Again you have options here, however a personal favourite of mine is the steep route to the east leading back to Waternook. This route should be avoided in adverse whether as the gradient can make it difficult to maintain footing. In fair weather or for those experienced and prepared this pathway drops away towards the banks of the lake allowing the scenery to open up around you. It is from this descent that you will find your way back onto the original path leading to the staircase and Howtown.

Path back down Hallin Fell looking back towards Pooley Bridge and Dunmallard Hill
TOP TIPS FOR WALKING STEEL KNOTTS AND HALLIN FELL
Whether you are planning to park in Howtown or Martindale be prepared to set off early at peak times. During weekends, evenings and holiday periods Martindale and Howtown are popular so plan accordingly. With this in mind if you arrive in Howtown or Martindale and find there is no parking don’t be that person who blocks the road by parking in a passing place!
There are steep sections on this walk so do some forward planning and allow for rest breaks. Hiking poles are a godsend on steeper pitches and can help relieve backspin if carrying a pack.
Pack for a change in weather. This walk should take a moderately fit individual a two-three hours. Weather wise a lot can change in that time so consider packing some layers in your backpack.
The paths are fairly clear but bring some navigation to help you if adverse weather should arise. You can follow my route on the OS Maps App here.
If you are relying on your phone for navigation, bring a battery pack or a way to charge your device.
Take some lunch with you! There are so many nice spots to stop, eat and enjoy the views.
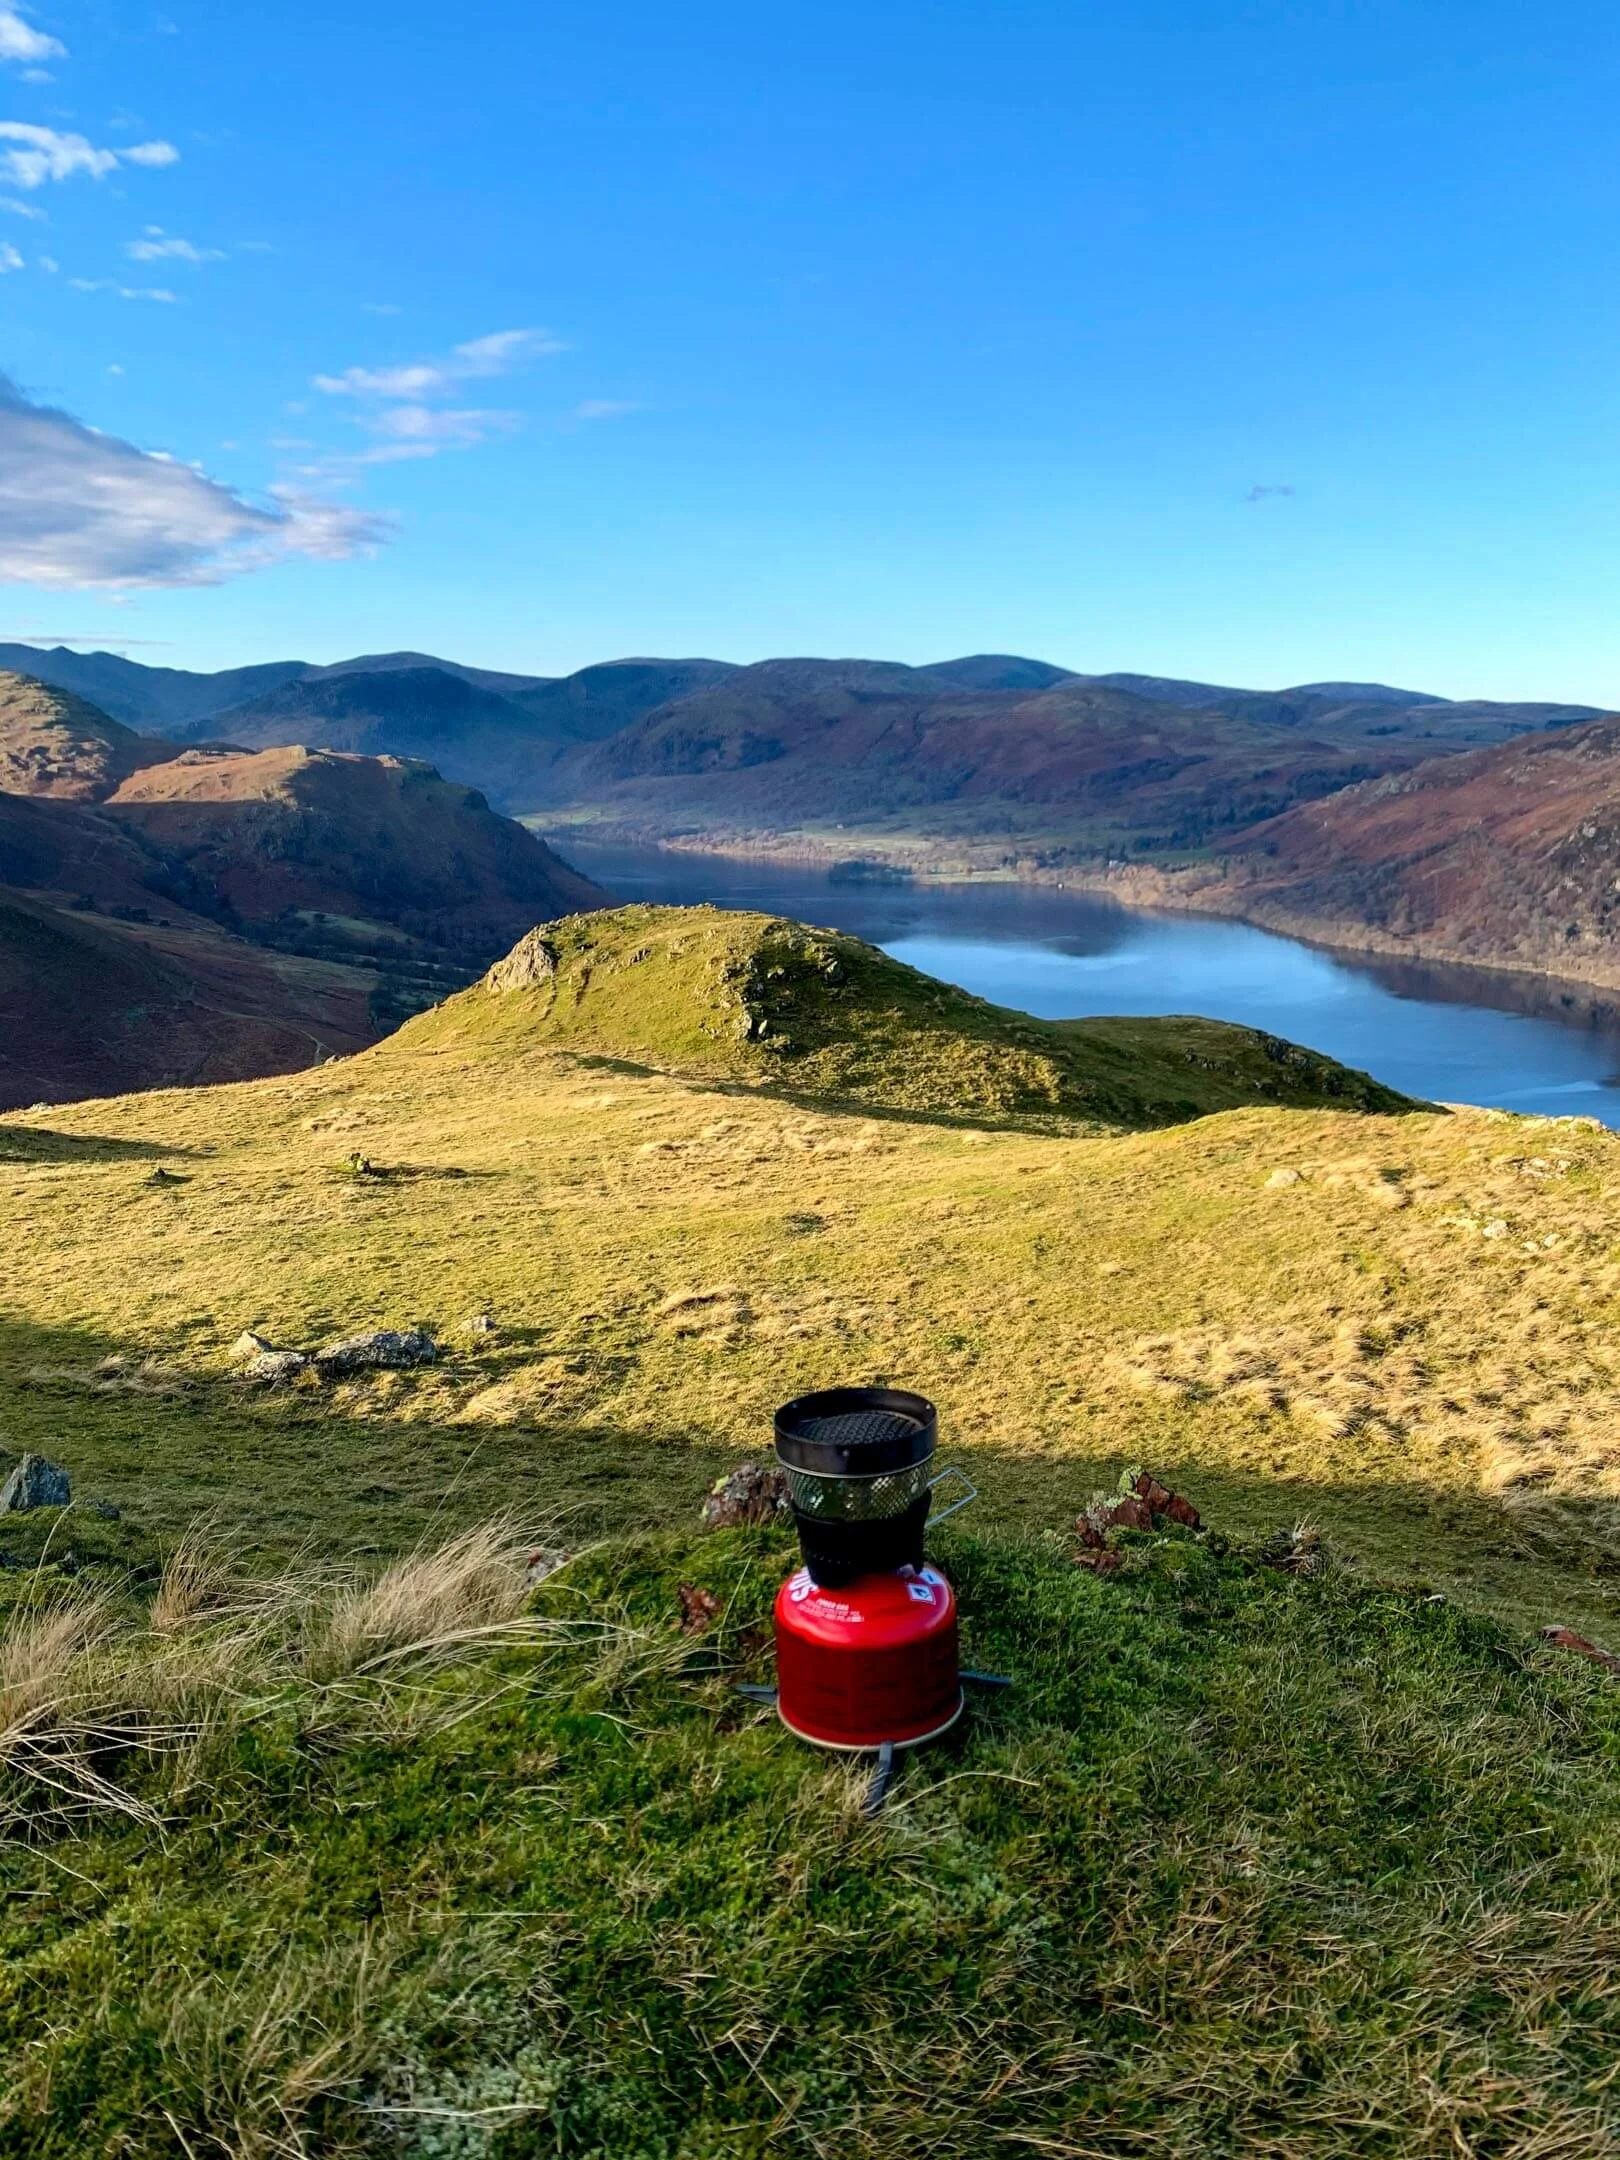
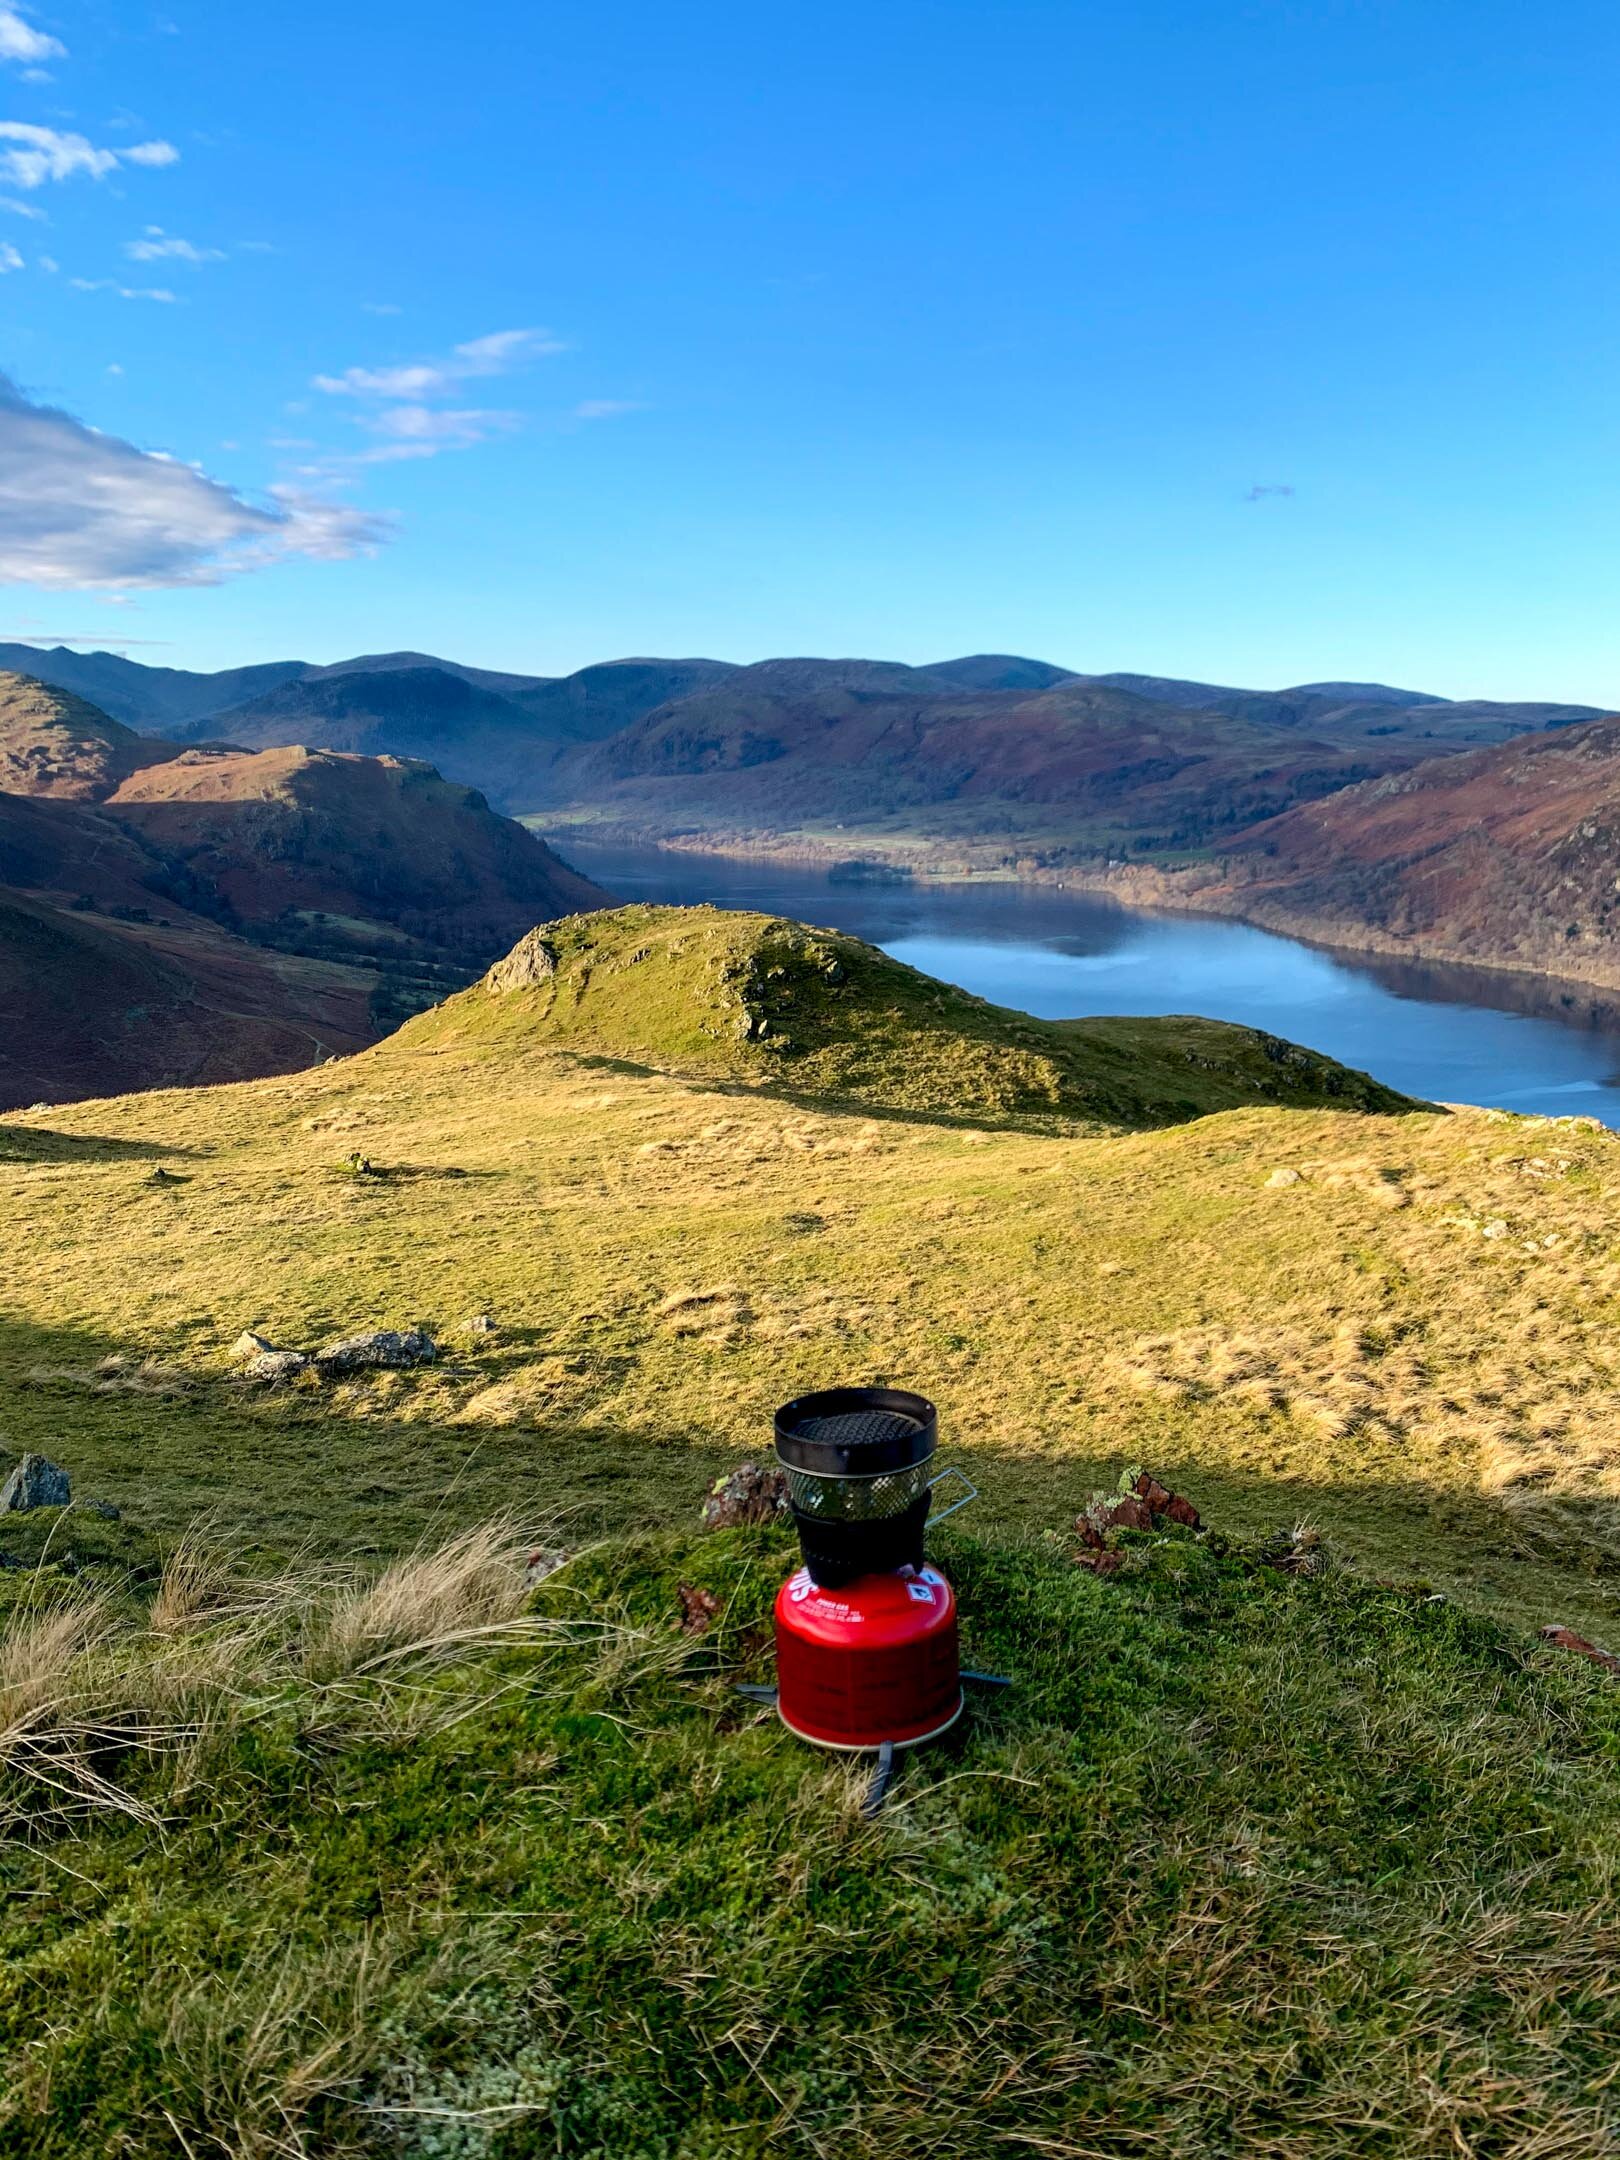
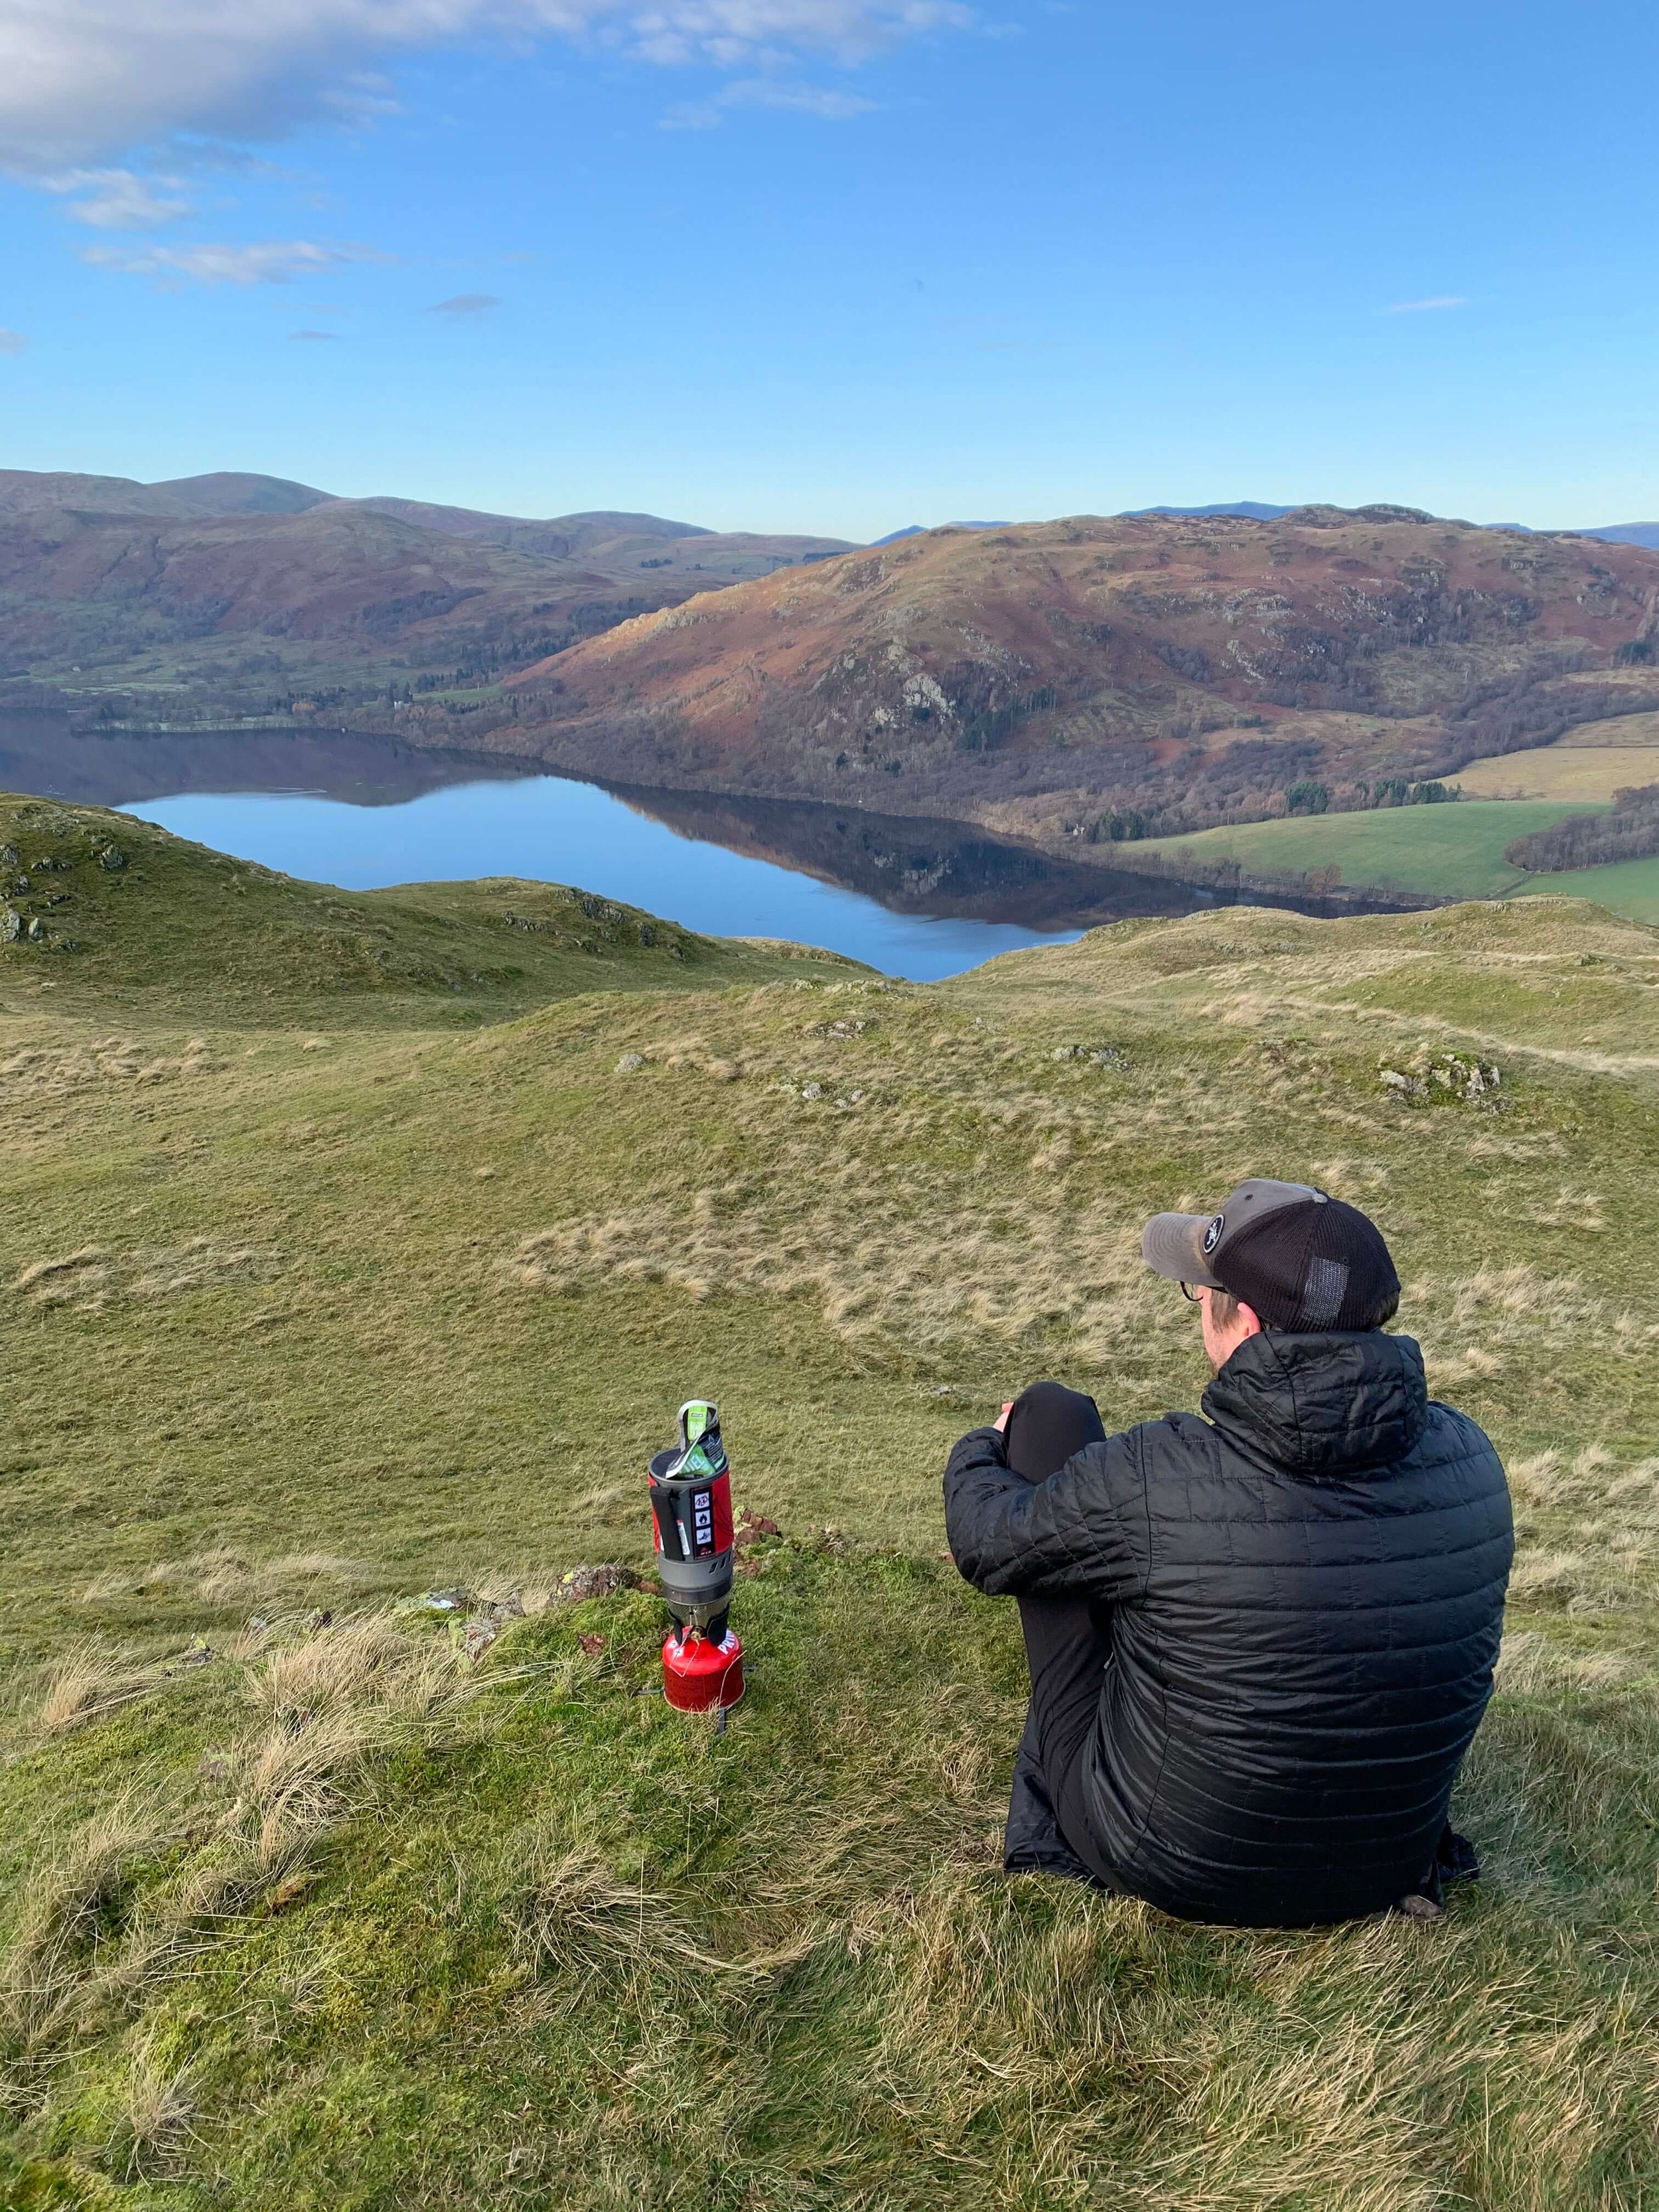
Preparing for breakfast on Hallin Fell
Are you planning a Steel Knotts & Hallin Fell Walk? Feel Free to ask me any questions in the comments!
Thanks for reading this post. If this post provided value for you then you can support me in making future content by using the link to Buymeacoffee. Alternatively, you can use the tip jar:https://paypal.me/sjburgess87?locale

Views from atop Steel Knotts

Hallin Fell | Wainwrights Far Eastern Fells
Hallin Fell sits at the eastern edge of Ullswater, a compact but memorable fell that punches well above its modest height. Unlike the more sprawling ridgelines of the Central Fells, Hallin Fell is a distinct, dome-shaped hill whose steep slopes rise sharply from the water and the surrounding lowlands. Its summit offers one of the finest, most concentrated panoramas in the Lake District: a sweeping view down Ullswater with the Helvellyn range forming a dramatic backdrop.
If you’re aiming for a quick, satisfying outing with minimal navigation yet maximum views, Hallin Fell is one of the Lake District’s best short climbs. Below I’ll lay out the essentials so you can decide how to fit it into your day.
Hallin Fell Summit
HALLIN FELL INFORMATION
Hallin Fell is a small but striking fell located on the east side of Ullswater in the Lake District, Cumbria, England. Rising to 388 meters, it sits above the village of Howtown and forms a compact, rounded outcrop that offers surprisingly panoramic views for its modest height. Its distinctive, isolated position at the head of Glenridding gives it a strong visual identity from many vantage points around the lake.
Access and routes
From Howtown: The most common approach starts in Howtown. Follow the path that climbs steadily up the southern slopes; paths are clear but can be steep in places. This route is short — roughly 2–3 miles round trip depending on start point — making Hallin Fell popular for a quick outing.
From Glenridding / Patterdale: You can reach Hallin Fell by following the ridge from the lower slopes above Glenridding or by linking it with a stroll along Ullswater’s eastern shore. Combine it with a lakeside walk for a longer day.
Circular options: A pleasant circular walk can be made by combining the Howtown ascent with a descent toward Patterdale or back along the lakeshore, giving varied views of Ullswater. Equally my chosen route combined the fell tops of Hallin Fell and Steel Knotts.
Terrain and difficulty
Terrain is mostly grassy with some rocky sections near the summit. Paths are well-trodden but can be muddy after rain.
The climb is relatively short and suitable for walkers of moderate fitness. No technical scrambling is required. Good footwear and basic hill navigation skills are recommended, especially in low cloud.
Views and features
The summit offers one of the most famous and rewarding short-walk viewpoints in the Lakes: you get a clear, elevated view down the length of Ullswater, with Helvellyn and the high fells forming the distant backdrop.
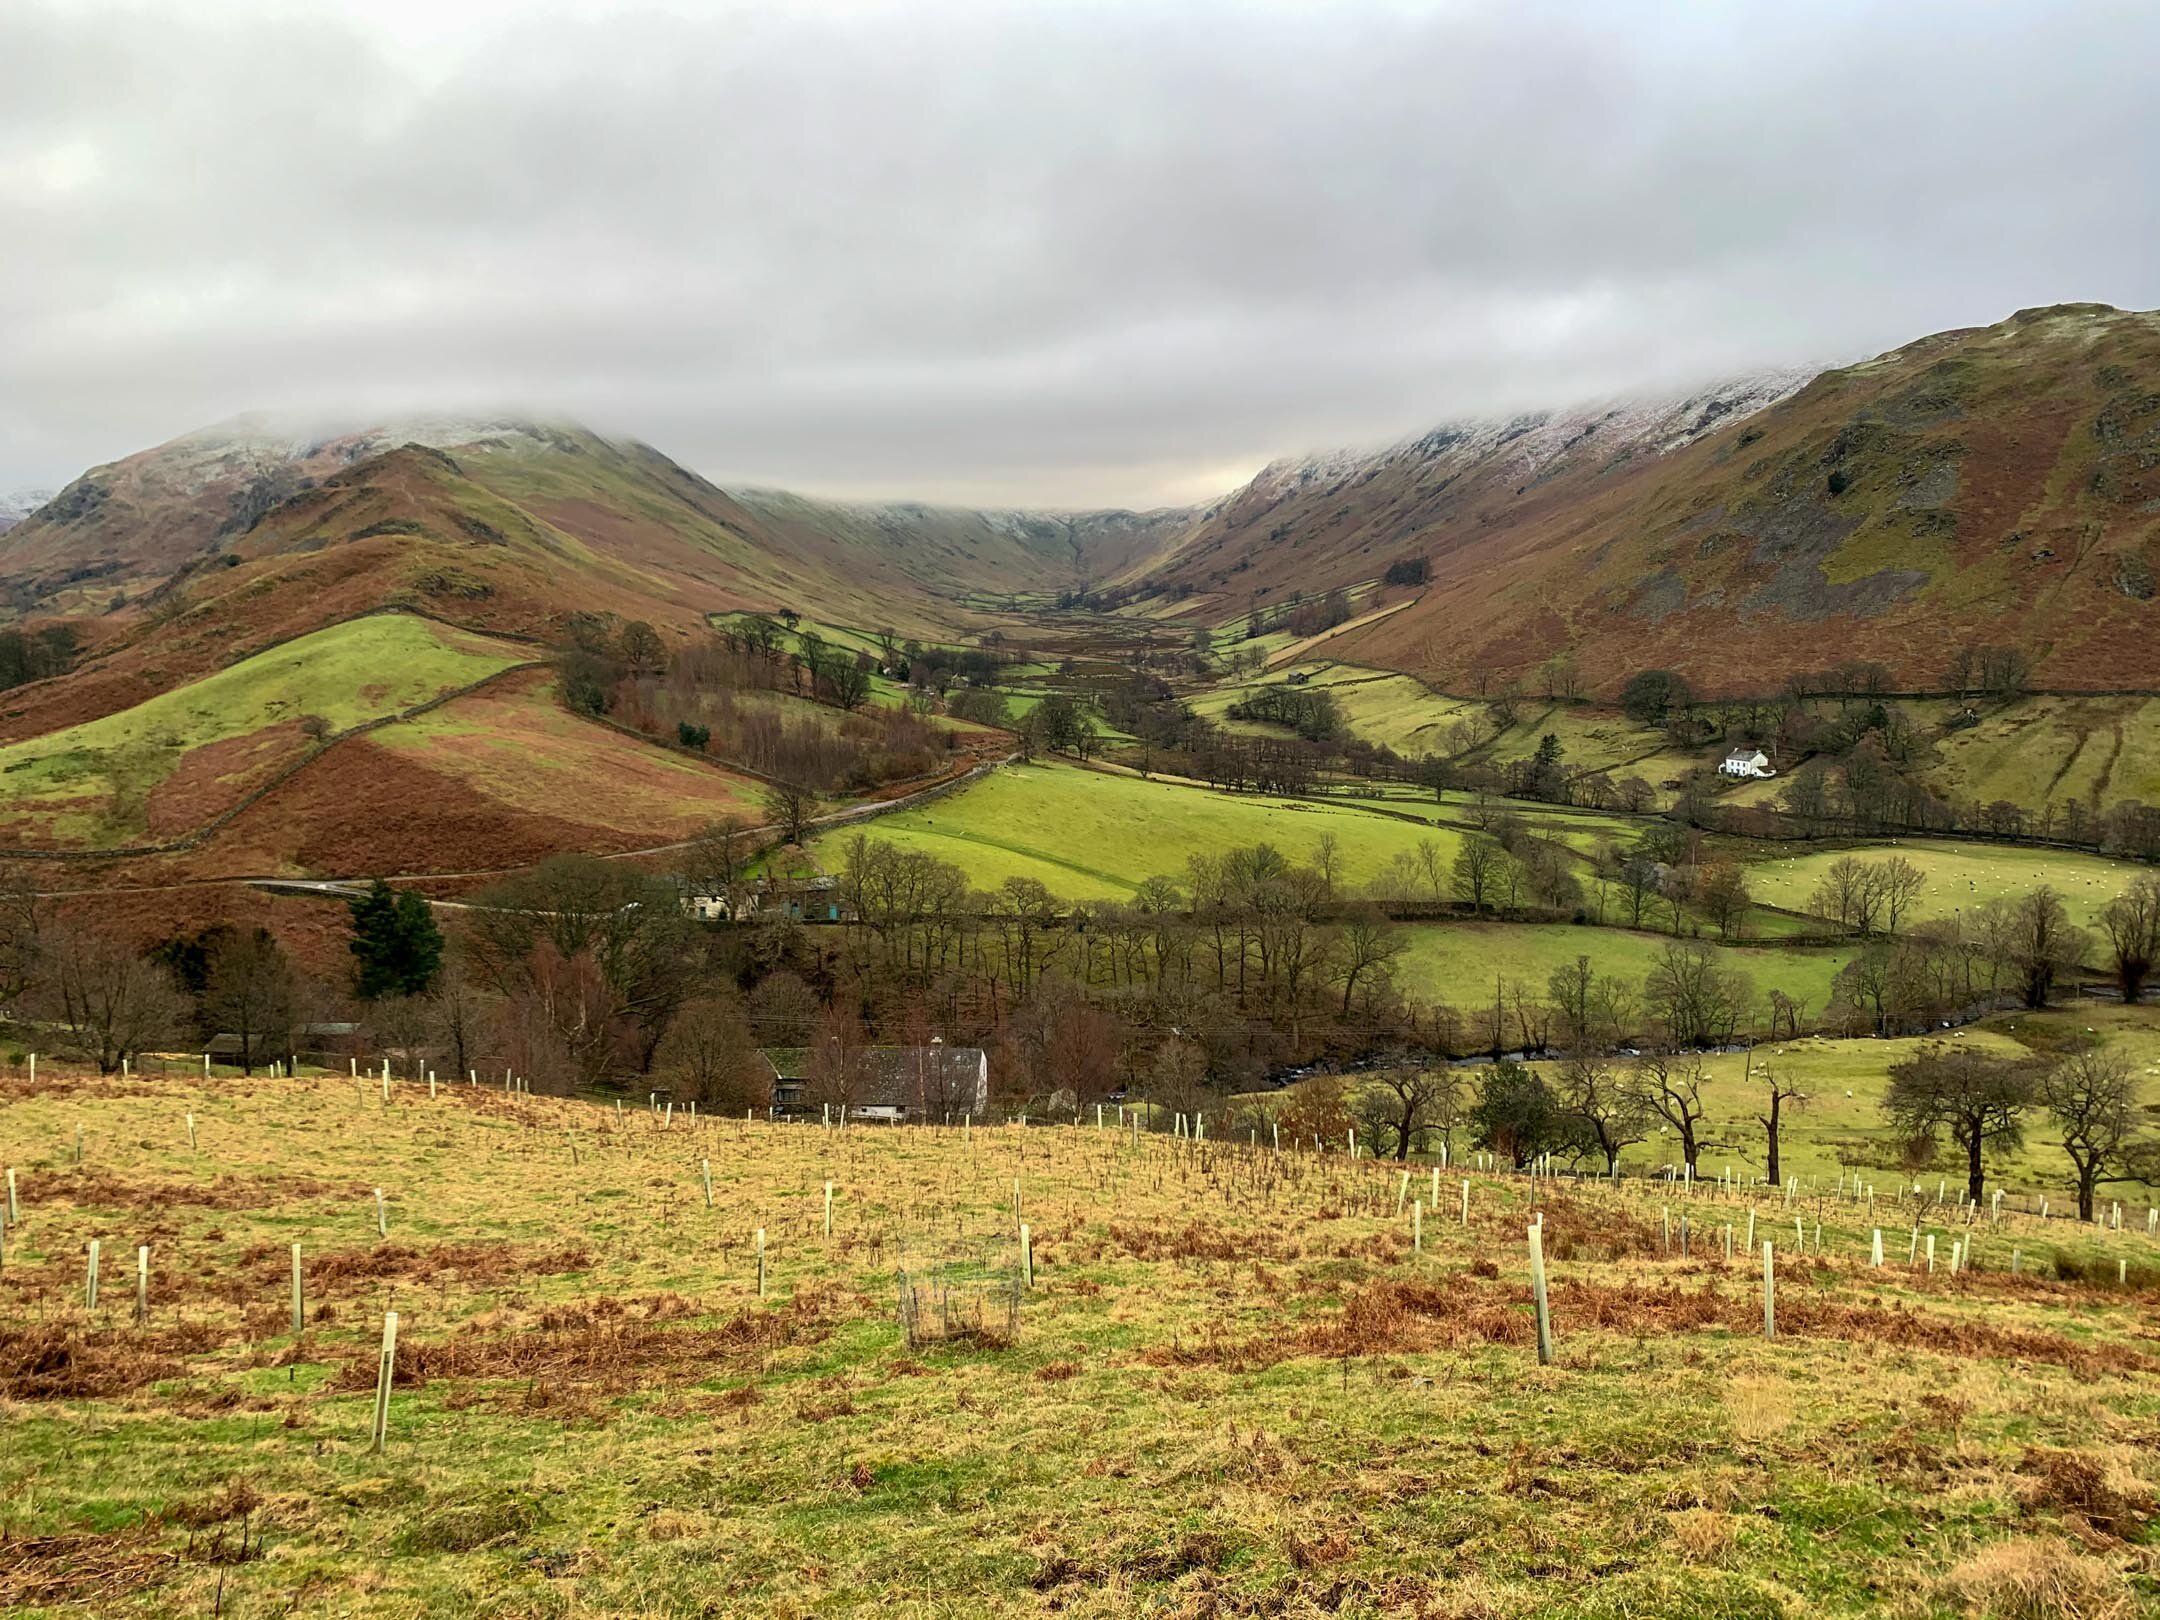
The fell’s shape creates a natural amphitheater effect looking over Howtown and the north-eastern end of the lake.
Birdlife and sheep are common; spring and summer bring wildflowers on the slopes.
Practical considerations
Parking: Limited parking is available in Howtown and nearby laybys; Glenridding has larger parking and better transport links. Parking also available in Martindale, but can fill up fast on busy summer days.
Transport: Hallin Fell is accessible by road and by seasonal passenger boats on Ullswater that call at Howtown, which can make for a scenic arrival or return leg.
Facilities: There are no facilities on the fell itself. Pubs, cafes, and accommodation are available in Glenridding, Patterdale, and Pooley Bridge.
Best times: The fell is enjoyable year-round. For fewer crowds, visit early morning or shoulder seasons.
Hallin Fell is ideal if you want a short, accessible walk that delivers classic Lake District views without a long, strenuous ascent. Its compact route, dramatic outlook over Ullswater, and easy combination with lakeside walks or boat trips make it a great choice for families, day-trippers, and those working in a mixed itinerary of hiking and sightseeing.
HEIGHT IN METRES 388m
HEIGHT IN FEET 1273ft
RANGE Far Eastern Fells
GRID REFERENCE NY 433198
HALLIN FELL VIDEO
WHERE IS HALLIN FELL ?
From Penrith follow the A66 eastbound to the turn for Pooley Bridge, then take the B5320 into the village; parking is available by the bridge and at the public car park if you are taking the Ullswater Steamer to Howtown. If driving to Martindale, there is a narrow road that winds its way around the banks of Ullswater, past Parkfoot holiday camp and onwards to Howtown. Be sure to take note of the last passing place as its not uncommon to need to reverse back to let other cars pass. Once in Howtown, you can take the winding road up to Martindale where parking is possible by the church.
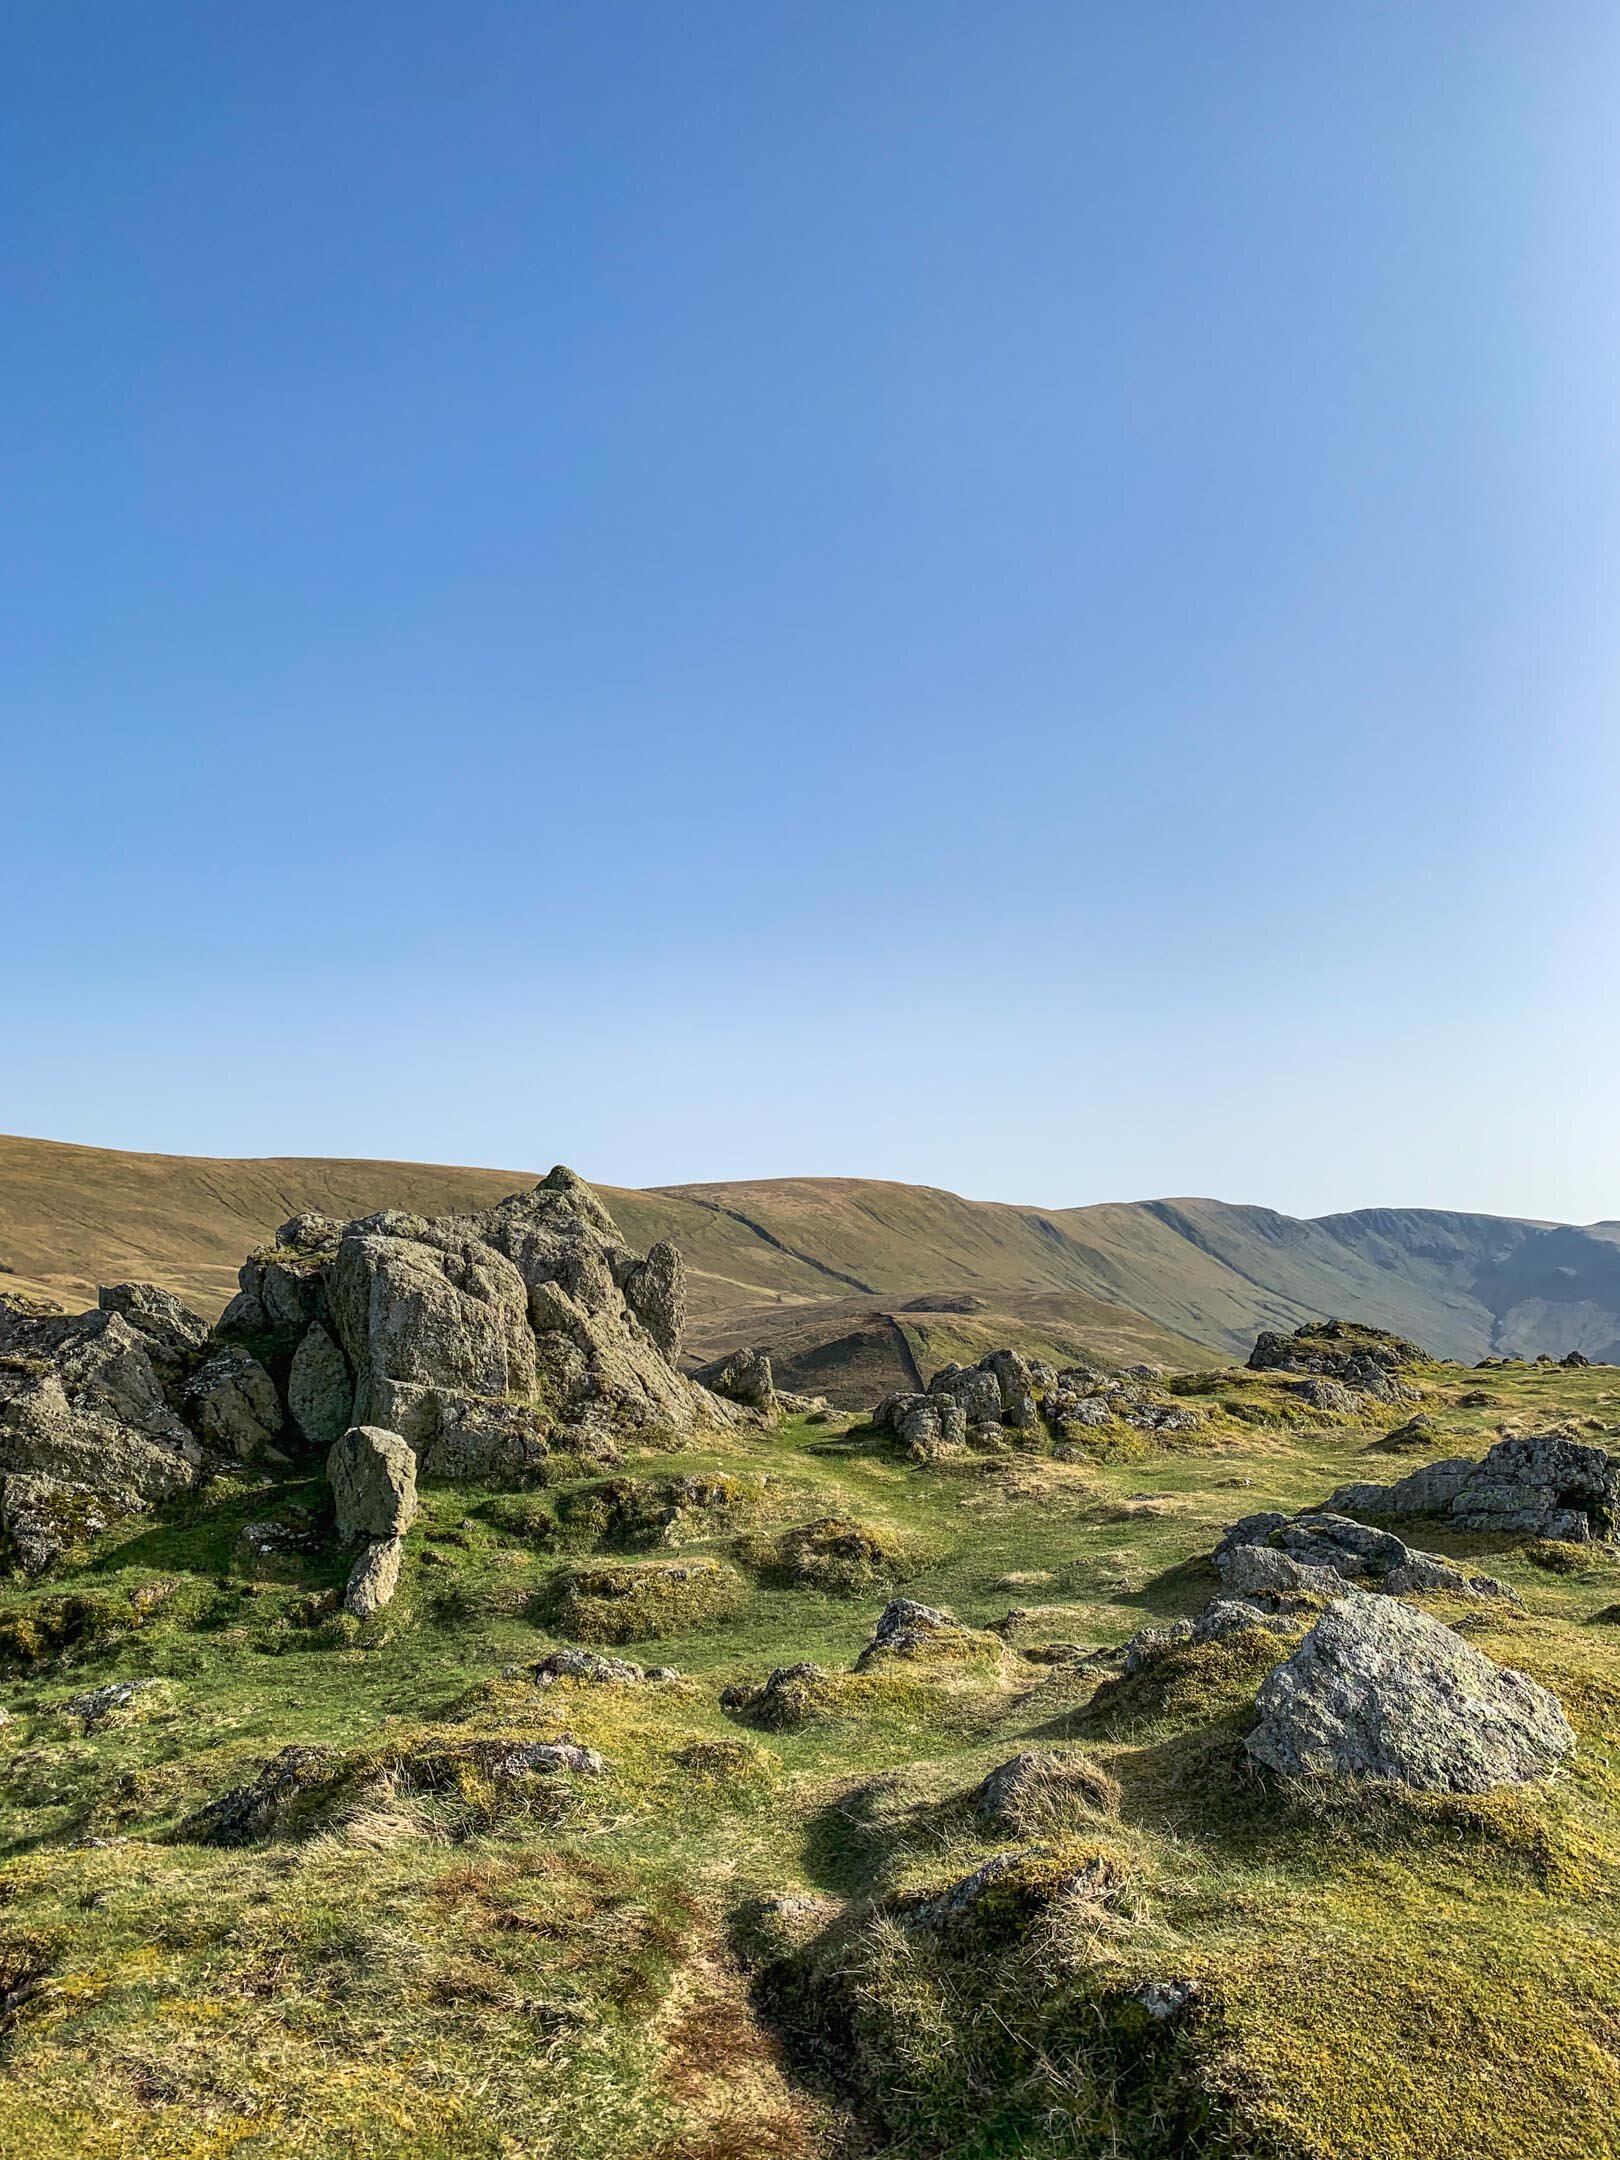
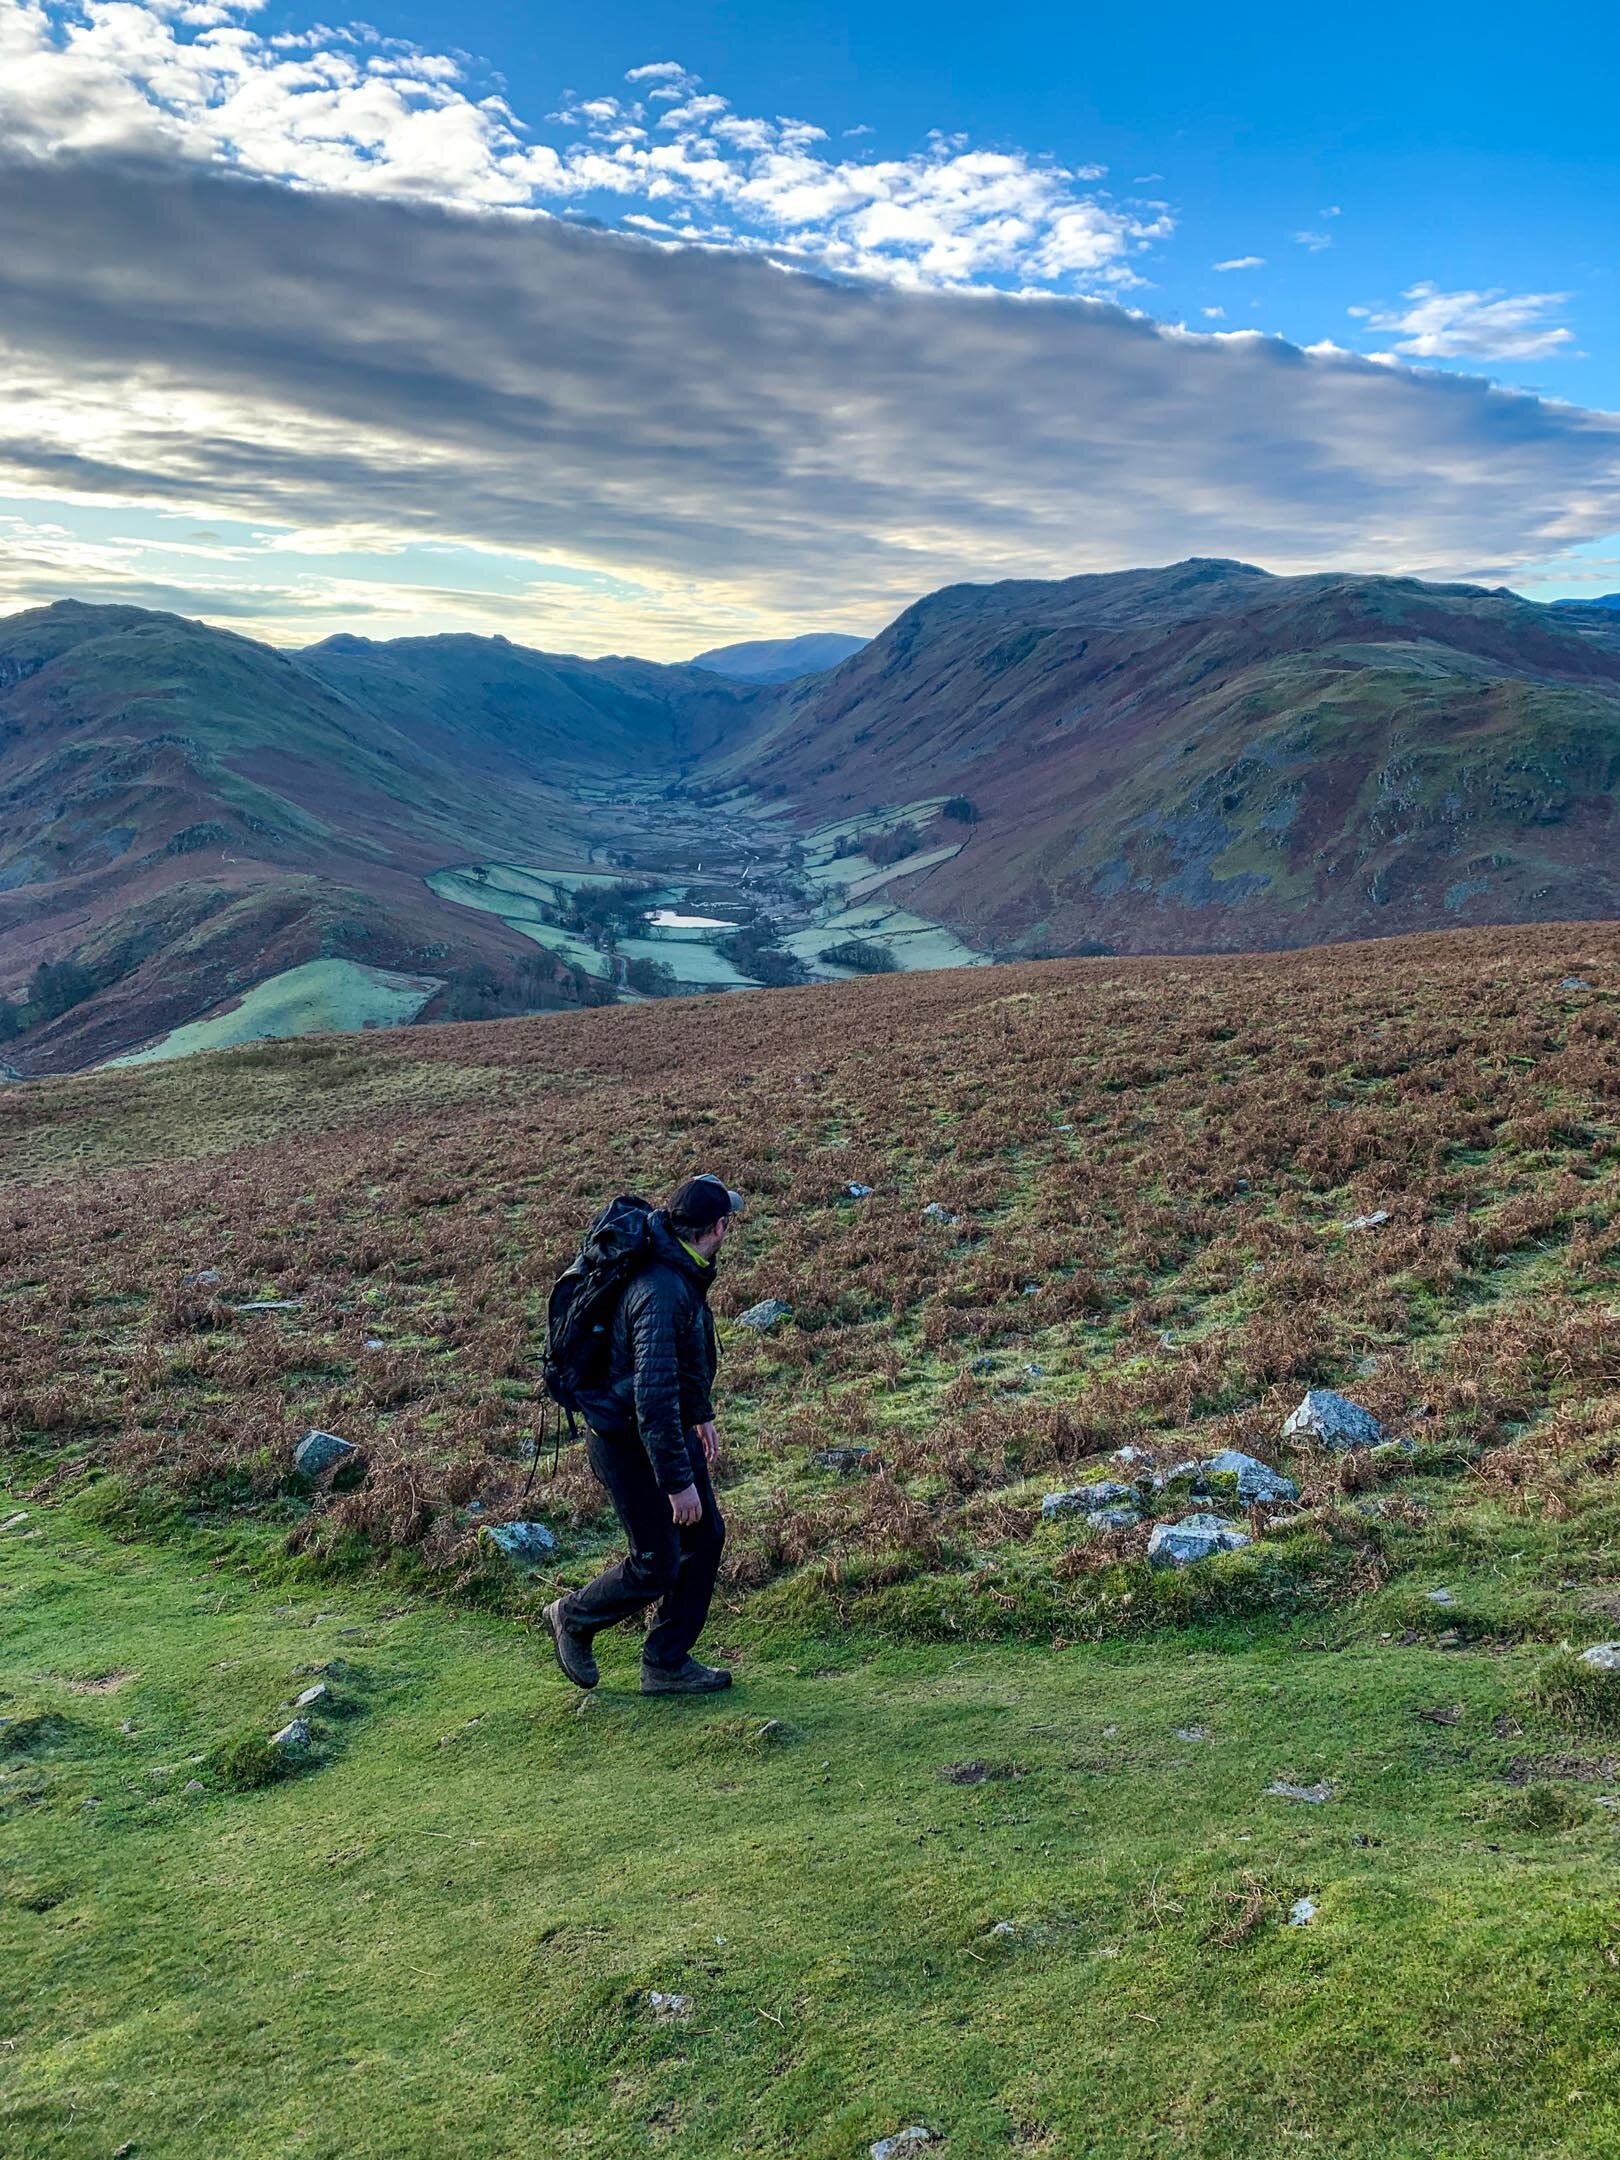
HALLIN FELL GALLERY

RELATED POSTS

Bonscale Pike | Wainwright's Far Eastern Fells
Bonscale Pike is a charming fell that offers breathtaking views and a relatively straightforward climb. The ascent usually begins from the village of Howtown, with a well-trodden path leading through grassy slopes and heather-clad hills. The route is gentle enough for most hikers, making it an excellent choice for those looking to enjoy the beauty of the Far Eastern Fells without too much exertion. As you reach the summit, you'll be greeted by two prominent stone towers, which serve as distinctive landmarks. The real reward, however, lies in the panoramic views over Ullswater and the surrounding peaks. On a clear day, the vista from Bonscale Pike is simply stunning, stretching from the Helvellyn range to the Pennines. The serene atmosphere and the ease of the climb make Bonscale Pike a perfect destination for a leisurely hike, offering both visual splendor and a sense of peaceful isolation.
BONSCALE PIKE
Bonscale Pike is a modest yet rewarding summit in Wainwright’s Far Eastern Fells, rising to 524 meters (1,719 feet) above Ullswater and offering sweeping views over the lake, surrounding fells, and the steep woodlands of the northern shore. Often reached as part of a circular walk from Howtown or Patterdale, the route climbs through mixed farmland and then onto open fell with a distinctive rocky ridge near the top; walkers are rewarded with a compact cairn and excellent panoramas of, Place Fell, and the ribbon of Ullswater below. Less frequented than nearby higher peaks, Bonscale Pike provides a quieter, shorter alternative for hillwalkers seeking impressive vistas without a long ascent, and its proximity to the Ullswater Way makes it an easy addition to a lakeside day of walking.
HEIGHT IN METRES 524m
HEIGHT IN FEET 1719ft
RANGE Far Eastern Fells
GRID REFERENCE NY 453 200
BONSCALE PIKE VIDEO
BONSCALE PIKE MAP
FREQUENTLY ASKED QUESTIONS
Q: About Bonscale Pike?
A: Bonscale Pike is a prominent fell located in the Lake District National Park in Cumbria, England. It is part of the Ullswater Valley, offering sweeping views of the surrounding landscape.
Q: How high is Bonscale Pike?
A: Bonscale Pike reaches a height of 524 meters (1,719 feet). It may not be the highest peak in the region, but it still provides a rewarding and picturesque ascent for hikers and outdoor enthusiasts.
Q: How difficult is the hike up Bonscale Pike?
A: The ascent up Bonscale Pike is considered moderately challenging. While it does involve some steep sections, it is a popular choice for both intermediate and experienced hikers. Proper footwear and basic hiking skills are recommended.
Q: How long does it take to hike to the summit of Bonscale Pike?
A: The duration of the hike largely depends on your fitness level and pace. On average, it takes around 2 to 3 hours to reach the summit from the starting point at Howtown, including breaks for rest and sightseeing. The descent takes a similar amount of time.
Q: Are there any alternative routes to hike Bonscale Pike?
A: Yes, there are different routes you can take to hike Bonscale Pike. One popular option is to begin from Martindale, a nearby village, which provides an alternative perspective of the fell. The Martindale route is slightly longer but equally rewarding.
Q: What facilities are available near Bonscale Pike?
A: The starting point of the hike at Howtown offers limited facilities, including a small car park and restroom facilities. However, for more extensive amenities such as cafes, pubs, and shops, you may need to visit nearby towns such as Pooley Bridge or Glenridding.
Q: Can I camp or stay overnight near Bonscale Pike?
A: Yes, thereare a number of campsites available close to Bonscale Pike.
Bonscale Pike Walking Route
BONSCALE PIKE RELATED POSTS

Bonscale Pike and Arthurs Pike Walk | Lake District Walks
The town of Howtown on the Eastern shores of Ullswater is a fantastic access point for walking the Far Eastern Fells. These quieter, less accessed walking routes are away from the humdrum of Keswick and Kendal making the valley of Fusedale perfect for avoiding the crowds.
View From Bonscale Pike Towards Hallin Fell
My Bonscale Pike and Arthur’s Pike walk is a circular route that encompasses two Wainwrights whilst also passing over Swarth Fell.
This post covers the route that I took to walk Bonscale Pike and Arthur’s Pike, however as with all outdoor activities caution should be taken and you should ensure you have the correct equipment, knowledge and understanding to complete your walk. With this in mind, other routes are available and may be more suitable, so proceed with caution. For example, my route up Swarth Fell is steeper than alternative paths. Other more subtle paths are available and should be considered.
This route offers exceptional views across Ullswater towards Hallin Fell and Beda Fell as well as towards Pooley Bridge and Dunmallard Hill in the distance.
WALK OVERVIEW
Start - Howtown Pier
Parking is available at Howtown Pier on the roadside. Be sure not to park in the passing places as these are vital to ensure traffic can flow. If the roadside parking is full or you fancy a shorter walk, you can also park at the Church in Martindale.
OS Grid Ref: NY 443 198
Distance - 9.5km / 5.9 miles
Duration - 3hr- 4 hrs
There are plenty of opportunities to extend this walk so if you are looking for a longer walk consider adding in stops at Loadpot Hill and Wether Hill.
Difficulty - Moderate
The route I have chosen does include a section that I consider to be steep (going up Swarth Fell). I enjoyed this part of the route but it also gave me plenty of opportunity to stop, catch my breath and take in the views of Ullswater.
It is possible to do this route in reverse which will give you a mellower walk up however a steeper descent.
Total Ascent - 523m
Map - You can find my full route here on Ordance Surveys website

Arthurs Pike and Bonscale Pike Route
BONSCALE PIKE AND ARTHUR’S PIKE WALK VIDEO
PREPARING FOR YOUR BONSCALE PIKE & ARTHUR’S PIKE WALK
NAVIGATION
As with all good walk preparation, you will need a way to navigate on your walk. I use the OS Maps App on my phone and you can find my route here
If you are navigating using your phone be sure to do the following;
Download the map before you leave wifi - you CANT guarantee you will have signal in the mountains.
Print a copy of the walk before you leave from the Ordnance Survey Website as a backup.
WEATHER
If there is one thing that is for certain when walking in the British Mountains is that you can never be sure of the weather. Even on days that are forecast glorious sunshine, it is best to be prepared for the worst as conditions can change rapidly.
Check the latest Arthur’s Pike weather here
WHAT TO WEAR
When hiking in the UK it is important to remain flexible and with this in mind, layers are certainly your best option. Mountain environments can be unforgiving and weather can change quickly. It is normal to see winds increasing and temperatures dropping as you reach your chosen summit. Make sure to pack a spare layer for the summit.
Suitable footwear in the form of walking boots or shoes is advised, especially when conditions are less than ideal. A good pair of walking boots will offer your ankles support, keep your feet dry and ensure you have grip, especially on those wet days. Yes, you probably could make it to the top in that old pair of tennis trainers… but will your feet thank you?
WHERE TO START
Arriving at the start of the walk you will need to drive down some narrow country roads towards Howtown from Pooley Bridge. If possible, try to avoid peak times as traffic can be bad with few places to pass. It is important to keep an eye out for the last passing place as it is not uncommon for you to need to reverse back down the road.
The postcode for Howtown if you are using your Sat Nav is CA10 2LZ and this should lead you to the Howtown Pier. Parking is possible by the Pier on the roadside but this is limited.
As an alternative access to Howtown, consider taking a trip on the Ullswater steamers.

Parking in Howtown is free but be sure to be considerate of other road users. The road is used by farm vehicles and blocking it could result in your car getting ‘bumped’ by a tractor. It is not uncommon during peak times to see cars parked in passing places, don’t be that person.
FACILITIES
Unlike more popular areas of the Lake District, like Keswick and Windermere, there are no facilities in Howtown. To me, this is a positive as it draws fewer people but it is worth noting you should be prepared for a wild wee if you get caught short. There is a bar at the Howtown Hotel which is great for a post-walk pint.
HOWTOWN PIER TO BONSCALE PIKE AND ARTHURS PIKE ROUTE
Beginning your walk from Howtown Wyke, you will need to take the access gate to the left of the Outward Bound facility entrance. This gate will give you access to a field often home to sheep who don’t worry are more than used to company. Follow the trodden path through the centre of this field towards the upper corner near the houses. Here you will find a small set of steps and another gate that will lead you out onto the public footpath.
There are two options here, left for the mellow route or right for the direct route up Swarth Fell. The path up Swarth Fell follows a steeper path that zig-zags its way to the top at 504m. From here the hard work is done with 361m of ascent already being gained.
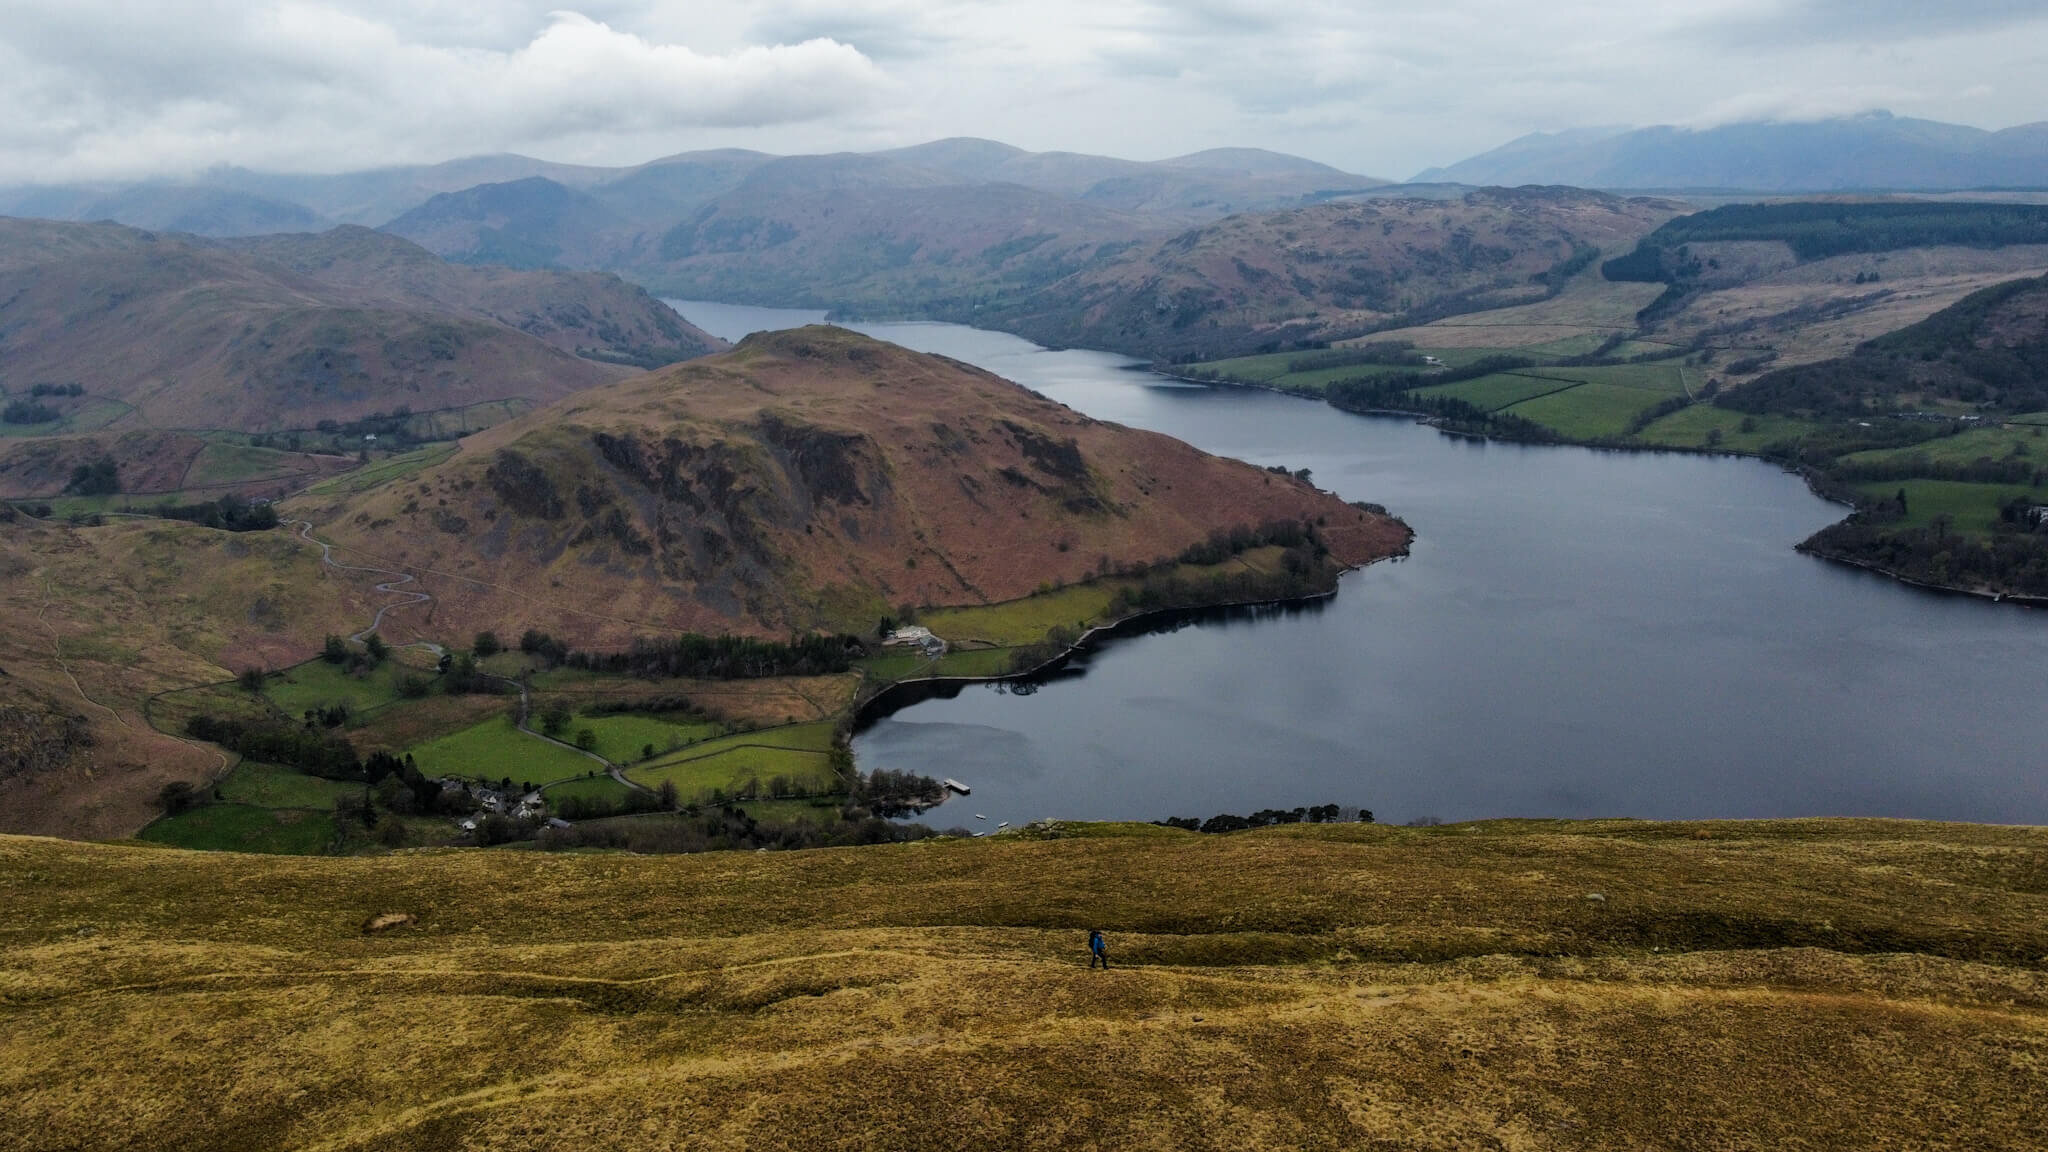
Hallin Fell as seen from Bonscale Pike
There is a path, not shown on OS maps, that links Swarth Fell and Bonscale Pike with only around 500m of walking between the two summits. The summit of Bonscale Pike is marked with a small Cairn with two towers, Bonscale Towers, slightly further along.
At Bonscale Pike it is worth taking in the views of Ullswater and the surrounding Fells. From here you have a clear view of Hallin Fell which is one of my favourite Lake District Fells.
From Bonscale Pike you will need to descend slightly and cross Swarth Beck. You will notice and old stone building that has seen better days, this is an ideal place to cross the waterway and refill any water bottles. Onwards and upwards from here for the final push towards Arthurs Pike.
Arthur’s Pike Cairn
The path from here is well-trodden and clear leading the way to a small cairn that sits atop Arthur’s Pike. Although it is possible to continue your walk from here I would advise finding the larger Cairn atop Whinny Crag as the perfect spot to take in the views. On a clear day, this viewpoint offers unobstructed views of Ullswater Lake and is an ideal place to watch the steamers.
It is this spot that I chose to cook my breakfast and enjoy the views during Episode 3 of #mywainwrightsproject

Cairn at Whinny Crag
When you decide it is time to head down from Arthur’s Pike, you will follow the path between Arthur’s Pike and White Knott. The walk down to White Knott is mellow with the path descending 100m over 1.5km of walking.
Similarly to the previous summits, White Knott also has impressive views across Ullswater. The path extends past White Knott before cutting back on itself just before Aik Beck. Keeping Barton Park on your right, follow the path past Ravencragg back towards Howtown.
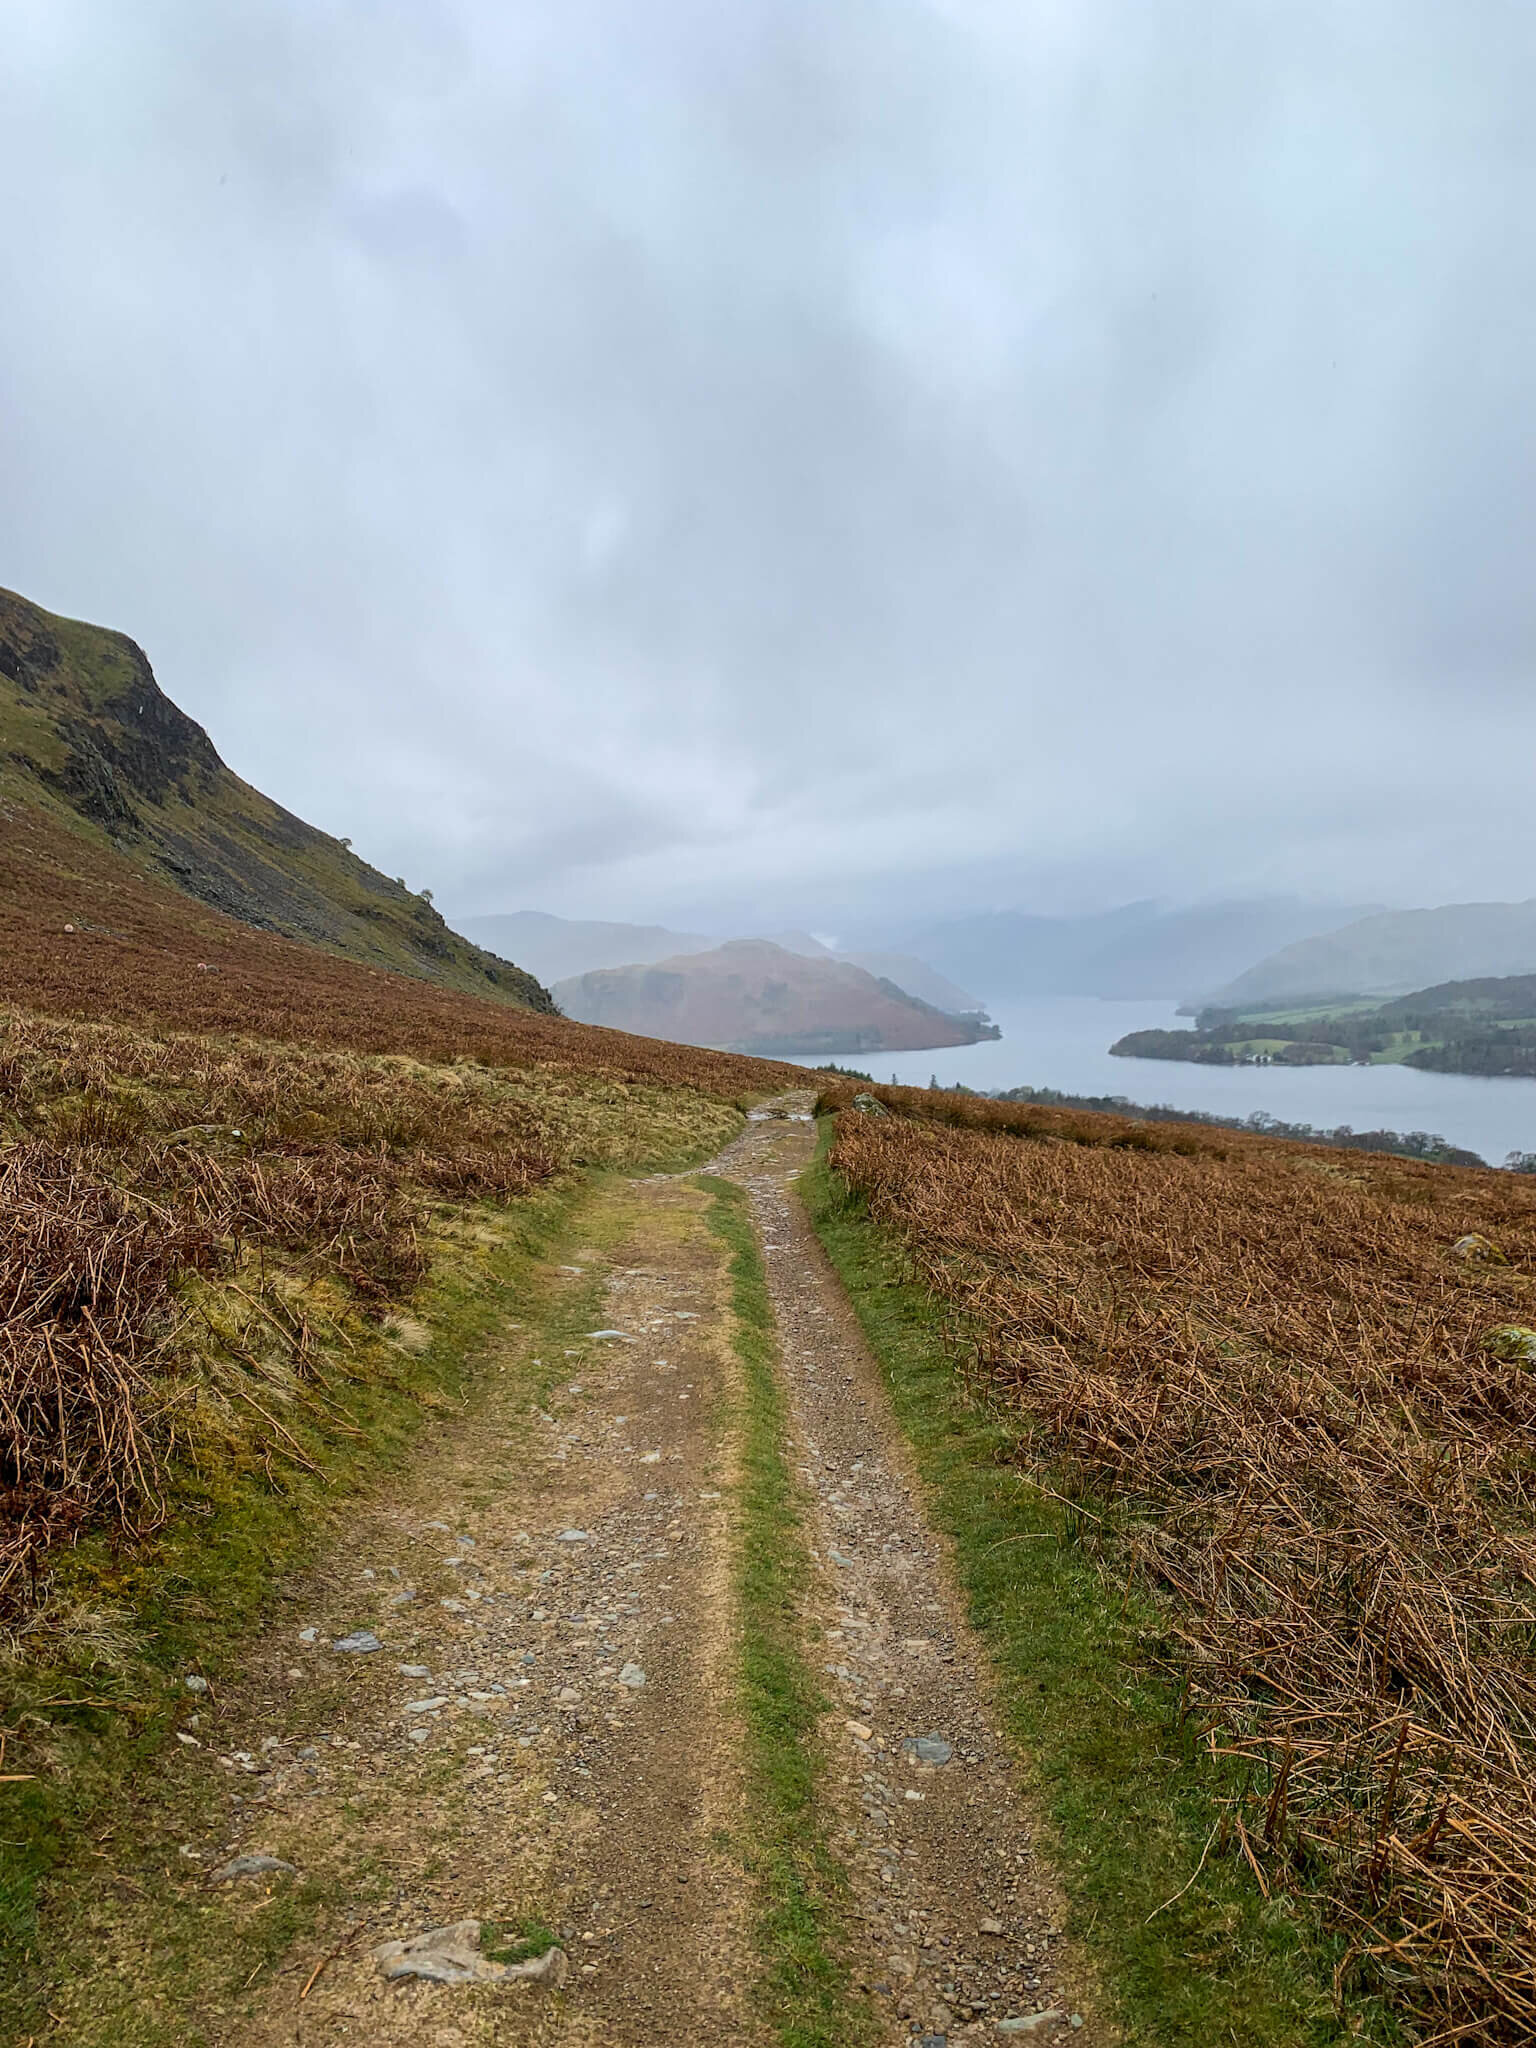
Path back to Howtown
Once atop Swarth Fell this walk offers incredible continuity in the views of Ullswater and the surrounding fells. Although the walk up Swarth Fell can be considered hard work, the rest of this walk is much more mellow. Whether atop; Swarth Fell, Bonscale Pike, Arthur’s Pike or White Knott the views across the Lake stretch from Pooley Bridge to Aira Point, before disappearing behind the prominent Fells.
TOP TIPS FOR WALKING BONSCALE PIKE & ARTHUR’S PIKE
Parking in Howtown can be limited so set off early at peak times. During weekends, evenings and holiday periods Howtown are popular so plan accordingly. With this in mind if you arrive in Howtown and find there is no parking don’t be that person who blocks the road by parking in a passing place!
There are steep sections on this walk so do some forward planning and allow for rest breaks. Hiking poles are a godsend on steeper pitches and can help relieve backspin if carrying a pack.
Pack for a change in weather. This walk should take a moderately fit individual two-three hours. Weather wise a lot can change in that time so consider packing some layers in your backpack.
Having the ability to navigate is essential, especially in incremental weather. You can follow my route on the OS Maps App here on any smartphone.
If you are relying on your phone for navigation, bring a battery pack or a way to charge your device.
Take some lunch with you! There are so many nice spots to stop, eat and enjoy the views.
Thanks for reading this post. If this post provided value for you then you can support me in making future content by using the link to Buymeacoffee
Alternatively you can use the tip jar: https://paypal.me/sjburgess87?locale
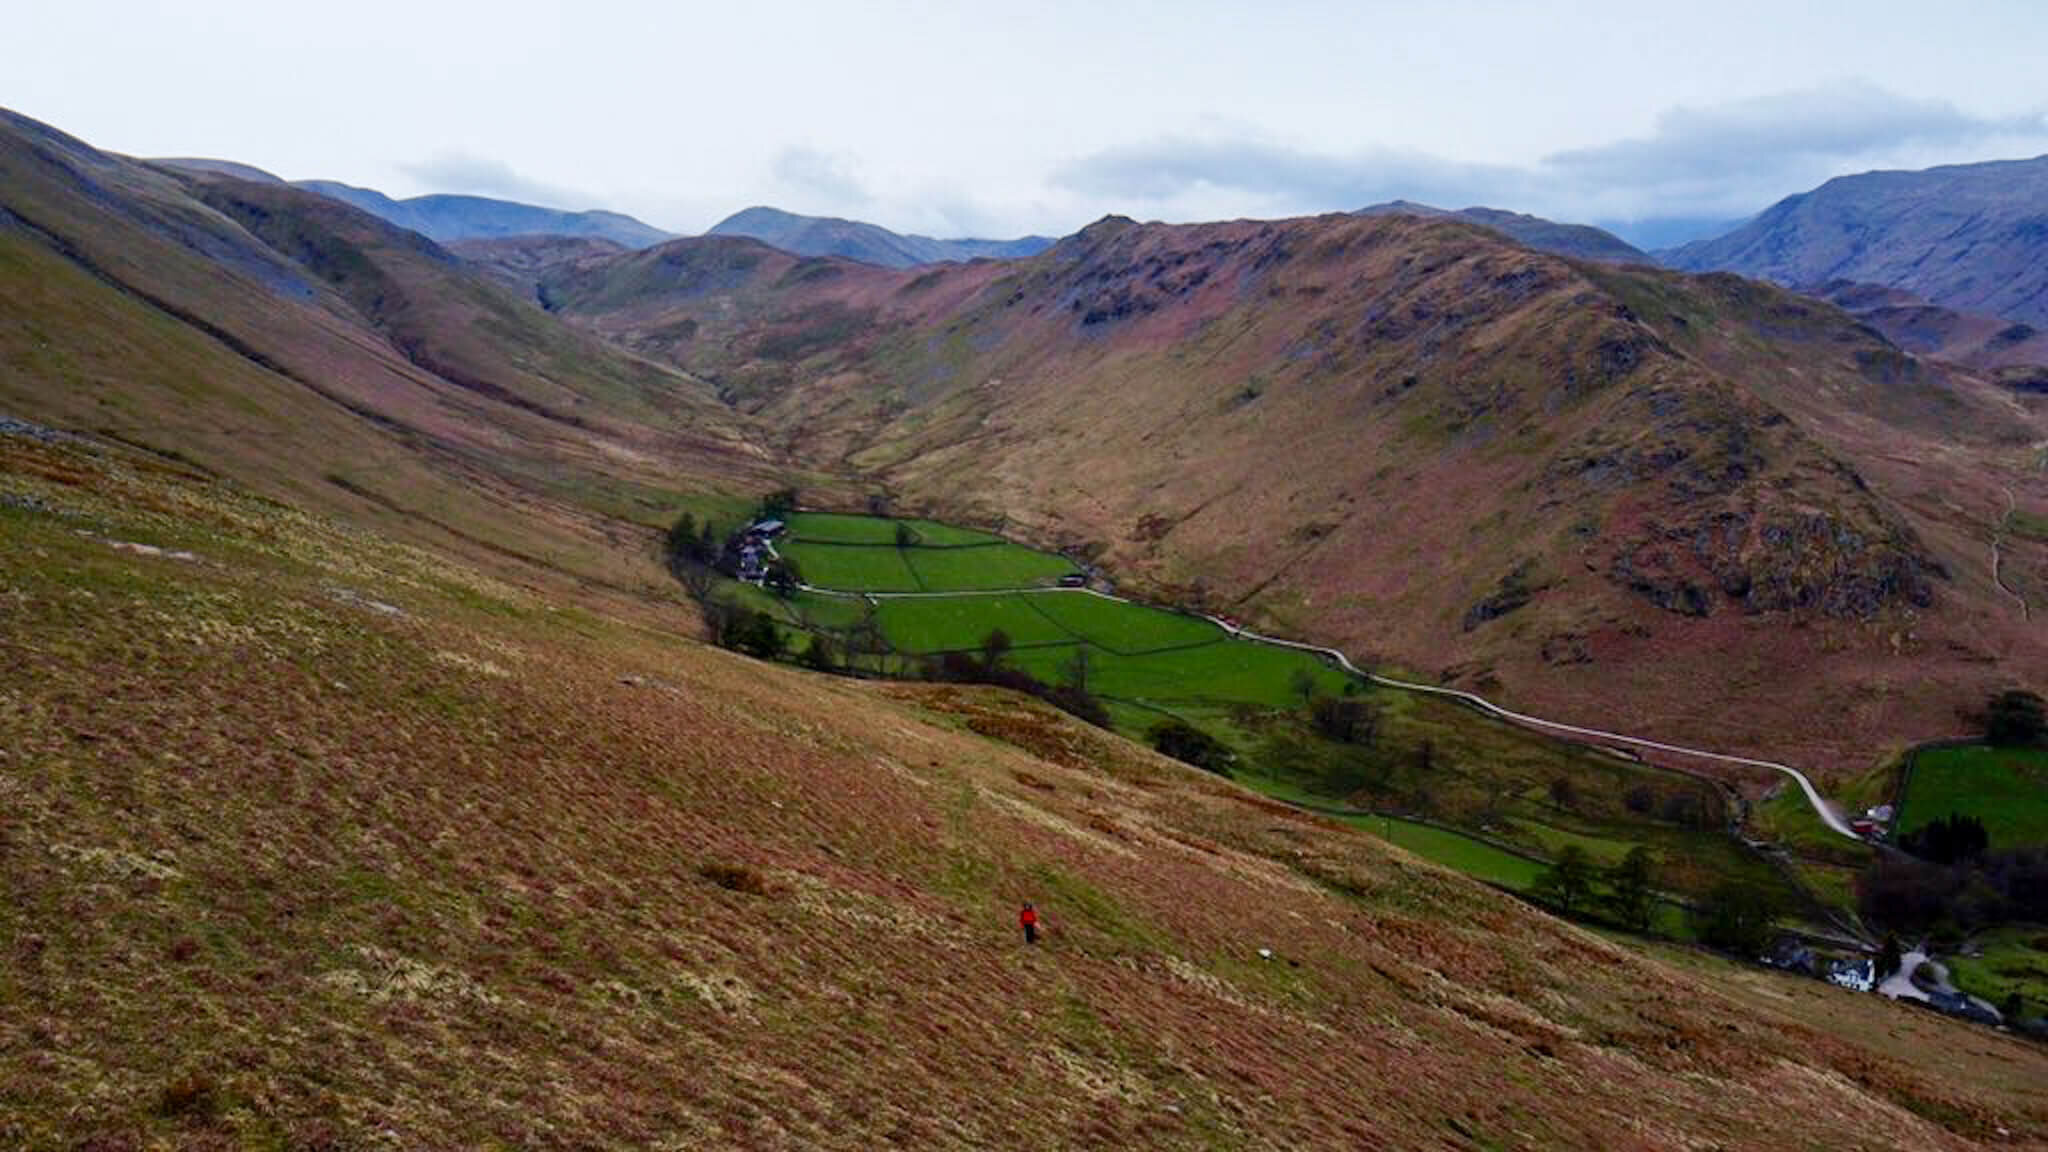
View back towards Beda Fell
MORE FROM THE FAR EASTERN FELLS

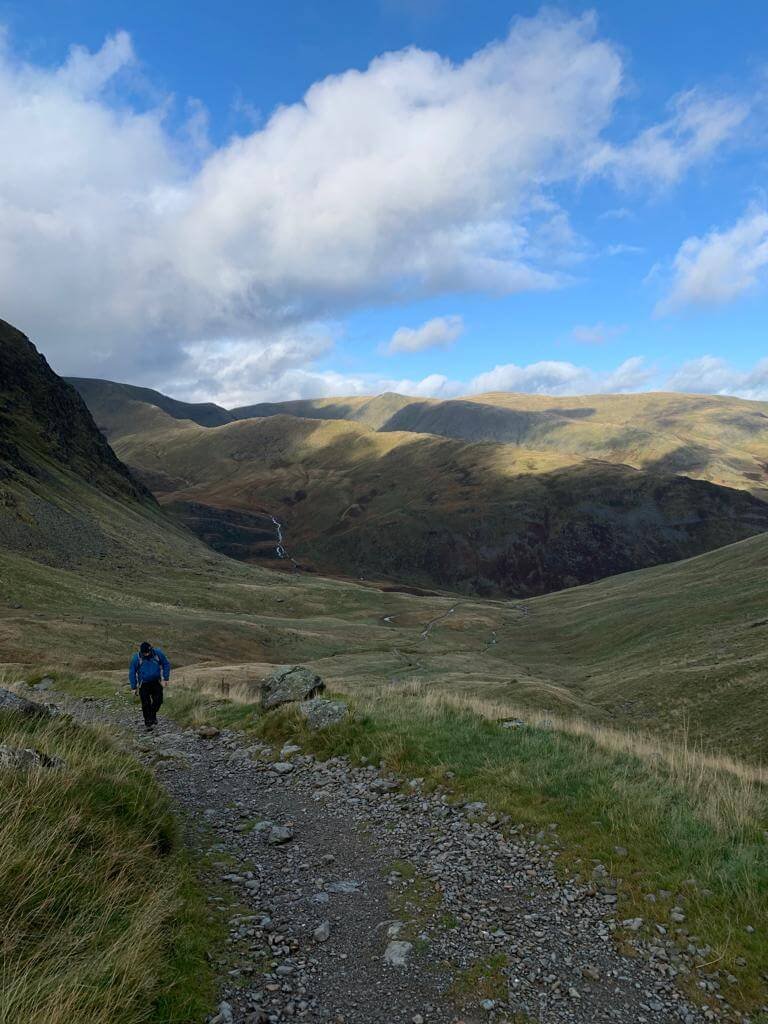


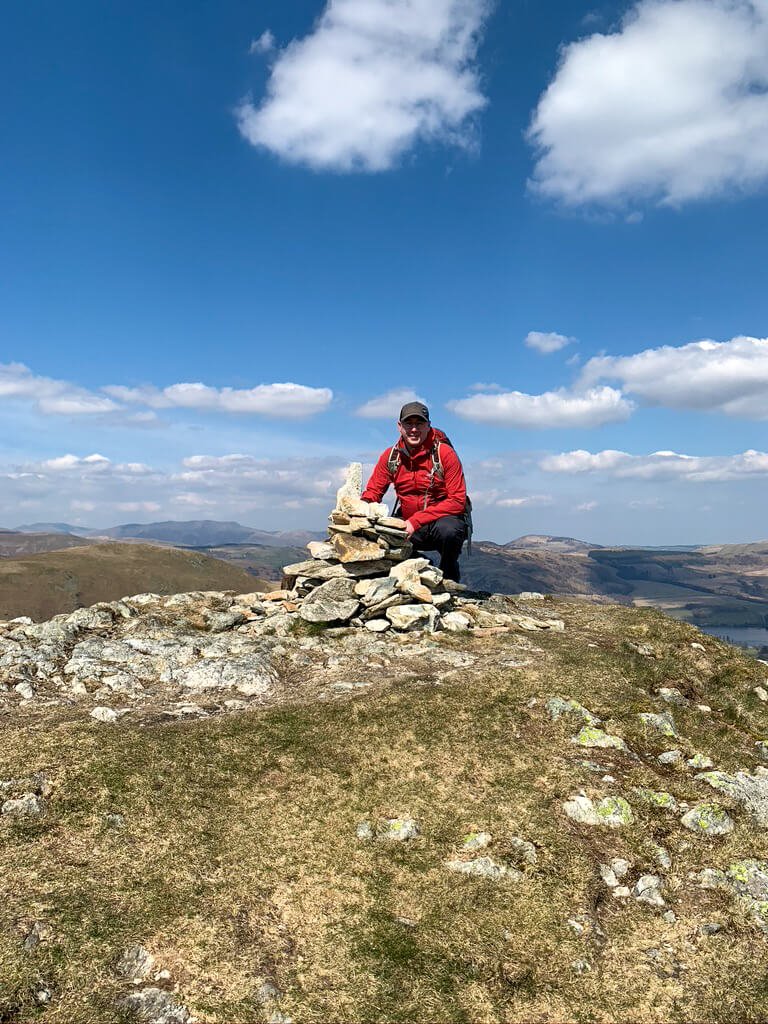
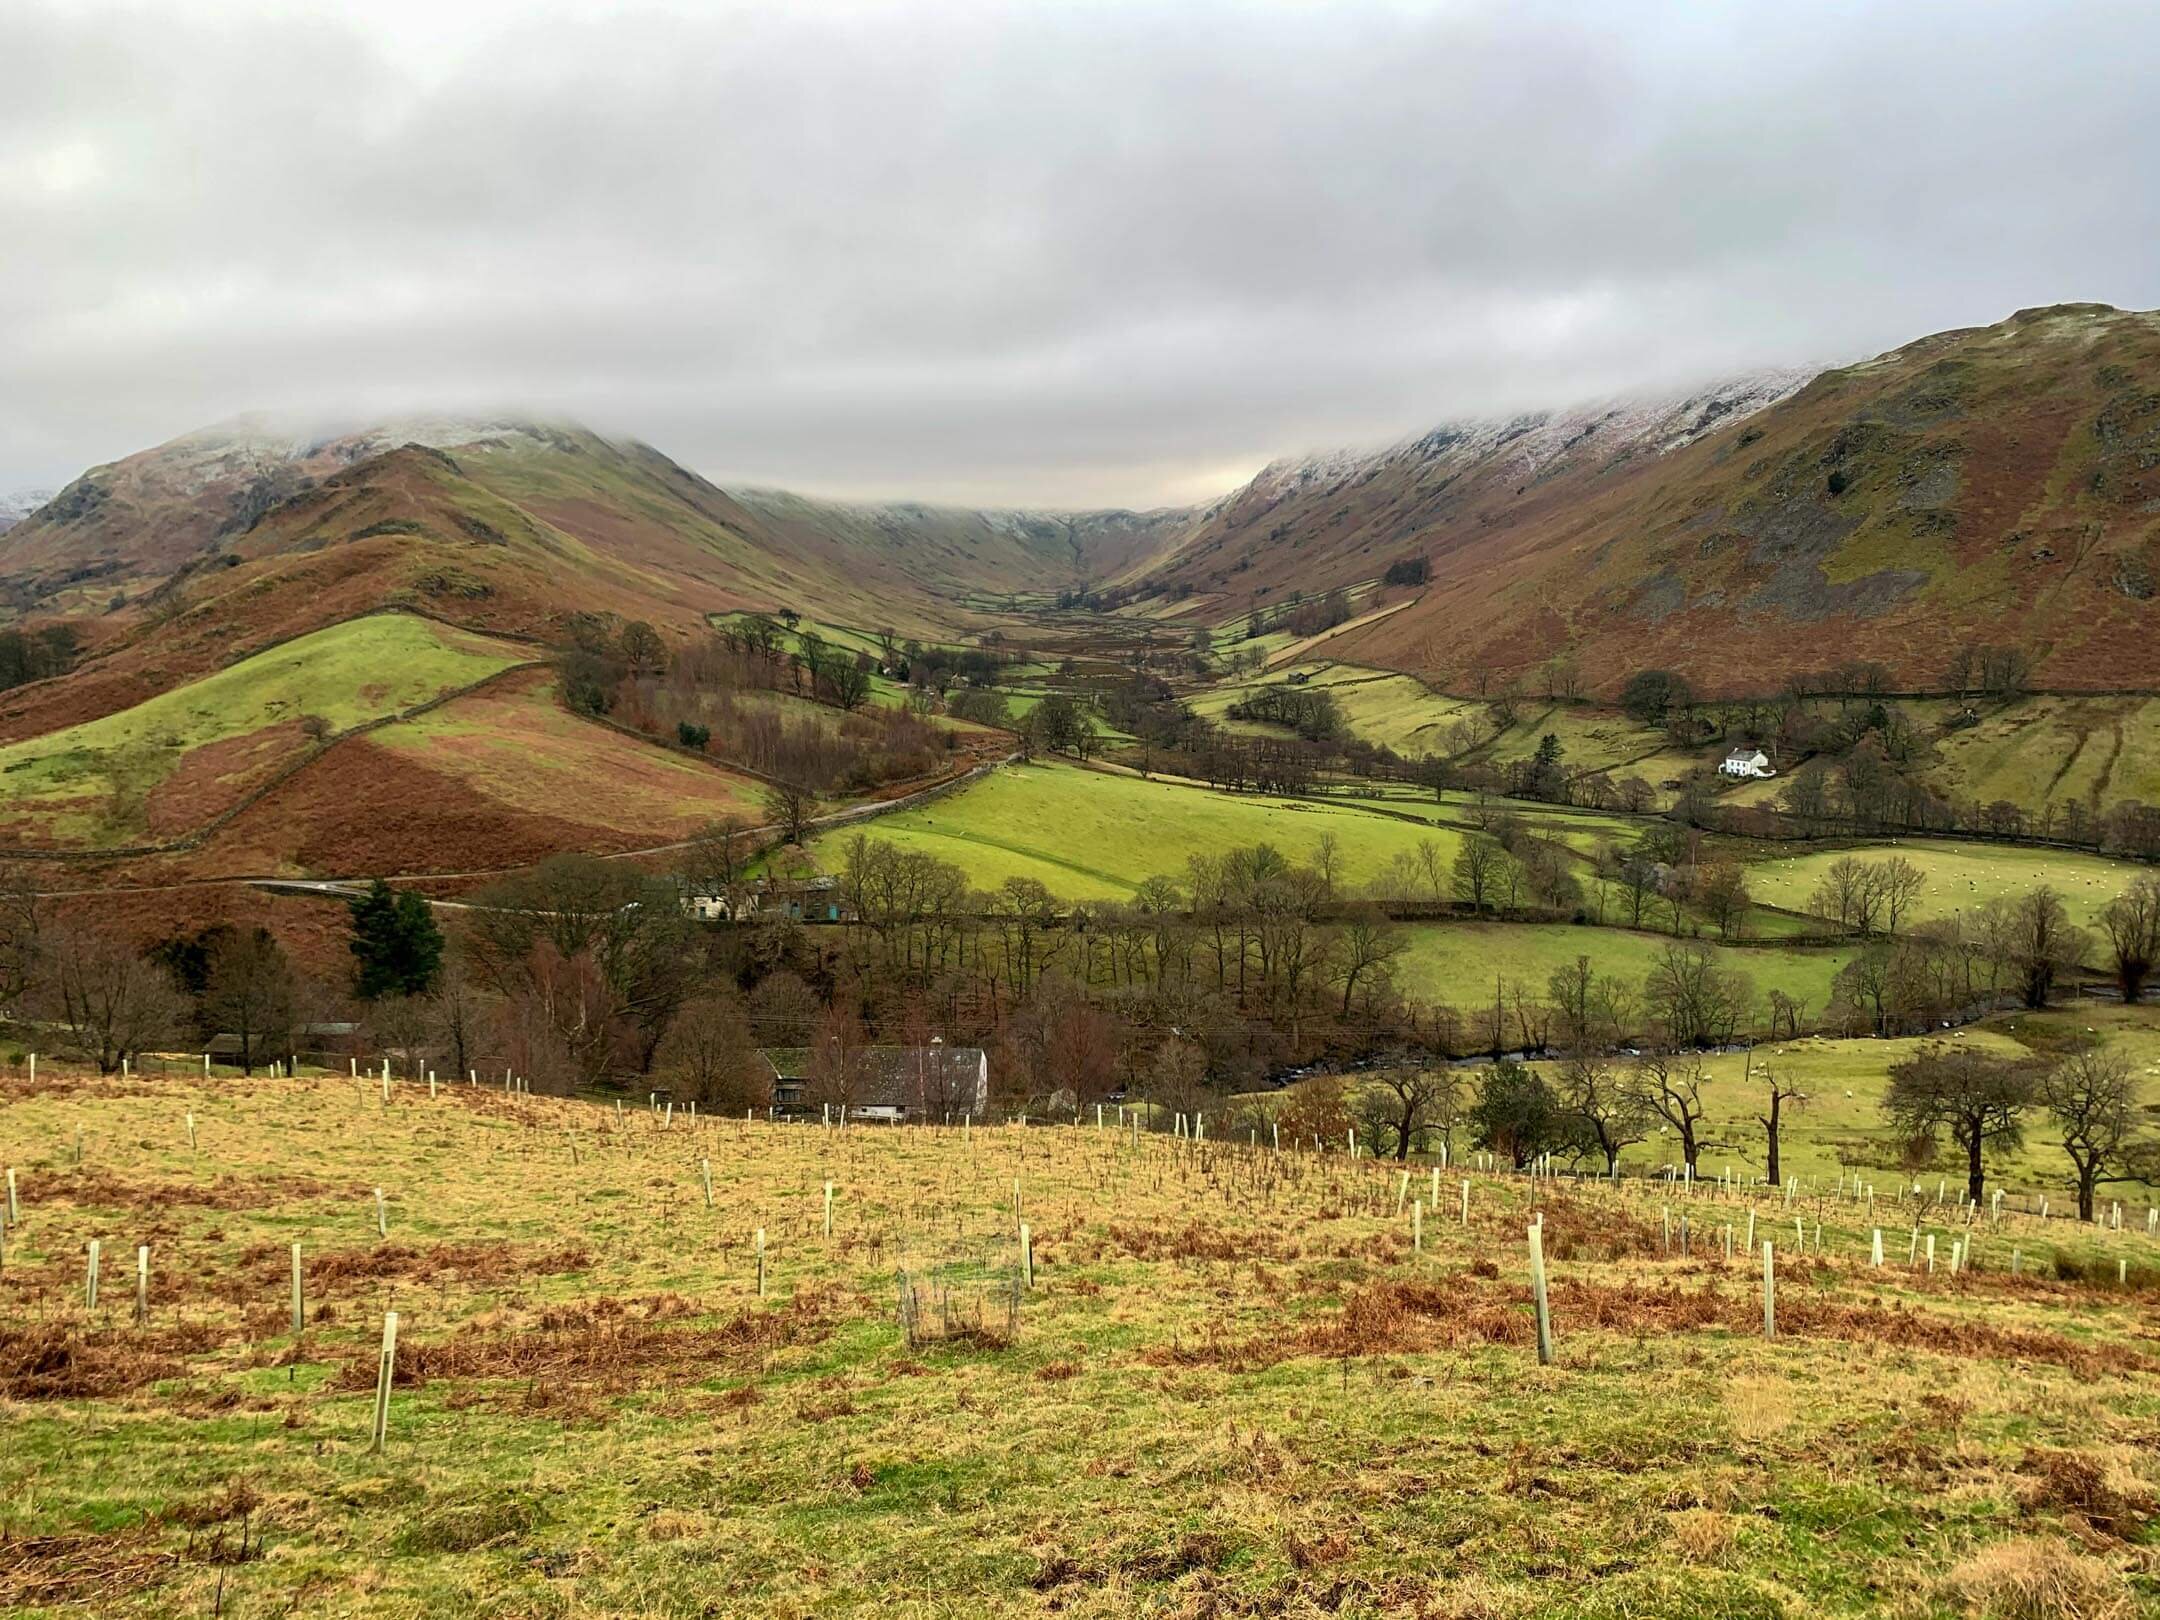


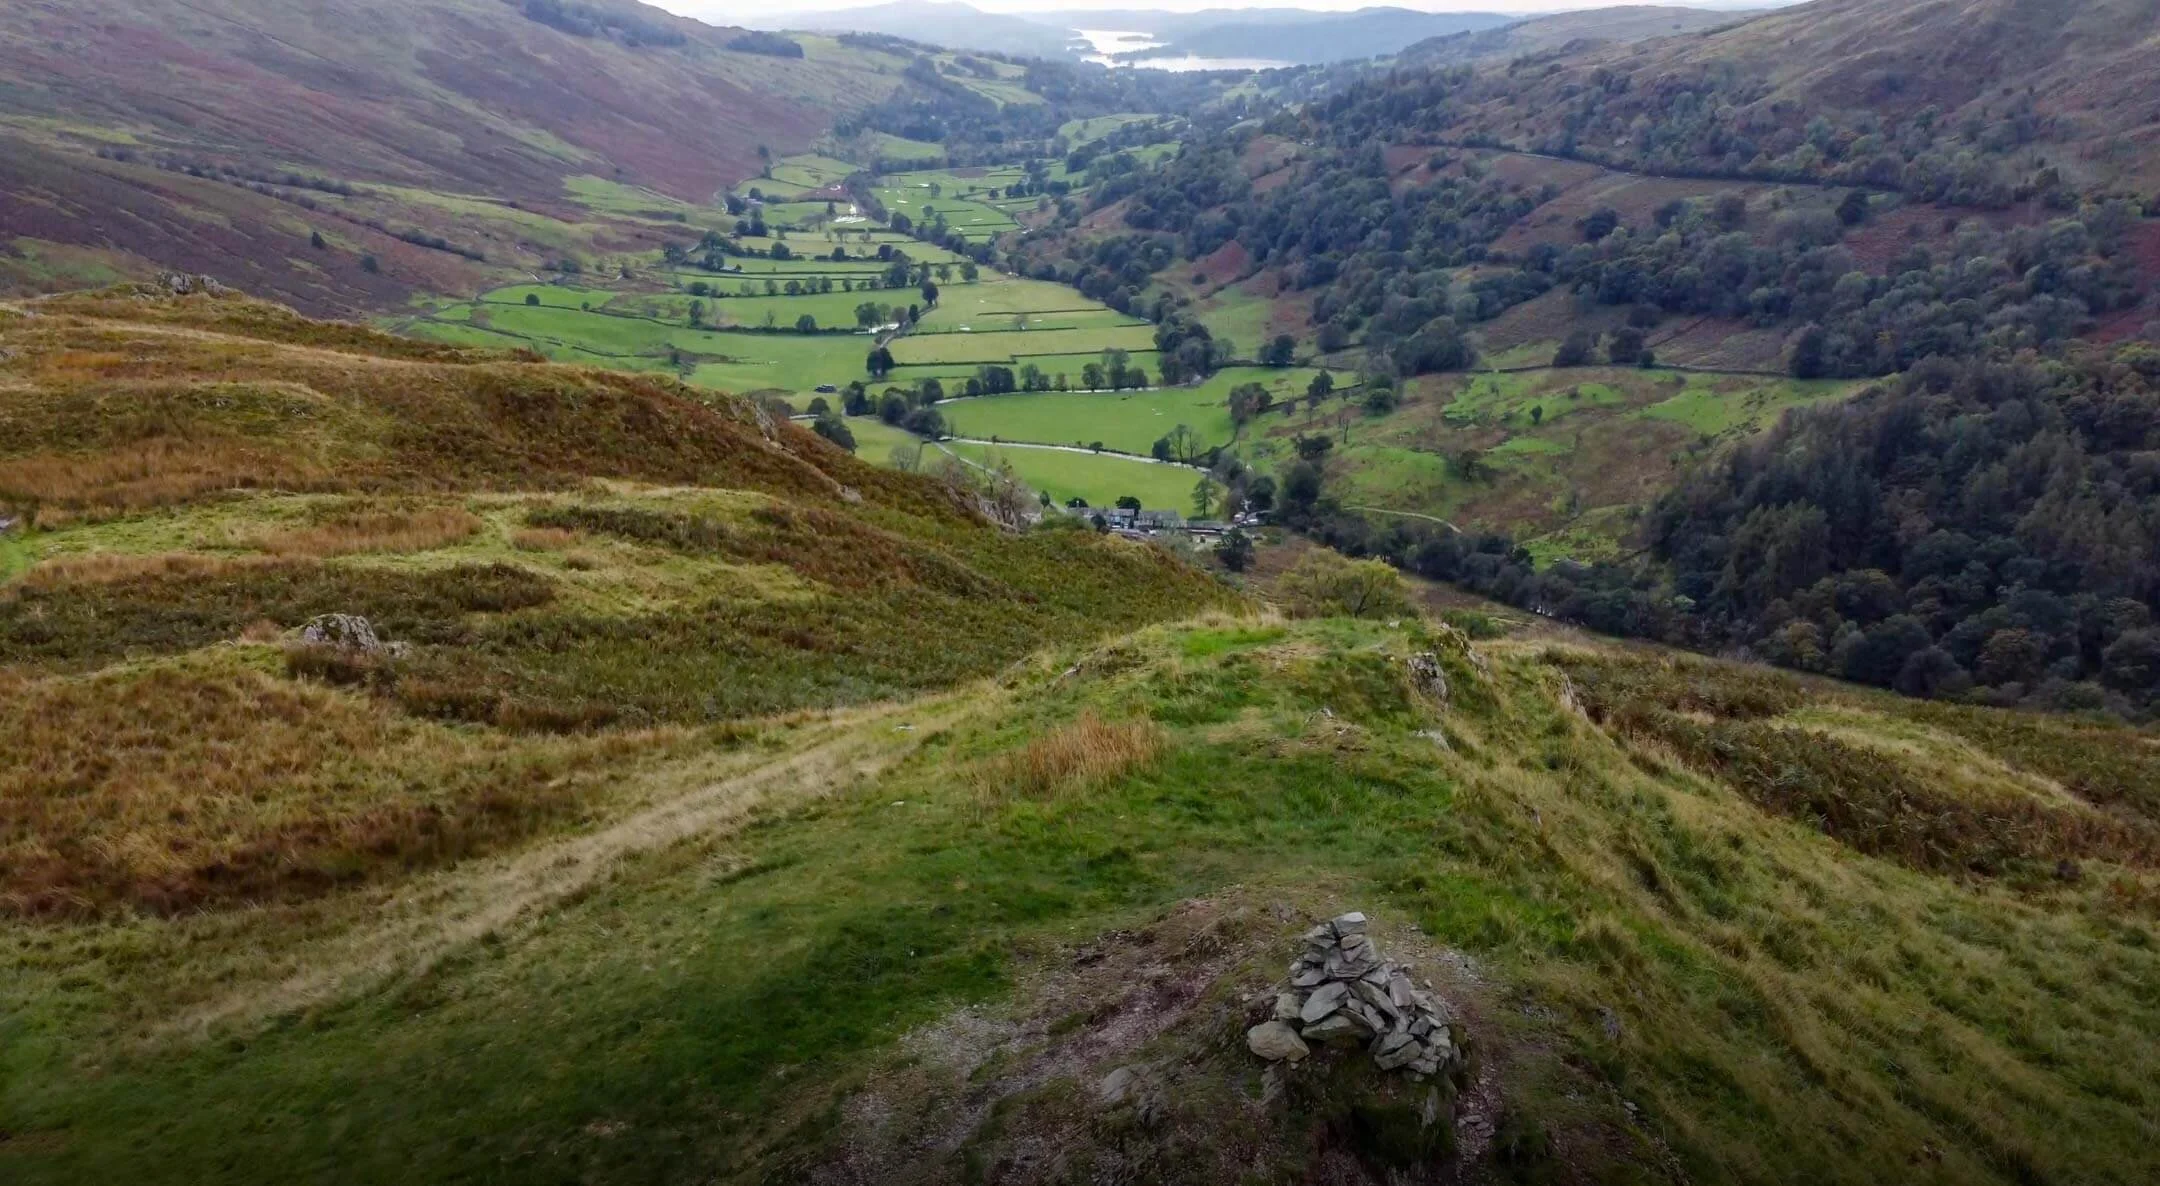

Arthur's Pike | Wainwright's Far Eastern Fells
Arthur's Pike is a delightful summit that offers an excellent introduction to the Far Eastern Fells. The ascent is relatively gentle, making it suitable for hikers of all levels. Starting from Pooley Bridge, the route takes you through lush pastures and open moorland. As you climb higher, the views expand dramatically, revealing the shimmering waters of Ullswater below. Arthur’s Pike is a less frequented gem, providing a peaceful escape from the busier fells. The summit itself is marked by a modest cairn, but the true reward lies in the expansive vistas. On a clear day, you can see across the Eden Valley to the Pennines, with the dramatic Helvellyn range forming a stunning backdrop. Arthur's Pike may not be the highest fell, but its charm lies in its accessibility and the sense of tranquility it offers. It's an ideal spot for a relaxing hike with rewarding views.
Arthur’s Pike summit overlooks Ullswater in the Far Eastern Fells of the English Lake District. At 533m Arthur’s Pike is not tall enough to be recognised as a Nuttall however, it does make Arthur Wainwright’s list of 214 Lakeland Fells. The views from Arthur’s Pike are stunning on a clear day, with views across the lake and of surrounding Fells. Arthur’s Pike is a child summit of High Street. Arthur’s Pike is both a Wainwright and a Birkett.
ARTHUR’S PIKE INFORMATION
HEIGHT IN METRES 533m
HEIGHT IN FEET 1749ft
RANGE Far Eastern Fells
GRID REFERENCE NY 461 204
Arthur's Pike, a modest but rewarding fell on the northern side of Ullswater, offers walkers a compact taste of classic Lake District scenery without the crowds of the higher summits; accessible from Howtown or the village of Pooley Bridge you can follow drystone walls and sheep tracks through heather and bracken to a grassy, exposed ridge that gives sweeping views down the eastern shore of Ullswater, across to Helvellyn’s distinctive ridgeline, and to the Far Eastern Fells beyond. The ascent is short but varied, and the summit itself is often breezy, marked by a simple cairn and the bigger pillar of stones just off the summit. It’s a superb option for a half-day walk: accessible, atmospheric, and perfectly placed for combining with a lakeside stroll or a longer circuit of the Ullswater valley.
ARTHUR’S PIKE VIDEO
ARTHUR’S PIKE MAP
FREQUENTLY ASKED QUESTIONS
Frequently Asked Questions about Arthur's Pike in the Far Eastern Fells
What is Arthur's Pike?
Arthur's Pike is a captivating fell located in the Far Eastern Fells of the Lake District National Park in Cumbria, England. It stands at a modest height of 533 meters (1,749 feet) and offers stunning panoramic views of the surrounding countryside.
How do I reach Arthur's Pike?
The most popular starting point to access Arthur's Pike is from the village of Pooley Bridge. There are several walking routes available, all offering different levels of difficulty. One of the most commonly used paths starts from Roehead car park, situated a short distance from Pooley Bridge.
How long does it take to hike Arthur's Pike?
The duration of the hike largely depends on your fitness level and the route you choose. On average, it takes between 2 to 3 hours to reach the summit from Pooley Bridge. This estimate includes time for breaks and enjoying the panoramic view from the top.
What can I expect to see from Arthur's Pike?
The summit of Arthur's Pike rewards hikers with magnificent views over Ullswater, one of England's most beautiful lakes. On a clear day, you can also catch sight of the surrounding Fells, including Helvellyn and the Eastern Fells. The incredible scenery makes it an ideal spot for photography.
Are there any noteworthy landmarks near Arthur's Pike?
Yes, there are a few notable landmarks in the vicinity of Arthur's Pike. Nearby, you will find Bonscale Tower, an intriguing fortified tower dating back to the 15th century. Additionally, Heughscar Hill Fort, a well-preserved Iron Age fort, is located a short distance away.
Is Arthur's Pike suitable for beginners?
Yes, Arthur's Pike is a great choice for beginners and families looking to enjoy a scenic hike in the Lake District. The ascent is generally gentle, and there are no technical difficulties involved. However, it is always advisable to wear appropriate footwear and carry essentials like water, snacks, and a map.
Can I bring my dog along on the hike to Arthur's Pike?
Absolutely! Arthur's Pike is dog-friendly, so you are more than welcome to bring your furry friend along for the adventure. It is important to keep your dog under control and clean up after them to maintain the park's cleanliness and respect other.
Is Arthur’s Pike a Wainwright?
Yes, Arthur’s Pike is a Wainwright. Alfred Wainwright documented Arthur’s Pike in his second volume of The Pictorial Guides To The Lakeland Fells, The Far Eastern Fells.
RELATED POSTS

Verbier Ski Resort Review
SWITZERLAND IS RENOWNED FOR WORLD-CLASS SKI RESORTS, BUT VERBIER AND THE 4 VALLEES COULD BE THE GEM IN SWITZERLAND’S CROWN. WITH AN INCREDIBLE 410KM OF PISTES THE 4 VALLEES IS THE LARGEST COMBINED SKI AREA IN SWITZERLAND. HOST TO THE FREERIDE WORLD TOUR AND WITH SNOWBOARDERS LIKE XAVIER DE LA RUE OFTEN FOUND ON ITS SLOPES, VERBIER IS A BIG MOUNTAIN DESTINATION WITH DIVERSE TERRAIN.

Photo @seabas
VERBIER FIRST IMPRESSIONS
Walking up to the gondola there is a large screen advertising the Freeride World Tour, this is an indication of the terrain on offer at Verbier. Home to a number of professional skiers and snowboarders, Verbier is a kind of pilgrimage for freeride skiers and snowboarders looking to explore the high Swiss Alps. Taking the initial ride on the gondola and assessing the slopes from this vantage point you soon realise that Verbier is vast and its going to take a long time to explore.
Easy to access due to its proximity to Geneva, Verbier attracts a mixed crowd. Close enough for the weekend warriors from Geneva, lavish enough for the high-end market attracting a certain class of clientele but renowned enough to attract the ski bum in hunt of some awesome terrain.
Verbier has many distinct sectors that suit different skiing styles and experience levels. The town itself, Verbier village sits at 1,500 meters and is the hub for après, accommodation, and beginner-friendly lifts. Skiers new to the resort or families who prefer easy access to restaurants, shops, and ski schools will appreciate staying here. From the village you can take short gondola or lift rides to reach higher terrain without the hassle of long transfers, making it ideal for those who value convenience, nightlife, and a compact base.
The main skiable area around Les Esserts and Savoleyres is a great match for intermediates and low-advanced skiers. Savoleyres has a good selection of wide, gently pitched runs with good snow coverage. This area provides confidence-building cruising and pleasant views over the Mont Blanc massif. Les Esserts has a good mix of blues and reds that are forgiving, often less crowded, and good for those who want long, consistent groomers. Both sectors are suited to skiers who want to explore varied piste terrain without venturing into the resort’s more extreme zones.
The Mont Gelé and Col des Gentianes sector opens up steeper reds, long descents, and access to freeride lines. This area suits strong intermediates through experts who want sustained, faster runs with more vertical. Col des Gentianes offers the classic long, exiting pistes and connections toward the La Tzoumaz and Nendaz side of the 4 Valleys, making it useful for skiers who enjoy linking long routes across the wider ski area.
The Mont Fort zone is special. Firstly the views from the top on a clear day are just insanely good. Mont Fort is the high-alpine crown of Verbier, reaching nearly 3,300 meters and delivering expansive, glacier-influenced terrain. Mont Fort is best suited to advanced and expert skiers and snowboarders who will find steep pistes, wind-scoured slopes, and some of the best off-piste lines in the Swiss Alps. Mont Fort is where serious freeriders and good-condition piste skiers come for dramatic panoramas and large vertical drops. Visibility and weather can change quickly up here, so it’s also a place where local knowledge, caution, and often a guide are advisable.
Verbier Piste Map
The Bruson and La Tzoumaz sides provide quieter alternatives and more sheltered, tree-lined runs. Bruson, accessed via a short transfer from Verbier, is excellent for families and riders who prefer fewer crowds and gentler slopes, with good nursery and beginner terrain. Bruson trees are home to some of my favourite powder days in Verbier. La Tzoumaz and the runs toward Nendaz connect to the wider 4 Valleys network and are well suited for intermediates who enjoy linking long runs with a will to explore. Taking these routes opens up new scenery and shows the real expanse of the 4 Vallees ski area. These sectors are also popular with those who want a calmer, more relaxed day away from the buzz of central Verbier while still accessing quality skiing.
Finally, the off-piste and backcountry zones that thread through the entire resort from the bowls below Mont Gelé to the faces off Mont Fort are world renowned. These slopes offer the able and knowledgeable the opportunity to experience some incredible freeride terrain. If you are in doubt, hire a guide who can help show you everything that Verbier has to offer. In Verbier, the Avalanche risk, route-finding, and hazards make this terrain inappropriate for casual or unprepared skiers. If you’re aiming to sample Verbier’s legendary off-piste, hire a guide, check current conditions, and ensure you have the right safety kit and the skills to use it.
In short, beginners and those who want convenience will gravitate to the village and Savoleyres/Les Esserts; confident intermediates will enjoy Mont Gelé and the connections to La Tzoumaz; advanced and expert skiers should head to Mont Fort and the freeride sectors; and families or quieter-slope seekers will find Bruson and the sheltered runs more appealing. Verbier’s strength is that each area feels distinct, so you can tailor days to your group’s ability and appetite for risk.
Verbier For Experienced Skiers and Snowboarders
Verbier’s terrain is expansive and varied and is European big mountain skiing at its best. If you are an experienced skier or snowboarder you should aim to explore the itineraries. Itineraries are a cross between piste and off-piste skiing. The ski patrol will control these areas for avalanche hazards and mark them with piste poles, but that is the extent of their role. These runs are left unpisted for the whole season, forming natural terrain that varies depending on the conditions and time in the season. This means, after fresh snowfall the itineraries are a great place to explore and grab your fresh tracks. If you are in search of large moguls, the itineraries are fantastic for these as well. Just wait until a few days after fresh snow and you will have your mogul field to enjoy to your knees discontent.
The terrain park in Verbier is pretty good, although queues on the lifts can become frustrating. The terrain park shares chairlifts with the beginner terrain and this can cause a hold-up. When it’s quieter there are plenty of features to keep most freestyle snowboarders or skiers happy.
My favourite area whilst in Verbier was over in Bruson. I visited before the gondola was installed so now it is easier to access. Bruson was great for avoiding the crowds but more importantly, a pretty decent amount of tree-skiing can be found here.
Verbier for Intermeditate Skiers and Snowboarders
Intermediates will want to get exploring and make the most of their trip to Verbier and the 4 Vallees but before you head out aimlessly, be prepared and confident riding a Poma lift. The 4 Vallees area has a number of long drag lifts to contend with but they can be avoided. Staying in Verbier, you will have access to a number of chairlifts, gondolas, and a funicular so moving around the mountain shouldn’t pose a problem. The area of Verbier has lots of nice blues and red pistes to enjoy and the terrain park should offer a further challenge. A popular area is the red runs of the Attelas chair. Verbier even has a speed run so you can clock your top speed!
Is Verbier good for Beginners?
I wouldn’t class Verbier as a beginner’s resort and it is not a resort I would recommend to my friends for this purpose. That being said it doesn’t mean it is not for beginners. There are some nice beginner slopes and you will find a number of good local ski schools in Verbier. I would argue that Verbier lacks a good progression from the entry-level slopes to a nice blue run but that’s not to say you couldn’t learn to ski in Verbier.
Is Verbier Snow Sure?
Verbier has a high altitude with skiing possible to 3300m meaning its higher slopes offer a long season with good snow conditions. The lower slopes get a lot of sun during the late season which can make conditions slushy. The resort of Verbier does a great job of supplementing its natural snowfall with snow guns to ensure quality skiing conditions throughout the season.
4 Vallées Piste Map
VERBIER & 4 VALLEES LIFT PASSES
As with most combined ski area resorts, it is possible to purchase a local pass for Verbier or a 4 Vallees area ski pass. Depending on your ability level and duration of your stay I would recommend getting the 4 Vallees pass. By buying a 4 Vallees ski pass you will be able to explore further the resorts of; La Tzoumas, Veyzonnaz, Nendaz, and Thyon. Lift pass prices across Verbier and the 4 Vallees differ depending on peak and off-peak season with Christmas and February half-term holidays a little pricier.
How Much Is a Verbier Lift Pass?
Day Pass Adult 75CHF, Child or Senior 64CHF peak season.
6 Day Pass Adult 366CHF, Child or Senior 311CHF peak season.
SEASON DATES
Verbier opens for the season around the last weekend of November and runs lifts until April 26th. Some areas of the resort will not open until later with the popular tree skiing area Bruson opening around mid-December.
TRAVEL TO VERBIER
Where Is Verbier?
Verbier is in the Canton of Valais in the southwest of Switzerland. This area of Switzerland speaks French although German and sometimes Italian is spoken locally. English is well spoken in the region also.
How To Get To Verbier?
Due to Verbier’s proximity to Geneva, there are plenty of affordable transfer options available. With regular flights into Geneva, airport transport should be the most affordable aspect of any trip to Verbier. The transfer time is around 2 hours from Geneva and although transfers can also be provided from Zurich and Basel, these are both longer transfers.
The adventurous may wish to take advantage of the efficient railway service Switzerland offers. You can take the train straight from Geneva Airport to Le Chable, where you can take the gondola or bus to Verbier village. The train from Geneva to Verbier is great for a number of reasons. Firstly, the environmental impact will be less if you travel by train and this is equalled by the stunning views you will witness along the way. Another great reason to take the train is that you will not be restricted in terms of luggage meaning you can carry that heavy board bag without extra charges.
Self-drive is an option but ensure your accommodation offers parking as this can be an expensive add-on. There is no real need to have a car in Verbier as the village is well suited to foot travel, even in pesky ski boots. Driving to Verbier is around 9 hours after you have reached Calais, this can put a lot of people off the journey, however, self-drive can be a great way to cut costs with friends. If you are going to be driving to Verbier be aware that toll roads are expensive in Europe and you will need to pay charges in both France and Switzerland. If you plan to drive, ensure you have bought a pack to equip your car for European driving and have snow chains.
How Far Is Verbier From Geneva?
Verbier is around 100 miles from Geneva Airport, which typically translates to a drive of about 1 hour 45 minutes to 2 hours depending on traffic and road conditions; transfers often follow the A1 and A9 motorways before climbing into the Val de Bagnes, and winter weather can add extra time, so allow for delays or consider pre-booked transfers or trains plus a short bus/taxi from Martigny.
VERBIER PROS
Verbier is a great resort for families
Verbier and the 4 Vallées is a large ski area with plenty of variety of pistes suiting all abilities
The linked area offers opportunities to explore and a week’s holiday can be split around the various resorts.
The itineraries are a great intro to off-piste skiing in a safer environment.
Verbier has a great village for restaurants and bars and this is a draw to a lot of visitors.
VERBIER CONS
Some resort links can be cumbersome with long button lifts or T-bars.
Verbier lift cues can get frustrating during peak periods.
Weekend warriors from Geneva are common and this can mean the main Gondola can take some time to clear.
Verbier is an expensive resort to visit especially if eating out in the village or on the mountain.
VERBIER ACCOMMODATION
Luckily for me on my trips to Verbier I was staying with friends. Besides from this, affordable Verbier options are few and far between. Aim to stay outside of Verbier and use the connecting ski lifts to access the terrain. By taking the Gondola from Les Chable you can save some £££, Nendaz, and La Tzoumaz would be other great options.
The Luxury Chalet Company have a huge selection of luxury chalets in Verbier and have been sending clients there for years
If staying in Verbier is non-negotiable then opt to stay within walking distance of the lifts. You will want to be in the lines early, especially during peak weeks as the queues can be substantial. If you are staying in a chalet they will likely provide a local shuttle bus to get between your Verbier accommodation and the lifts.
VERBIER APRES
Verbier is much more lively than the average Swiss ski resort and you will want to start early by heading to Pub Mont Fort near the gondola. There is a happy hour at Pub Mont Fort so get the drinks whilst they are cheap! If you want to make the most of Après you will also want to explore the delights of Farinet for live bands before moving onto one of Verbier’s nightclubs. People visit Verbier not just for skiing but for the incredible nightlife so be sure to put at least one night of your trip aside to dance the night away.
Verbier is not cheap so be prepared to pay for your Apres activities. A domestic beer would cost you around 7CHF whereas a meal for two people could cost around 85CHF.
FINAL THOUGHTS
Verbier is a mountain playground built for confident skiers and snowboarders. If you’re comfortable off-piste and eager to tackle long, ungroomed runs — including the exhilarating descents from Mont Gelé — this resort will reward you with terrain, exposure and panoramic views that are hard to beat. Novices will find some groomed pistes and gentle areas, but there are better, more forgiving resorts for first-time skiers or anyone wanting a low-stress learning environment.
Best time to visit
Peak season (late December to early March): Deep snow, full lift network and lively village atmosphere. Expect crowds and premium prices, but the skiing is at its best.
Late season / spring (March to April): Longer days, warmer sunshine and often excellent spring snow on the high faces; ideal if you want quieter slopes during good sunny conditions.
Early season (November to early December): Variable snow—great if early snowfall hits, but less reliable than the core winter months. Check snow reports for high-altitude access.
Is the expensive village and clientele for everyone? Verbier’s village is undeniably upscale — luxury chalets, fine dining and a lively après scene attract an affluent crowd. That said, the resort isn’t exclusively for the ultra-rich. You can tailor a trip to more modest budgets by choosing self-catered accommodation, eating more simply and booking off-peak dates. If the glossy, high-end vibe or the price tag makes you uncomfortable, or you prefer a quieter, more family-friendly resort, Verbier might not be the right fit. But if you value outstanding terrain, challenging off-piste opportunities and a buzzing mountain town, it’s worth the cost.


Snowboard Camber Profiles Explained
When shopping for a snowboard you will come across a number of terms for a snowboard profile. Essentially the profile of a snowboard is whether the board curves up from the snow, down towards the snow or a combination of the two. You can see this shape clearly by looking from the side or placing the board on a flat surface. Terminology like camber, rocker, or hybrid camber describes this profile. This post attempts to go through all the available snowboard profiles and discuss the pros and cons of each profile.
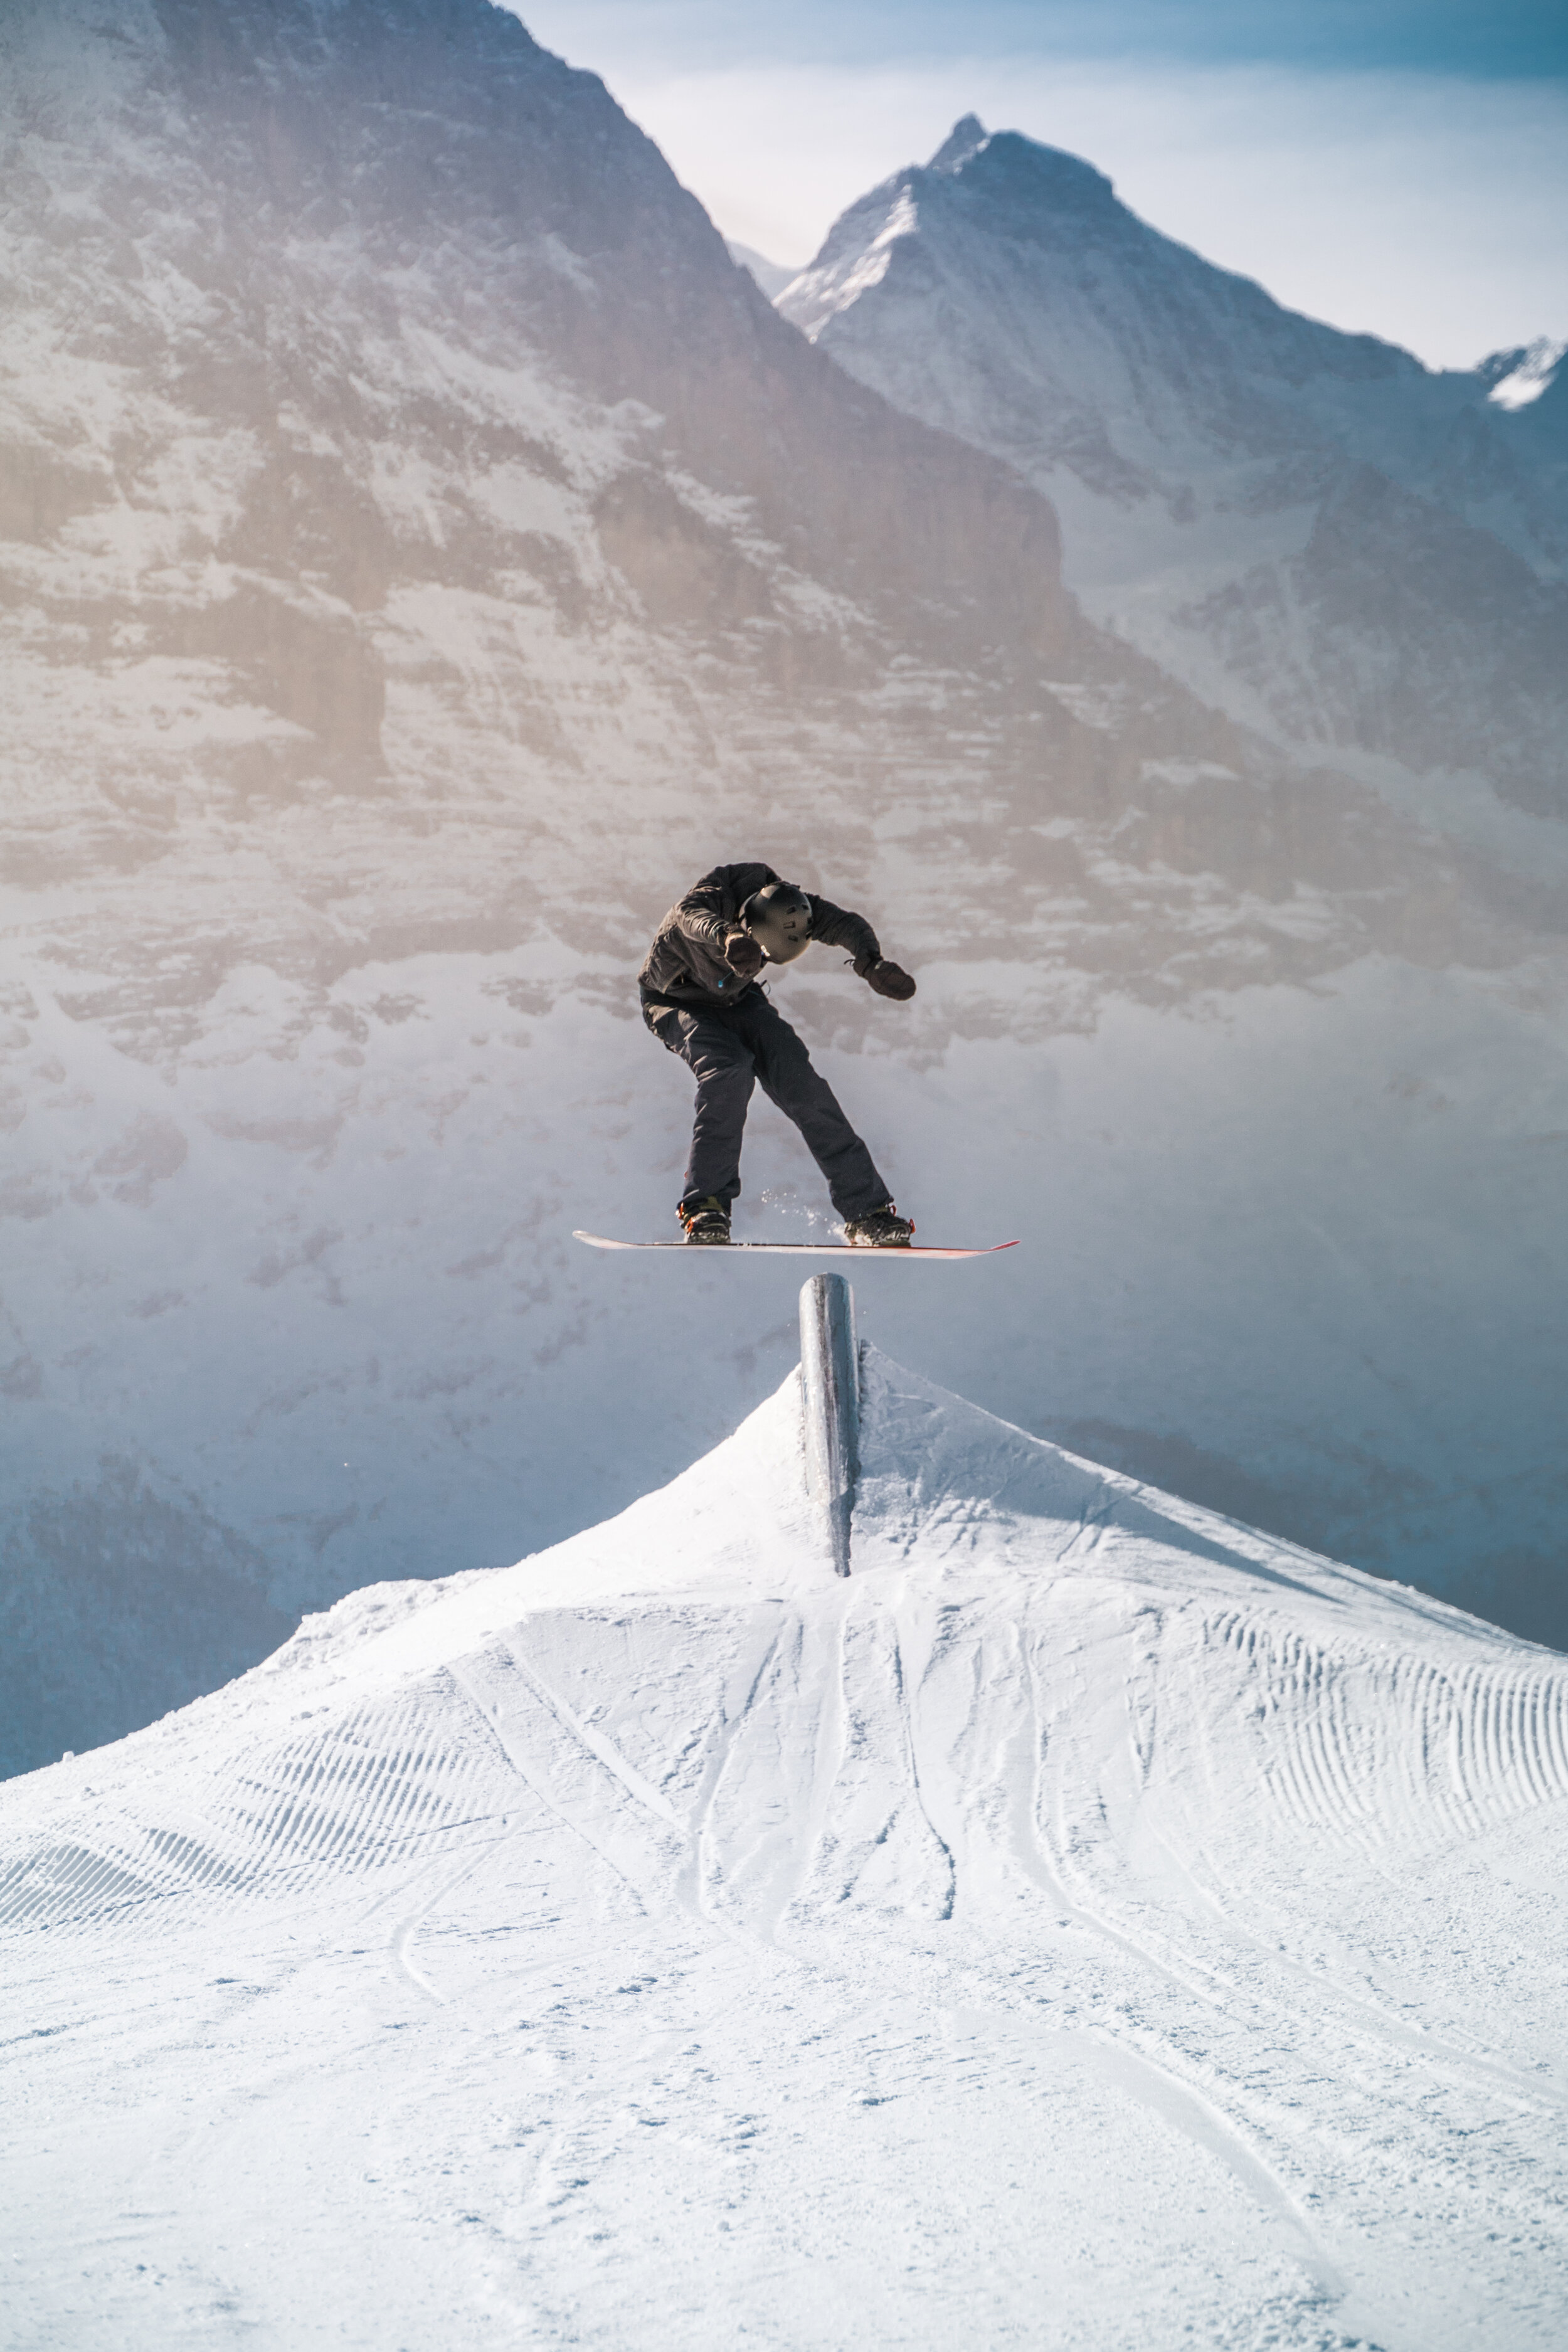
WHAT IS A SNOWBOARD PROFILE
A snowboard or camber profile describes how a snowboard looks when it is laid on a flat surface. This profile will affect how the snowboard performs and feels across various terrain. Traditionally snowboards have a camber that raises in the middle of the board causing an arch. Over time this has been adapted and refined to produce a variety of snowboard camber shapes that will help improve board feel and can be matched to riding style.
Learning about snowboard profiles will help you choose a snowboard that matches your riding style or the type of terrain you wish to ride. An example would be the use of rocker in the nose of your snowboard to improve performance in deeper snow or a flat camber profile to make your board stable at speed. Below the most popular camber profiles are discussed.
TYPES OF CAMBER PROFILE
CAMBER
A full or traditional camber snowboard is the original snowboard profile. At the beginning of the sport, this is how boards were made and that was your choice. Although there have been many developments in snowboard profile there is a hardcore of snowboarders who would still maintain that a traditional camber snowboard is the best snowboard profile.
A traditional camber snowboard arc’s up in the middle of the board and returns to the snow at the contact points. This arc or camber allows the rider to build up pop for jumps and ollies and will increase the snowboards edge hold when carving. Camber snowboards feel stable and reliable and they handle speed with ease. Camber profiles are found in advanced carving or jump focussed snowboards as they are stable and have lots of pop.
Camber profiles can be ridden by beginners and in powder however, both of these tasks are made harder by using a full camber snowboard. In powder, the camber will not help you to keep the nose of the board above the snow and you may be more prone to back leg burn in deeper conditions. As a beginner learning on a cambered snowboard could set you up as if you can ride a camber you can ride it all… but be wary of catching an edge. Camber snowboards keep the contact points close to the snow so it is more likely you may catch an edge regularly until you are confident.

FLAT CAMBER
Flat camber snowboards have no arc meaning that they remain flat from the tip to the tail. Flat camber snowboards are a less aggressive version of a cambered snowboard. They will remain stable at speed and will be nice to carve and in addition, will be better in powder than a traditional camber snowboard. This is because a flat camber snowboard has more surface area in contact with the snow, making it harder to sink.
Flat camber boards can feel a bit lifeless and lack the pop of traditional camber boards and they also lack the forgivingness of a rocker snowboard for beginners.
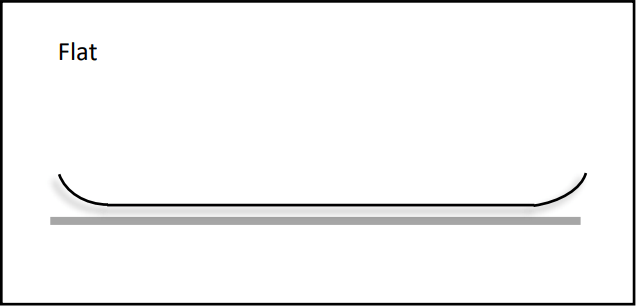
REVERSE CAMBER
Reverse camber or rocker snowboard profiles are essentially the opposite of a camber profile. The arc of a reverse camber board is away from the snow, lifting the contact points in the process. This results in a banana shape that is easier to ride for beginners as you are extremely unlikely to catch an edge. Reverse camber snowboards also are great fun to ride in powder as the reverse camber lifts the nose and tail above the snow. Reverse camber snowboards are also easier to press but there are the following downsides.
Because of the nature of the rocker lifting the contact points away from the snow reverse camber boards can be unstable when ridden at faster speeds. If you are into ripping up groomers, then avoid a rocker as it will feel loose. As the contact points are lifted from the snow a rocker snowboard will struggle more for edge hold in icy conditions. This is sometimes counteracted by increasing the number of contact points along the edge.

CAMROCK
CamRock is a hybrid snowboard profile that combines the best characteristics of camber and reverse camber to make a truly versatile shape. Camrock snowboards have camber under the feet but add rocker to the nose and tail. This profile allows for the snowboard to be stable at speed and have great edge hold but be less catchy when initiating turns. Other benefits of a camrock snowboard are that they will float better in powder than their traditional camber counterparts and have more pop than a reverse camber board.
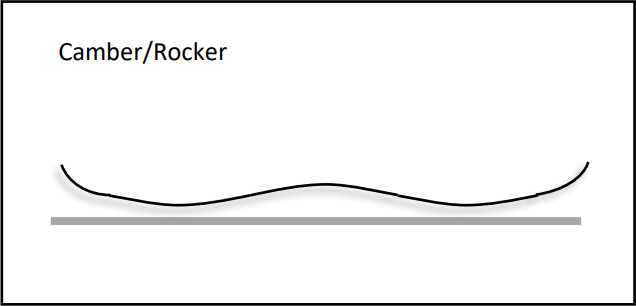
ROCK OUT CAMBER
Rock Out Camber is a hybrid camber profile found on some Salomon Snowboards. The rock out camber profile is similar to a camrock board but adds a flat section between the bindings. This combination of rocker, camber and flat sections provides versatile performance benefits. A rock out camber snowboard will float well in powder, have lots of pop and be stable at speed. This profile is found in some of Salomon’s most popular boards including the Assassin and Villain.
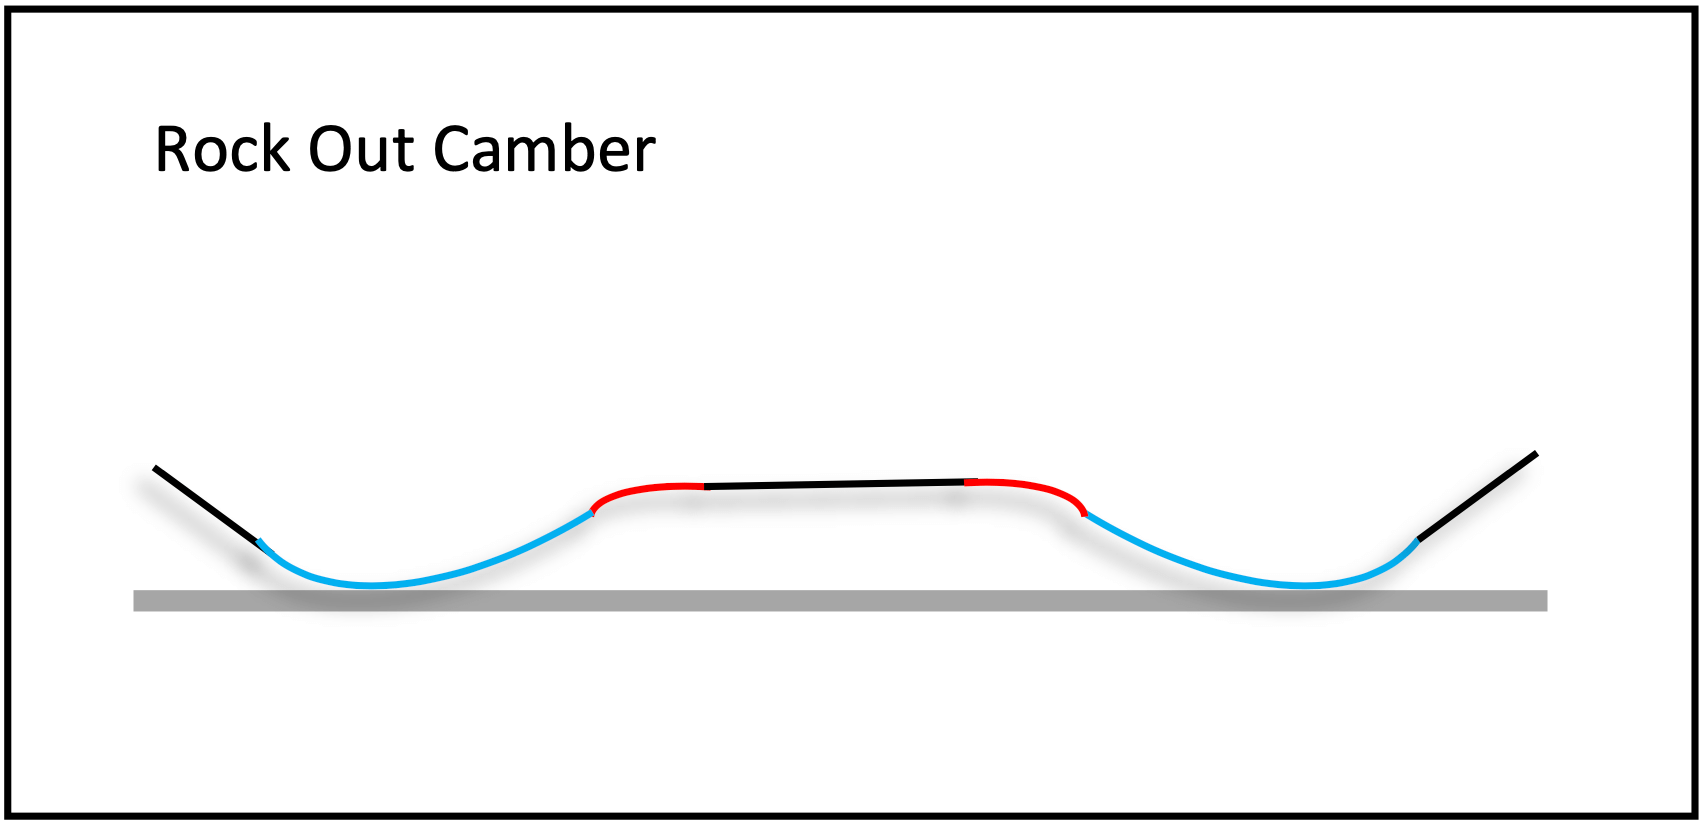
POW ROCKER
Powder boards often have the most interesting designs and the use of a pow rocker profile will help the boards performance in deeper snow. Pow Rocker is essentially a long elongated rockered nose section alongside either a flat or camber section towards the tail of the board. This design will lift the nose of the snowboard out of the snowmaking it perfect for powder days. The camber towards the tail of the board will allow you to carve and power yourself out of turns whilst riding on the piste.


3BT
3BT or TBT is found on Bataleon, Lobster and Whitegold snowboards. 3BT is different from the other profiles discussed as it affects the base not just the profile of the snowboard. 3BT boards are all traditional camber snowboards however the base of a 3BT snowboard is split into three sections. A flat section in the middle and two bevelled sections on the sides. By bevelling the base upwards from the snow Bataleon have created a rocker on the base which makes their snowboards more forgiving. 3BT boards have become really popular as they have shown to improve powder performance and prevent edge catch whilst maintaining a stable ride due to the traditional camber sections.

SNOWBOARD PROFILES BY RIDING STYLE
BEST FOR CARVING
If carving is your main focus then you are going to want some elements of camber in your snowboard profile. As discussed above a camber profile is stable at high speeds and offers great edge hold. By choosing a snowboard that runs a traditional camber from tip to tail you will have the highest level of carving performance. Traditional camber is often found on race/alpine boards designed to go fast and without compromise.

BEST FOR POWDER
If you want to ride in powder effortlessly then you will want some form of rocker added to your snowboard. Any board with a rocker in the nose and tail will help you to stay above the snow. By adding rocker to a longer nose and a directional shape, you will be slashing pow with ease.

BEST FOR JUMPS
If you want to hit big booters than you really want to have a camber underneath your bindings. Having a camber under the centre of your snowboard will allow you to generate extra pop on take-offs and will give you a stable base for landings. Camber boards will also allow you to carve up the take-off to get that spin started.

BEST FOR BUTTERS
To make buttering easy you could opt for a reverse camber snowboard. A full rocker snowboard will allow you to spin your ground tricks without fear of catching an edge. If you didn’t want to sacrifice performance elsewhere consider a camrock profile with rocker on tip/tail. This should still make butters easier but will still give you pop.
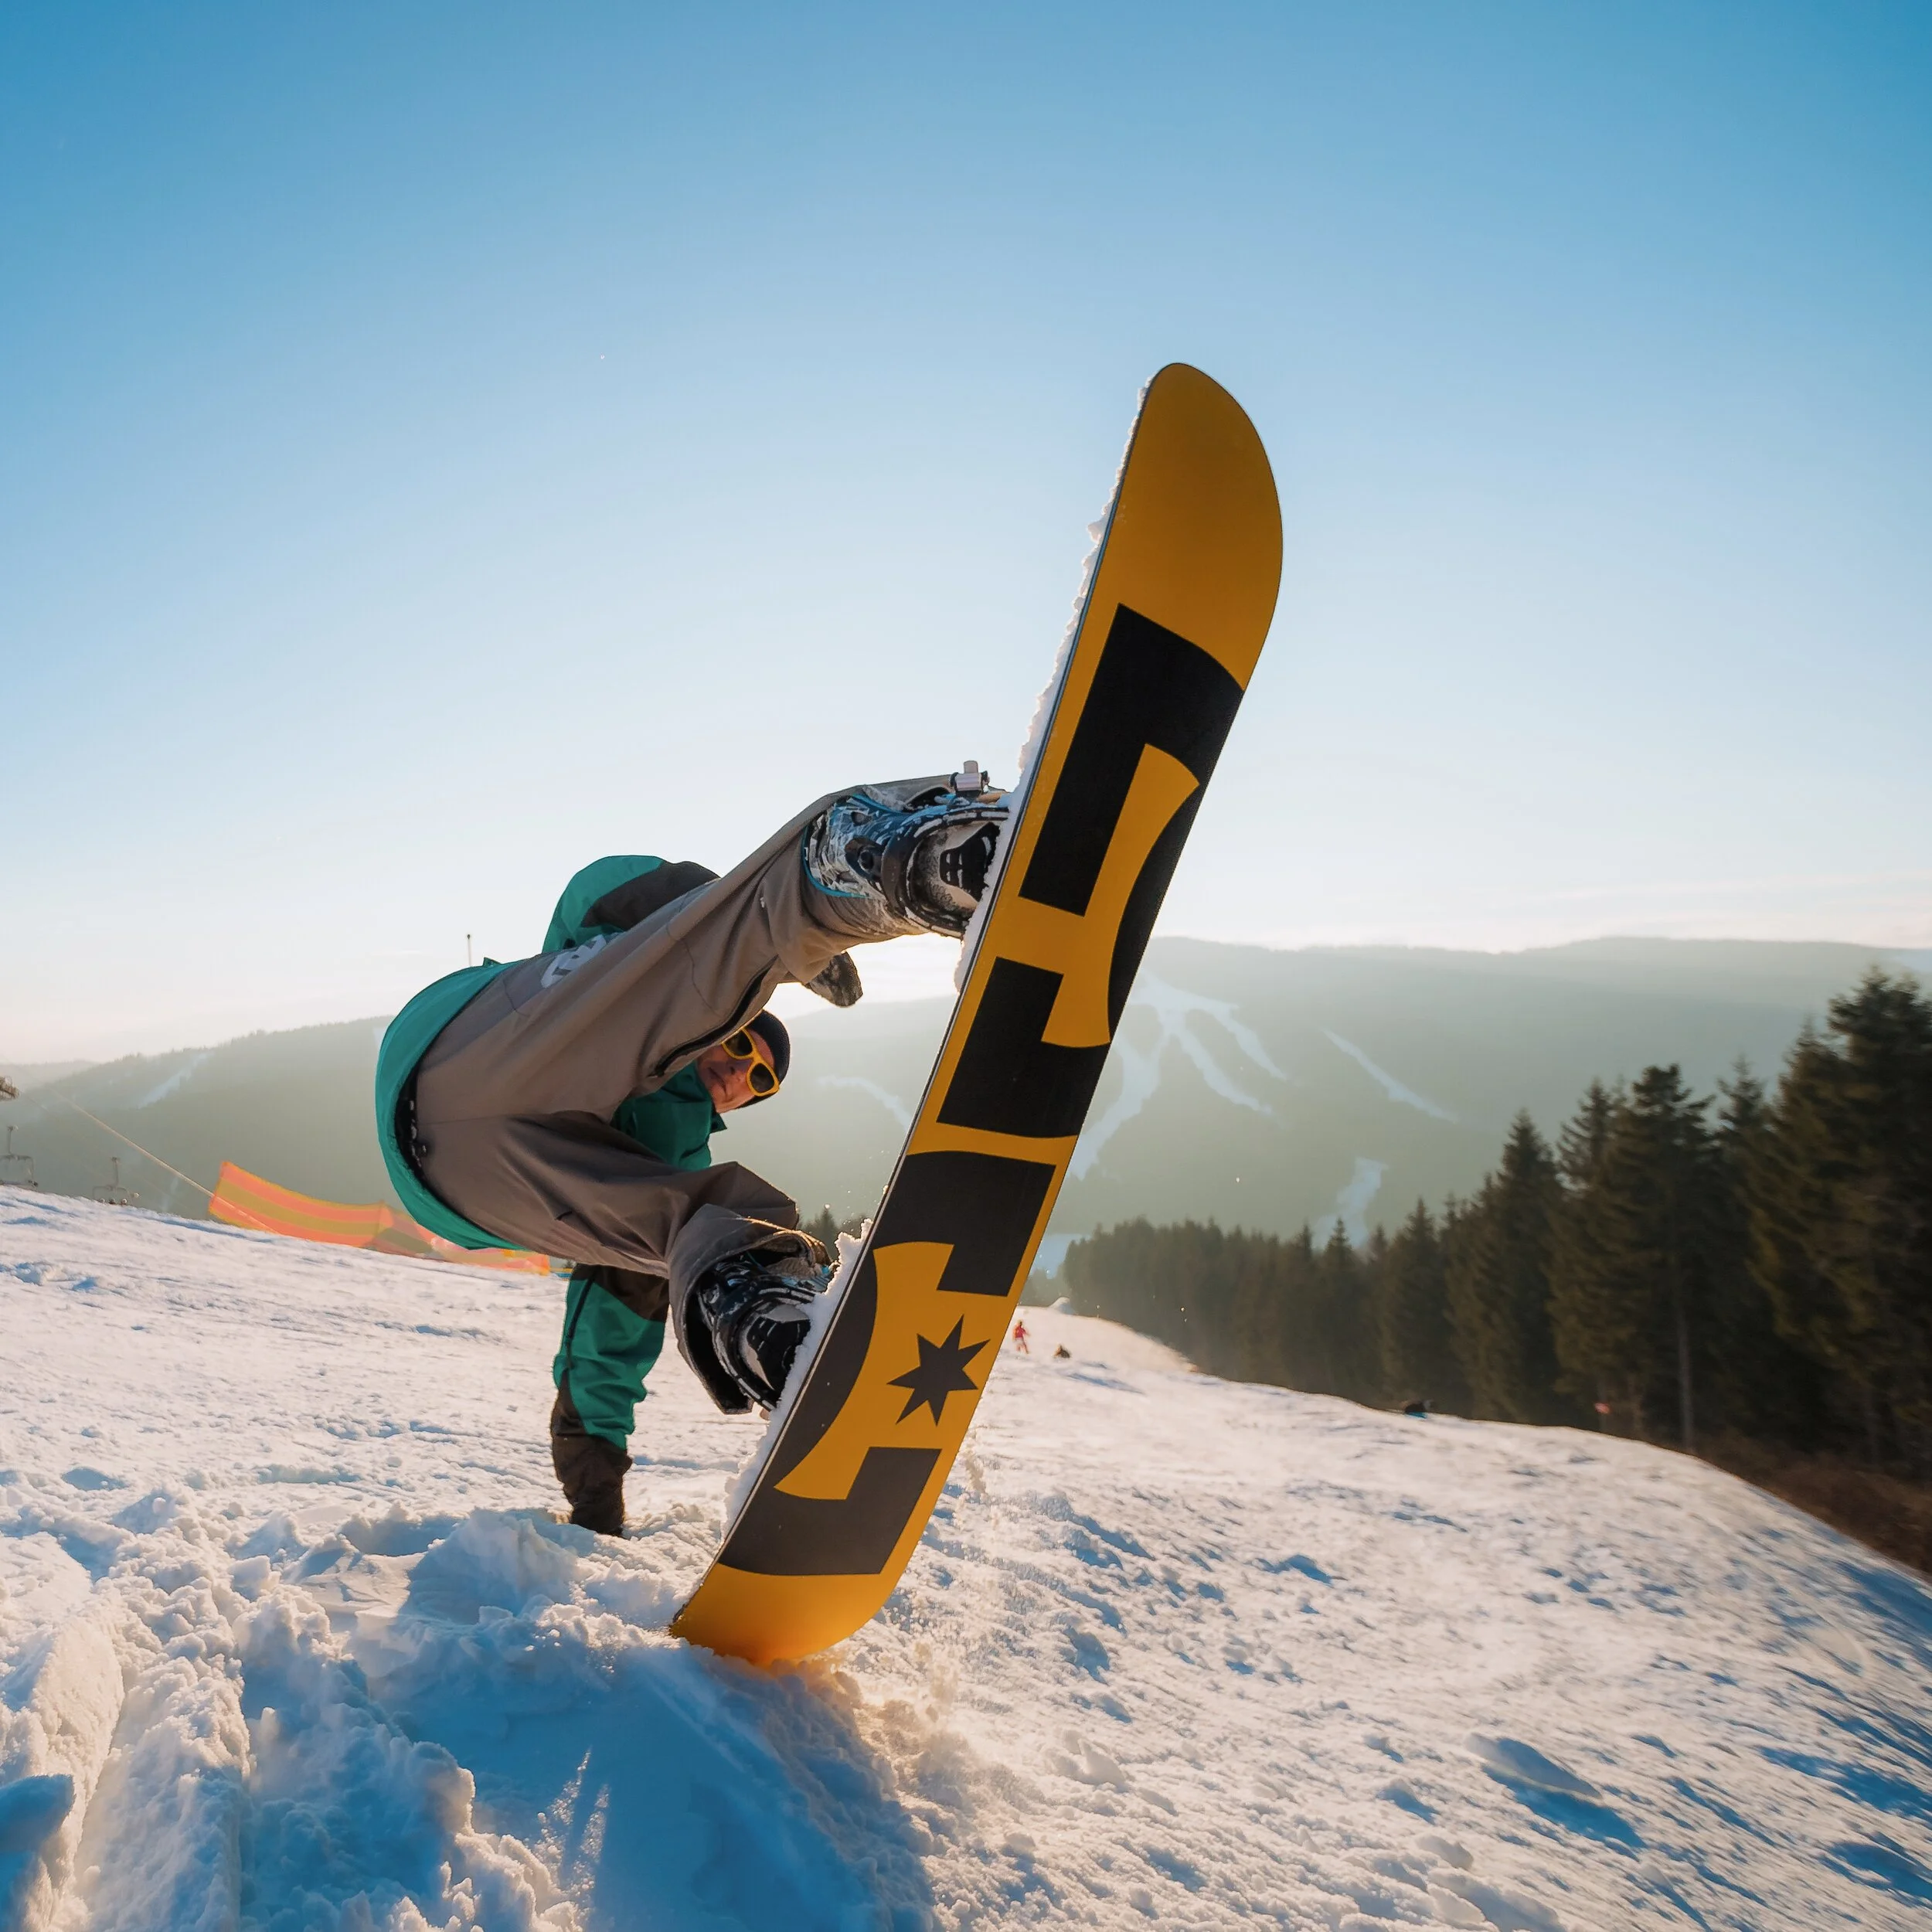
BEST FOR RAILS
If you are looking for a catch-free rail board you could consider a flat or reverse camber profile. Both these profiles may feel a bit lifeless on jumps so you may be better served with a hybrid profile. By choosing a hybrid profile you will still generate the pop to jump onto rails but your contact points will be lifted away from the rail. 3BT is another great profile for riding rails as the bevelled base uplifts the contact points.

Personal Preference
Ultimately there is no right or wrong answer for which snowboard profile is right for you. I feel strongly about what is best for me and what I prefer riding in different situations across the mountain. If you are still unsure the best thing you could do is head to your nearest demo shop and try out a number of snowboard profiles.
Get In Touch
As always thanks for reading and if you are still unsure feel free to get in touch via the socials or the comment section. Make sure to check out our Snowboard Buyers Guide where you will find all the information regarding how to buy a snowboard.
CARE TO SHARE?
IF YOU FOUND THIS POST USEFUL AND YOU THINK IT MAY ALSO HELP OTHERS, PLEASE LIKE, SHARE AND COMMENT TO PROMOTE IT TO OTHERS

OVRONNAZ SKI RESORT GUIDE
Ovronnaz ski resort, nestled in the Swiss Valais region, offers a distinctly authentic alpine experience away from the usual crowds found at the big name Swiss ski resorts. The village of Ovronnaz is known for its thermal baths and sunny terraces, but Ovronnaz ski resort is also worth the trip. The resort features mainly intermediate terrain however beginners and advanced skiers will also find pistes to suit suitable their ability. In total, 30km of empty slopes can be found with incredible views of the Swiss Alps. Unlike the larger, more commercialized resorts, Ovronnaz provides a peaceful change of pace, making it an great destination for skiers seeking quality snow, stunning views of the Rhone Valley, and a taste of traditional Swiss mountain hospitality.
OVRONNAZ FIRST IMPRESSIONS
I drove up to Ovronnaz from the valley and was immediately taken in by the beauty in this area. The village itself has a traditional charm however when arriving at the base area it was like there is nothing really there. The car park sits below the Jorasse chairlift and a lonely ticket office with no other real amenities. It is only once up the Jorasse chairlift where you see the resorts main restaurant and a small souvenir shop. This area is busy with skiers and snowboarders utilising the facilities and the beginners area. Once away from this area and around the resort there is a calmness to Ovronnaz.
OVRONNAZ SKI AREA
Ovronnaz ski area offers around 30km of mostly intermediate pistes, set against the stunning backdrop of the Valais Alps. With a vertical drop of approximately 1100m, the resort provides the opportunity to combine some pretty awesome pistes for a long run top to bottom. If you do not believe me check this video here. Ovronnaz is a particular favourite amongst the Magic Pass crowd for after a storm so if you hit it at the right time you could find yourself enjoying some incredible powder laps.
Intermediate skiers and snowboarders will love Ovronnaz for the abundance of beautiful groomed pistes which when avoiding weekend crowds are suitably quiet. Ovronnaz has enough to keep the able intermediate happy. Beginners have less to occupy them, although there is a beginners area near the Jorasse top station. This small learners area has its own drag lift and is an ok spot to learn your first turns. Away from the beginners area, a couple of gentle blues near the Petit Pré chair can keep advancing beginners entertained. Advanced terrain is limited however there are a couple of black routes in Ovronnaz. The real challenge for the more able skiers and snowboarders can be found in the freeride posibilities within the area.
WATCH THE FULL REVIEW
LIFTS AT OVRONNAZ
In Ovronnaz the lifts are not going to break any speed records, especially the Jorasse chairlift from the base area, however they do suitably handle the demands of the ski resort. The 4 chairlifts in Ovronnaz, include the new Petit Pré chairlift, which has been installed to replace an old draglift and improve the visitor experience. The lifts in Ovronnaz are fine, and during the week when it is quiet you wont be longing for bigger faster lifts. In addition to the four chairlifts, the Tsantonnaire drag lift accesses Ovronnaz highest lift accessible point at 2427m. The Tsantonnaire is an experience not to miss, its steepish climb, long duration and bend at the top is a badge of honour for any snowboarder who is successful in reaching the top. The only downside to the Tsantonnaire was the queue to ascend it… even on a quiet day.
Tsantonnaire Drag Lift Ovronnaz
WHERE TO SKI IN BAD WEATHER OVRONNAZ
This wasn’t an issue on my visit as I was blessed with bright bluebird skies for the duration of my visit. However, looking at the Ovronnaz ski area I can see with the lack of trees on the upper mountain it could be difficult to navigate in adverse weather. If I was in Ovronnaz during a storm, I would head to the area under the Col Express chairlift. This part of the resort may provide suitable context with the widely spaced trees in this area. Similarly the resort runs under the Jorasse chair are lined with trees so may provide a suitable option.
Trees under the Col-Express Chairlift
OVRONNAZ PISTE MAP
Ovronnaz Piste Map
OVRONNAZ GALLERY


OVRONNAZ SEASON DATES
Ovronnaz ski resort in Switzerland usually opens its winter season in early December and operates until late April. Thanks to its advantageous altitude and location, the resort offers consistent snow conditions throughout the winter months. The heaviest snowfall typically happens in January and February, making these months the best time to visit for excellent snow coverage. Visitors can enjoy Ovronnaz’s well-maintained pistes, often covered in a generous layer of fresh snow during this peak period. Ovronnaz ski resort receives an average annual snowfall total of approximately 450 cm ensuring its slopes are well-covered throughout the season.
TRAVEL TO OVRONNAZ
WHERE IS OVRONNAZ SKI RESORT?
Ovronnaz ski resort is situated in the Swiss canton of Valais, perched on a sunny terrace overlooking the Rhône Valley. It enjoys a strategic location approximately 1 hour and30 minutes by car from Geneva Airport, making it an accessible destination for international travelers seeking adventure. The resort lies close to the local towns of Sion and Martigny, both within a 30-minute drive; Sion serves as the regional capital with cultural attractions and amenities, while Martigny offers a gateway to the nearby vineyards and Roman history. Ovronnaz’s geographical setting provides stunning panoramic views of the surrounding peaks and easy access to the broader Valais region, blending convenience with scenic mountain charm.
GETTING TO OVRONNAZ SKI RESORT
Getting to Ovronnaz ski resort in Switzerland can be achieved smoothly through various travel options. The nearest major airport is Geneva Airport, about 1.5 to 2 hours away by car or public transport, making it the preferred gateway for international travelers. From Geneva, visitors can take a train to Martigny, a hub on the Swiss rail network, and then transfer to a local train or bus towards Ovronnaz. The train journey offers scenic views and runs regularly, ensuring convenient connections. Alternatively, self-driving from Geneva allows flexibility and direct access to the resort, with well-maintained roads suitable for winter driving conditions. For those arriving by air further afield, Zurich Airport is another option though it involves a longer transfer time. Regardless of the mode chosen, early planning is recommended, especially during peak ski season, to secure transport and enjoy a seamless journey to Ovronnaz.
Flying is and will remain the easiest and quickest way to reach a ski resort however, it also has the largest impact on your Carbon footprint.
OVRONNAZ LIFT PASSES
At Ovronnaz, lift pass prices offer excellent options for both short visits and extended stays. A one-day lift pass costs CHF 55 for adults, providing full access to the ski area for a single day of skiing or snowboarding. For those planning to immerse themselves in the mountains, a six-day lift pass is available at CHF 275 for adults, offering great value over multiple days on the slopes. Additionally, visitors should consider the Magic Pass, which includes Ovronnaz among many other resorts. This pass represents exceptional value, granting access to a wide range of ski areas across Switzerland and neighbouring countries, making it an ideal choice for travellers looking to explore multiple destinations during their ski season.
OVRONNAZ PROS
Ovronnaz has varied ski terrain suitable for all skill levels, from beginners to experts however is best suited to intermediate skiers.
Ovronnaz has reliable snow conditions due to high elevation and consistent snow record.
The lift system is suitable for the resorts needs with recent upgrades to the lifts including the introduction of the Petit Pré
Ovronnaz village has thermal spas which are perfect for unwinding after a days skiing.
Ovronnaz is included on the Magic Pass, the worlds best value ski pass. This means skiing in Ovronnaz can be linked with days at other nearby Swiss ski resorts.
OVRONNAZ CONS
Not much in the way of beginner friendly terrain can be found in Ovronnaz.
The slow Jorasse chairlift could do with updating to uplift visitors from the base area quicker.
If you find value in this content please consider supporting the website by clicking the image below and buying me a coffee.
OVRONNAZ FREQUENTLY ASKED QUESTIONS
Where is Ovronnaz ski resort located?
Ovronnaz is located in the Swiss Alps, in the canton of Valais. It sits on a sunny plateau overlooking the Rhone Valley.
What is the best time to visit Ovronnaz for skiing?
The peak ski season runs from December to April, with the best snow typically found from January through March.
How many ski runs does Ovronnaz have?
Ovronnaz offers around 30 kilometers of ski slopes, with runs suitable for beginners, intermediates, and advanced skiers.
Is Ovronnaz good for beginners?
I wouldn’t say that Ovronnaz is great for beginner skiers and snowboarders. There is a small learners area and besides from that not too much suitable terrain for learning. I would recommend other Magic Pass ski resorts like Vercorin, Saas Fee or Les Diablerets over Ovronnaz as a beginners resort.
What types of lifts are available in Ovronnaz?
The resort has a mix of chairlifts and surface lifts to access various parts of the mountain. The lifts in Ovronnaz include the newer Petit Pré lift and the less new Tsantonnaire drag lift.
Are there activities besides skiing?
Yes, Ovronnaz offers snowshoeing, winter hiking trails, and a wellness center featuring thermal baths, making it a well-rounded destination.
How accessible is Ovronnaz?
The resort is about a 1.5-hour drive from Geneva Airport and easily reachable by train and bus connections from nearby towns.
What accommodations are available?
There is a range of lodging options including hotels, chalets, and apartments, many of which offer ski-in/ski-out convenience.
Is Ovronnaz suitable for families?
Absolutely, with kid-friendly slopes, ski schools, and various family-oriented activities, Ovronnaz is ideal for a family ski holiday.
Does Ovronnaz have après-ski options?
Although quieter than larger resorts, Ovronnaz offers cozy bars and restaurants where visitors can relax after a day on the slopes.
OVRONNAZ FINAL THOUGHTS
I am glad that I visited Ovronnaz and would certainly return to ski the odd day in the right conditions. In comparison to some other favourites on the Magic Pass, Ovronnaz pales in comparison, but the village and ski area are certainly worth the visit. I feel that to make the most of a visit to Ovronnaz I would like to revisit with my splitboard to explore some of the freeride terrain available.
If you found value in this content and would like to support my adventures, consider buying me a coffee; it helps keep the blog running and fuels my passion for exploring the world's mountains.

The Complete Three Valleys Ski Area Guide
The Three Valleys in the French Alps is one of the largest and most renowned ski areas in the world. Spanning over 600 kilometers of pistes across eight interconnected ski resorts, the Three Valleys offers an unparalleled skiing experience for skiers and snowboarders of all levels. From the charming village of Courchevel to the lively resort of Méribel, this guide will provide you with a comprehensive overview of the Three Valleys ski area, including detailed information on each resort, the best runs, and insider tips to make the most of your ski vacation.

Val Thorens Village Shops
THREE VALLEYS FIRST IMPRESSIONS
The Three Valleys in the French Alps is a truly massive ski area, with over 600 kilometers of pistes spread across eight interconnected ski resorts. As you step onto the slopes, the sheer scale of the terrain can feel almost overwhelming, with endless runs, lifts, and off-piste opportunities beckoning in every direction. However, this vastness is also the Three Valleys' greatest strength, as it means you can continue to explore for days on end, always discovering new and exciting areas to ski or snowboard. Whether you're a seasoned veteran or a first-time visitor, the sense of adventure and the promise of uncovering something new around every corner is palpable, making the Three Valleys a truly captivating and immersive ski destination.
THREE VALLEYS SKI AREA
The Three Valleys ski area is one of the largest and most renowned ski destinations in the world. Encompassing eight individual ski resorts, the Three Valleys offers a staggering 600 kilometers of pistes and 328 ski lifts.
The eight resorts that make up the Three Valleys are Courchevel, Méribel, Les Menuires, Val Thorens, Orelle, Saint-Martin-de-Belleville, La Tania, and Brides-les-Bains. Each resort has its own unique character and terrain, catering to skiers of all abilities.
Courchevel, often considered the crown jewel of the Three Valleys, is renowned for its luxurious accommodations, high-end dining, and challenging terrain. With 150 kilometers of pistes and 58 ski lifts, Courchevel offers a wide range of runs, from gentle beginner slopes to steep, technical runs for expert skiers.
Méribel, the heart of the Three Valleys, is a charming resort with a traditional Savoyard architecture and a lively après-ski scene. With 150 kilometers of pistes and 42 ski lifts, Méribel caters to a wide range of skiers, from families to thrill-seekers.
Les Menuires, located at the heart of the Three Valleys, is a purpose-built resort known for its affordable accommodations and family-friendly atmosphere. With 160 kilometers of pistes and 35 ski lifts, Les Menuires offers a mix of beginner, intermediate, and advanced runs.
Val Thorens, the highest resort in the Three Valleys at an impressive 2,300 meters, is a snow-sure destination with a modern, futuristic feel. With 150 kilometers of pistes and 31 ski lifts, Val Thorens is a haven for advanced skiers, offering some of the most challenging terrain in the region.
Orelle is often forgotten as its sits in the fourth valley the other side of Val Thorens. For me, Orelle is a gamechanger and can be an affordable base to visit Val Thorens and the extended Three Valleys ski area. Orelle stands up in its own right with some great off-piste and some exciting long pistes that ensure it is worth a visit.
VAL THORENS
Nestled high in the French Alps, Val Thorens is a monster ski resort that caters to skiers and snowboarders of all abilities. With an impressive vertical drop of 2,300 meters and over 150 kilometers of pistes, this resort offers a diverse range of terrain to explore.
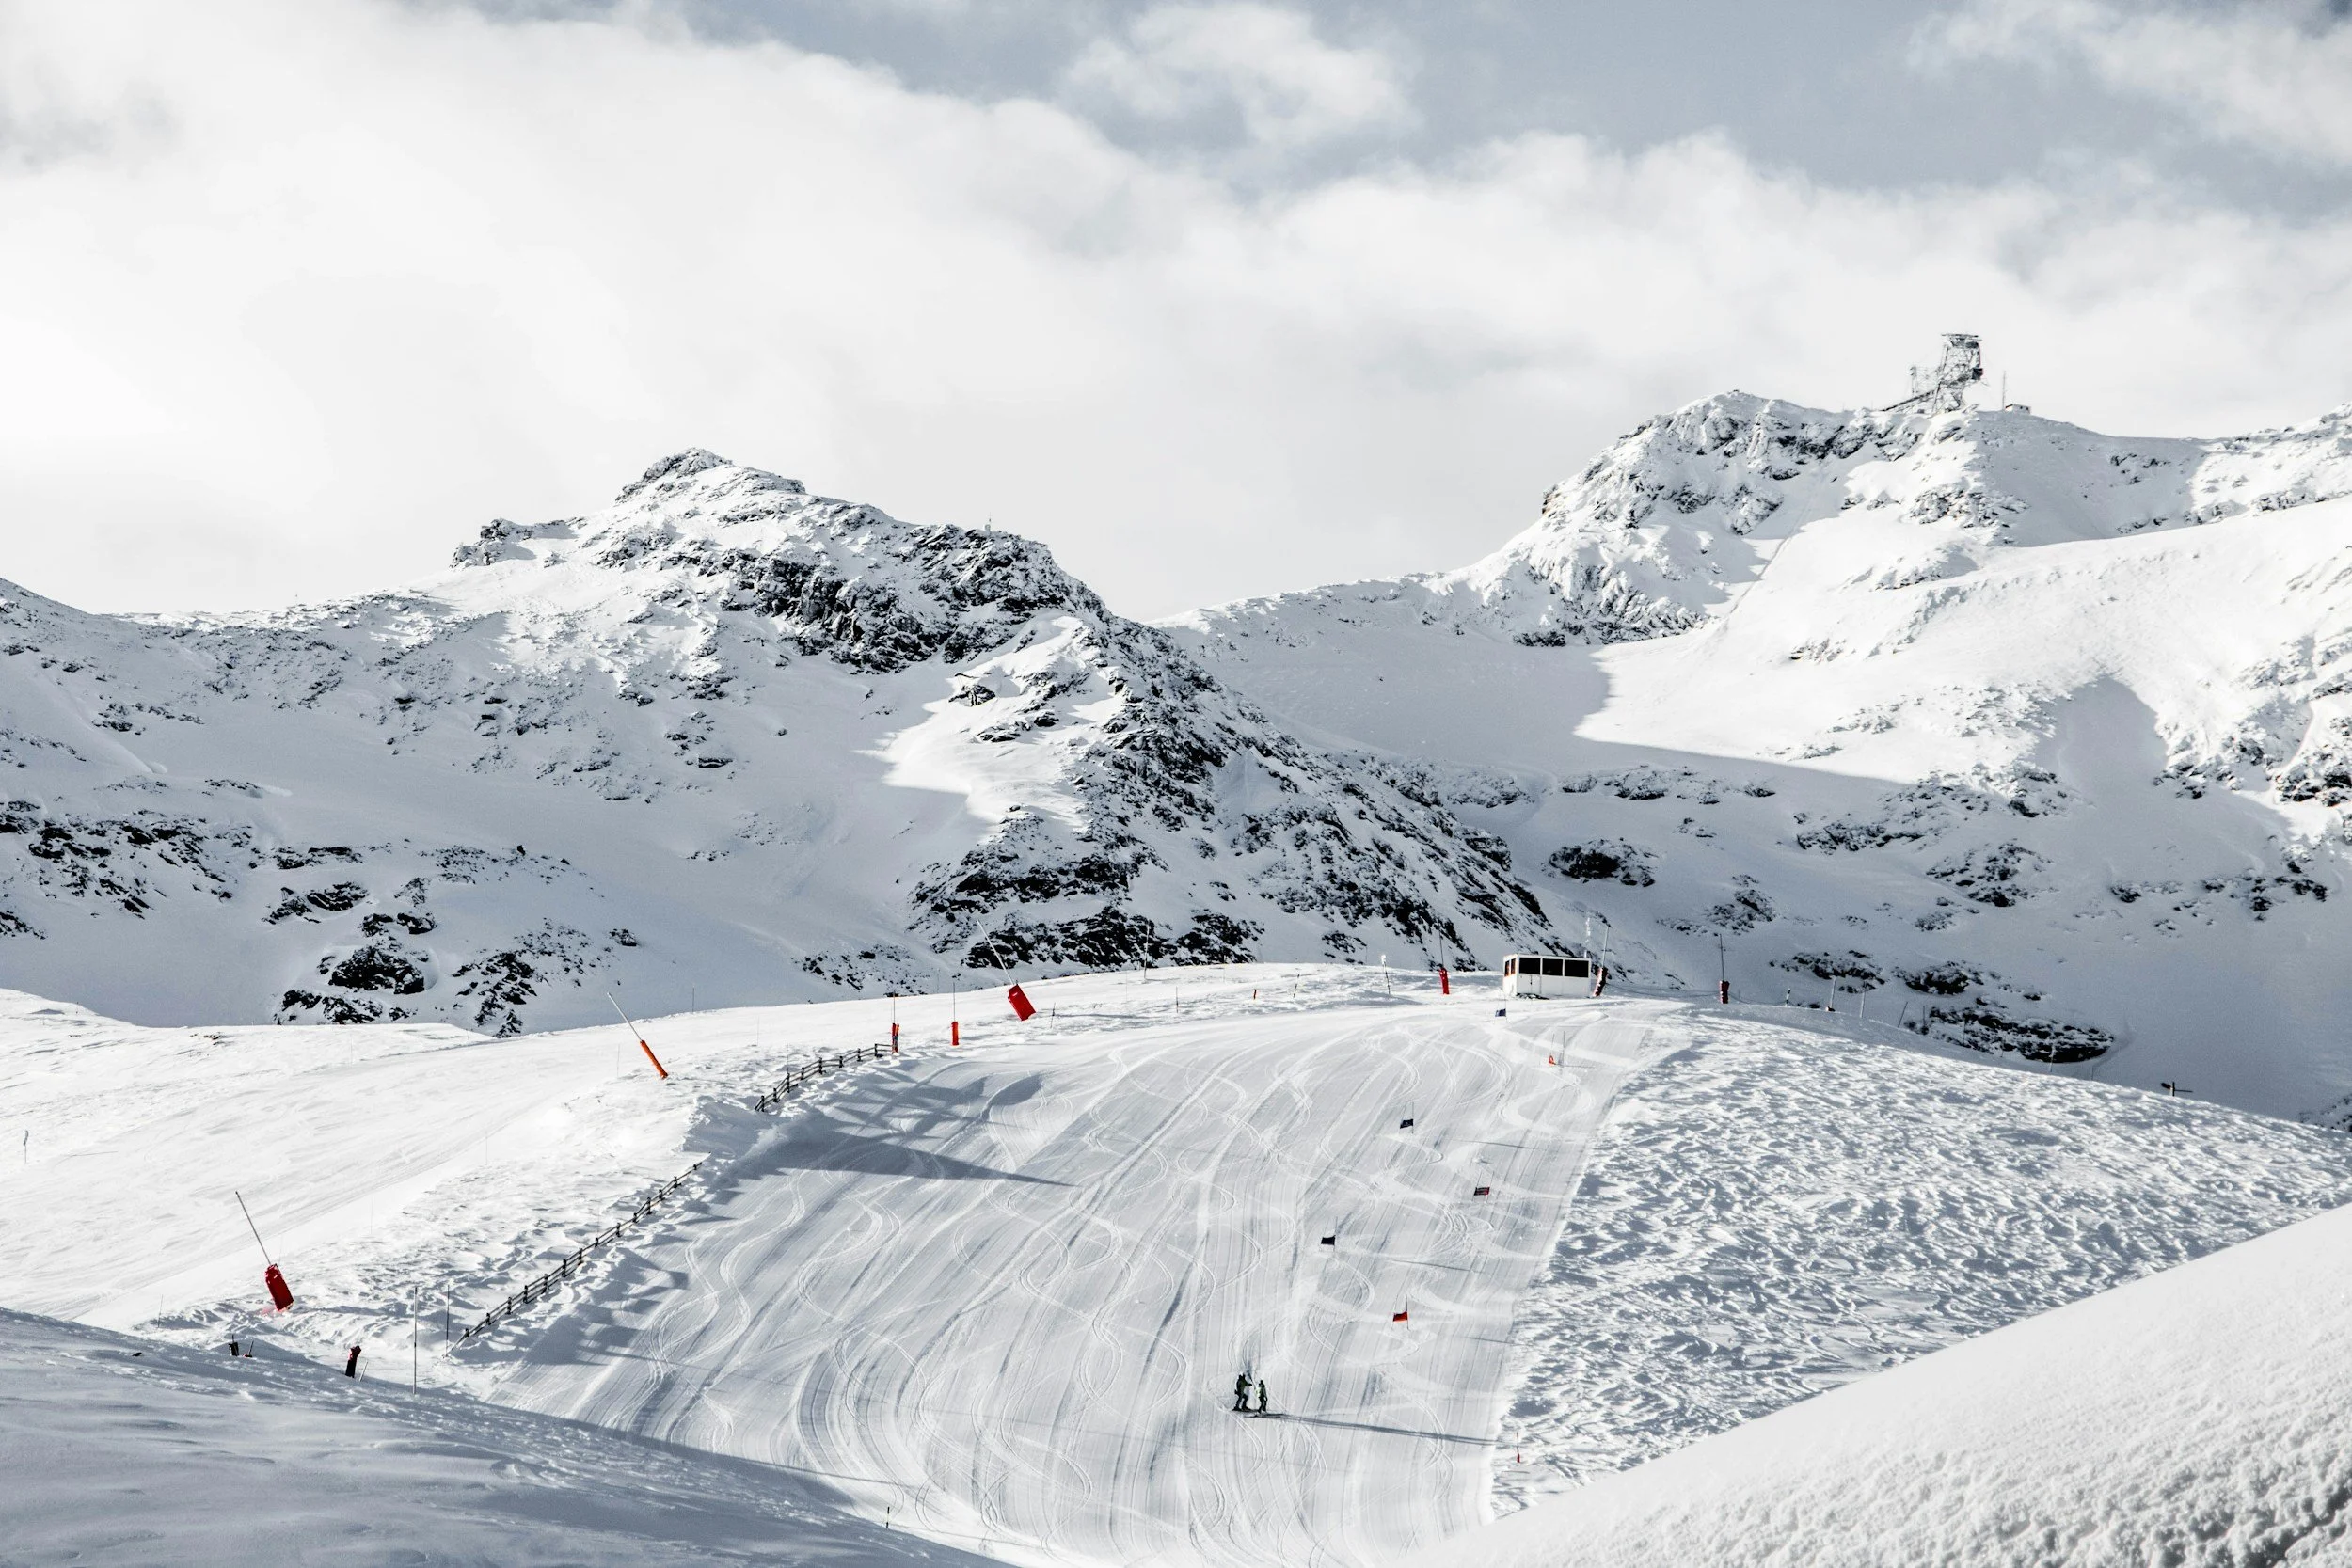
Val Thorens is particularly well-suited for intermediate and advanced skiers, boasting a vast network of challenging runs and off-piste opportunities. The resort's high altitude, combined with its state-of-the-art snowmaking capabilities, ensures a long and reliable ski season, with snow cover typically lasting from November through to May.
Beyond the exceptional skiing, Val Thorens is a down-to-earth base for a Three Valleys ski holiday. The resort's lively atmosphere, with its array of restaurants, bars, and après-ski activities, makes it a popular choice for those seeking an authentic mountain experience. Whether you're looking to carve fresh tracks on the slopes or simply soak up the stunning alpine scenery, Val Thorens is a must-visit destination.
To learn more about the unique charms of Val Thorens and plan your perfect ski getaway, be sure to read the comprehensive resort guide.
MERIBEL
In the heart of the renowned Three Valleys ski area, Meribel is a ski destination that offers unparalleled access to a vast network of slopes and terrain. As the central resort within the 3 Valleys interconnected system, Meribel boasts a well-balanced mix of beginner, intermediate, and advanced runs, catering to skiers and snowboarders of all skill levels.
The resort's terrain breakdown is as follows: 14% beginner, 40% intermediate, and 46% advanced, ensuring that there is something for everyone. Beginners can hone their skills on the gentle, wide-open slopes, while intermediate and advanced riders can challenge themselves on the resort's numerous steep, groomed runs and off-piste areas.
One of the primary reasons people choose to stay in Meribel is its strategic location within the Three Valleys. This interconnected ski area, the largest in the world, offers access to over 600 kilometers of pistes, 200 lifts, and a diverse range of mountain experiences. From the charming village of Meribel, skiers and snowboarders can easily access the neighboring resorts of Courchevel, Val Thorens, and La Tania, allowing them to explore the entire Three Valleys with ease.
Whether you're a seasoned skier or a newcomer to the sport, Meribel's central position within the Three Valleys makes it an ideal base for your winter adventure. To learn more about the resort's amenities, accommodation options, and the best ways to experience the Three Valleys, be sure to read the comprehensive Meribel Ski Resort Guide
COURCHEVEL
Courchevel is a world-class ski resort celebrated for its diverse terrain, luxury accommodations, and vibrant après-ski scene. Divided into several villages, each offering its own unique charm, Courchevel caters to skiers and snowboarders of all skill levels. With over 150 miles of interconnected slopes, breathtaking alpine views, and a commitment to excellent service, it stands as a premier destination for winter sports..

Courchevel is popular with beginners and intermediates who can benefit from some nice mellow slopes including the Pralong area in Courchevel 1850. Intermediates can take advantage of nearly 70% of the terrain being graded as blue or red which leaves plenty of room to explore.
Those skiers and snowboarders looking for steep runs and challenging terrain can find exactly that from the Combe du Vallon and the top of the Saulire Express. Although Courchevel is popular with beginners and intermediates this benefits the more advanced skier who can find themselves alone on the more challenging runs in the resort.
To Read more about Courchevel read the Comprehensive Courchevel Ski Resort Guide.
LES MENUIRES
Les Menuires ski resort boasts a diverse terrain that caters to skiers of all skill levels, making it an attractive destination for budget-conscious skiers. With a variety of groomed runs ranging from gentle slopes for beginners to more challenging black trails, there is something for everyone to enjoy.
Les Menuires is known for being an affordable base to visit the wider 3 Valleys ski area with excellent links to Val Thorens, Courchevel and Meribel. Les Menuires however should not be considered just an easy base for the 3 Valleys, but a quality ski area in its own right.
The local area of Les Menuires, makes up 150km of the 600km available in the 3 Valleys ski area making a huge ski area in its own right. The ski area offers 1000m of vertical drop and quality snow with skiing possible to 2800m. The Pointe de la Masse area also offers some enjoyable off-piste so should be high on the list of places to head.
To learn more about Les Menuires read the Comprehensive Les Menuires Ski Resort Guide.
BRIDES LES BAINS
Nestled at an altitude of 600 meters, Brides-les-Bains serves as a gateway to the renowned 3 Valleys ski area in the French Alps. Although there is no skiing in Brides Les Bains itself, access to Meribel is possible via the Olympe 1 and Olympe 2 gondolas.
Staying in Brides Les Bains can protect your wallet and leave more money for lift passes but this is not the only reason to stay in Brides Les Bains. The village of Brides Les Bains is well known for its thermal spas which can be the perfect apres ski activity for weary legs.
With a chilled local atmosphere filled with French charm, diverse dining options, and a potential for both relaxation and adventure, Brides-les-Bains is a great destination for skiers and snowboarders heading to the 3 Valleys.
ORELLE
Orelle could be my favourite base to explore the expansive 3 Valleys ski area with a quaint village, a nice local ski area and easy access to nearby Val Thorens, Orelle is worth consideration. In recent times, Orelle has undergone a transformation with a fast gondola installed to link Orelle to Val Thorens seamlessly.
The village has a range of economical lodging options, Orelle attracts budget-conscious skiers but without compromising the experience. I was worried that staying in Orelle would leave me isolated from the 3 Vallees. With the new lifts, this really isn’t an issue.
Locally, Orelle boasts a mix of runs that cater to all skill levels, from gentle beginner slopes to challenging pistes for advanced skiers. I personally had a fantastic time exploring the off-piste in Orelle which was really enjoyable.
Orelle itself will be a quieter experience than staying in Val Thorens, Meribel or Courcehvel which may suit families who will make the most of the quieter slopes and family friendly village.
To learn more read the Comprehensive Orelle Ski Resort Guide.
SEASON DATES
The Three Valleys ski area, one of the largest and most popular ski destinations in the world, typically opens its lifts and slopes in early December and runs through late April. Specifically, the opening date often falls on the first weekend of December, although exact dates can vary yearly depending on snowfall and weather conditions. It's common to find resorts within the area, such as Courchevel, Méribel, and Val Thorens, initiating their ski seasons with festivities and early-season discounts to attract skiers. As conditions improve and the holiday season approaches, the full range of runs and facilities are usually available by mid-December, providing a comprehensive skiing experience and optimal snow conditions for all levels of enthusiasts. Val Thorens as the highest resort in the Three Valleys has been known to open earlier than the other 3 Vallees ski areas.
THREE VALLEYS PISTE MAP
Grand Massif Piste Map
THREE VALLEYS INFRASTRUCTURE
As you would expect from a world-class ski resort, the Three Valleys invests heavily in its lift infrastructure. Across all of the ski resorts you will find high-capacity gondolas, super fast chairlifts and the more mellow magic carpets for beginners. Overall, the Three Valleys (Les Trois Vallées) is home to an impressive network of 180 ski lifts, making it one of the largest ski areas in the world.

Notable among these are the iconic Gondola de la Saulire, which provides access to some of the highest slopes at 2,738 meters, and the Grand Reverse chairlift, famous for its panoramic views of the Mont Blanc massif. Throughout the 3 Valleys the lifts work to join together the eight resorts, making it possible to ski easily between them.
Although there are some older ski lifts still lingering in the 3 Valleys, it is clear that each year the ownership is working to improve infrastructure as required. Recent examples of this are the new Orelle gondola and improve Saulire. I was particularly impressed with the lift system in Val Thorens which handled holiday crowds really well ensuring I barely waited in-line.
THREE VALLEYS ACCOMMODATION
The Three Valleys, one of the largest skiing areas in the world, offers various options for accommodations catering to families, budget travelers, and those seeking a lively nightlife. For families, Les Menuires stands out with its family-friendly amenities, ski schools, and easy access to beginner slopes, making it an excellent choice for those with children. If you're looking to save some money, Moutiers or Brides Les Bains are convenient and economical bases, providing lower-cost lodging and easy access to the ski areas. For those interested in vibrant nightlife and a party scene, Val Thorens is the place to be, boasting a host of bars and clubs that stay open late, ensuring an energetic atmosphere after a long day on the slopes. Val Thorens is also home to Club Med, which makes for a fantastic all-inclusive option directly on the slopes.
THREE VALLEYS PROS
The 3 Valleys is the largest combined ski area in the world, this means it is unrivalled in terms of variety and new places to explore.
The 3 Valleys offers something for everyone with certain villages meeting the needs of different clientele. This means that whether you are a student or work on Wall Street, you will find accommodation in your price range.
Intermediates will love the 3 Valleys for exploring between the resorts. The majority of terrain is graded as blue or red and with swift connections between the villages it’s easy to explore.
Off-Piste in the 3 Valleys is epic and there are a number of incredible runs to head to when the conditions are right!
The 3 Valleys has a long season, usually starting and finishing in Val Thorens, but there high-altitude of its resorts ensure good snow cover throughout the season.
THREE VALLEYS CONS
This one is personal for me, the money. Some parts of the 3 Valleys are flash with cash and marketed towards the world’s wealthiest visitors. For the average Joe, this can make dining and accommodation expensive when compared to other combined ski areas like the Grand Massif or Paradiski.
Crowds can be an issue during peak times at some pinch points. This however is regularly addressed by improving lift infrastructure across the ski areas.
THREE VALLEYS GALLERY


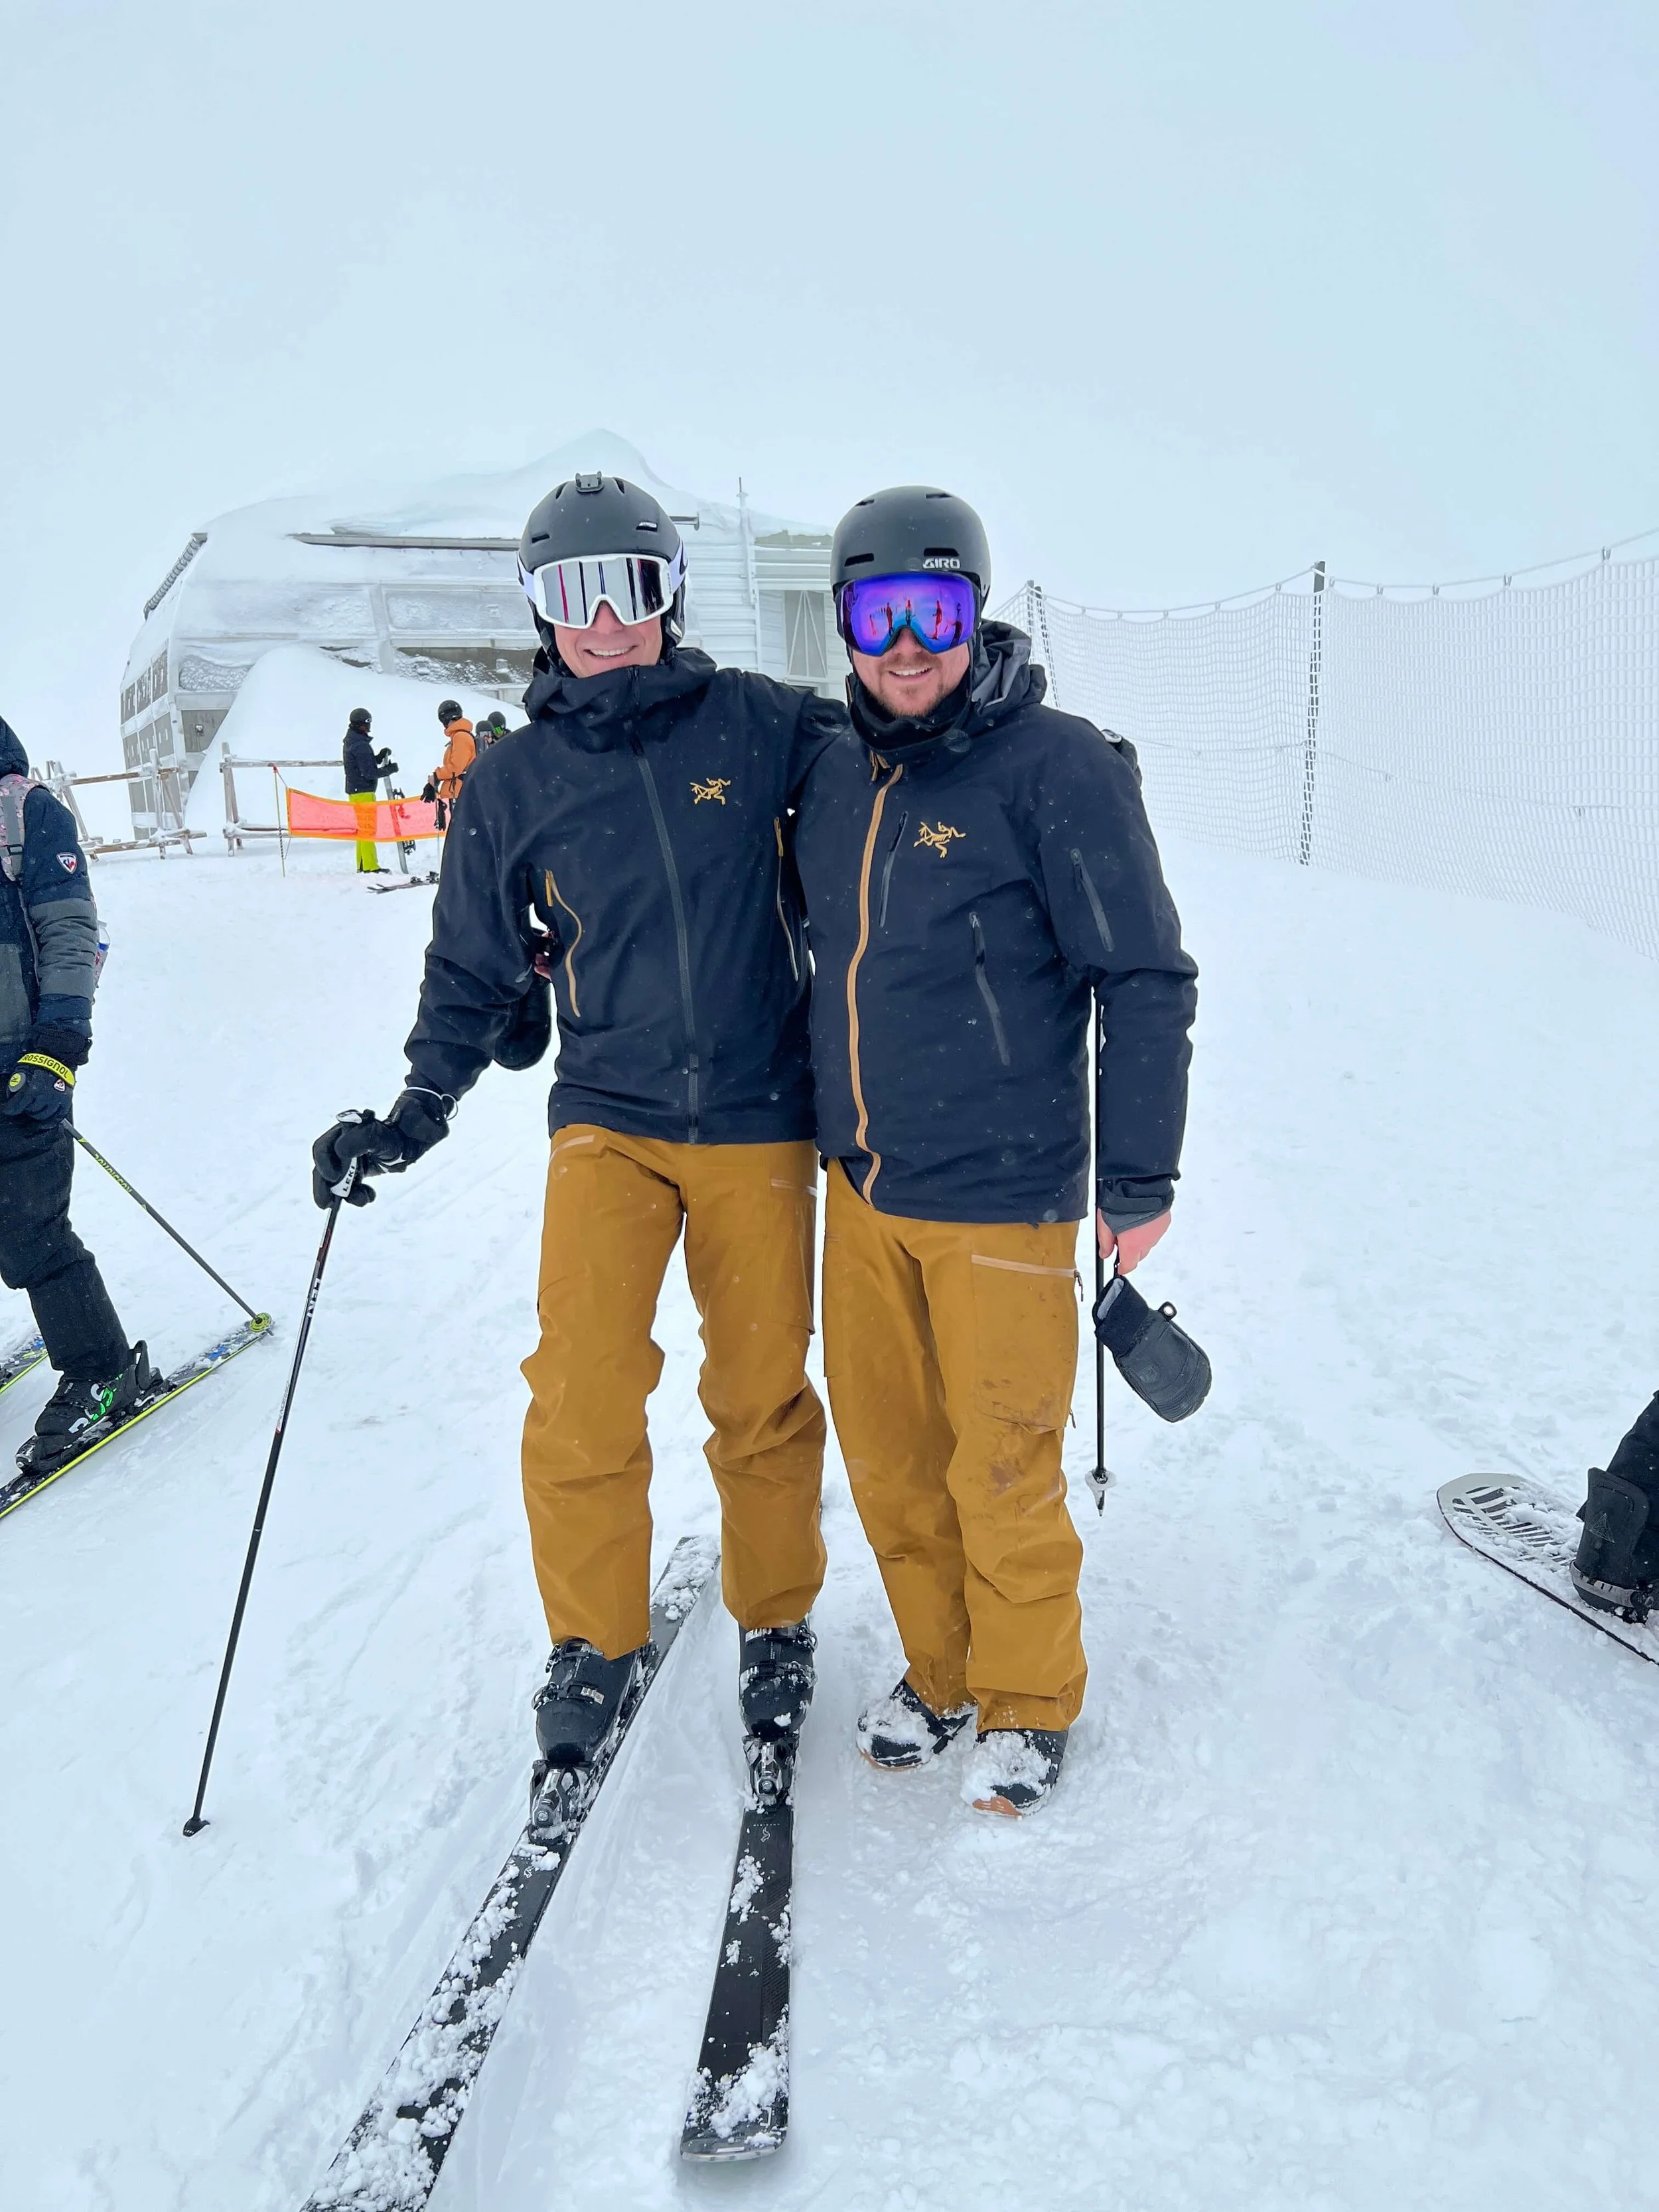
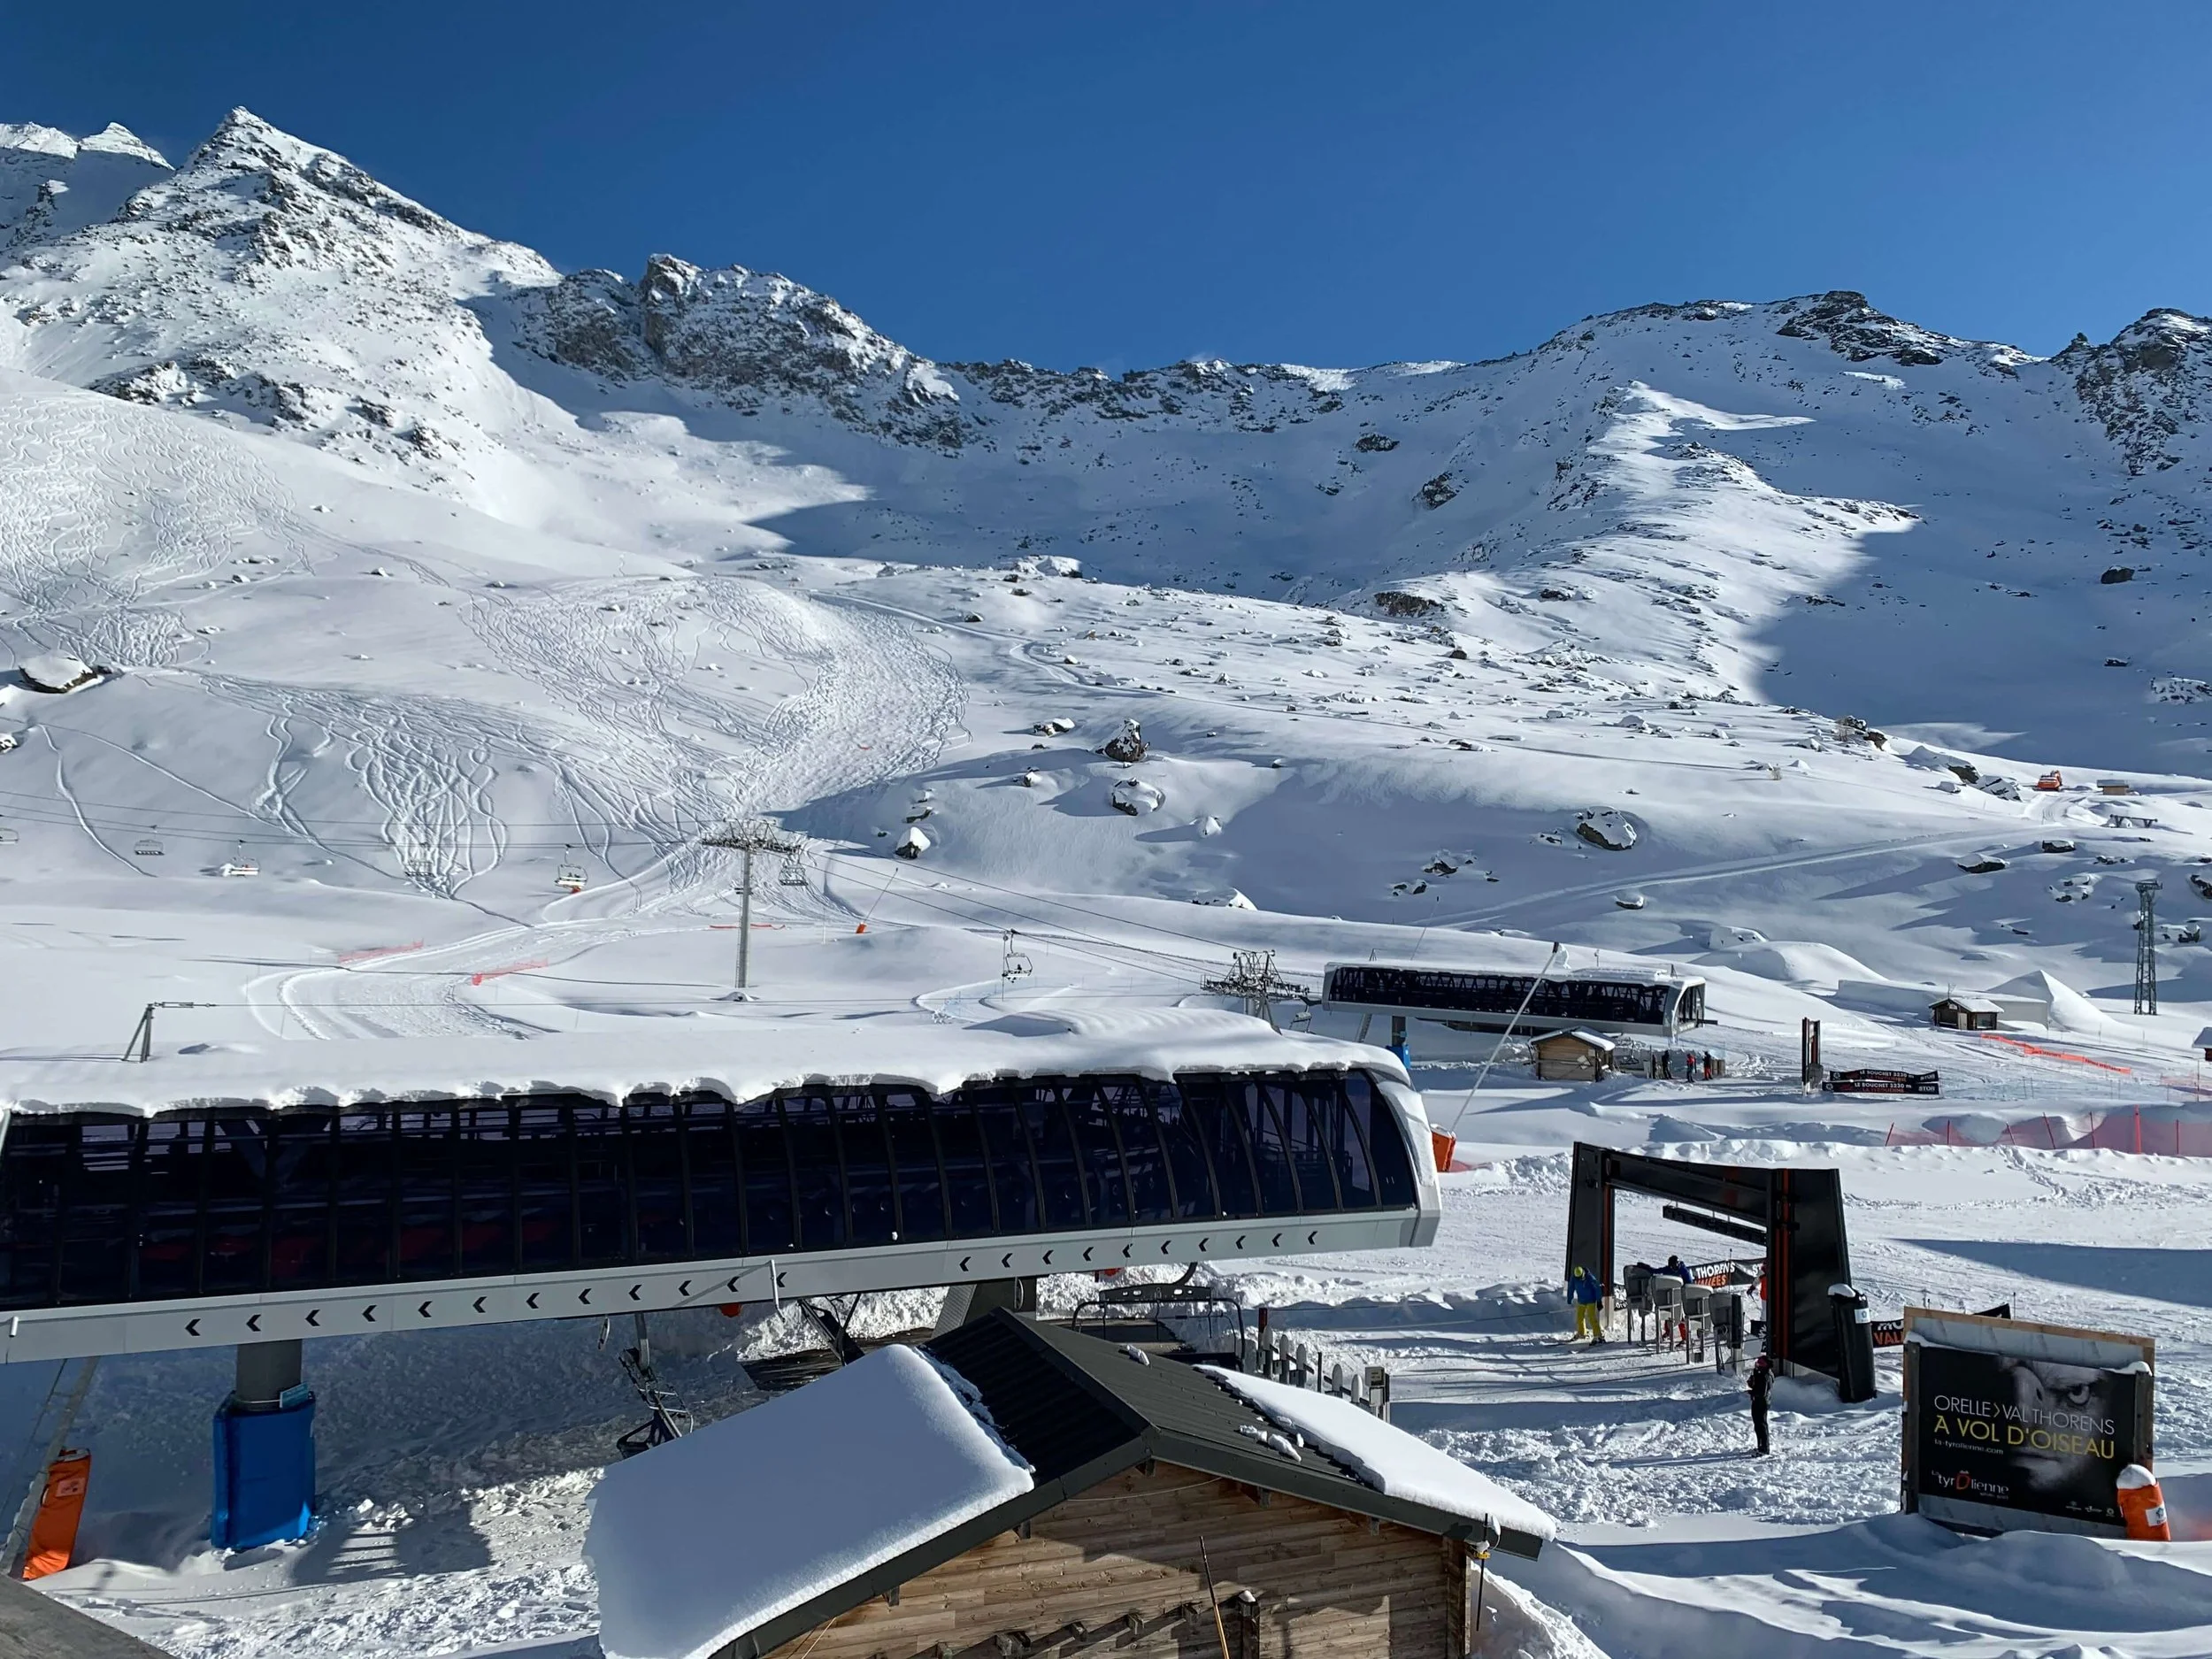
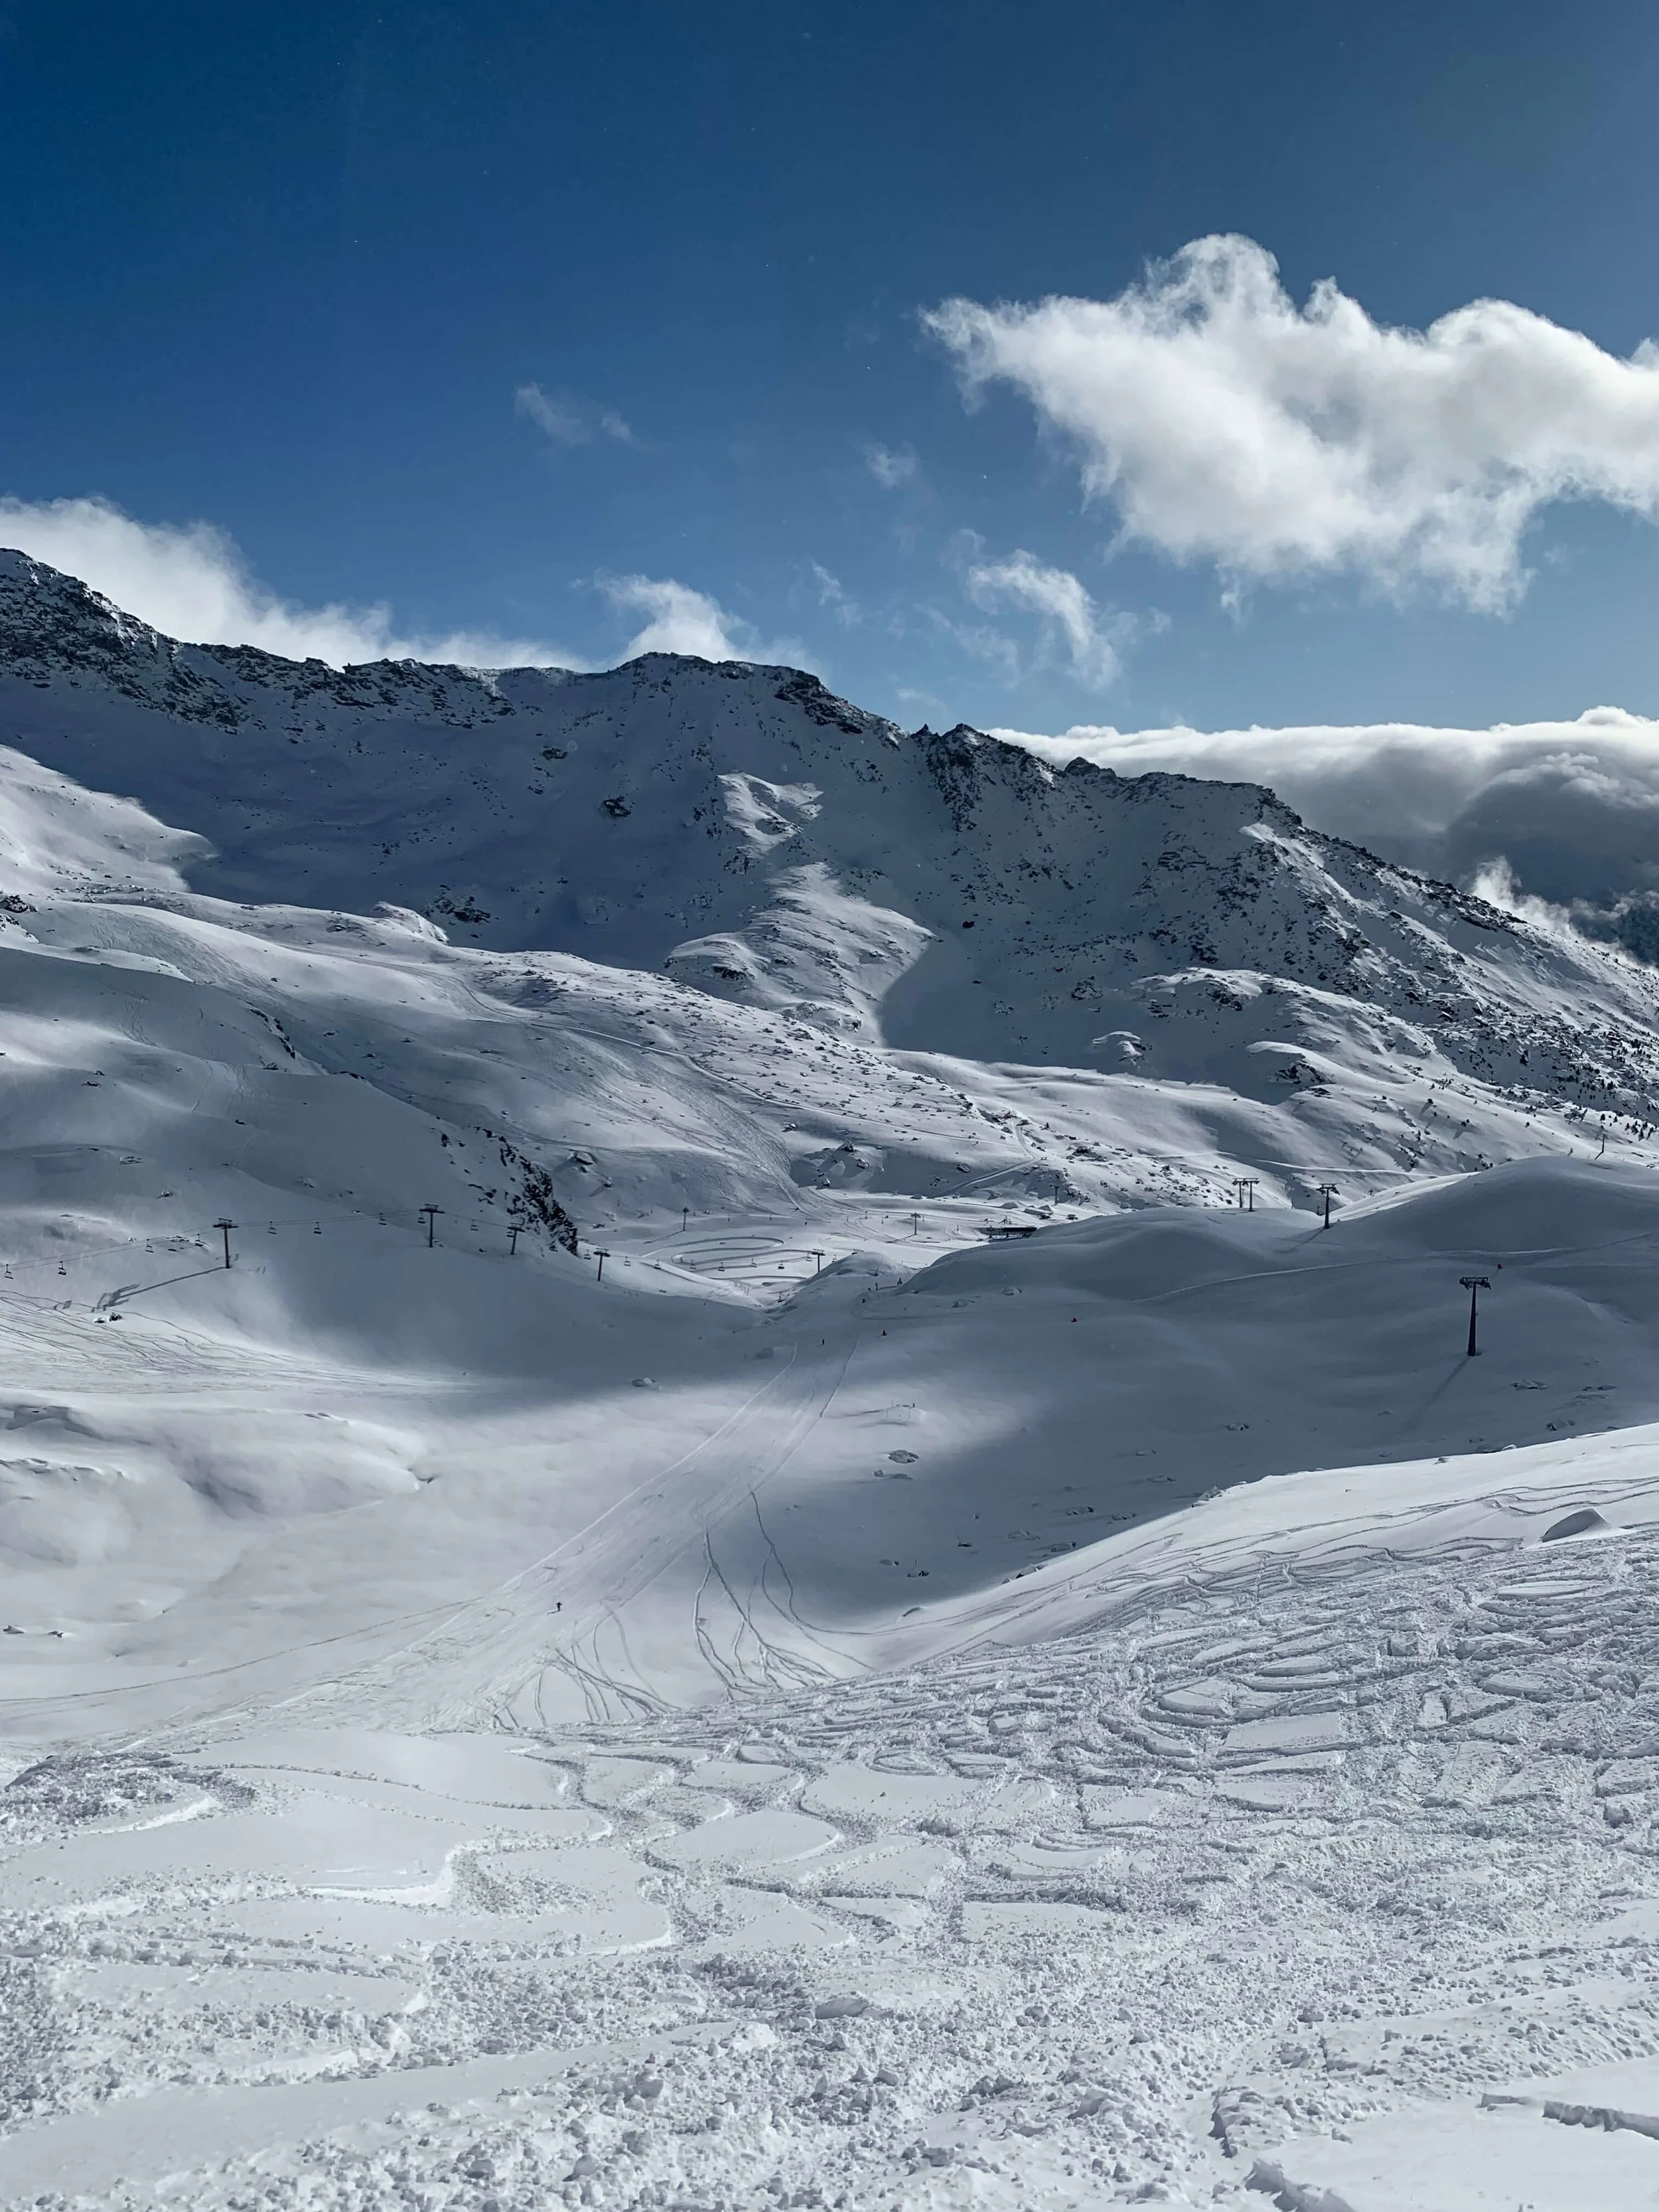
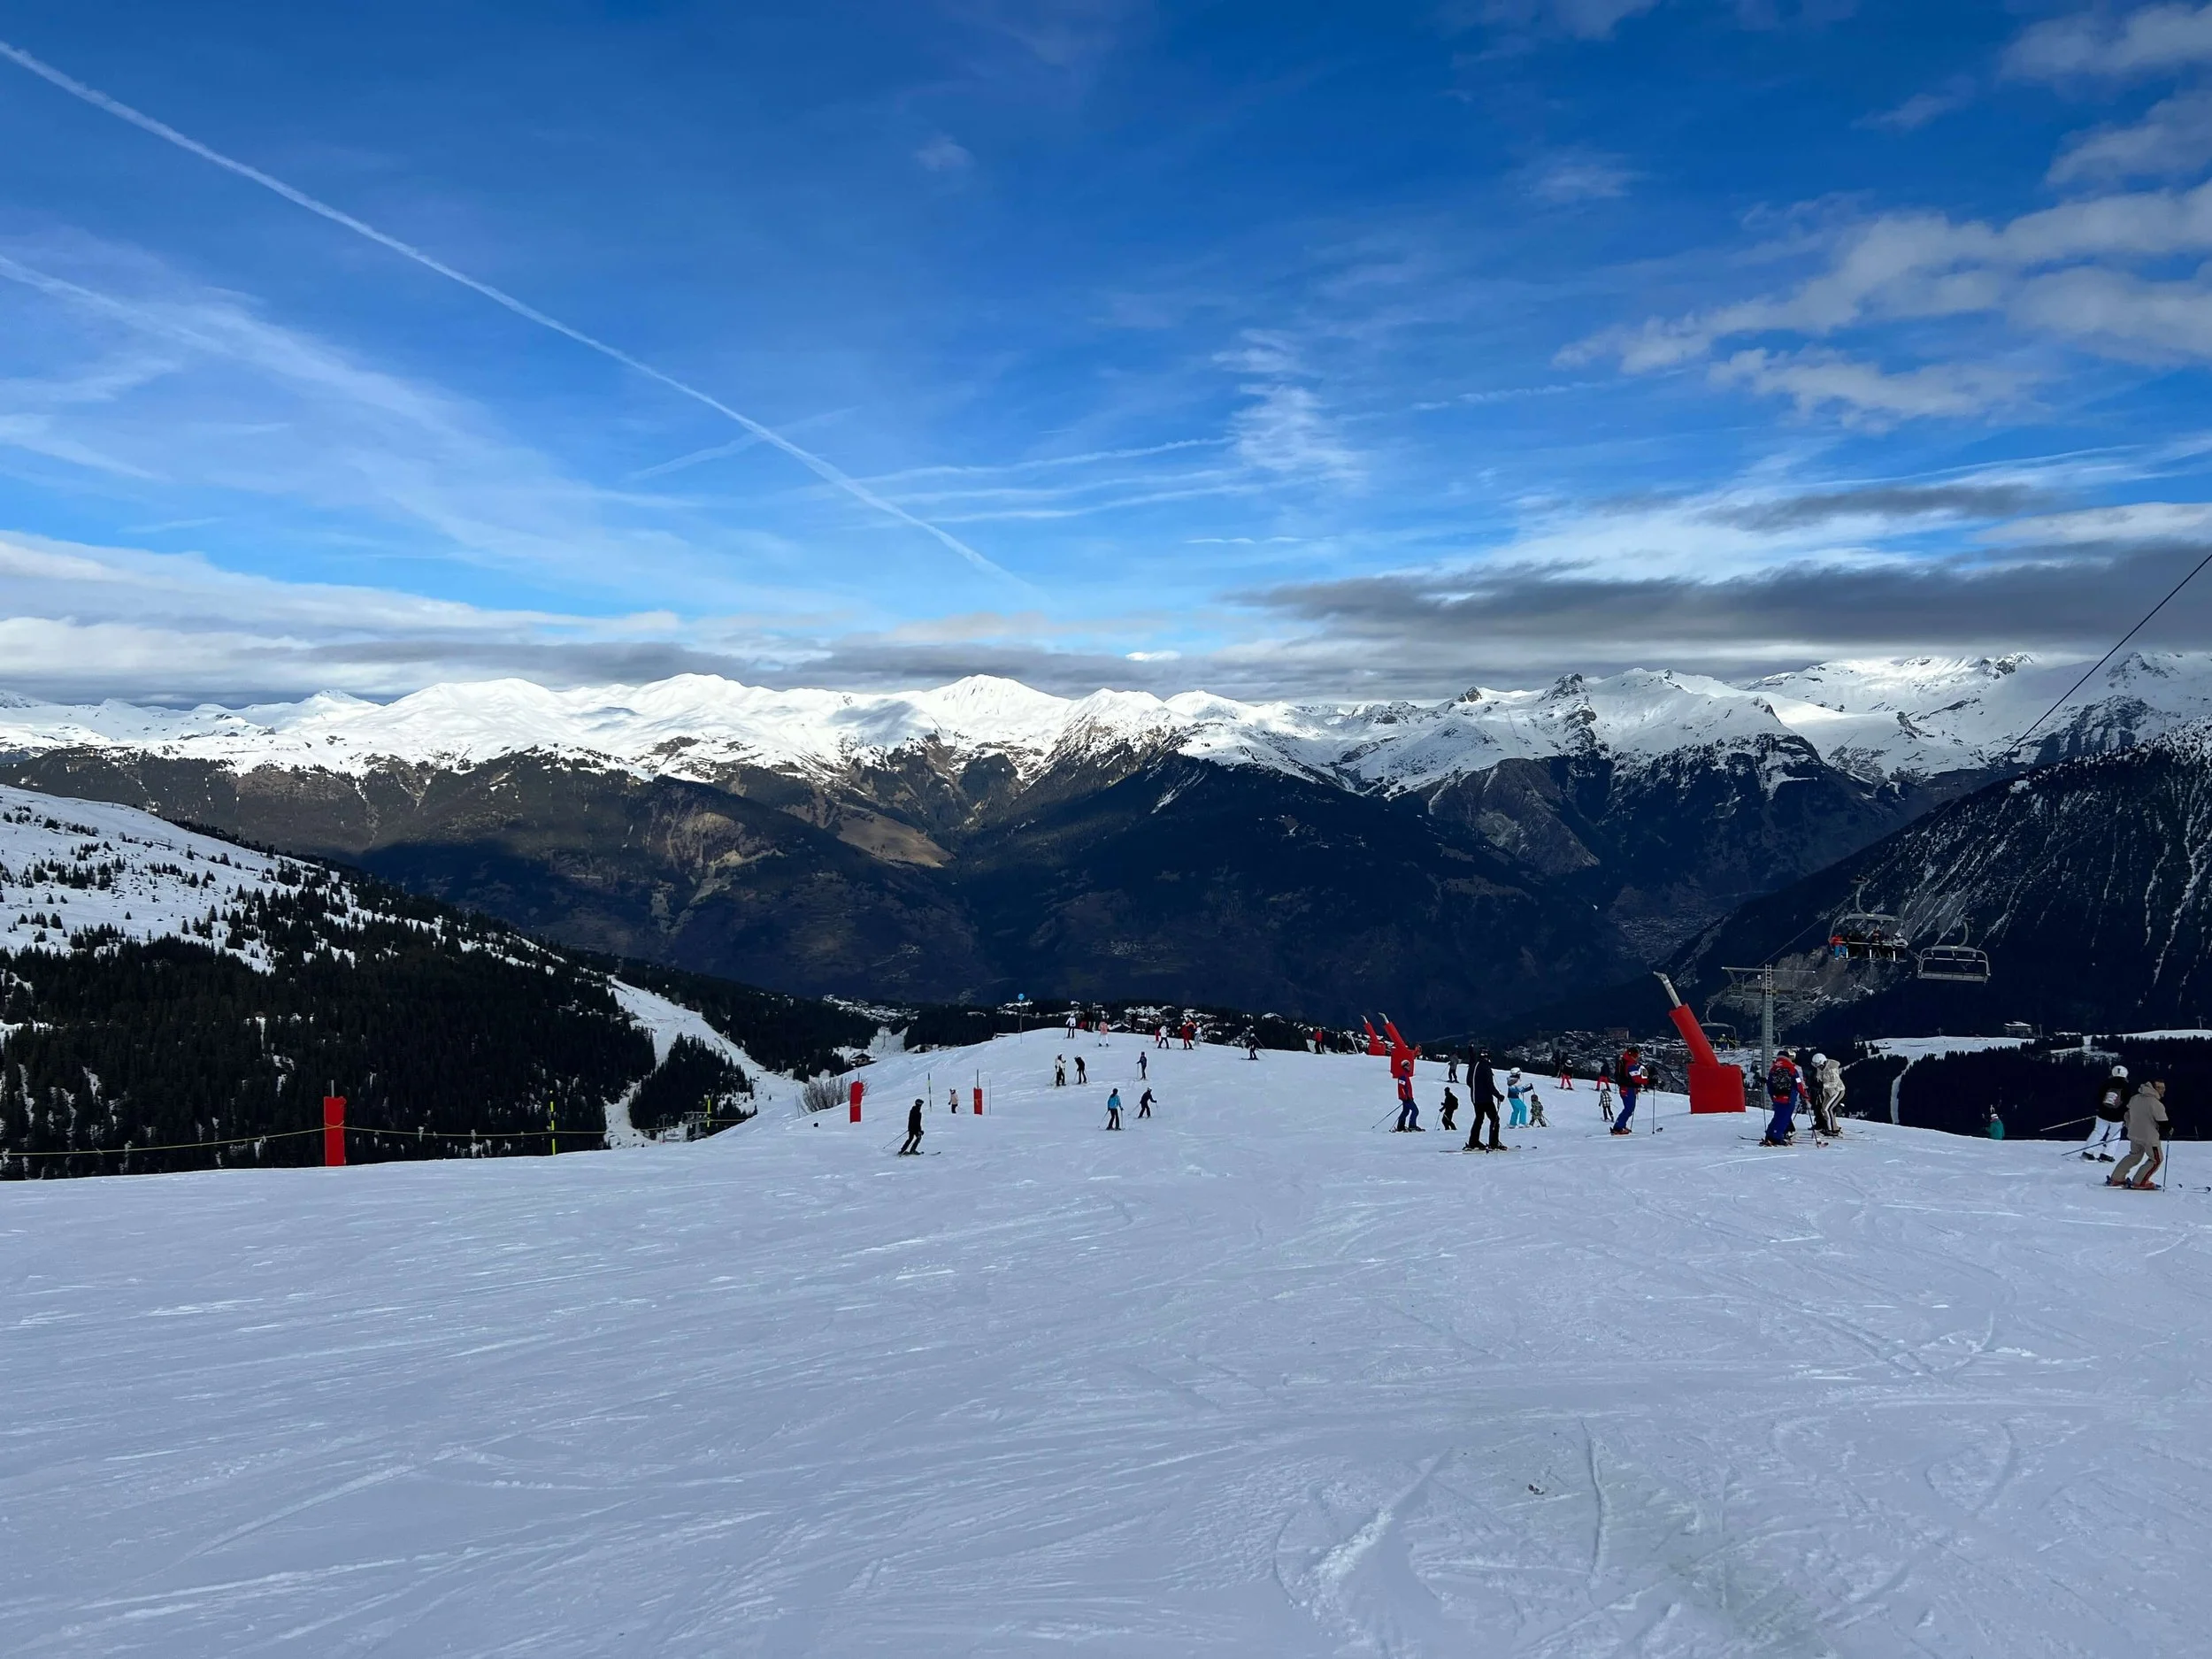
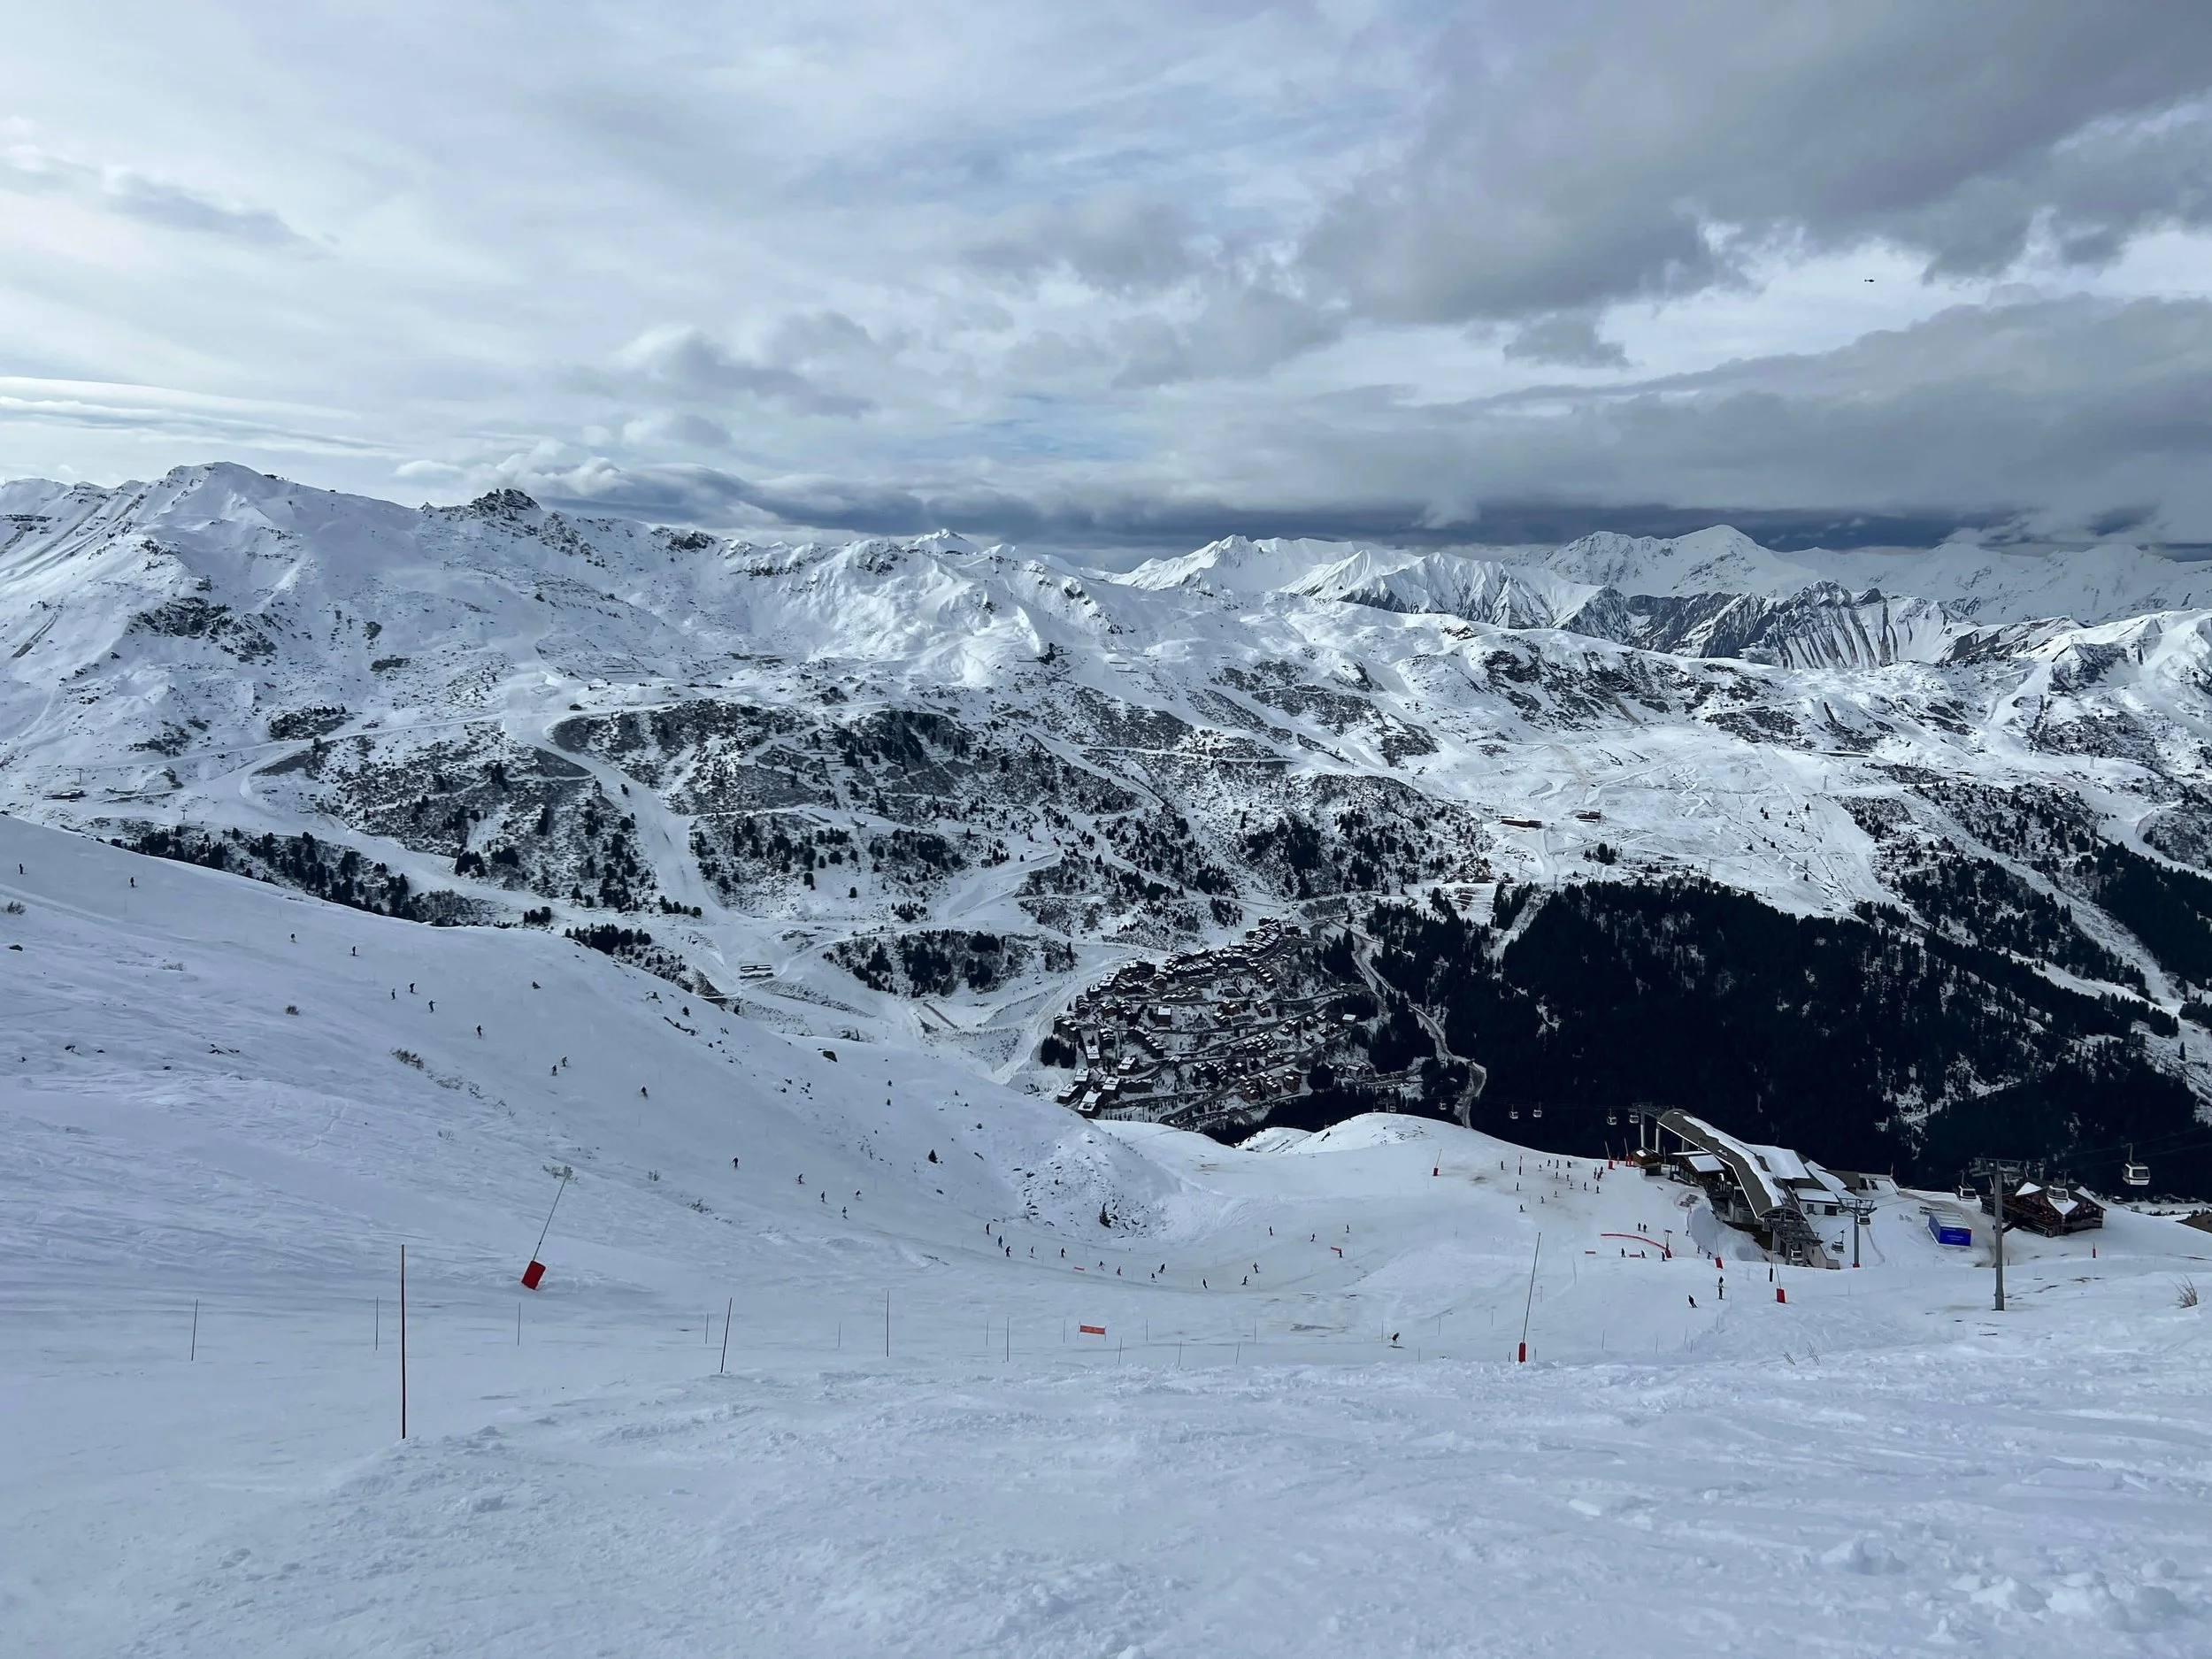


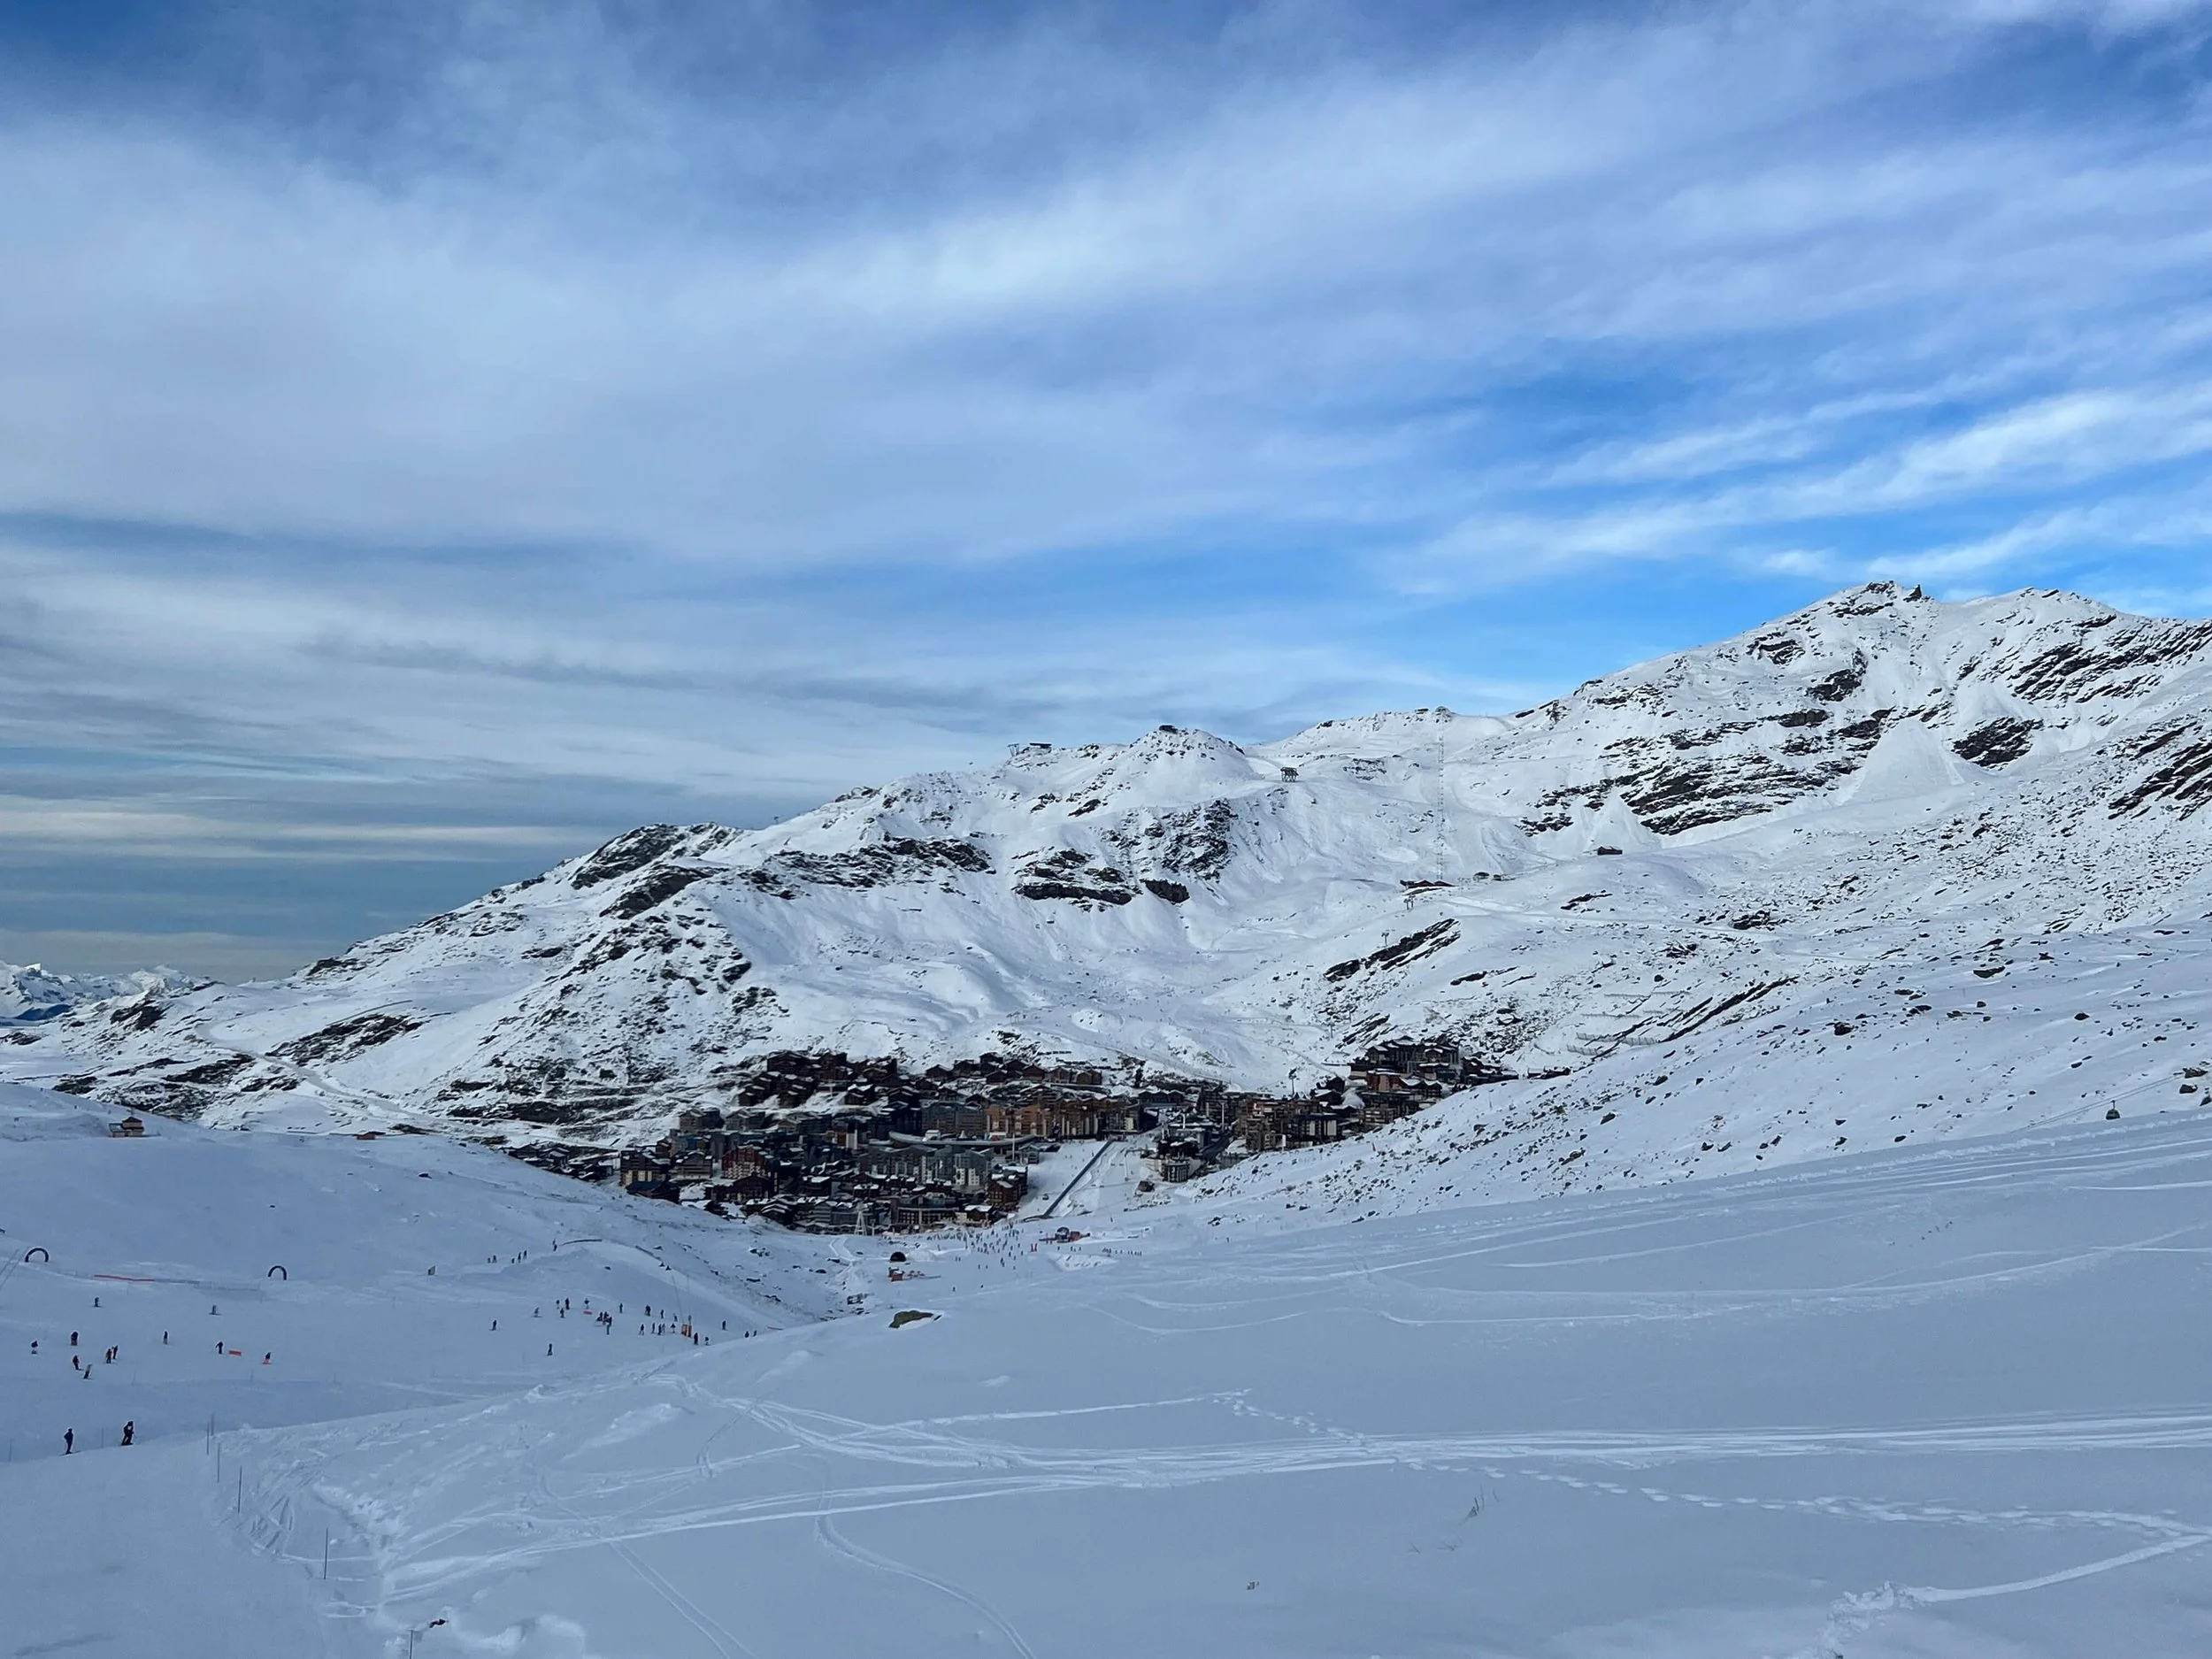


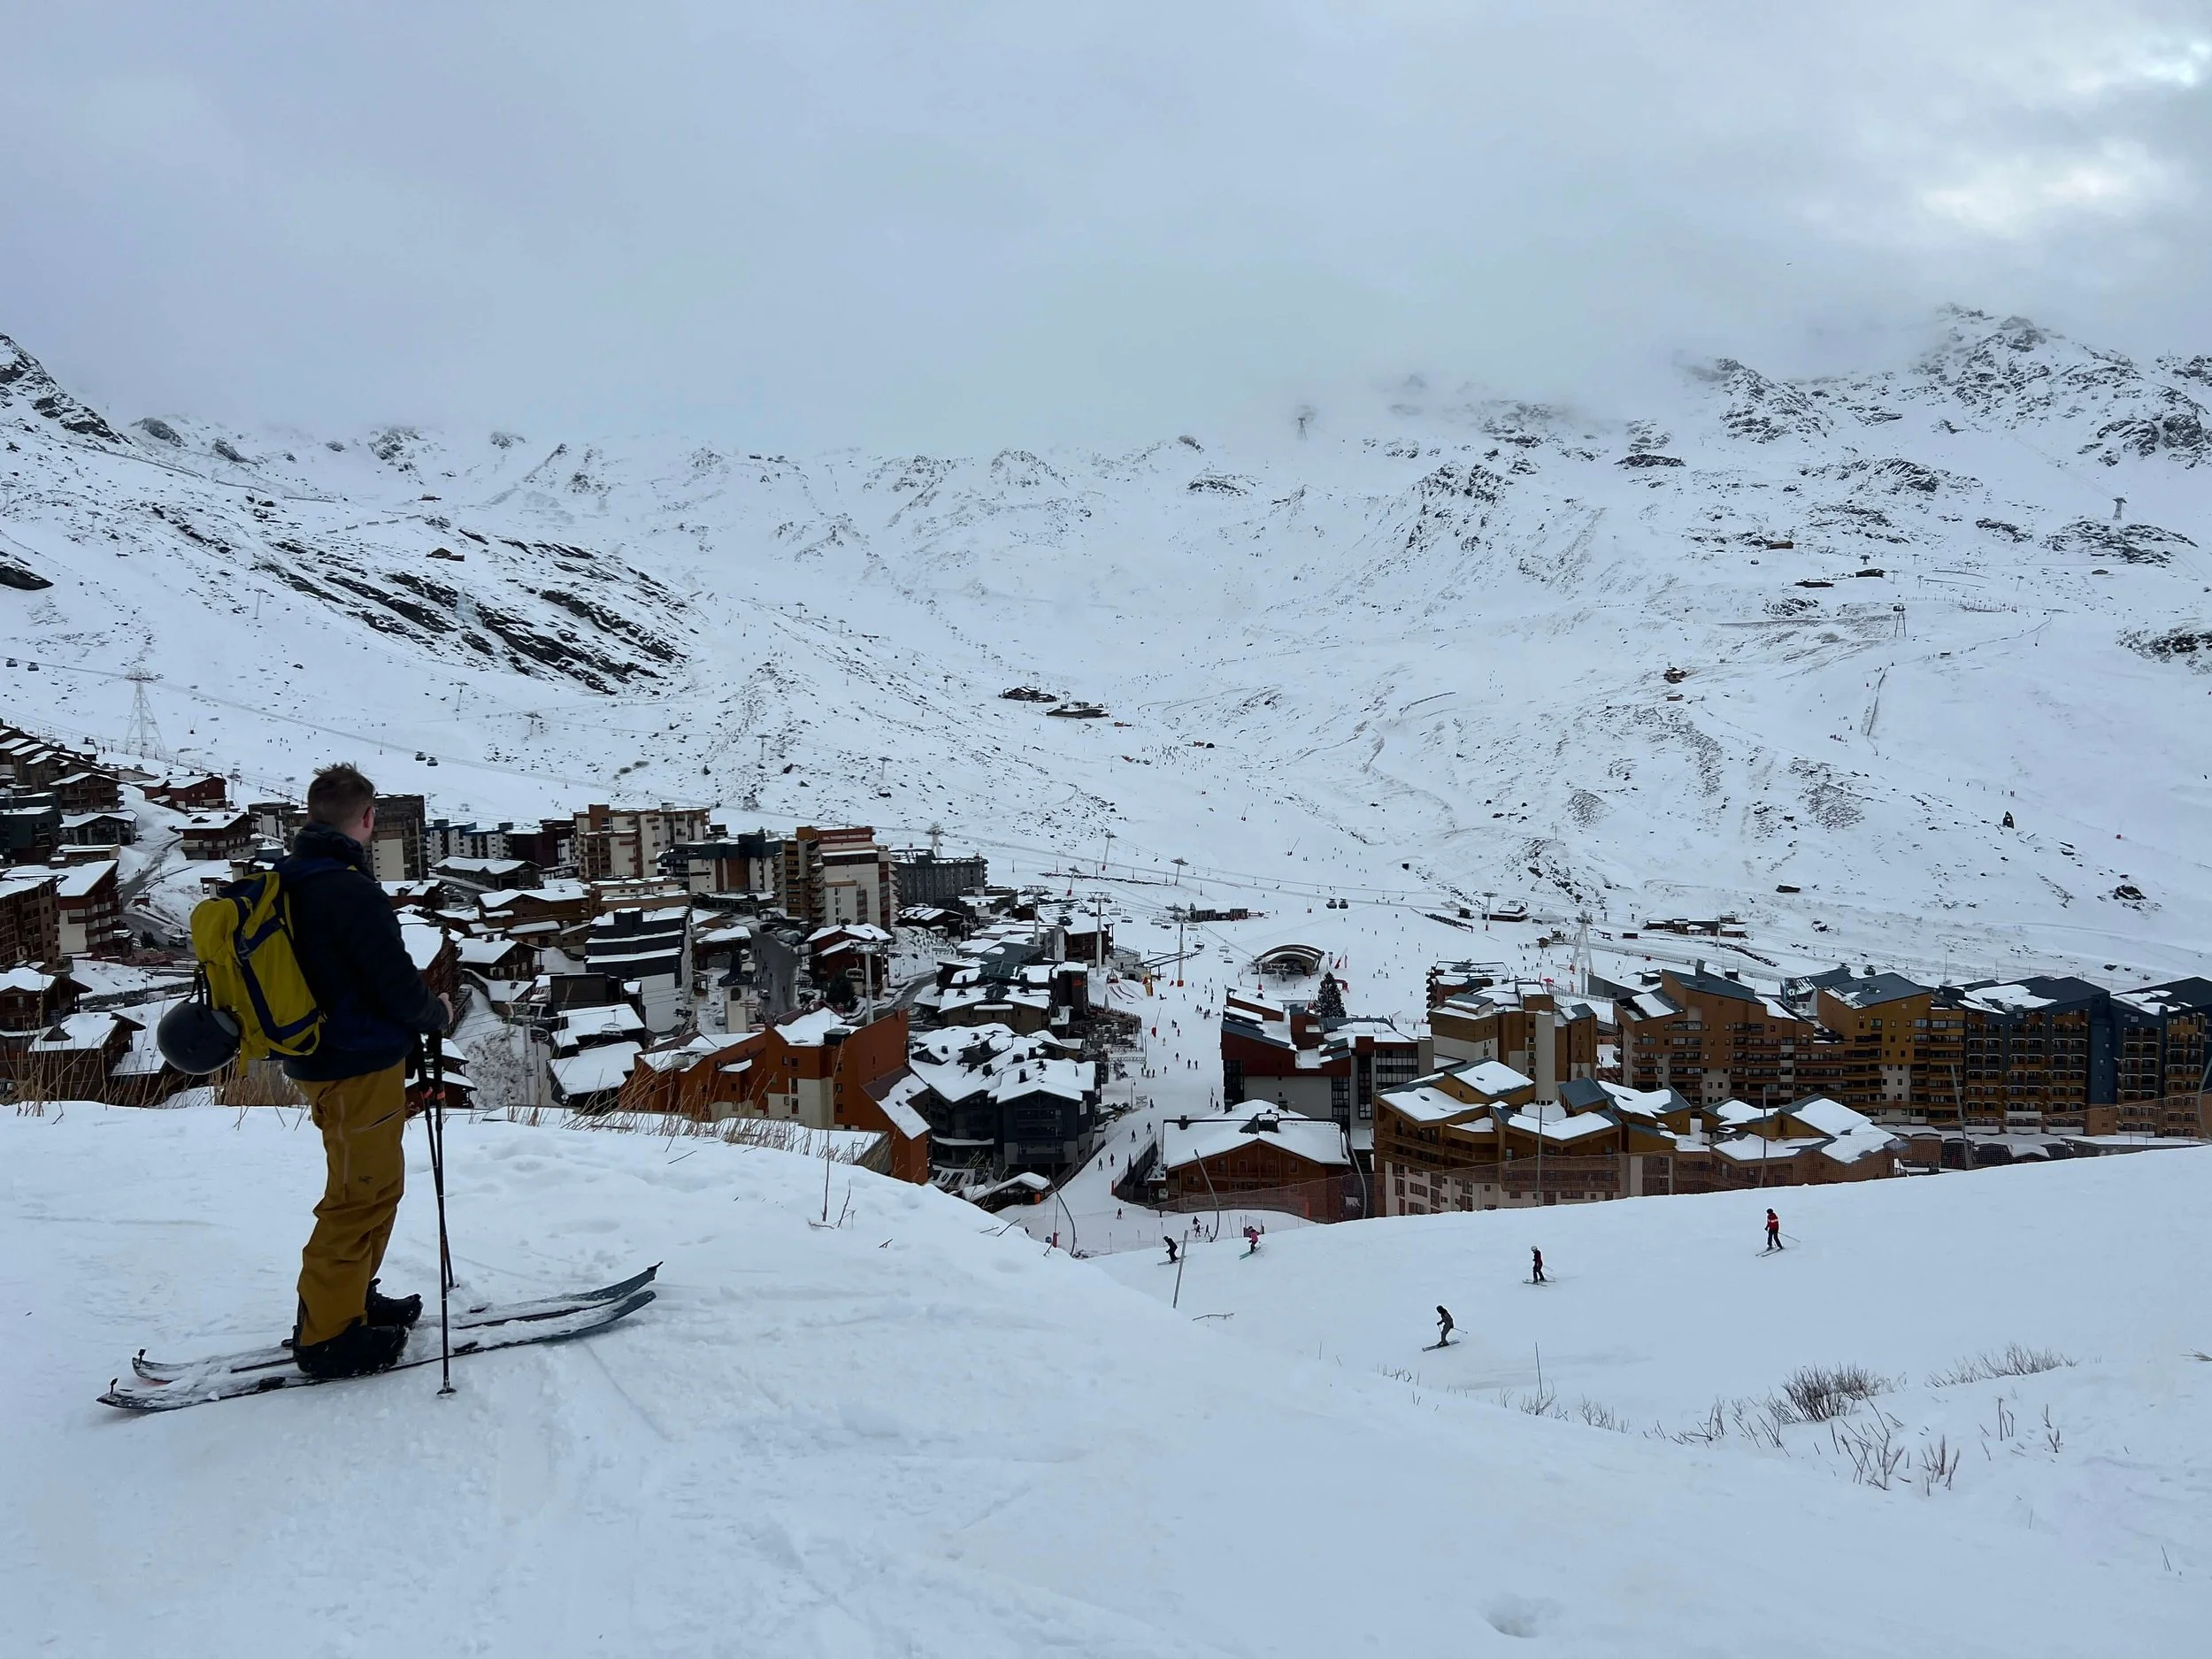
FINAL THOUGHTS
The Three Valleys is incredible. There really is so much to enjoy about a visit to the Three Valleys ski area. Sure I have my favourite areas, and there are definitely villages that I would never stay in, but ultimately that’s the magic of this place. Find the resort village that suits you and your group and use that as a base to explore this huge ski area.
DISCOVER THREE VALLEYS
THREE VALLEYSVIDEOS
RELATED POSTS


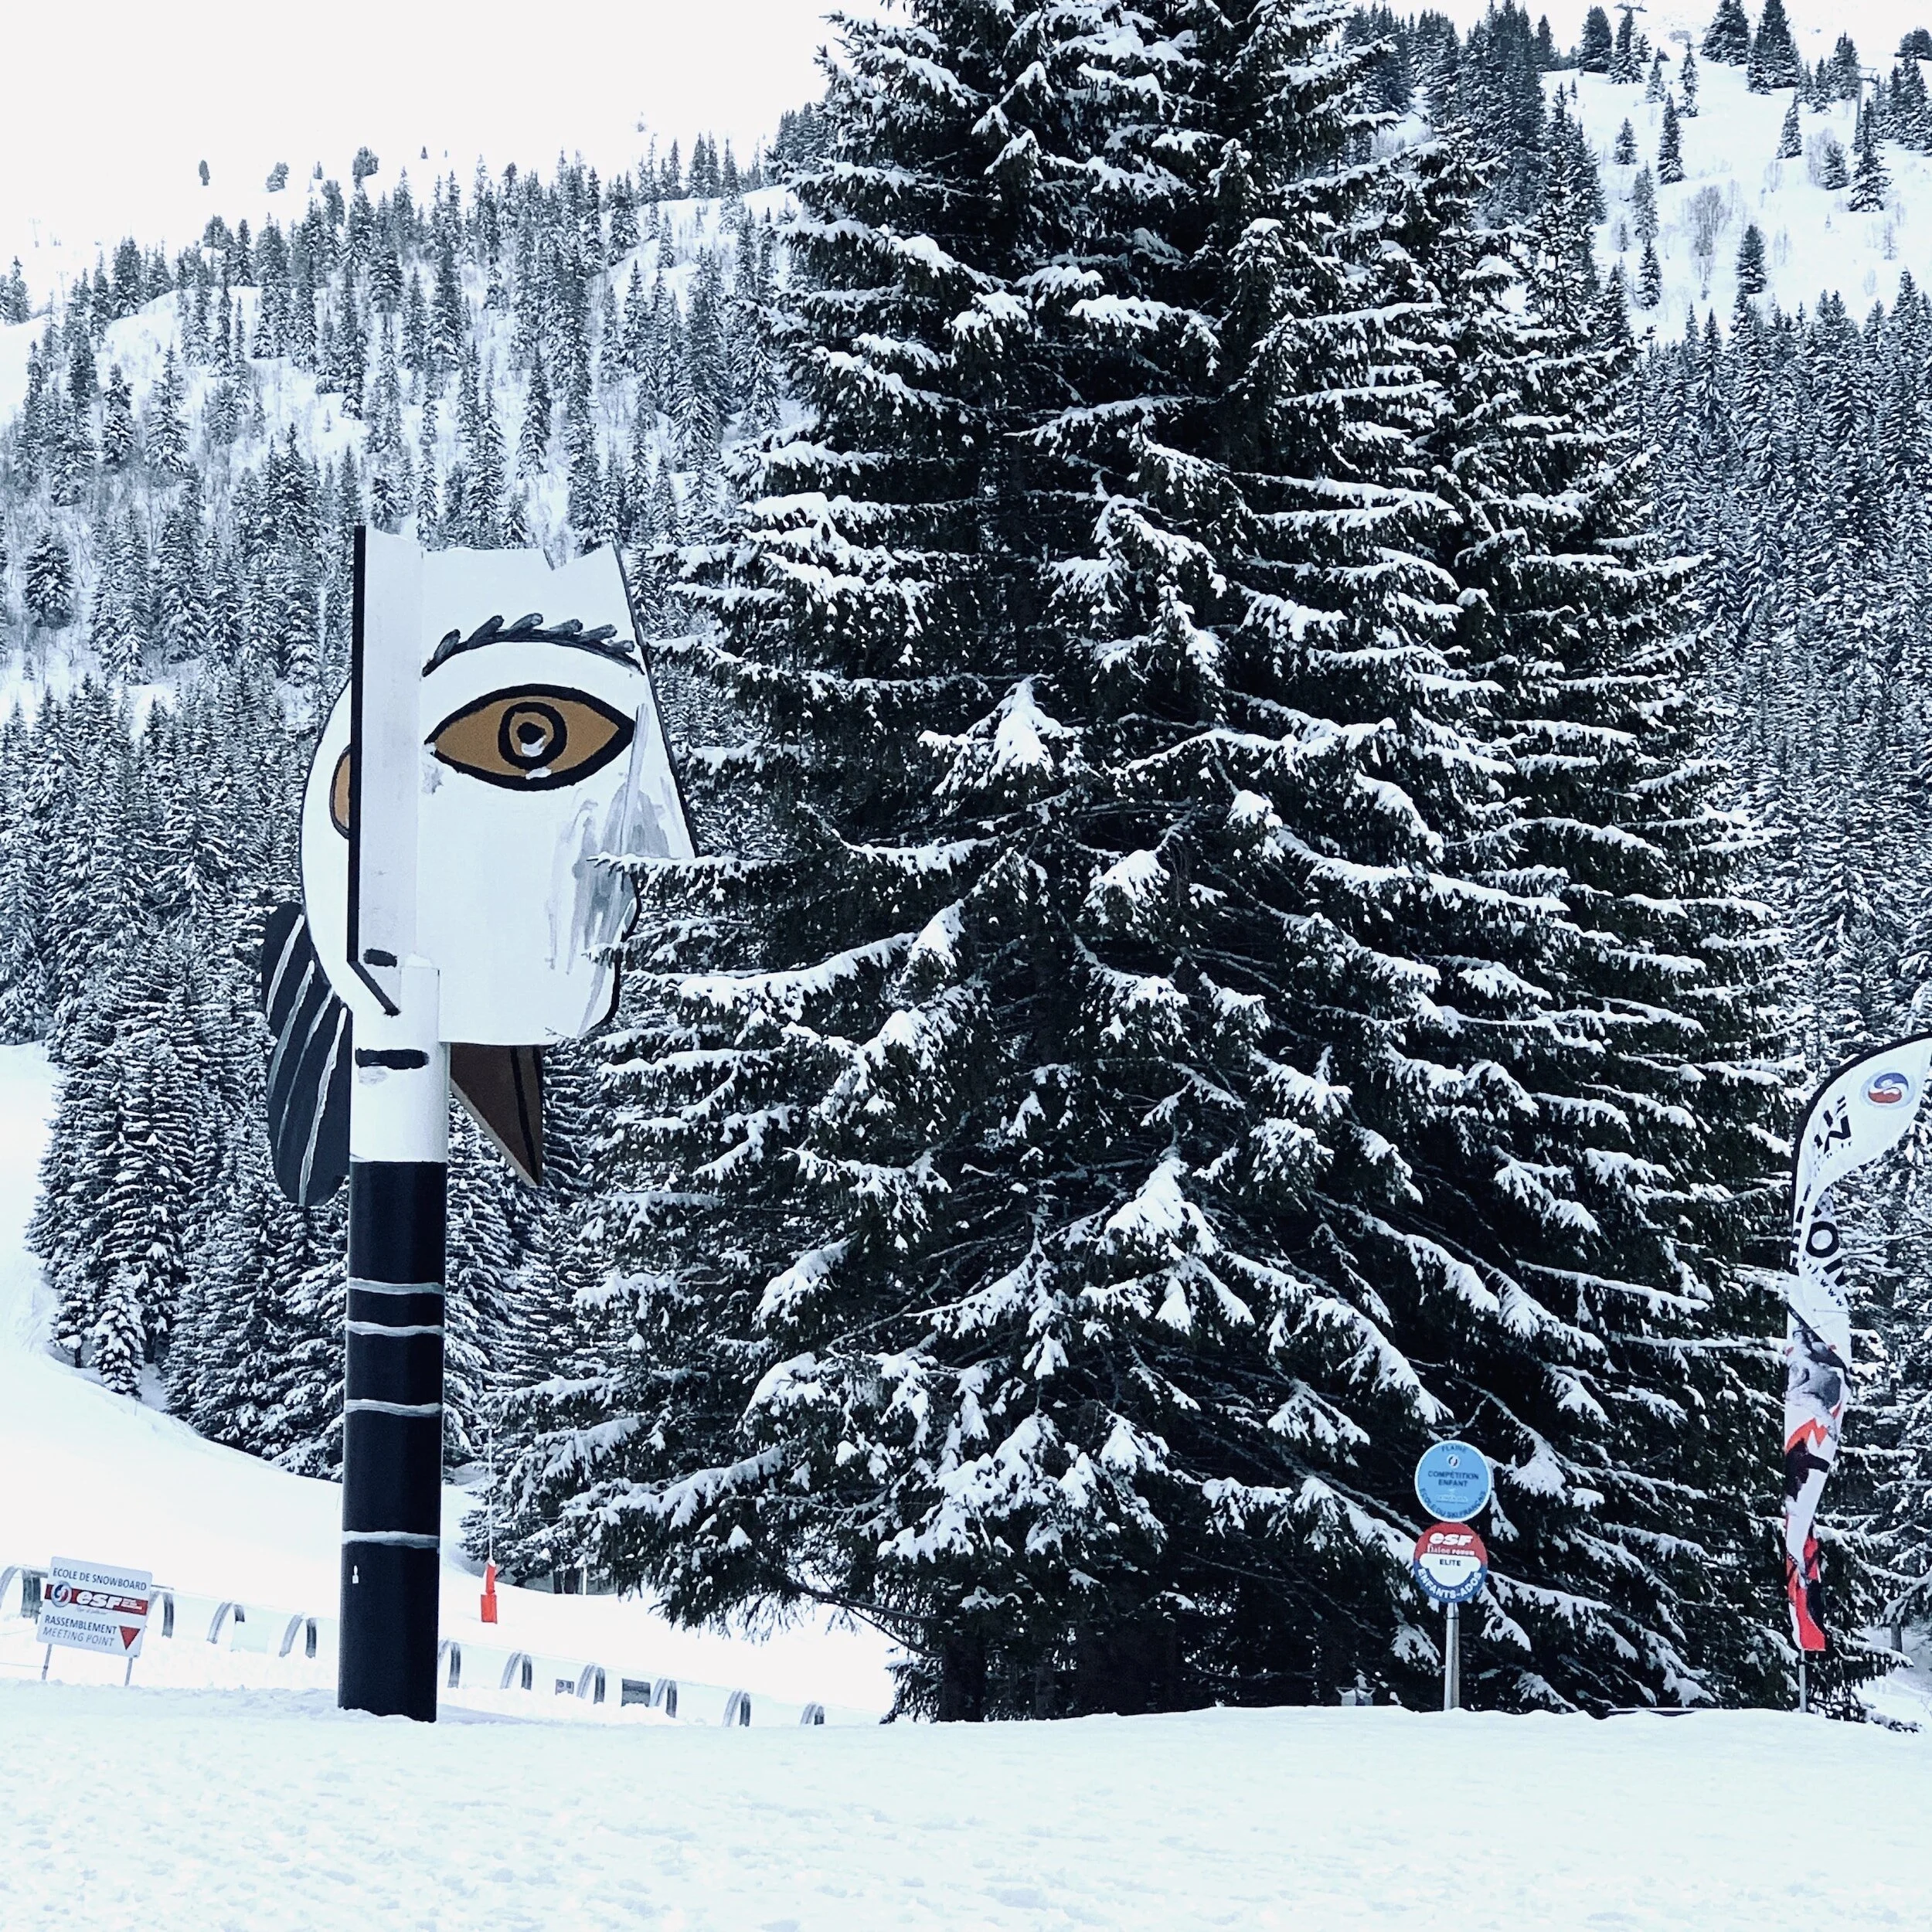
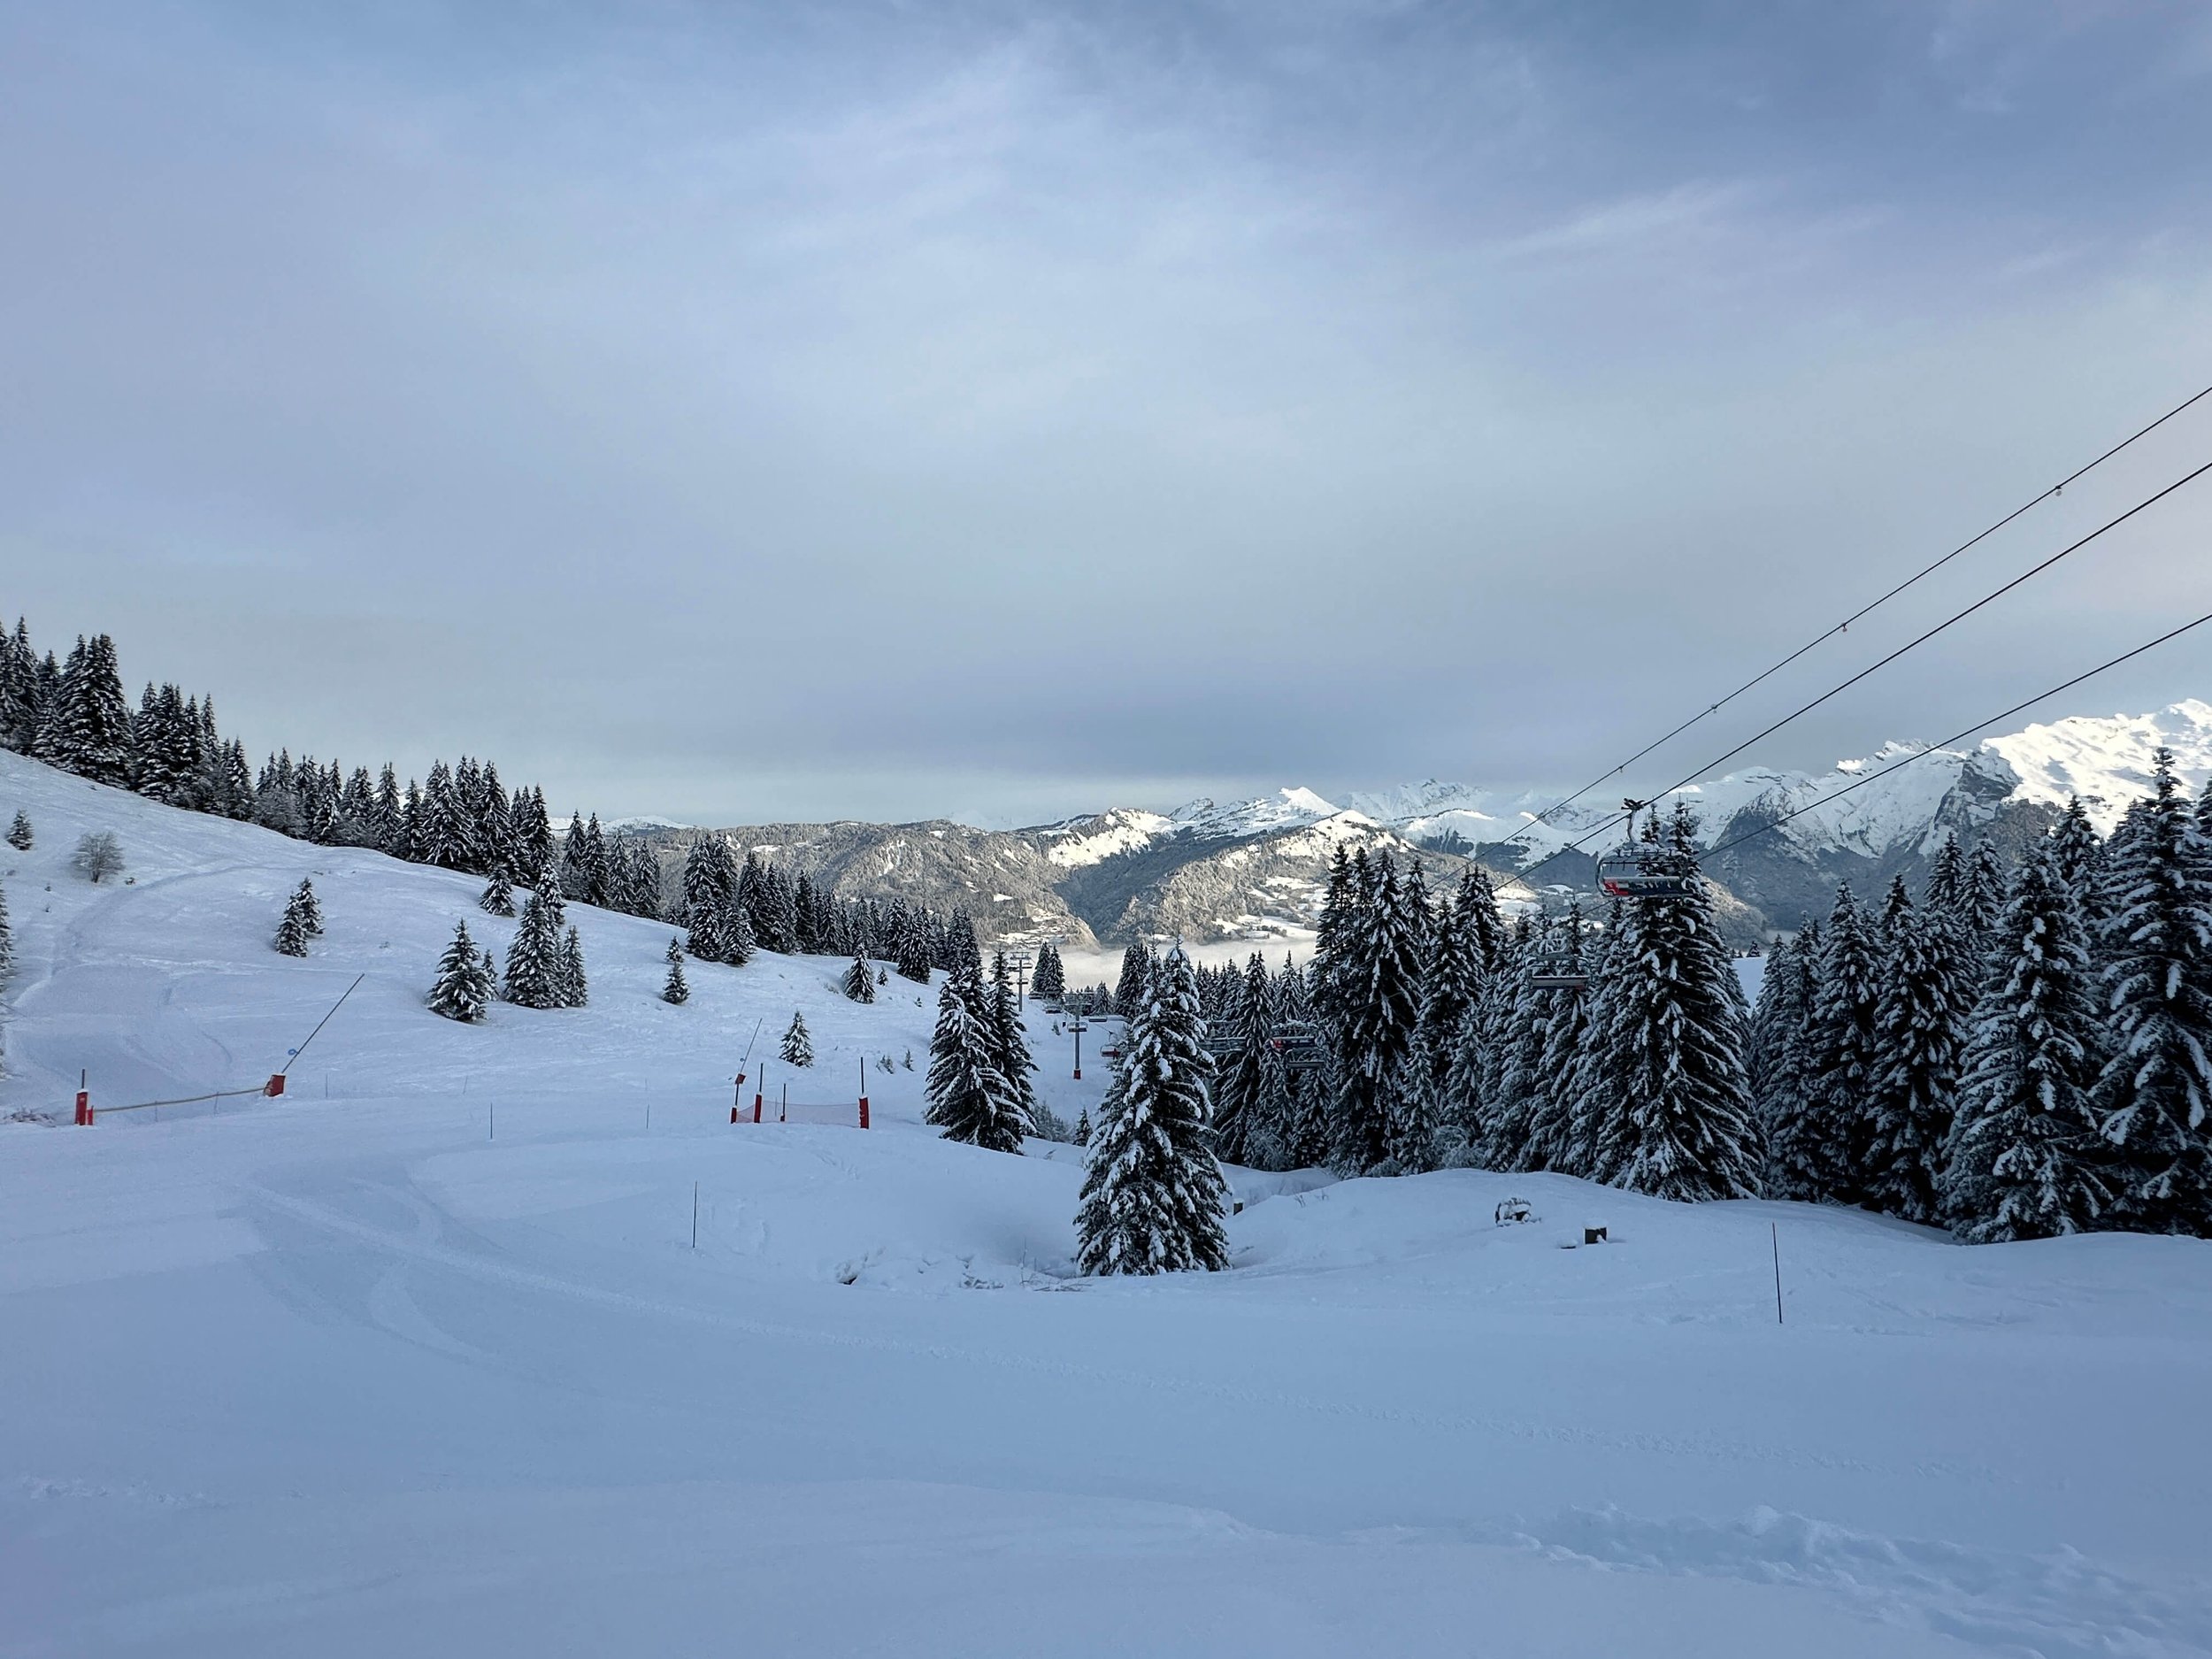

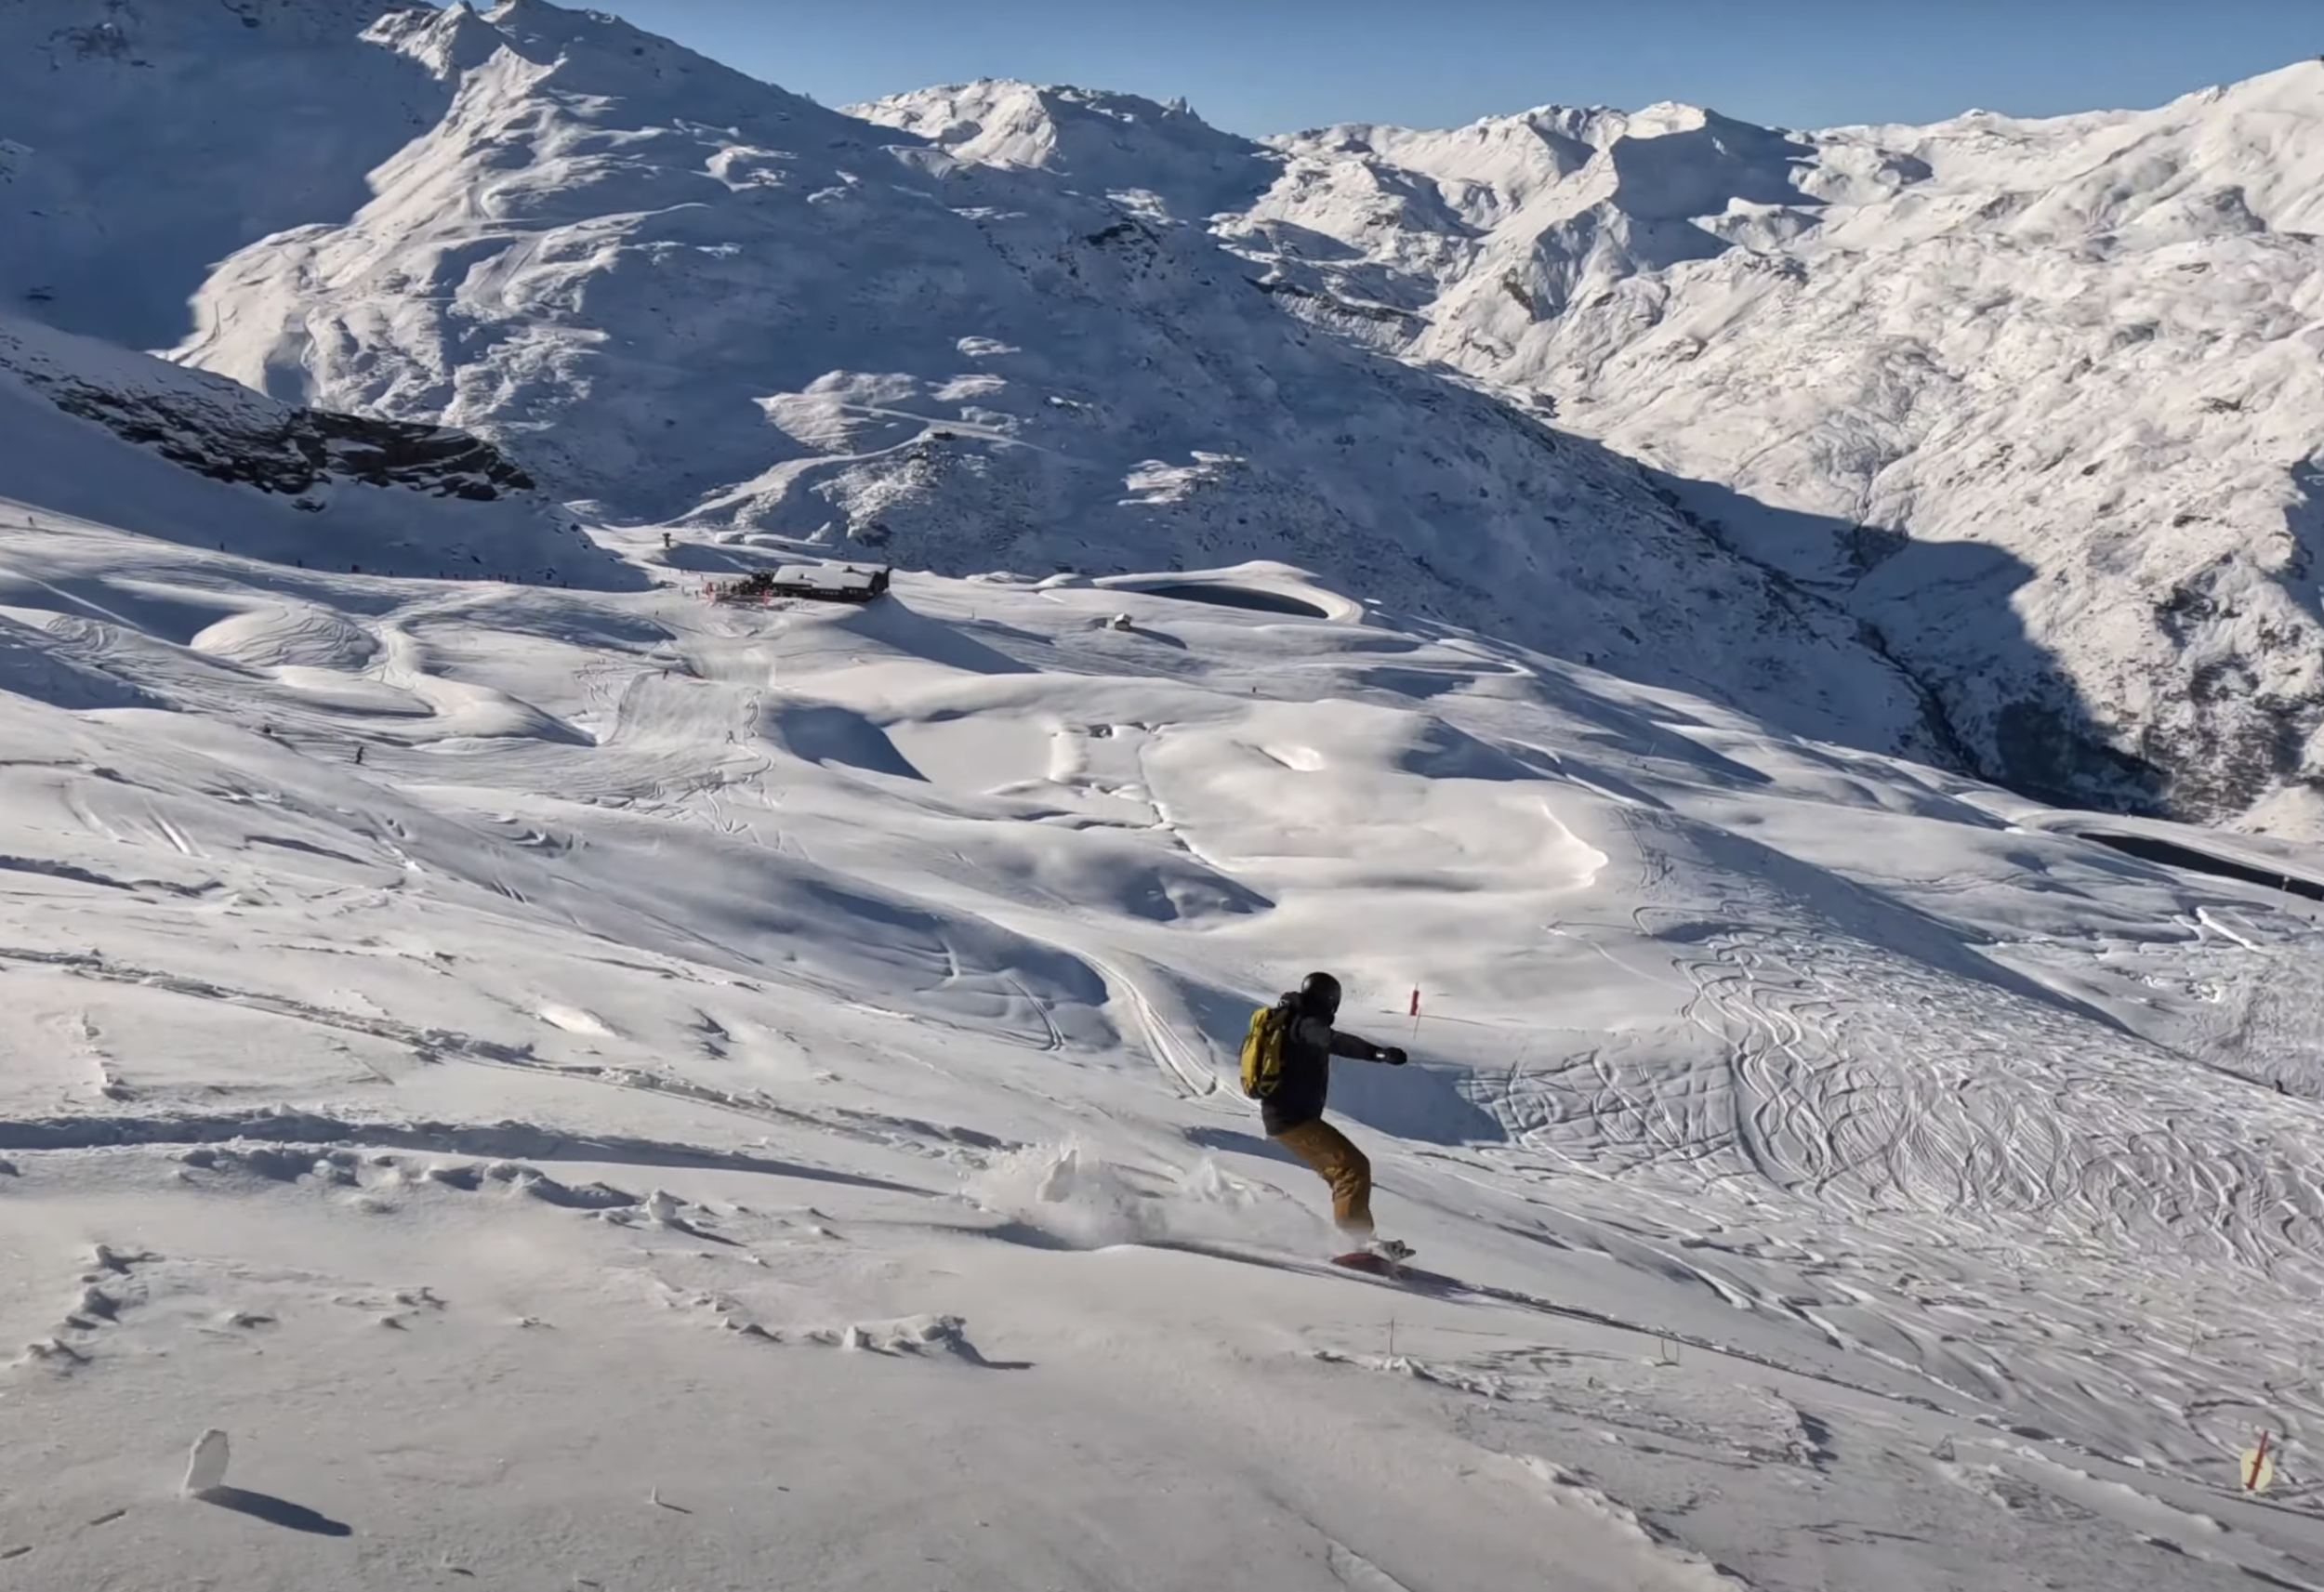
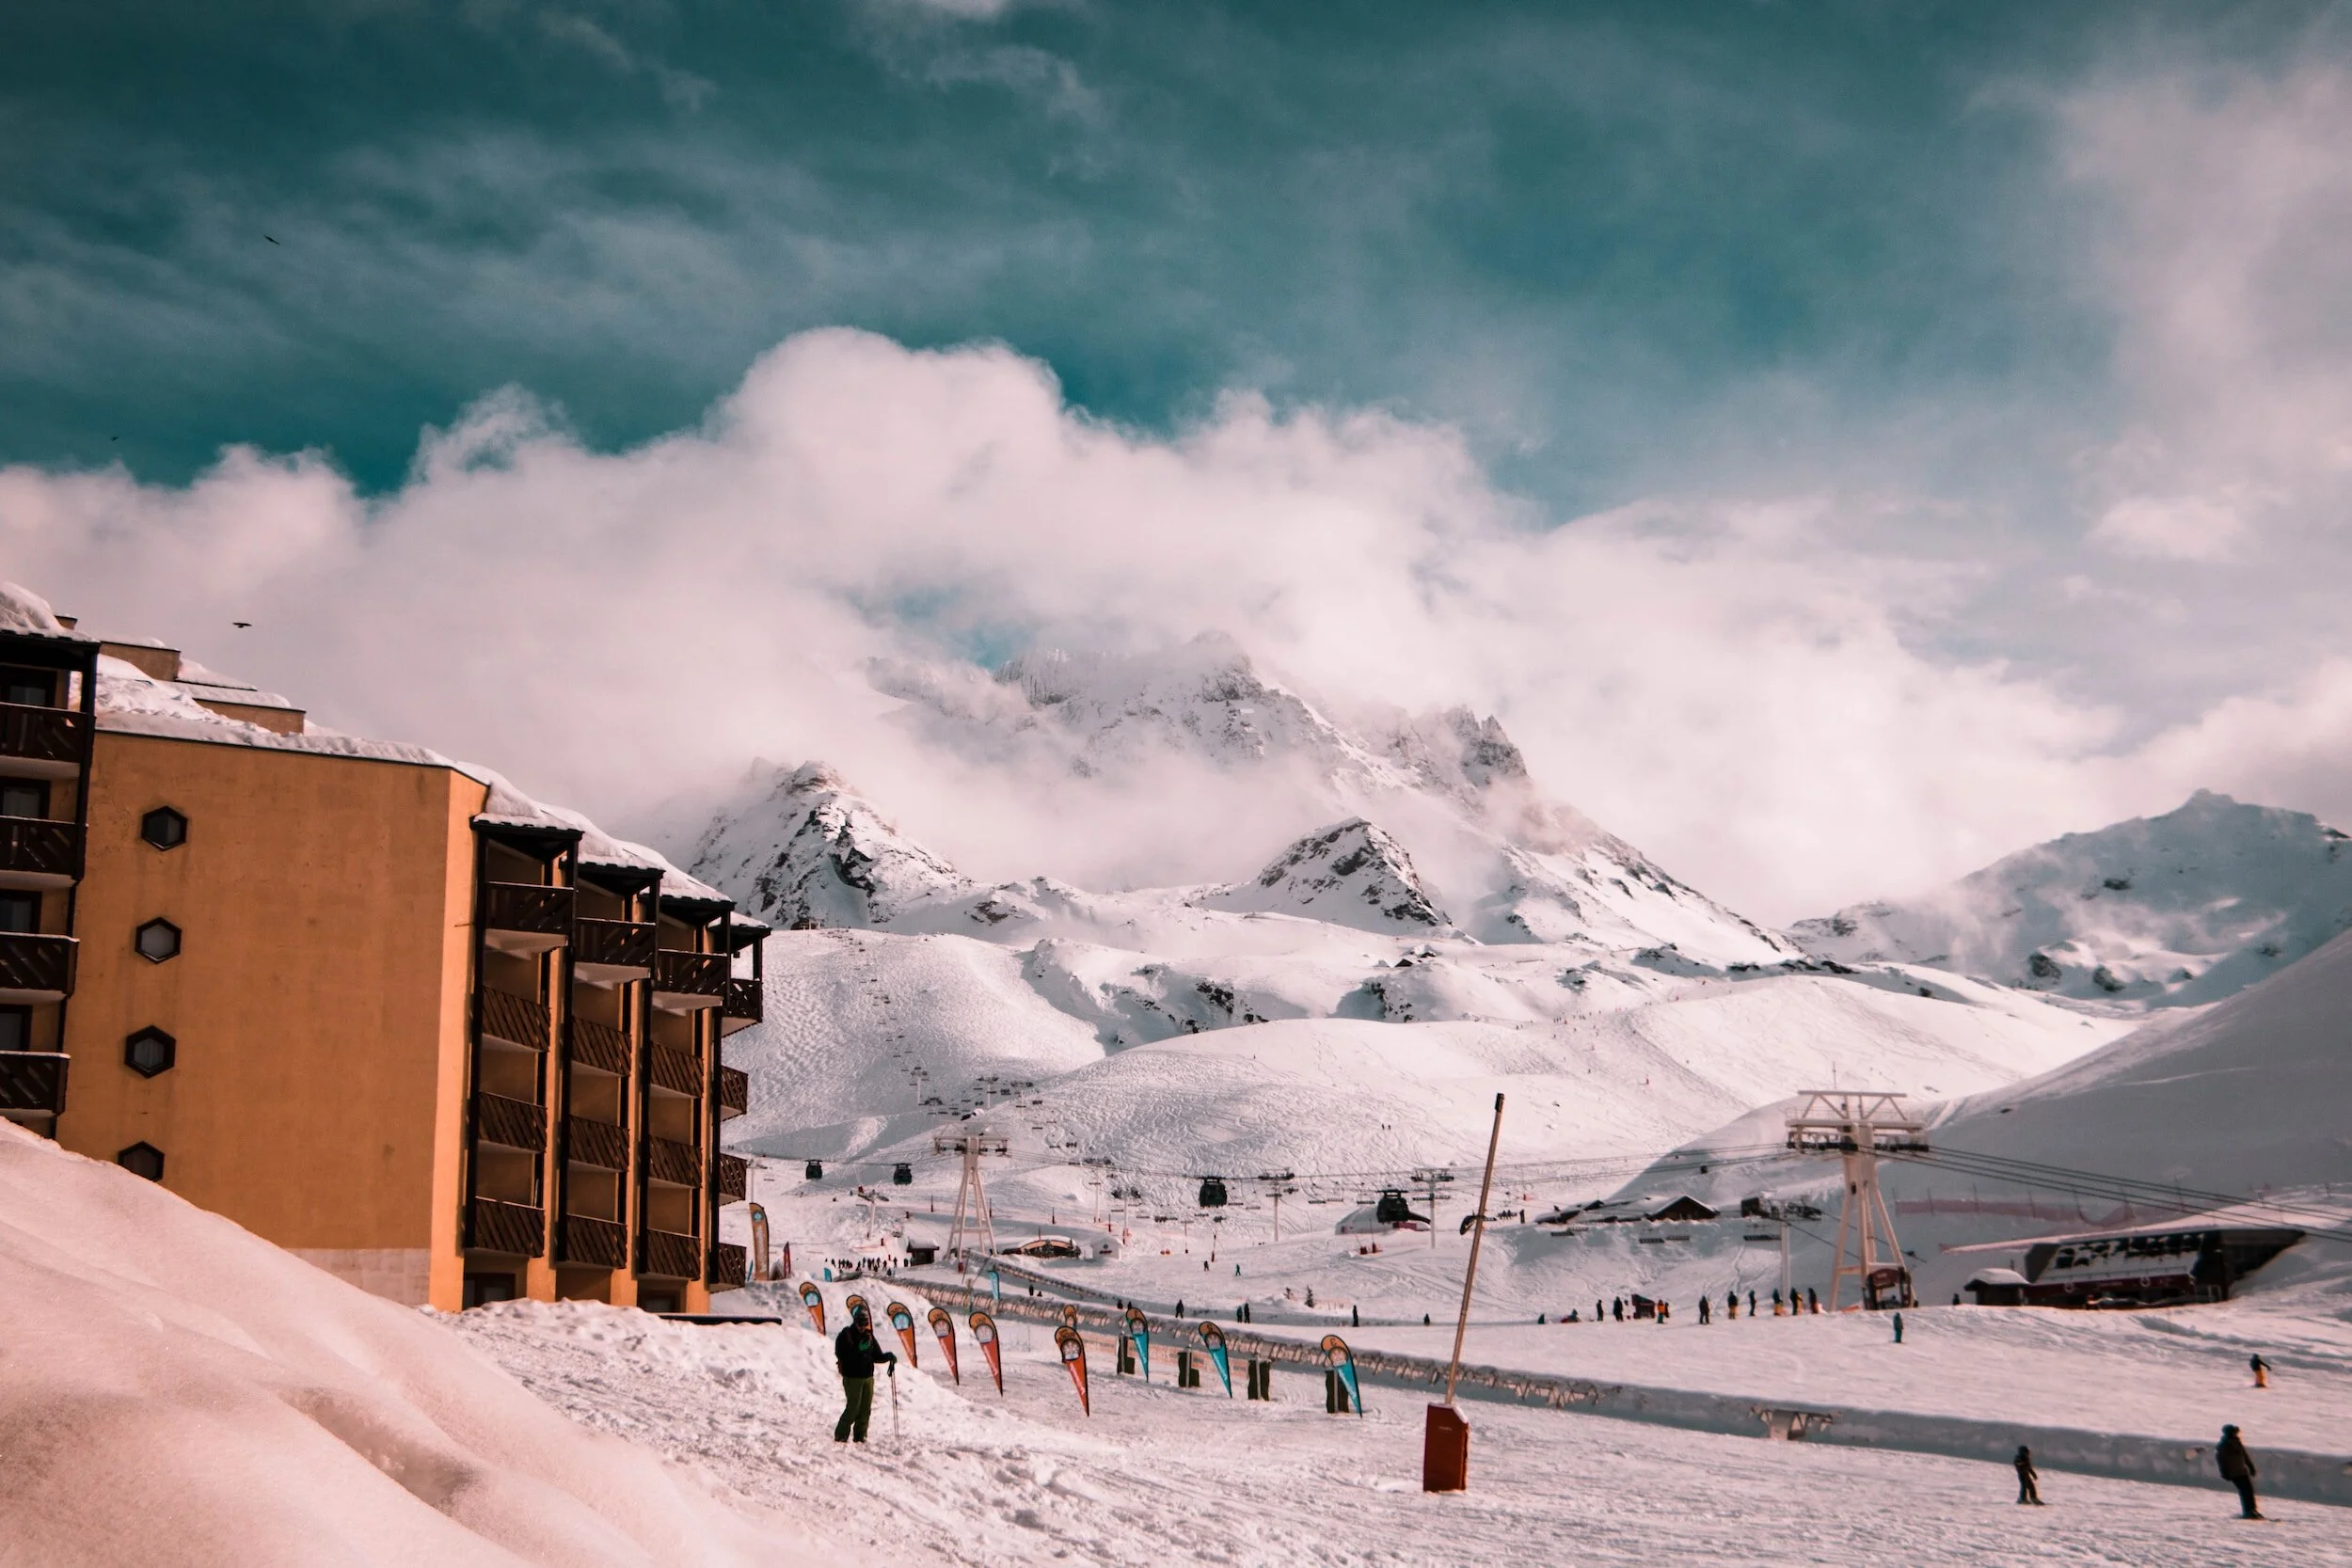
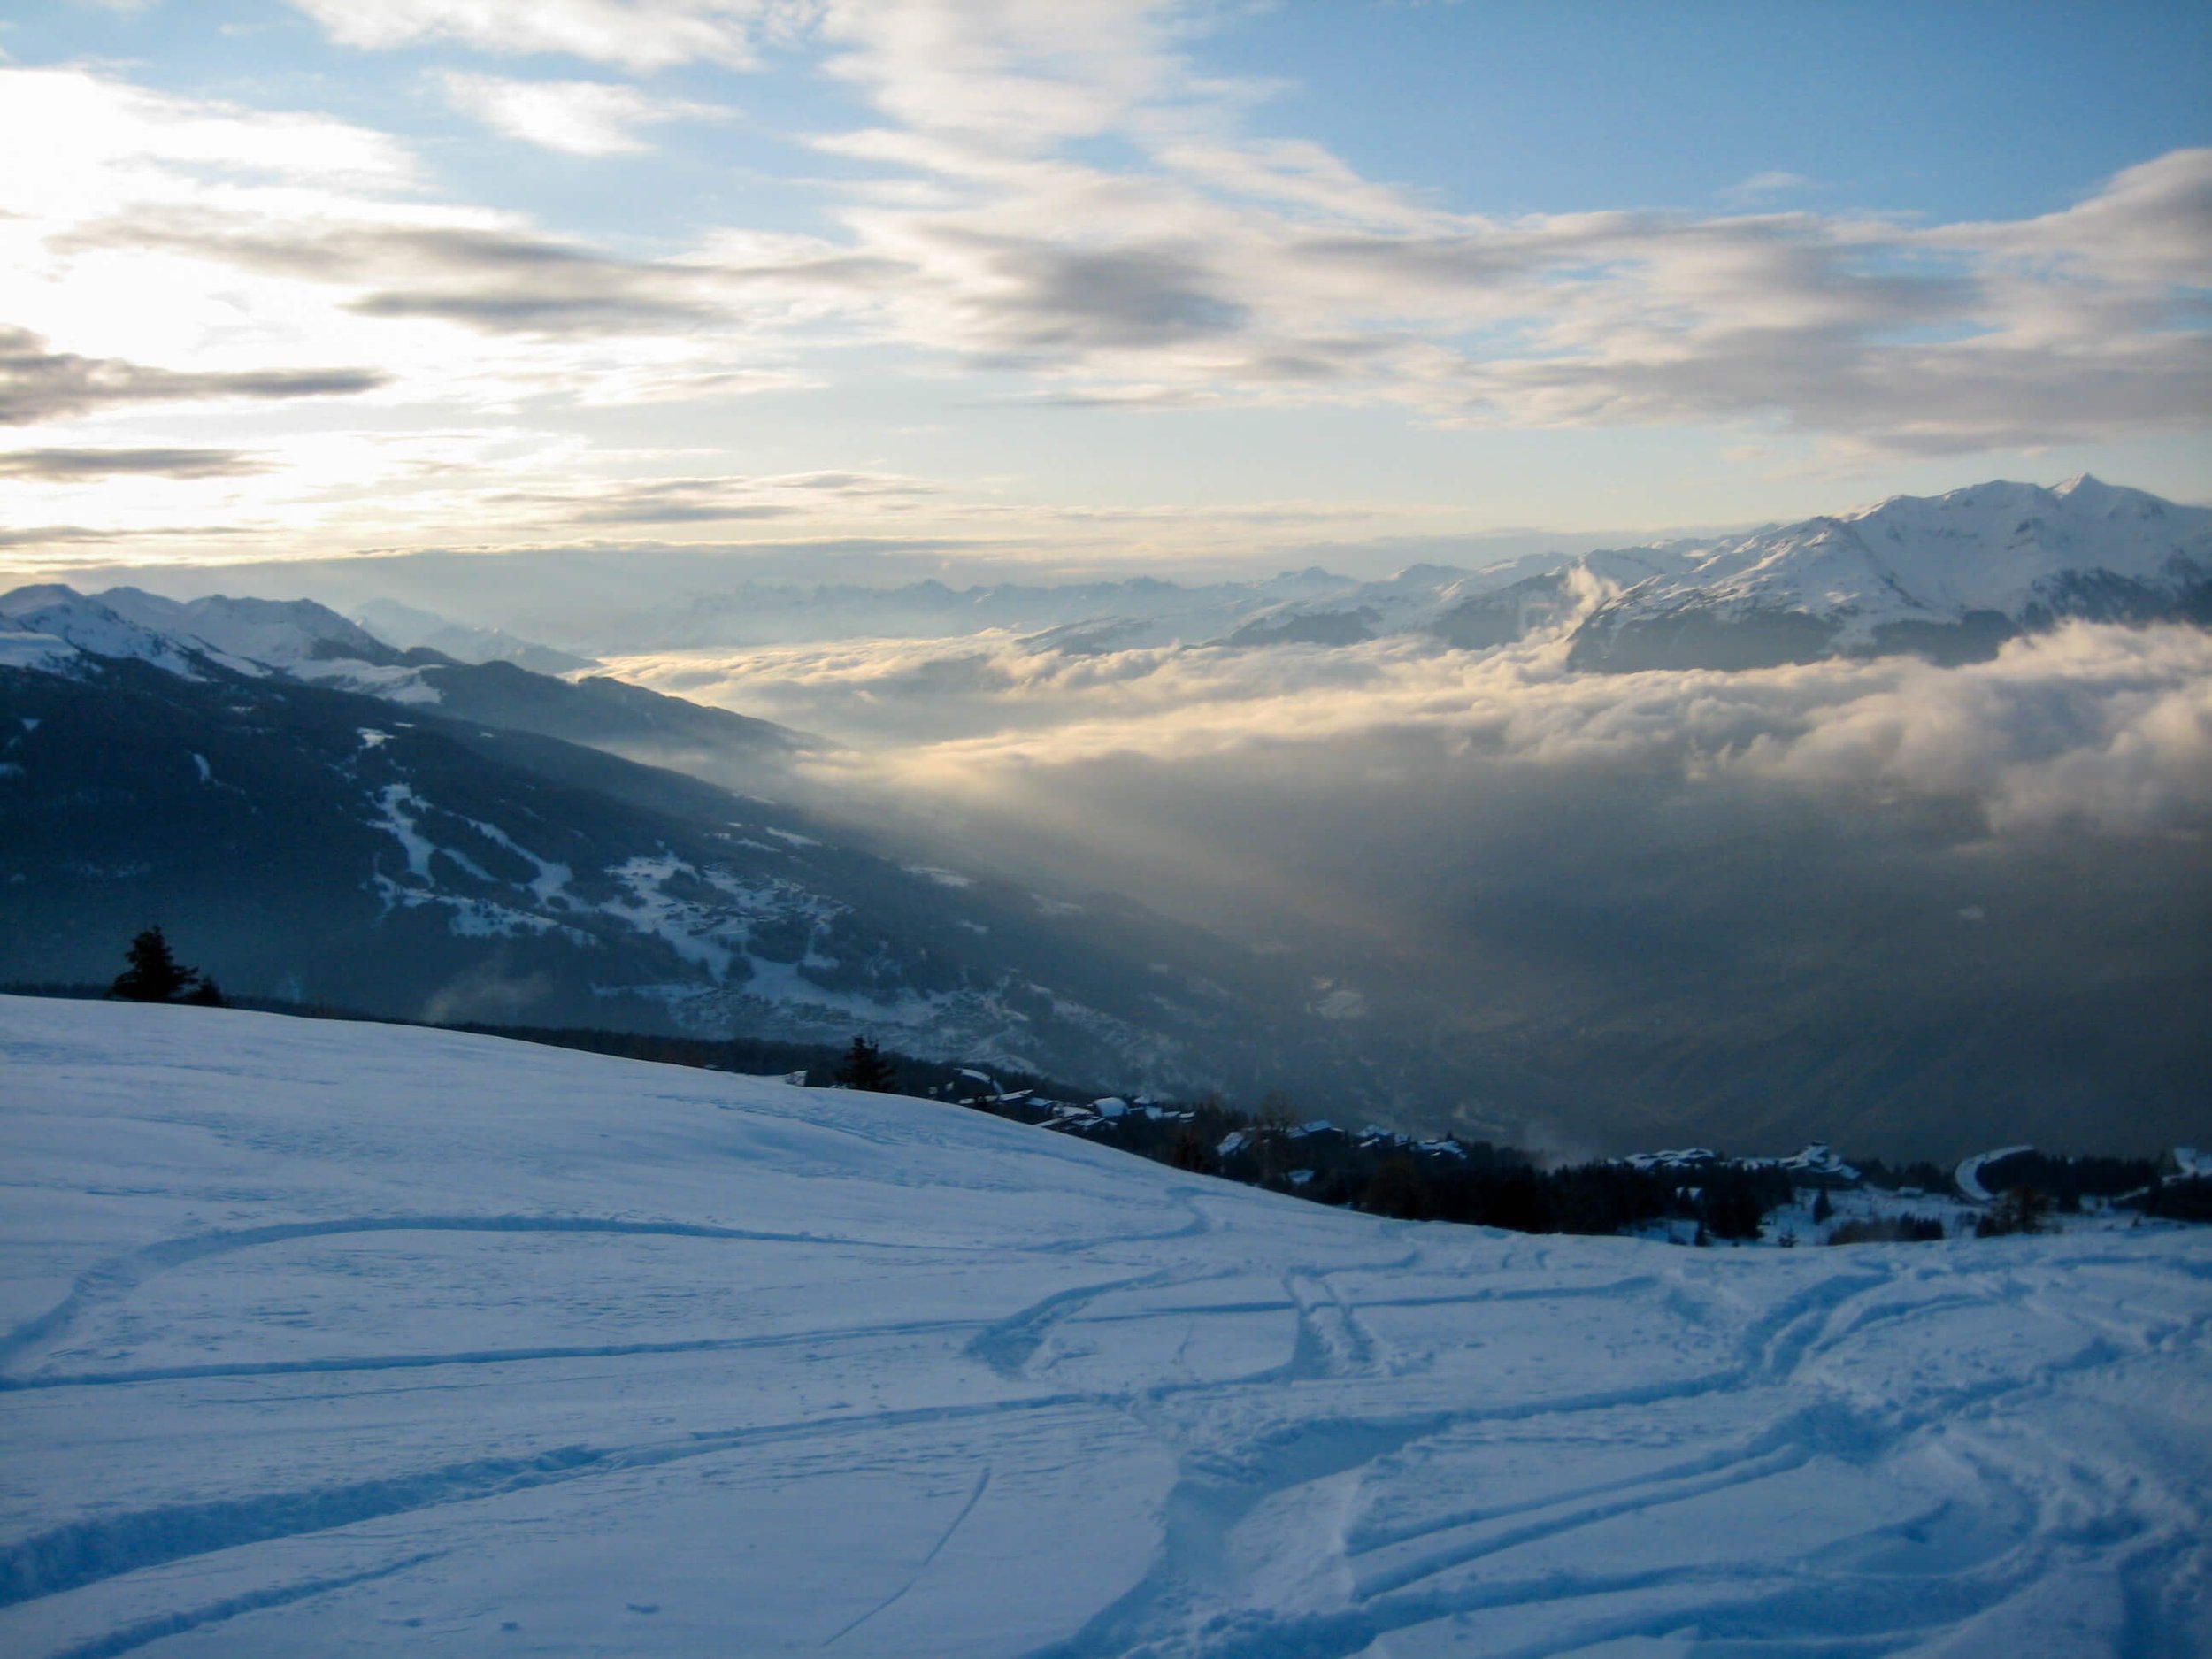
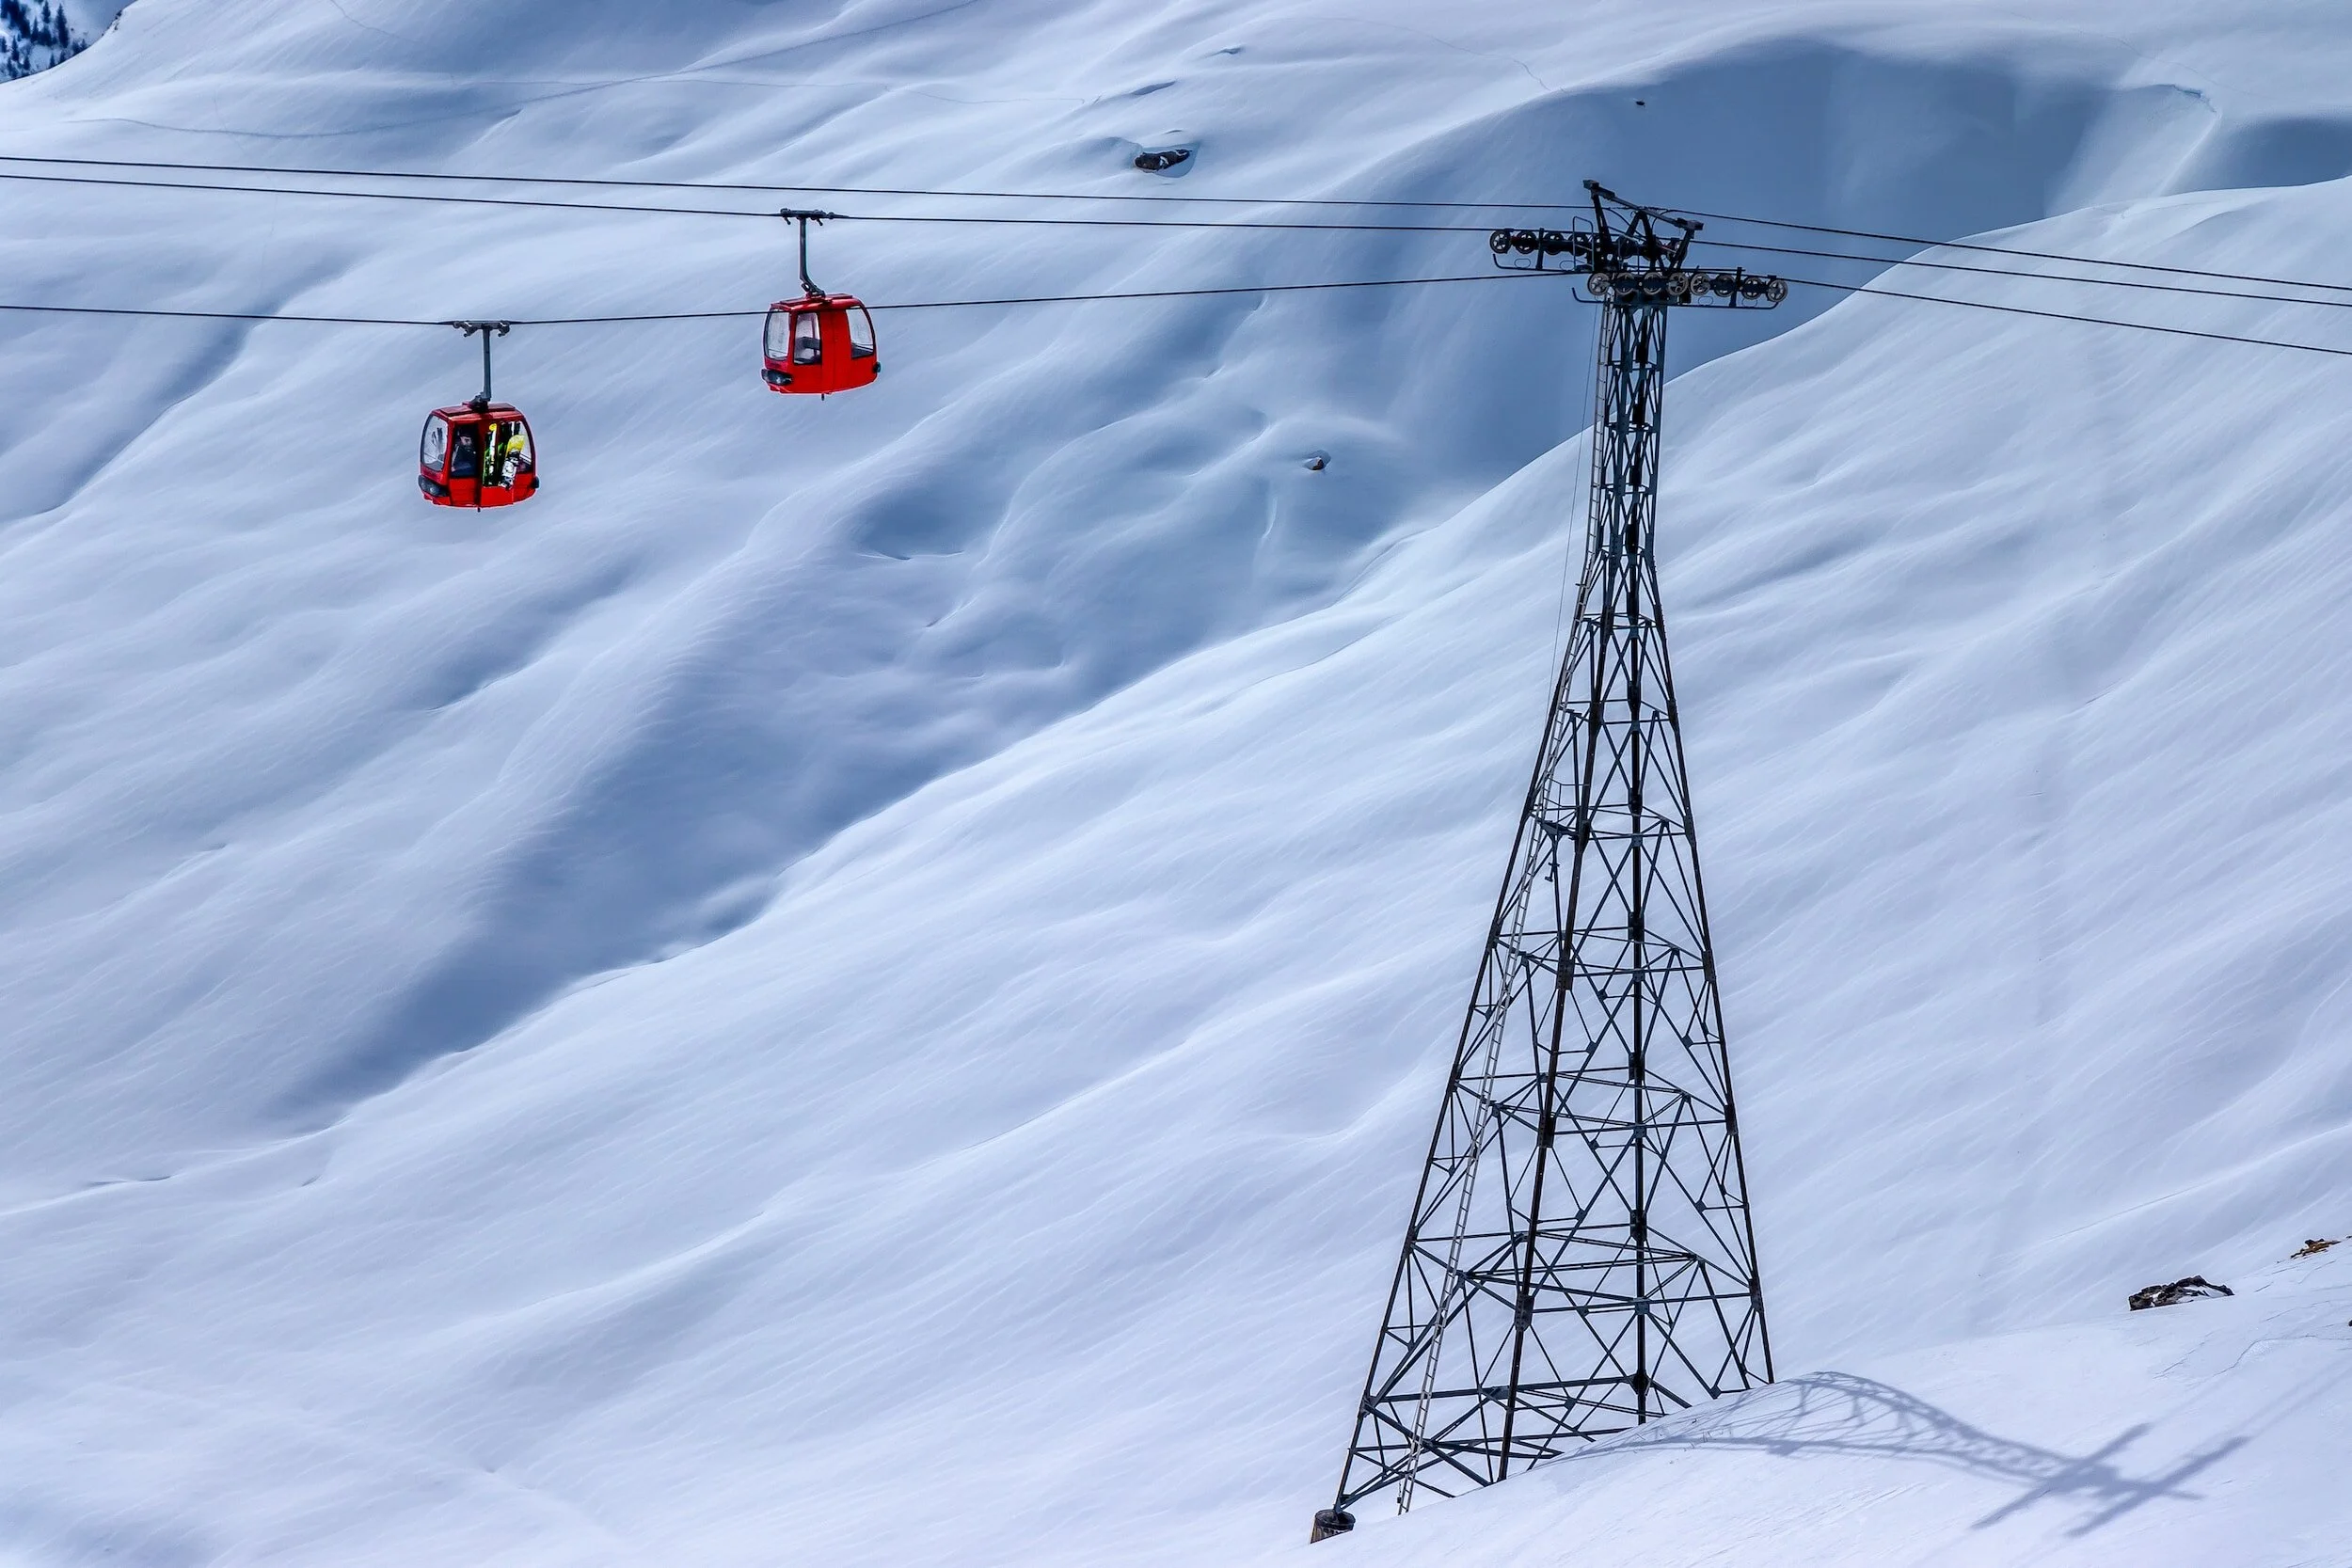
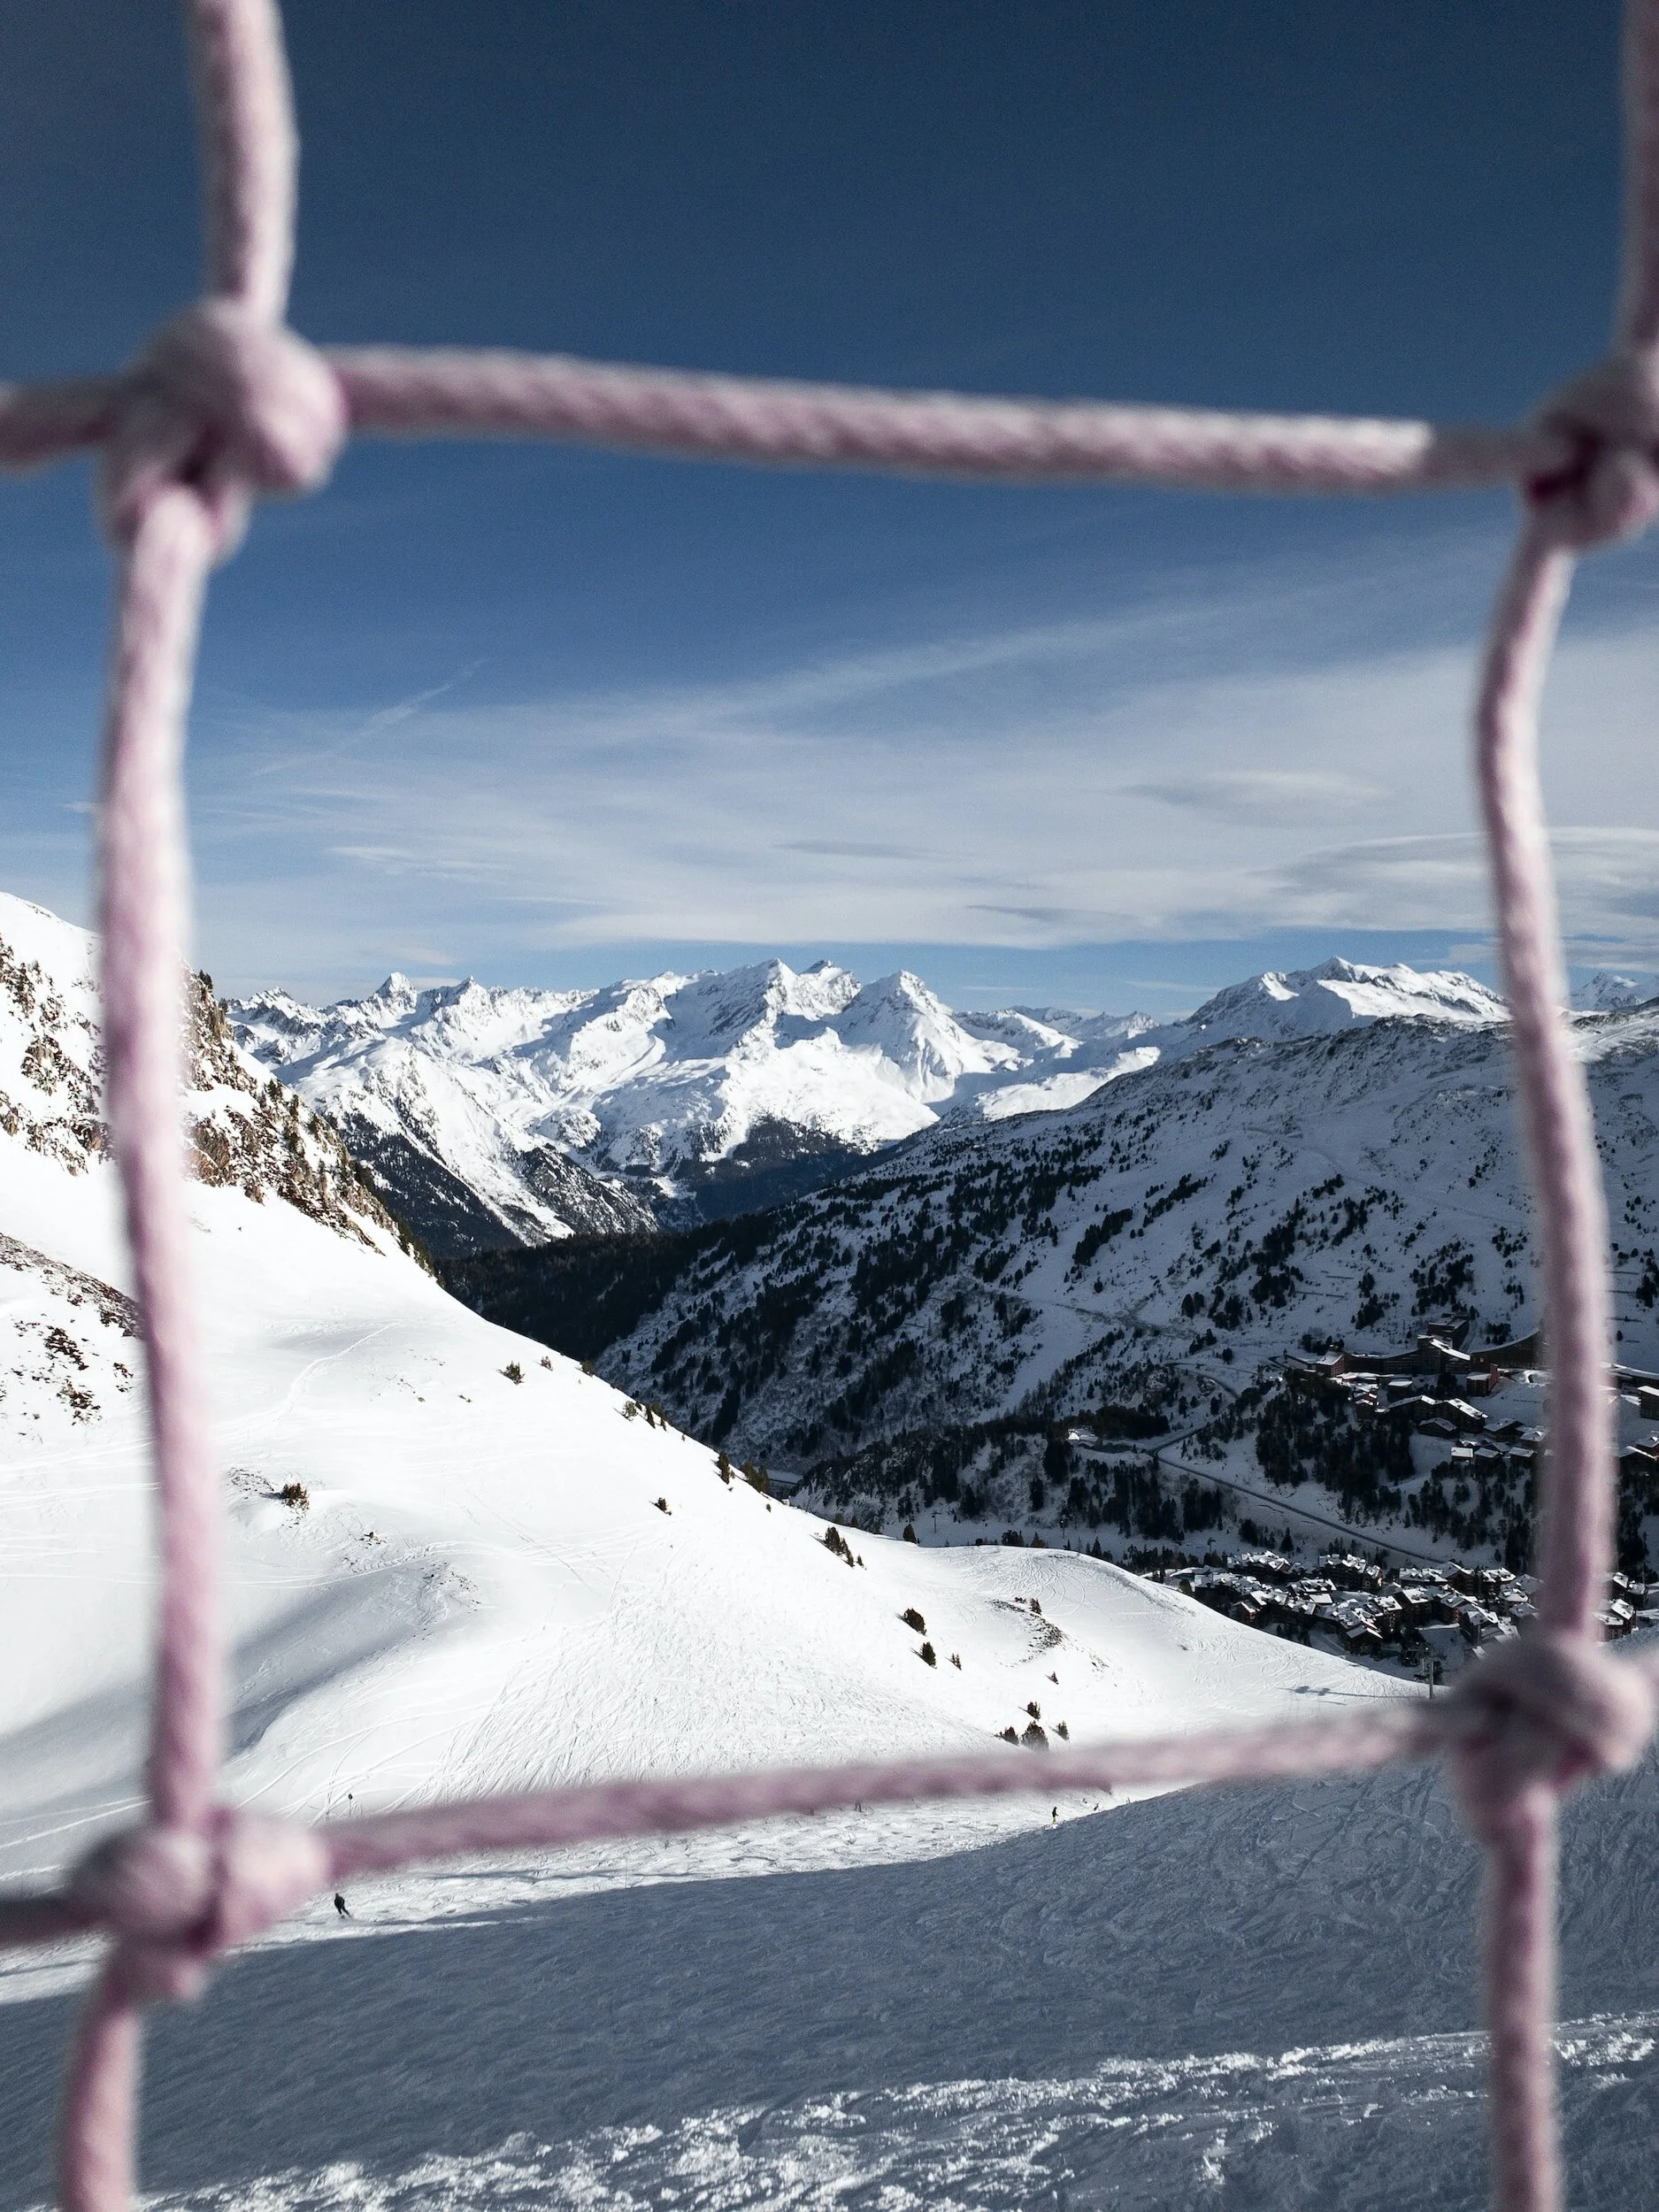

Outdoor Master Falcon Ski Goggle Review

QUALITY GOGGLES AT ENTRY-LEVEL PRICES
The Outdoor Master Falcon Ski Goggle is the flagship model from a brand that has exploded its way into the ski industry. Started as a company that wanted to produce quality products for reasonable prices they aimed to lower the barrier of entrance to a sport that we all know can be expensive. A noble aim but the reality is that if the tech doesn’t stand up to the rigours of the winter sports environment nobody will use it, so let’s take a deeper look.
In this review, I will delve deeper into what makes the Outdoor Master Falcon a fantastic ski goggle by looking at the following categories; Comfort, Lenses, Strap, Anti-Fog, Cost, and comparison to competitor goggles.
This review is my opinion of the Outdoor Master Falcon Ski Goggles, which were gifted to me. My views remain my own and I was not asked to produce this post.
If you find the review useful consider purchasing your OM gear through this referral link where you can receive 15% discount on OM products. This helps me to produce more content in the future.
ABOUT ME
Before jumping into the full review it is worth noting the following information about me as a snowboarder. I am lucky to snowboard a lot but I am not a professional. I have lots of experience riding in all terrain in all conditions and have previous snowboard shop maintenance and retail experience. I use my website to express my opinions on gear and I hope you find them useful when choosing what gear works for you.
TEST CONDITIONS
The Outdoor Master Falcon ski goggle was my goggle of choice for last winter and was worn on the majority of my days on snow. Because of its regularity of use, I was able to use the Outdoor Master Falcon ski goggles across a range of conditions as well as testing a diverse range of its lenses.
COMPETITORS
Before getting into this review you may find it useful to watch the video below where I compare the Outdoor Master Falcon to some of the biggest brands on the market. This video serves as a good overview to see what you can expect from the medium size magnetic lens goggles on the market.


COMFORT
When it comes to reviewing ski goggles you can get bogged down in all the tech however it is important to remember the number one key factor has to be comfort. If the goggle doesn’t feel comfortable for you then it will annoy you all day long.
The Outdoor Master Falcon Ski Goggles are a medium-sized frame that offers a good fit for a range of faces, as always it is best to try your goggles on to check that the nose bridge and other key areas are a good fit for you.
The Outdoor Master Falcons frame has a triple-layer foam which compares favourably to other high-end brands. This foam is soft on the face and supple enough to ensure a good fit to your face contours.
LENSES
The OM Falcon utilises a magnetic lens change that is super simple. Literally pull the lens off and drop the other lens in place. I love the lens change on this goggle and have had no issues with the magnets failing if I take a tumble.
One major plus for the OM Falcon ski goggles is that they come with a Zeiss SONAR lens. SONAR lenses boost contrast by filtering blue light which makes them a better option than a regular lens if you want to see every bump and contour in the snow.

SONAR lenses have been used by companies such as ANON and POC on more expensive ski goggles such as the ANON M4 which retails for over £200 more in the UK.
The Outdoor Master Falcon also matches premium brands by providing two lenses with each goggle purchase. This means that you always get a low-light lens for the cloudy overcast days and a lens to use in bluebird conditions.
The video below gives a good overview of the Outdoor Master Falcon lens range however my thoughts can be compressed into the following.
Green - Best Low Light Lens I have used
Red - brilliant all-round everyday lens
Sonar Dark Smoke - great on sunny days.
FIELD OF VIEW
An important category for me when choosing ski goggles in Field of View. I have always favoured larger frames that allow for increased peripheral vision both for purpose and for style. The OM Falcon has a comparable field of view to the ANON Sync and Spy Marauder but a reduced FOW compared to larger frames such as the ANON M4 or the SMITH Squad Mag XL.
The OM Falcon still allows for a wide peripheral view that offers a great view of the mountain and other skiers around you.
STRAP
There isn’t really too much to say here other than the strap does everything you would expect. With full adjustability and anti-slip silicone the strap compares favourably to that on other brands. I am a fan of the clip on SMITH goggle straps and that’s the only thing I can think of that drops my rating to 4/5.
ANTI-FOG
Again like comfort the Anti-Fog on ski goggles can make or break your day on the hill. The OM Falcon ski goggles have a few specific features that ensure a fog-free experience.
VAPOUR SHIELD
The OM Vapour Shield Treatment is a coating that is applied to the lens which absorbs moisture. This sponge-like effect ensures that any moisture in the goggle is wicked away quickly to prevent it causing issues to your vision.
TRIPLE LAYER FOAM
The Triple Layer Foam is an important factor in the OM Falcons anti-fog properties. Triple Layer Foam ensures that ventilation is possible with airflow into and out of the goggles.
PRO TIP - ENSURE A GOOD GOOGLE/HELMET FIT SO THAT THE VENTING ON THE TOP OF THE GOGGLE DOES NOT GET BLOCKED.
COST
Probably the category that has brought you here in the first place. The Outdoor Master Falcon Ski Goggles retail for £85 in the UK which quite simply is phenomenal. For the £85 you receive the goggle frame, two lenses, a protective case and two microfibre cloths. When compared to rival brands this is simply unmatched.
ANON SYNC - £200
SMITH SQUAD MAG - £219.99
SPY MARAUDER - £170
USEFUL OUTDOOR MASTER VIDEOS
FALCON E-QUICK HUE LENS OPTION
The OM Falcon Ski Goggle is also available in the E-Quick Hue Version. This version of the goggle comes with a lens that changes automatically depending on conditions. There will be a full review on this version coming soon but for now check out the video below to see the lens change between 15%VLT and 53% VLT in an instant. Honestly… mind blown!
This version retails for £117 UK and you can save 15% of all OutdoorMaster Purchases using this link.
FINAL THOUGHTS
When I was first approached by Outdoor Master before I reviewed the OM Ultra Ski Goggle I was dubious. I have always paid the big bucks and bought the so-called best brands. The Ultra impressed me, but I kept going back to my other goggles. The OM Falcon ski goggles are different! The OM Falcon not only competes with the big brands but when you consider the price point I can not make an argument for spending big on any of the big names. The OM Falcon was my go to goggle last season and I cant see that changing anytime soon.
SUPPORT FUTURE CONTENT
If you found this post useful then consider supporting future content by purchasing through the Amazon Link below or using this link to Buy me A Coffee

Courchevel Ski Resort Guide
Courchevel is known as a rich persons playground but it is more than its luxury boutiques and overpriced sandwiches. Courchevel forms an important part of the world’s largest interconnected ski area, the Three Valleys. Skiers visiting Courchevel benefit not just from the ample 150km of pistes locally, but a combined 600km spread across the Three Valleys. The Courchevel ski area offers diverse terrain, picturesque tree lined slopes and an opportunity to experience the finer things in life.

WATCH THE FULL REVIEW
COURCHEVEL FIRST IMPRESSIONS
Honestly, Courchevel at first glance made me wince. I am not someone who is bothered or interested in life’s finer things and walking through the village to the gondola’s and seeing numerous luxury boutiques and overpriced restaurants just isn’t for me. Putting the vibe to one side, and considering the ski area on its merits I can see why people rave about Courchevel. The local area is sizeable with 150km of pistes to explore which is ample for most budding skiers and snowboarders. The tree-lined beginners slopes that lead to the village look a fantastic place to learn and there is more challenging terrain around the resort to keep the rest entertained.
COURCHEVEL SKI AREA
Locally Courchevel has 150km of pistes and a huge amount of off-piste terrain. This makes Courchevel a considerable ski resort in its own right. Leg burning runs are possible with over 1600m of vertical drop possible in Courchevel ski resort.
An appealing factor for those visiting Courchevel is the mix of terrain and how the resort caters to families and groups of mixed abilities. There are numerous family areas and fun runs and there is a good mix of terrain to suit everyone. There is a good reputation within Courchevel as a good place to learn to ski and I can see this from the wide green trails that lead back into the village.
There is progression to be found in Courchevel with the majority of runs in Courchevel being graded as intermediate slopes. With 67% of the terrain in Courchevel being graded as either Blue or Red you can see why Courchevel is popular amongst many skiers and snowboarders. When you consider that Courchevel provides access to nearby Meribel and Val Thorens there are endless possibilities for the intermediate piste skier.
The popularity of Courchevel amongst beginner and intermediates skiers and snowboarders is excellent news for the more advanced. Those in search of a challenge can often find the steeper Red or Black graded slopes empty in stark contradiction the crowds found elsewhere. Courchevel offers testing steeper terrain but is also a lot of fun off-piste. The Saulire is home to some epic couloirs that provide ample challenge.
One thing is for sure, visitors to Courchevel and the 3 Valleys will not get bored of the terrain that is on offer. After multiple visits to the region I am still finding plenty of new terrain to explore and would happily return in the future.
COURCHEVEL FOR BEGINNERS
Courchevel is an excellent destination for beginner skiers, offering a variety of gentle slopes and well-groomed runs perfect for those just starting out. The Pralong area, located in the Courchevel 1850 sector, is particularly well-suited for beginners, with wide, gentle slopes and a dedicated learning area. The Bellecôte sector also features several long, easy runs that are perfect for building confidence on the slopes. As skiers progress, they can explore the more intermediate terrain in the Croisette and Chenus sectors, which provide a good challenge without being too intimidating. Overall, Courchevel's well-developed infrastructure and variety of beginner-friendly slopes make it an ideal destination for those new to skiing.
COURCHEVEL FOR INTERMEDIATES
Courchevel offers a wealth of intermediate ski runs that cater to the adventurous skier. The Verdons run, with its gentle slopes and well-groomed terrain, is a favorite among intermediate skiers, providing a thrilling yet manageable descent. For those seeking a bit more challenge, the Creux run, with its sweeping turns and occasional steeper sections, is an excellent choice that will test your skills without overwhelming. Additionally, the Biollay run, known for its diverse terrain and stunning views, is a must-try for intermediate skiers looking to explore Courchevel's diverse landscape.
COURCHEVEL FOR ADVANCED
Courchevel is how to he Suisse and Vizelle pistes which are renowned for their steep gradients and challenging terrain, providing an adrenaline-fueled experience for seasoned skiers. Those seeking an extra challenge can venture onto the infamous Combe du Vallon, a narrow, winding run that tests the skills of even the most accomplished athletes. For those looking to push their limits, the Saulire Express lift grants access to the resort's most extreme slopes, from here there are a number of couloirs which will provide ample challenge.
LIFTS COURCHEVEL
The lift infrastructure in Courchevel is modern with plenty of newer lifts being installed to regularly upgrade the current offering. Still, there are pinch points with crowds at some of the older gondolas and closer to the beginner trails. One thing about the 3 Valleys, is that they are continually working to upgrade their lifts to improve customer experience.

In total, there are 58 lifts across the Courchevel ski area which goes some way to demonstrating the incredible size of the resort.. From the state-of-the-art Saulire Express gondola to the iconic Verdons chairlift, Courchevel's lift system is designed to maximize convenience and minimize wait times, ensuring a smooth and enjoyable skiing experience for its guests.
WHERE TO SKI IN BAD WEATHER COURCHEVEL
Navigating the slopes during a whiteout can be a challenging experience, but there are a few areas that stand out as the best options. The Saulire sector, with its wide, well-groomed runs offers excellent visibility and reliable snow conditions even in poor weather. The Verdons Nord area, with its gentle, tree-lined slopes, can also provide a more sheltered and visually-appealing experience when visibility is limited.
COURCHEVEL PISTE MAP
Courchevel Piste Map
COURCHEVEL GALLERY
COURCHEVEL VILLAGES
SAINT-BON
Saint-Bon can be considered the birthplace of Courchevel with the resorts first hotel being constructed here in 1908. Saint-Bon is a traditional mountain village that is a quieter base for your Courchevel ski holiday. Staying in Saint-Bon however doesn’t mean you are not connected with regular buses running between Saint-Bon and the other Courchevel Villages.
COURCHEVEL LE PRAZ
Home to Frane’s only Olympic ski jumps, Courchevel Le Praz offers something a little different. With a mountain village feel the Chalets and narrow streets here give the village a quaint feel. Still you can be in the centre of Courchevel in 8 minutes with an easy connection to Courchevel 1850 by gondola.
COURCHVEVEL LA TANIA
La Tania is the most modern of the Courchevel ski villages. This car-free mountain village is a great base for families with new apartments and a toboggan run. The village of Courchevel La Tania has everything you need for a ski holiday base.
COURCHEVEL 1550
Courchevel 1650 is a great base for those wanting to be in the middle of everything but with a more relaxed vibe than 1850. Courchevel 1550 is another great base for families with the toboggan run offering 300m of vertical drop and the Aquamotion swimming pool nearby.
COURCHEVEL MORIOND
Courchevel Moriond
COURCHEVEL SEASON DATES
Courchevel typically opens its slopes in early December and remains operational until late April. The resort's high elevation and strategic location ensure reliable snow conditions throughout the winter season, with the peak snowfall typically occurring in January and February. For the best chance of enjoying optimal snow coverage and weather, the ideal time to visit Courchevel is during the months of January and February, when the resort's 150 kilometers of groomed runs are blanketed in a thick layer of powdery snow.
TRAVEL TOCOURCHEVEL
WHERE IS COURCHEVEL SKI RESORT?
Courchevel is a ski resort located in the French Alps, nestled within the Tarentaise Valley in the Savoie region. This prestigious destination is part of the expansive Trois Vallées ski area, the largest connected ski domain in the world, offering over 600 kilometers of groomed pistes and access to some of the most challenging and diverse terrain in Europe. Courchevel is divided into five distinct villages, each with its own unique character and amenities, catering to a wide range of skiers and snowboarders. From the chic and glamorous Courchevel 1850, to the more family-friendly Courchevel 1550, the resort provides an exceptional skiing experience complemented by world-class dining, shopping, and accommodation options.
GETTING TO COURCHEVEL BY AIR
Traveling to Courchevel by air is a convenient and efficient way to reach this renowned ski destination in the French Alps. The closest major airport is Chambéry-Savoie Airport, located approximately 45 minutes from Courchevel. Alternatively, skiers can fly into Lyon-Saint Exupéry Airport, which is about 1.5 hours away. From either airport, visitors can arrange for private transfers or utilize public transportation options, such as shuttle services or taxis, to complete the journey to Courchevel.
Despite being further away, Geneva (2.5 hours) is the airport of choice for most visitors to Courchevel and the Three Valleys. Geneva has a more regular flight schedule which ramps up through the winter season with many transfer companies operating out of the arrivals area at Geneva airport.
It's important to note that during the peak ski season, transportation can be in high demand, so it's advisable to plan and book your travel arrangements well in advance.
Flying is and will remain the easiest and quickest way to reach a ski resort however, it also has the largest impact on your Carbon footprint.
GETTING TO COURCHEVEL BY TRAIN
Travelling to Courchevel from the UK by train is a great scenic option. The journey typically begins at a major train station in England, such as London's St. Pancras International, where passengers can board the Eurostar service to Paris. From there, skiers can connect to a regional train that will take them directly to Moutiers, the closest station to Courchevel. Once at Moutiers, skiers and snowboarders can easily access the slopes of Courchevel via a short transfer, making the train a practical and enjoyable way to reach this premier alpine destination.
Getting the train to the French Alps is a fantastic way to reach your ski holiday destination with many advantages. Firstly there are no luggage weight restrictions or baggage fees on these services so travellers heading to the ski resort can pack their ski gear without additional charges. Secondly, you can enjoy the ride knowing that you are travelling in a eco friendly way. Finally, the train is a scenic route that allows you to see much of France before arriving in the French Alps.
GETTING TO COURCHEVEL BY CAR
The drive to Courchevel from the UK, spanning approximately 600 miles from Calais to Courchevel, offers a scenic route through the picturesque countryside of France, with the snow-capped peaks of the mountains gradually coming into view as you approach your destination. I have always enjoyed the freedom of driving to a ski resort and have often tagged on a overnight city stop along the way.
Most brits driving to the French Alps will arrive in Calais France via the Ferry or Le Shuttle. From Calais, the drive takes around 9 hours depending on conditions and in all honesty can feel like a long slog along the motorway. The drive becomes more interesting as you arrive closer to the French Alps as you wind your way past mountain villages on your way to Courchevel.
You do not need a car in Courchevel however it can be useful as I found on this day in Orelle when the lifts stopped and I was able to drive to Brides Les Bains and ski in Meribel instead.
COURCHEVEL LIFT PASSES
Skiers visiting Courchevel have several lift pass options to choose from. A 1-day ski pass for the Courchevel ski area costs €55 for adults and €44 for children. For those planning an extended stay, a 6-day ski pass is available for €275 for adults and €220 for children. Courchevel is part of the expansive 3 Valleys ski area, which offers access to over 600 kilometers of slopes. Skiers can purchase a 3 Valleys ski pass for €62 per day for adults and €50 per day for children, providing access to the entire interconnected ski region.
Additionally, skiers who hold an Epic Pass can ski in the 3 Valleys and Courchevel for 7 days at no additional charge. Just take your Epic Pass and ID to the ticket office.
COURCHEVEL PROS
Courchevel has an extensive ski terrain with over 150 km of pistes in addition the wider 3 valleys ski area.
There is a variety of slopes in Courchevel which caters to all skill levels, from beginner to expert.
Courchevel has excellent snow conditions throughout the season due to high elevation and snowmaking capabilities.
Courchevel has a modern lift system with 58 lifts providing quick and efficient access to the slopes.
Courchevel is a vibrant and lively ski town with high-end shopping, dining, and nightlife options that appeals to many visitors.
Courchevel has good access to airports with convenient transfers from Chambéry, Lyon, and Geneva.
Courchevel offers well-developed infrastructure with purpose built villages that cater to families, singles or groups of visitors.
Whether I like it or not, Courchevel has a reputation as an upscale and prestigious ski destination that attracts skiers from world-wide.
COURCHEVEL CONS
Courchevel is an extremely expensive ski resort with high prices for lodging, dining, and lift tickets.
Courchevel can suffer from crowded slopes, especially during peak holiday seasons.
Lack of affordable dining and accommodation options for budget-conscious travelers like myself. Consider staying in Val Thorens and visiting Courchevel.
Despite having many modern lifts, there are still a few oldies hanging around that need replacing.
If you find value in this content please consider supporting the website by clicking the image below and buying me a coffee.
COURCHEVEL FREQUENTLY ASKED QUESTIONS
What is the elevation range of the Courchevel ski area?
The Courchevel ski area has an elevation range of 1,300 meters (4,265 feet) to 2,738 meters (8,980 feet).
How many ski runs and lifts are there in Courchevel?
Courchevel offers 150 ski runs served by 60 ski lifts, including 10 gondolas, 17 chairlifts, and 33 surface lifts.
What is the ski season duration in Courchevel?
The ski season in Courchevel typically runs from early December to late April, depending on snow conditions.
Are there any terrain parks in Courchevel?
Yes, Courchevel has several terrain parks catering to different skill levels. There is a family park with a fun run located in Courchevel
What is the average snowfall in Courchevel?
Courchevel receives an average annual snowfall of around 6 meters (20 feet), ensuring excellent skiing conditions throughout the season.
Are there any off-piste skiing opportunities in Courchevel?
Yes, Courchevel offers numerous off-piste skiing opportunities, with a variety of ungroomed and challenging terrain for experienced skiers. From the steep, technical chutes of the Saulire sector to the wide-open bowls of the Vizelle area, Courchevel's off-piste offerings cater to a range of skill levels.
What is the closest airport to Courchevel?
The closest airport to Courchevel is Chambéry-Savoie Airport, located approximately 90 kilometers (55 miles) from the ski area.
Are there any ski schools or lessons available in Courchevel?
Yes, Courchevel has several ski schools and offers a wide range of lessons for skiers of all levels, from beginners to advanced. The resort's ski schools are renowned for their exceptional instruction, with experienced and certified instructors who cater to both children and adults.
What are the dining and après-ski options in Courchevel?
Courchevel boasts a diverse range of dining options, from traditional French cuisine to international fare, as well as lively après-ski bars and nightlife. One of the crown jewels of Courchevel's dining landscape is Le Chabichou, a two-Michelin-starred restaurant helmed by the renowned chef Michel Rochedy. Another must-visit destination for food enthusiasts is Le Café des Prés, a cozy and inviting restaurant that has earned a reputation for its exceptional regional specialties.
Are there any non-skiing activities available in Courchevel?
Beyond the world-class skiing and snowboarding, this picturesque alpine town boasts a vibrant culinary scene, with Michelin-starred restaurants and charming local eateries serving up delectable regional cuisine. Adventurous travelers can embark on guided snowshoeing excursions, exploring the winter landscapes. Additionally, the town's luxurious spas offer the perfect respite, with rejuvenating treatments and wellness experiences that rejuvenate both body and mind. Whether you're seeking gastronomic delights, cultural enrichment, or simply a chance to unwind, Courchevel's off-snow offerings ensure that your winter getaway is truly unforgettable.
COURCHEVEL FINAL THOUGHTS
Personally I would choose to stay elsewhere in the Three Valleys and sadly this is not a decision based on the actual skiing and snowboarding. With plenty on offer in Courchevel that make it an incredible ski holiday destination this is perhaps a sour outlook however, I left Courchevel feeling that I didn’t really fit in. The restaurants were well above my price range and I certainly prefer the more down-to-earth feel of Val Thorens.
I would love to hear from you if you feel I have missed the point on Courchevel or if there are more affordable ways to ski here? Drop your thoughts in the comments.
If you found value in this content and would like to support my adventures, consider buying me a coffee; it helps keep the blog running and fuels my passion for exploring the world's mountains.

Meribel Ski Resort Guide
Meribel sits at the heart of the Three Valleys, the World’s largest interconnected ski area, and as such has a reputation as the best base for a Three Valleys ski holiday. From this central location it is easy to explore the 600km of pistes that the 3 Valleys ski area has to offer, but locally Meribel can also offer a good experience. The local Meribel ski area has been popular with British skiers for decades and with exceptional terrain, extensive accommodation options and pretty much everything you’d want/need on a ski holiday easily to hand I can’t see that changing anytime soon.

WATCH THE FULL REVIEW
MERIBEL FIRST IMPRESSIONS
Riding down into Meribel it was clear that during peak times you can suffer from lifelines in Meribel. Being the central valley you not only have the skiers and snowboarders enjoying the local area, but additionally you have those just passing through to reach Val Thorens or Courchevel. To me, it felt that Meribel suffers from lift lines more than the neighbouring resorts, but my first visit was also during a peak week.
Liftlines normally mean one of two things, poor infrastructure or in the case of Meribel, excellent terrain and a village that lots of people want to visit. Meribel is potentially a victim of its excellent location and fantastic facilities, leading to a glowing reputation as a reliable ski holiday destination. There is so much to love about Meribel, so let’s dive straight in.
MERIBEL SKI AREA
Meribel ski resort is huge. The 150km of local terrain would be enough to stand alone as a top European ski area. When you think that an additional 450km of pistes are available in nearby ski resorts the appeal of Meribel jumps out. Locally, there is also 1852m of vertical drop ensuring that Meribel has some leg burning decents, such as those off Mont Vallon.
Meribel ski area offers a good mix of beginner, intermediate and advanced terrain with a decent terrain park thrown in for good measure. The wide runs in Meribel are appealing to beginners and with plenty of green and blue graded pistes, Meribel is a great resort to learn to ski in with the majority of terrain close to Meribel centre graded as green or blue.
Intermediates will enjoy exploring Meribel with long blues and reds possible from the Pas Du Lac, Cote Brune and pretty much everywhere else in Meribel. As an intermediate visiting the Three Valleys Meribel provides an easy base from which to explore nearby Courchevel and Val Thorens.
Advanced skiers may not see many black trails jumping off the piste map but Meribel does offer some really fun off-piste. Mont Vallon is serviced by a modern gondola and offers the opportunity to head to the sides of the piste in search of fresh turns. Popular with many the aptly named ‘Go Pro Couloir’ is popular at the top of the Saulire Express.
Running alongside the Chatelet lift is the Meribel terrain park. Freestyle isn’t a massive focus in Meribel, however there was more than enough in the Meribel terrain park to keep the freestyle focussed happy. Multiple jump lines, a rail garden and a half-pipe are all skiable in this area and make Meribel well worth a visit for some freestyle fun.
MERIBEL FOR BEGINNERS
Meribel is well-known for its beginner terrain making it an exceptional ski resort to learn in. Those learning to ski or snowboard in Meribel will benefit from the Yéti Park above Meribel Mottaret which is a nice place to start. When confidence grows, beginners really are spoilt for choice in Meribel with options all around the valley.
MERIBEL FOR INTERMEDIATES
Meribel is fantastic for intermediates and those at this stage should consider saving money and only buying the Meribel ski pass not the larger Three Valleys. Everywhere you ski in Meribel there are long blues and reds for intermediates to lap and get mileage in their legs.
If exploring the Three Valleys is part of your gameplan, then swift links to neighbouring Val Thorens make this a great first excursion from Meribel. You will enter the resort of Val Thorens to find excellent intermediate terrain that you can explore on the way to Les Menuires making for an excellent day out.

MERIBEL FOR ADVANCED
Advanced skiers or snowboarders heading to Meribel will want to make the most of the geographical location and Meribels central links to the remainder of the Three Valleys. Val Thorens, Les Menuires, Orelle, and Courchevel all have decent off-piste options, as does Meribel when the conditions are right. In Meribel, the area of Mont Vallon is most appealing to those with a hunger for off-piste. This area has two long reds which are worth a spin in addition to ample off-piste.

LIFTS MERIBEL
There are a total of 42 ski lifts across Meribel which goes some way to demonstrating the size of the ski resort. Meribel has a good mix of modern lifts that ensure that crowds can navigate their way across both sides of the Meribel Valley. 13 gondolas and 17 ski lifts make up the majority of the infrastructure with a number of surface lifts coming in the shape of Magic Carpets or button lifts.

WHERE TO SKI IN BAD WEATHER MERIBEL
Every ski resort is prone to its bad weather days therefore knowing where to head on these occasions is paramount to your enjoyment. Luckily, unlike its neighbour Val Thorens, Meribel has a number of nice treelined areas that are perfect for storm days. Head towards the Altiport area where trees provide a good level of contrast for whiteout conditions.
MERIBEL PISTE MAP
MERIBEL GALLERY


MERIBEL VILLAGES
MERIBEL VILLAGE
Méribel Village, nestled at an altitude of 1,400 meters, serves as a charming gateway to the expansive Trois Vallées ski area, one of the largest in the world. It is conveniently located just a short ride from the larger Méribel center, offering easy access to a plethora of slopes catering to all skill levels, with direct lifts leading into the broader ski domain. Off the slopes, the village boasts a variety of cozy amenities, including well-regarded dining options like Le Comptoir de la Montagne, known for its hearty mountain fare, and La Table de l’Ours, which offers a delightful blend of local and international cuisine. For après-ski, the lively pub scene includes popular spots such as Le Pub, where visitors can unwind with a drink and enjoy live music. Accommodations range from luxurious chalets to more budget-friendly options, providing a perfect blend of comfort and accessibility for all types of travelers.
MERIBEL MOTTARET
Meribel Mottaret is located in the heart of the Three Valleys ski area in the French Alps, offering direct access to over 600 kilometers of interconnected slopes. This charming ski village is positioned at a high altitude, ensuring excellent snow conditions throughout the season. For dining, La Brizolée is a popular choice, known for its Savoyard specialties, while the cozy Restaurant Le Marmite serves both traditional French and international dishes. After a day on the slopes, the lively Le Cactus bar is a favorite among skiers for its vibrant après-ski atmosphere. Accommodations in Meribel Mottaret range from luxurious hotels like the Hotel Le Mottaret to more budget-friendly chalets and apartments, catering to various preferences and budgets.
BRIDES LES BAINS
Brides Les Bains serves as an excellent budget-friendly base for skiers eager to explore the renowned Meribel and the broader Three Valleys region. Located just a short gondola ride away from the heart of Meribel, this charming spa town offers affordable accommodation and dining options, making it an attractive choice for those looking to maximize their skiing experience without breaking the bank. Visitors can enjoy the extensive ski terrain that the Three Valleys has to offer while benefiting from the lower prices found in Brides Les Bains, ensuring that a fantastic skiing adventure doesn't have to come with a hefty price tag. With its convenient access to one of the world's largest ski areas, Brides Les Bains proves that you don't need to compromise on quality for savings.
LES ALLUES
Nestled in the heart of the French Alps, the Village of Les Allues offers a charming base for skiers eager to explore the expansive Three Valleys ski area. With its convenient gondola linking directly to Méribel, skiers can easily access a diverse range of slopes and stunning alpine scenery. This connection is particularly advantageous for those looking to maximize their skiing experience, as it opens up immediate access to an extensive network of runs suitable for all skill levels, from novice to expert. Furthermore, the picturesque village vibe of Les Allues provides a peaceful retreat after a day on the slopes, making it an appealing option for those who wish to balance adventure with relaxation.
MERIBEl SEASON DATES
Meribel typically opens for the winter season in early December, with the resort generally welcoming skiers and snowboarders by the second weekend of the month. The season usually runs until late April, often closing around the last weekend of the month, depending on snow conditions. For those looking to enjoy the best of what Meribel has to offer, the ideal month to visit is February. This month typically boasts the most reliable snow coverage and a blend of vibrant après-ski activities, making it a popular choice among visitors seeking both fantastic skiing and lively entertainment.
TRAVEL TO MERIBEL
WHERE IS MERIBEL SKI RESORT?
Meribel ski resort is located in the heart of the Three Valleys, one of the largest ski areas in the world, situated in the Savoie region of the French Alps. Nestled at an altitude of approximately 1,450 meters (4,757 feet), Meribel boasts a charming village atmosphere with traditional alpine architecture. It is surrounded by breathtaking mountain scenery and offers direct access to over 600 kilometers (373 miles) of ski slopes that cater to all skill levels. The resort is easily accessible by road and is close to the popular town of Courchevel and the bustling resort of Les Menuires, making it a prime destination for skiers and snowboarders alike.
GETTING TO MERIBEL BY AIR
To reach Meribel from the UK by air, travelers should book a flight to either Geneva Airport or Chambery Airport, with Geneva being the most commonly used option due to its larger number of international flights and proximity to the resort. From Geneva, it’s approximately a 2.5 to 3-hour drive to Meribel, and various transfer services—including shuttles, private taxis, and car rentals—are readily available. For travelers from the US, consider flying into major European hubs such as London or Paris before connecting to a direct flight to Geneva or Chambery. Be sure to check the seasonal service availability as direct flights may vary. Once in the Alps region, local transportation options provide convenient access to this beautiful ski resort.
Flying is and will remain the easiest and quickest way to reach a ski resort however, it also has the largest impact on your Carbon footprint.
GETTING TO MERIBEL BY TRAIN
To reach Méribel by train from the UK, begin your journey by taking a Eurostar service from London St Pancras International to Paris Gare du Nord. Upon arrival in Paris, transfer to Gare de Lyon, where you can catch a TGV high-speed train heading to Moûtiers-Salins-Brides-les-Bains. The TGV trip usually takes around five hours, so be sure to check the schedule ahead of time. Once you arrive at Moûtiers, you can take a local bus or taxi for the final leg of your journey, which is approximately a 30-minute ride to Méribel. It’s advisable to book your train tickets in advance, especially during the peak ski season.
GETTING TO MERIBEL BY CAR
To get to Méribel by car from the UK, start your journey by taking the Eurotunnel or a ferry from Dover to Calais. Once in France, follow the A26 motorway towards Reims, then merge onto the A5 heading south. Continue on the A6 towards Lyon, and from there, take the A43 to Albertville. After reaching Albertville, follow signs for the D90 until you reach Moûtiers. From Moûtiers, take the D915 which will lead you directly to Méribel. The entire journey typically takes around 12 to 14 hours, depending on traffic and stops, so it's wise to plan for a full day of travel. Make sure to check the road conditions, especially during winter months, as snow can impact driving routes.
GETTING TO MERIBEL BY COACH
When planning your coach travel to Méribel from the UK, several options stand out for their convenience and comfort. Companies like Eurolines and FlixBus provide direct services from major cities such as London and Birmingham, typically requiring a change at key hubs like Paris or Geneva. The journey offers a scenic route through the French countryside, with travel times ranging from 18 to 24 hours depending on the connections. Coaches are equipped with comfortable seating, onboard restrooms, and often free Wi-Fi, ensuring a pleasant trip. For a hassle-free experience, booking a return fare in advance can secure your spot and potentially save on costs, especially during peak ski seasons. Be sure to check for any special services and luggage allowances as well, which are crucial when packing ski equipment.
MERIBEL LIFT PASSES
Meribel offers a variety of lift pass options to cater to different skiing needs. The local area pass, known as the Meribel Valley lift pass, typically costs around €60 per day for adults, providing access to about 150 kilometers of slopes specifically within the Meribel area. In contrast, the Three Valleys lift pass, which encompasses Meribel, Courchevel, and Val Thorens, is priced around €65 to €70 per day for adults, granting access to an extensive 600 kilometers of interconnected ski runs, making it a popular choice for those wanting to explore multiple resorts.
Additionally, skiers who hold an Epic Pass for the winter season can enjoy access for 7-days of skiing in Meribel as part of the broader Epic Pass program, which allows for skiing at various resorts worldwide, though specific details and availability should be confirmed prior to planning. Discounts may also be available for families or multi-day purchases, so it’s advisable to check the official lift pass website for the latest deals and offers.
MERIBEL PROS
Extensive Ski Area: Part of the Three Valleys, the largest ski area in the world, offering over 600 kilometers of pistes.
Variety of Terrain: A wide range of slopes for all skill levels, from beginners to advanced skiers.
Charming Alpine Village: Picturesque architecture with a warm and welcoming atmosphere, complemented by numerous shops and restaurants.
Apres-Ski Options: Vibrant apres-ski scene with bars, cafes, and entertainment options to enjoy after a day on the slopes.
Great Snow Conditions: Typically reliable snow conditions and a long ski season, thanks to its north-facing slopes and snow-making capabilities.
Family-Friendly: Facilities and programs tailored for families and children, including ski schools and childcare options.
Access to Other Resorts: Easy access to nearby resorts like Courchevel and Val Thorens, allowing for diverse skiing experiences.
MERIBEL CONS
Pricey Accommodation: Known for its high-end lodging options, which can be expensive, especially during peak season.
Crowds During Peak Times: Can become very busy, particularly during school holidays and on weekends, leading to long lift lines.
Limited Off-Piste Terrain: While great for on-piste skiing, off-piste options can be less appealing due to avalanche risks and potential challenges.
Variable Weather Conditions: Weather can be unpredictable, with low visibility and poor conditions occasionally impacting skiing experience.
Transportation Costs: Potentially high costs for transportation if staying in nearby areas rather than directly in Meribel.
Nightlife Limitations: While there is a lively apres-ski scene, nightlife may not be as vibrant for those seeking late-night entertainment.
Accessibility:
If you find value in this content please consider supporting the website by clicking the image below and buying me a coffee.
MERIBEL FREQUENTLY ASKED QUESTIONS
WHAT IS THE BEST TIME TO VISIT MERIBEL?
The peak ski season in Meribel typically runs from mid-December to early April, with the best snow conditions usually found from January to March. However, the resort can be enjoyed year-round, with summer offering excellent hiking, mountain biking, and other outdoor activities. The shoulder seasons of late spring and early fall can also be pleasant times to visit, with smaller crowds and milder weather.
HOW DIFFICULT ARE THE SKI RUNS IN MERIBEL?
Meribel offers a diverse range of ski terrain to suit skiers and snowboarders of all abilities. Approximately 27% of the runs are classified as beginner, 41% as intermediate, and 32% as advanced. The resort is part of the expansive Trois Vallées ski area, which provides access to over 600 kilometers of pistes, including some challenging off-piste and black diamond runs for expert skiers.
WHAT IS THE BEST WAY TO GET TO MERIBEL?
The closest major airport to Meribel is Chambéry Airport, located about 90 minutes away by car or shuttle. Other options include Grenoble Airport, Lyon Airport, and Geneva Airport, all of which are within a 2-3 hour drive of the resort. Many visitors choose to rent a car or utilize the resort's shuttle services and public transportation options to reach Meribel.
WHAT IS THE AVERAGE COST OF A SKI PASS IN MERIBEL?
Ski pass prices in Meribel can vary depending on the length of the pass, the time of year, and any discounts or packages available. As a general guideline, a one-day adult lift pass typically ranges from €50 to €65, while multi-day and season passes can offer significant savings. It's recommended to check the resort's website or speak with a local travel agent to get the most up-to-date pricing information and explore any available discounts or package deals.
WHAT ARE THE BEST FAMILY ACTIVITIES IN MERIBEL?
Meribel is renowned for its family-friendly atmosphere and amenities. In addition to the well-groomed ski runs, the resort offers a variety of non-skiing activities, such as sledding, ice skating, snowshoeing, and snowmobiling. The resort also has several childcare facilities, ski schools, and après-ski options catered to families. Off the slopes, visitors can enjoy activities like swimming, bowling, and visiting the resort's adventure parks and recreational centers.
IS MERIBEL EXPENSIVE?
Visiting Méribel can be considered expensive compared to many other ski resorts, primarily due to its reputation as a high-end destination in the French Alps. Accommodations range from luxury chalets to more budget-friendly hotels, but even the latter can still be pricey during peak season. Lift passes, equipment rentals, and dining options also reflect the premium experience that Méribel offers. However, savvy travelers can find ways to moderate costs, such as booking in advance, exploring package deals, or visiting during off-peak periods. Overall, while it is possible to manage expenses, a trip to Méribel typically requires a higher budget to fully enjoy the resort’s renowned amenities and services.
WHICH AIRPORT DO YOU FLY TO FOR MERIBEL?
The airport of Chambery is indeed the closest option for those heading to Meribel, especially during the winter season when ski traffic peaks. However, travelers should be prepared for the limited choice of flights, which can make planning a bit challenging.
On the other hand, flying into Geneva or Lyon offers more flexibility with a greater number of flight options. While the transfers from these airports to Meribel are longer—averaging around two to three hours—they generally provide cheaper fares and more frequent services. The scenic drives through the Alps can also be a rewarding experience, making the journey part of the adventure.
For those considering the best travel options, weigh the convenience of a shorter transfer against the potential savings and variety of flights available at the larger airports.
MERIBEL ACTIVITIES
When visiting Meribel, you can enjoy a wide range of activities beyond skiing and snowboarding. In the winter, try snowshoeing through scenic trails, take part in exhilarating sledding experiences, or relax with a day of wellness at a local spa. For those seeking a thrill, ice climbing offers a unique adventure on frozen waterfalls, while paragliding provides stunning aerial views of the majestic Alps. In the summer, hiking and mountain biking take center stage, with picturesque trails suitable for all skill levels. Additionally, Meribel’s vibrant village hosts lively markets, gourmet dining, and cultural events that showcase the local flavor, ensuring an enjoyable experience year-round.
MERIBEL FINAL THOUGHTS
In conclusion, Meribel ski resort truly stands out as a premier destination for winter sports enthusiasts. With its stunning alpine scenery, extensive ski runs that cater to all levels, and a vibrant après-ski scene, Meribel offers a well-rounded experience that is hard to match. From the charming chalet-style architecture to the easy access to the expansive Three Valleys ski area, every aspect of the resort enhances the overall adventure. Whether you're carving fresh tracks on pristine snow or unwinding in a cozy bar, Meribel is a place that will make you want to visit again.
If you found value in this content and would like to support my adventures, consider buying me a coffee; it helps keep the blog running and fuels my passion for exploring the world's mountains.

Outdoor Master Falcon E-QUICK HUE Ski Goggle Review
WHAT I THOUGHT WAS A GIMMICK IS ACTUALLY A GAME CHANGER
Let’s get straight to the point, when I first saw these goggles I thought it was an absolute gimmick. I had seen photochromic lenses before and had always liked the idea of a one goggle that fits every scenario idea but a microchip… really? Well after two weeks of use for some quality spring skiing in the Grand Massif, this lens may have just revolutionised how I feel about ski goggle lenses.
If you would like to read a more in-depth review about the Outdoor Master Falcon Ski Goggles you can find my full review here. This post will focus more on the E-Quick Hue Lens technology and whether it is worth the upgrade.
This review is my opinion of the Outdoor Master Falcon Ski Goggles, which were gifted to me. My views remain my own and I was not asked to produce this post.
If you find the review useful consider purchasing your OM gear through this referral link where you can receive 15% discount on OM products by using code SIM15 at checkout. This helps me to produce more content in the future.
ABOUT ME
Before jumping into the full review it is worth noting the following information about me as a snowboarder. I am lucky to snowboard a lot but I am not a professional. I have lots of experience riding in all terrain in all conditions and have previous snowboard shop maintenance and retail experience. I use my website to express my opinions on gear and I hope you find them useful when choosing what gear works for you.
TEST CONDITIONS
The E-Quick Hue version of the Outdoor Master Falcon ski goggles was my goggles of choice for my late-season snowboard trip to Flaine in the Grand Massif. During this trip, I had a good mix of bluebird skies, overcast days and some insane powder days. The E-Quick Hue lens was brilliant across the majority of these conditions.
COMPETITORS
If you are interested in learning how the OM Falcon ski goggles compare to some of the major competitors be sure to check out the video below.
THE TECHNOLOGY
The OM Falcon E-Quick Hue Goggle Lens utilises solar energy to powder the LCD Photochromic lens. The goggle lens uses a built-in microchip to detect the brightness out on the mountain and then quickly assigns the lens to react to the correct VLT. The lens has a VLT range between 15.2% to 54.3% which covers everything from bright sunshine to cloudy days. The really impressive thing is that the transition takes 0.1 seconds meaning the lens adjusts automatically when riding between sun and shade. This is something that no other lens on the market can rival. Check out the lens change by viewing the Youtube Short linked here.
In the below video, I am wearing the Outdoor Master Falcon E-Quick Hue Lens on an overcast powder day in Flaine Grand Massif.
FIELD OF VIEW
One real positive of the Outdoor Master Falcon ski goggles is that they offer a great field of view with exceptional peripheral vision. My main concern with the E-Quick Hue lens was that the microchip which sits centrally on the goggles lens would obscure your view. My feeling is that yes you know it is there, but when you are riding about I didn’t find myself thinking about it. I was impressed with how little the microchip impacted my vision, however, if they were to redesign the goggles I would suggest placing the chip towards the periphery of the lens.
COST
The E-Quick Hue version of the Outdoor Master Falcon Ski Goggles does come at an extra cost when compared to the original OM Falcon. The E-Quick Hue version costs £117 in the UK versus £85 for the original version. I feel this still represents great value for money when you consider that the rival brands all offer similar goggles for closer to the £200 mark.
ANON SYNC - £200
SMITH SQUAD MAG - £219.99
SPY MARAUDER - £170
USEFUL OUTDOOR MASTER VIDEOS
FINAL THOUGHTS
As I mentioned at the beginning of this post, when I first saw these lenses with the microchip I thought this has to be a gimmick. After use, it was clear to me that this was the most sensible choice of lens for most occasions on the mountain. It just meant no faff or carrying a spare lens. The only time I opted for a different lens was when I knew it would be cloudy all day and I swapped it out for the OM Falcon Green lens which is excellent for those conditions.
Another consideration is whether the OM Falcon E-Quick Hue is worth the extra outlay. For most people, the answer to this is probably no. The original Outdoor Master Falcon Ski Goggles come in at £32 cheaper in the UK and that includes two lenses. Granted the E-Quick Hue lens negates the need to have a spare lens with you but if you are snowboarding a few weeks a year then the original version will do you well.
SUPPORT FUTURE CONTENT
If you found this post useful then consider supporting future content by purchasing through the Amazon Link below or using this link to Buy me A Coffee