


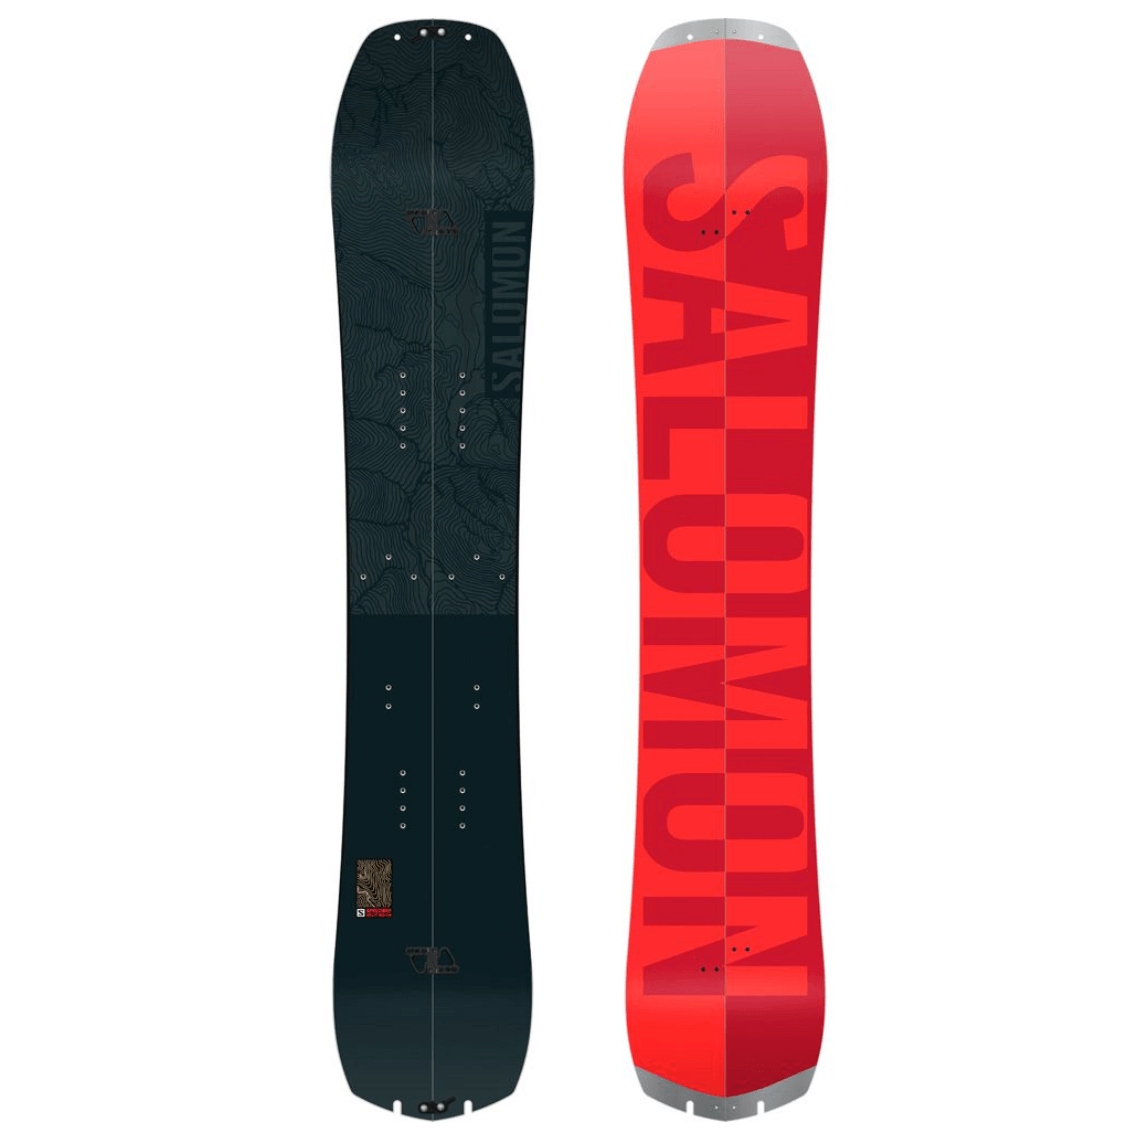
Salomon Speedway Split Overview
Salomon makes some of the best-value snowboards on the market and this has transferred into their splitboard range. The Speedway has shown itself to be a top performer in solid form winning awards and accolades from various snowboarding publications. As a Splitboard, the Speedway gives you a ride that will love charging on the way down. Its elongated nose and taper allow the Speedway Split to float easily in powder and the backseat camber puts the control under your back binding. Salomon has made the Speedway Split from their top-end materials producing a board that is both durable and lightweight.
ABOUT THE SALOMON SPEEDWAY SPLITBOARD
Board Profile
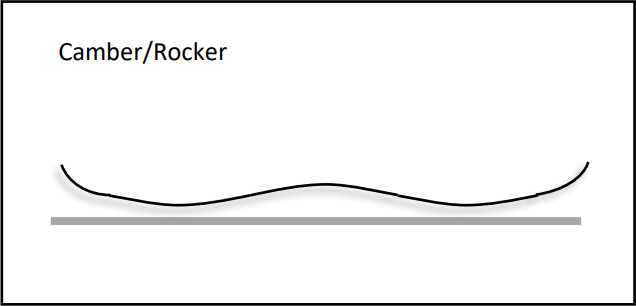
The Salomon Speedway Splitboard has a backseat camber profile. This is a design where the camber is placed under the back binding and leads into a flat section at the nose. There is rocker added on the nose and tail to help with turn initiation and float in deeper snow. The backseat camber design has been used successfully on Salomon Speedway and Super 8 solids which both ride well on and off-piste.
Flex
The Speedway Split has a stiff flex that helps it to remain responsive and reliable. The Speedway’s responsive flex allows the board to be incredibly stable at higher speeds and aids turn initiation.
Board Shape
The Speedway Splitboard has a tapered directional design. The nose of the Speedway is around 10-15mm wider than the tail allowing the front of the board to stay above the snow as the tail drops back to prevent leg burn. A tapered design improves powder performance without sacrificing edge hold on the piste. The Tapered design is coupled with a Quadratic Sidecut. This is a progressive sidecut which allows for easy turn initiation.
The Insides
Salomon spared no expense when assembling the core of the Salomon Speedway. The Ghost Green Core is utilised in the Speedway Split as a way to drop the weight whilst optimising performance. The Ghost Green Core uses paulownia wood which is extremely light and is found in Salomon’s top-end boards.
In addition to the Ghost Green Core, Salomon have added Damplifier to the Speedway Splitboard. Damplifier is a honeycomb effect used in the nose and tail to drop weight. Using Damplifier means that the Speedway Splitboard is lighter for the way up without negatively effecting performance on the way down.
The Base
A Salomon Sintered EG base is used on the Speedway Splitboard. Sintered bases require more TLC with regular waxing but they run much faster than extruded bases. The Sintered EG is designed for a fast ride, but also strengthens the base by utilising Gallium.
The Edges
Salomon wanted to optimise edge hold without causing those nasty edge catches that are common with camber snowboards. To achieve this the used a 1° bevel at the initiation and exit of the edge with a 2° bevel between the bindings.
The Sidewalls
Salomon uses ABS sidewalls which is the short way to say Acrylonitrile Butadiene Styrene. Basically, these are solid and I have had them on a number of boards. The ABS sidewall dampens vibrations through the board and absorbs impacts on jumps.
Additional Features
The Salomon Speedway Splitboard comes complete with custom cut Pomoca Skins which will save you money and time. This is a really nice addition from Salomon.
The Terrain
The Salomon Speedway Splitboard is designed for use outside of the resort boundary’s where exploration is leading the way. The board can be used in the resort and will perform great on groomers. You are unlikely to find the Speedway Split anywhere near the terrain park.
The Rider
The rider of the Speedway Splitboard should be confident riding a stiffer deck. The Speedway is directional and although it can be ridden switch this is not where it excels so it would suit an omnidirectional rider.
Sizing
The Salomon Speedway is available in three sizes; 155, 160, and 165. Because of the damplifier in the nose and tail Salomon say that you can size up from your regular board length by 3-5cm so consider this when choosing your size.
Related Posts


Snowboard Camber Profiles Explained
When shopping for a snowboard you will come across a number of terms for a snowboard profile. Essentially the profile of a snowboard is whether the board curves up from the snow, down towards the snow or a combination of the two. You can see this shape clearly by looking from the side or placing the board on a flat surface. Terminology like camber, rocker, or hybrid camber describes this profile. This post attempts to go through all the available snowboard profiles and discuss the pros and cons of each profile.
WHAT IS A SNOWBOARD PROFILE
A snowboard or camber profile describes how a snowboard looks when it is laid on a flat surface. This profile will affect how the snowboard performs and feels across various terrain. Traditionally snowboards have a camber that raises in the middle of the board causing an arch. Over time this has been adapted and refined to produce a variety of snowboard camber shapes that will help improve board feel and can be matched to riding style.
Learning about snowboard profiles will help you choose a snowboard that matches your riding style or the type of terrain you wish to ride. An example would be the use of rocker in the nose of your snowboard to improve performance in deeper snow or a flat camber profile to make your board stable at speed. Below the most popular camber profiles are discussed.
TYPES OF CAMBER PROFILE
CAMBER
A full or traditional camber snowboard is the original snowboard profile. At the beginning of the sport, this is how boards were made and that was your choice. Although there have been many developments in snowboard profile there is a hardcore of snowboarders who would still maintain that a traditional camber snowboard is the best snowboard profile.
A traditional camber snowboard arc’s up in the middle of the board and returns to the snow at the contact points. This arc or camber allows the rider to build up pop for jumps and ollies and will increase the snowboards edge hold when carving. Camber snowboards feel stable and reliable and they handle speed with ease. Camber profiles are found in advanced carving or jump focussed snowboards as they are stable and have lots of pop.
Camber profiles can be ridden by beginners and in powder however, both of these tasks are made harder by using a full camber snowboard. In powder, the camber will not help you to keep the nose of the board above the snow and you may be more prone to back leg burn in deeper conditions. As a beginner learning on a cambered snowboard could set you up as if you can ride a camber you can ride it all… but be wary of catching an edge. Camber snowboards keep the contact points close to the snow so it is more likely you may catch an edge regularly until you are confident.

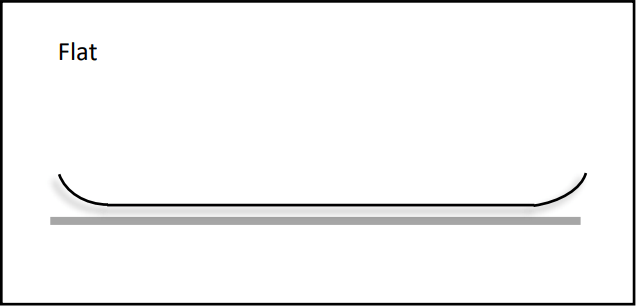
FLAT CAMBER
Flat camber snowboards have no arc meaning that they remain flat from the tip to the tail. Flat camber snowboards are a less aggressive version of a cambered snowboard. They will remain stable at speed and will be nice to carve and in addition, will be better in powder than a traditional camber snowboard. This is because a flat camber snowboard has more surface area in contact with the snow, making it harder to sink.
Flat camber boards can feel a bit lifeless and lack the pop of traditional camber boards and they also lack the forgivingness of a rocker snowboard for beginners.
REVERSE CAMBER
Reverse camber or rocker snowboard profiles are essentially the opposite of a camber profile. The arc of a reverse camber board is away from the snow, lifting the contact points in the process. This results in a banana shape that is easier to ride for beginners as you are extremely unlikely to catch an edge. Reverse camber snowboards also are great fun to ride in powder as the reverse camber lifts the nose and tail above the snow. Reverse camber snowboards are also easier to press but there are the following downsides.
Because of the nature of the rocker lifting the contact points away from the snow reverse camber boards can be unstable when ridden at faster speeds. If you are into ripping up groomers, then avoid a rocker as it will feel loose. As the contact points are lifted from the snow a rocker snowboard will struggle more for edge hold in icy conditions. This is sometimes counteracted by increasing the number of contact points along the edge.

CAMROCK
CamRock is a hybrid snowboard profile that combines the best characteristics of camber and reverse camber to make a truly versatile shape. Camrock snowboards have camber under the feet but add rocker to the nose and tail. This profile allows for the snowboard to be stable at speed and have great edge hold but be less catchy when initiating turns. Other benefits of a camrock snowboard are that they will float better in powder than their traditional camber counterparts and have more pop than a reverse camber board.
ROCK OUT CAMBER
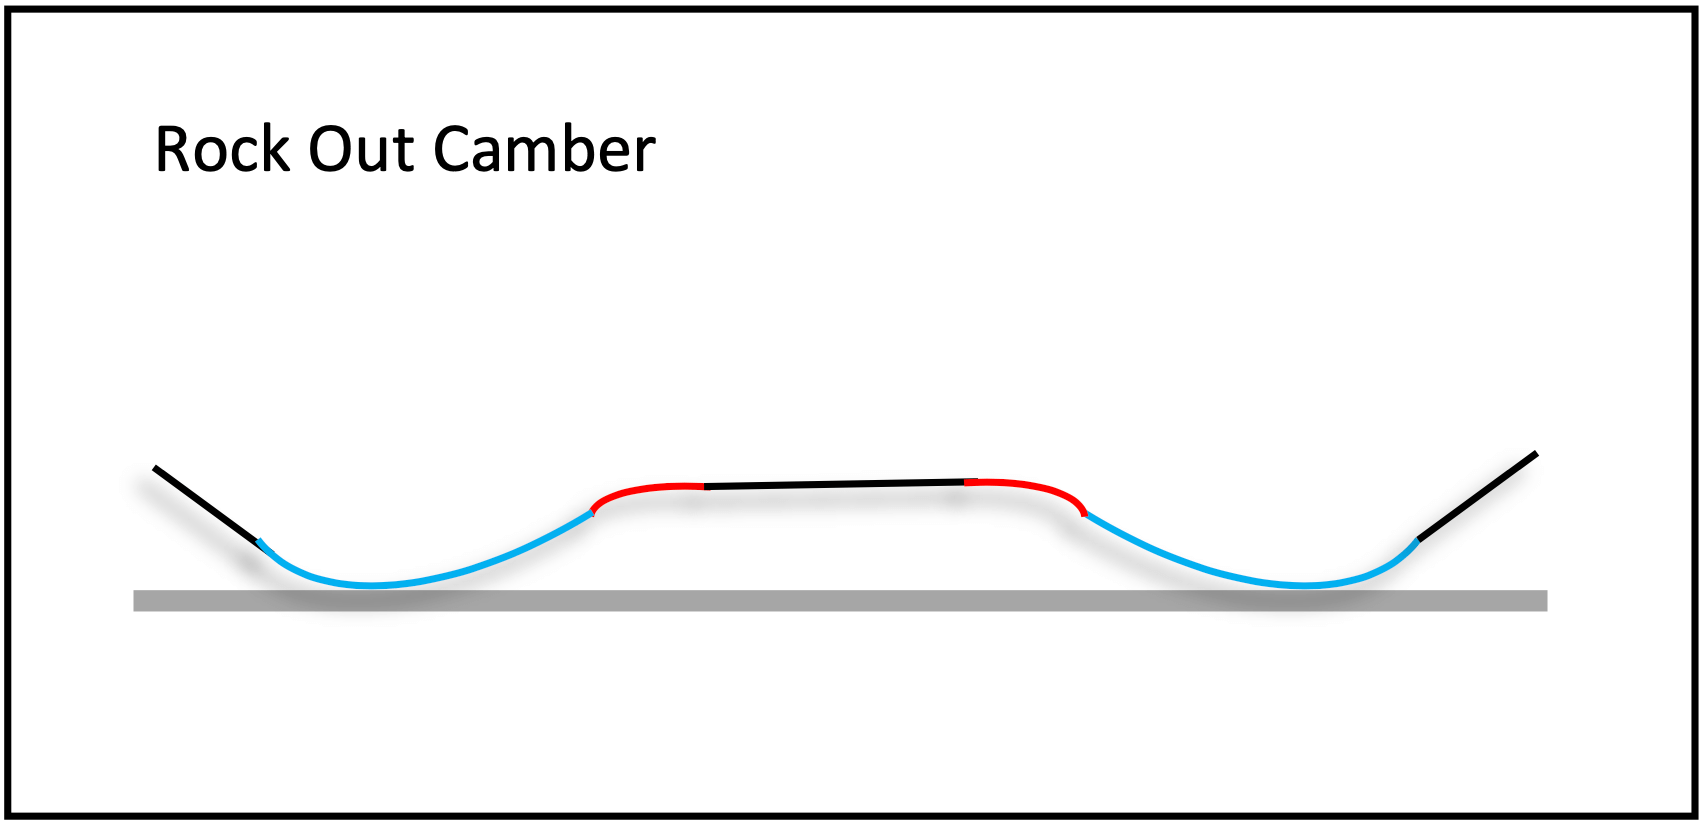
Rock Out Camber is a hybrid camber profile found on some Salomon Snowboards. The rock out camber profile is similar to a camrock board but adds a flat section between the bindings. This combination of rocker, camber and flat sections provides versatile performance benefits. A rock out camber snowboard will float well in powder, have lots of pop and be stable at speed. This profile is found in some of Salomon’s most popular boards including the Assassin and Villain.
POW ROCKER
Powder boards often have the most interesting designs and the use of a pow rocker profile will help the boards performance in deeper snow. Pow Rocker is essentially a long elongated rockered nose section alongside either a flat or camber section towards the tail of the board. This design will lift the nose of the snowboard out of the snowmaking it perfect for powder days. The camber towards the tail of the board will allow you to carve and power yourself out of turns whilst riding on the piste.


3BT
3BT or TBT is found on Bataleon, Lobster and Whitegold snowboards. 3BT is different from the other profiles discussed as it affects the base not just the profile of the snowboard. 3BT boards are all traditional camber snowboards however the base of a 3BT snowboard is split into three sections. A flat section in the middle and two bevelled sections on the sides. By bevelling the base upwards from the snow Bataleon have created a rocker on the base which makes their snowboards more forgiving. 3BT boards have become really popular as they have shown to improve powder performance and prevent edge catch whilst maintaining a stable ride due to the traditional camber sections.

SNOWBOARD PROFILES BY RIDING STYLE
BEST FOR CARVING
If carving is your main focus then you are going to want some elements of camber in your snowboard profile. As discussed above a camber profile is stable at high speeds and offers great edge hold. By choosing a snowboard that runs a traditional camber from tip to tail you will have the highest level of carving performance. Traditional camber is often found on race/alpine boards designed to go fast and without compromise.

BEST FOR POWDER
If you want to ride in powder effortlessly then you will want some form of rocker added to your snowboard. Any board with a rocker in the nose and tail will help you to stay above the snow. By adding rocker to a longer nose and a directional shape, you will be slashing pow with ease.

BEST FOR JUMPS
If you want to hit big booters than you really want to have a camber underneath your bindings. Having a camber under the centre of your snowboard will allow you to generate extra pop on take-offs and will give you a stable base for landings. Camber boards will also allow you to carve up the take-off to get that spin started.

BEST FOR BUTTERS
To make buttering easy you could opt for a reverse camber snowboard. A full rocker snowboard will allow you to spin your ground tricks without fear of catching an edge. If you didn’t want to sacrifice performance elsewhere consider a camrock profile with rocker on tip/tail. This should still make butters easier but will still give you pop.
BEST FOR RAILS
If you are looking for a catch-free rail board you could consider a flat or reverse camber profile. Both these profiles may feel a bit lifeless on jumps so you may be better served with a hybrid profile. By choosing a hybrid profile you will still generate the pop to jump onto rails but your contact points will be lifted away from the rail. 3BT is another great profile for riding rails as the bevelled base uplifts the contact points.

Personal Preference
Ultimately there is no right or wrong answer for which snowboard profile is right for you. I feel strongly about what is best for me and what I prefer riding in different situations across the mountain. If you are still unsure the best thing you could do is head to your nearest demo shop and try out a number of snowboard profiles.
Get In Touch
As always thanks for reading and if you are still unsure feel free to get in touch via the socials or the comment section. Make sure to check out our Snowboard Buyers Guide where you will find all the information regarding how to buy a snowboard.
CARE TO SHARE?
IF YOU FOUND THIS POST USEFUL AND YOU THINK IT MAY ALSO HELP OTHERS, PLEASE LIKE, SHARE AND COMMENT TO PROMOTE IT TO OTHERS
Outdoor Master Falcon Ski Goggle Review

QUALITY GOGGLES AT ENTRY-LEVEL PRICES
The Outdoor Master Falcon Ski Goggle is the flagship model from a brand that has exploded its way into the ski industry. Started as a company that wanted to produce quality products for reasonable prices they aimed to lower the barrier of entrance to a sport that we all know can be expensive. A noble aim but the reality is that if the tech doesn’t stand up to the rigours of the winter sports environment nobody will use it, so let’s take a deeper look.
In this review, I will delve deeper into what makes the Outdoor Master Falcon a fantastic ski goggle by looking at the following categories; Comfort, Lenses, Strap, Anti-Fog, Cost, and comparison to competitor goggles.
This review is my opinion of the Outdoor Master Falcon Ski Goggles, which were gifted to me. My views remain my own and I was not asked to produce this post.
If you find the review useful consider purchasing your OM gear through this referral link where you can receive 15% discount on OM products. This helps me to produce more content in the future.
ABOUT ME
Before jumping into the full review it is worth noting the following information about me as a snowboarder. I am lucky to snowboard a lot but I am not a professional. I have lots of experience riding in all terrain in all conditions and have previous snowboard shop maintenance and retail experience. I use my website to express my opinions on gear and I hope you find them useful when choosing what gear works for you.
TEST CONDITIONS
The Outdoor Master Falcon ski goggle was my goggle of choice for last winter and was worn on the majority of my days on snow. Because of its regularity of use, I was able to use the Outdoor Master Falcon ski goggles across a range of conditions as well as testing a diverse range of its lenses.
COMPETITORS
Before getting into this review you may find it useful to watch the video below where I compare the Outdoor Master Falcon to some of the biggest brands on the market. This video serves as a good overview to see what you can expect from the medium size magnetic lens goggles on the market.


COMFORT
When it comes to reviewing ski goggles you can get bogged down in all the tech however it is important to remember the number one key factor has to be comfort. If the goggle doesn’t feel comfortable for you then it will annoy you all day long.
The Outdoor Master Falcon Ski Goggles are a medium-sized frame that offers a good fit for a range of faces, as always it is best to try your goggles on to check that the nose bridge and other key areas are a good fit for you.
The Outdoor Master Falcons frame has a triple-layer foam which compares favourably to other high-end brands. This foam is soft on the face and supple enough to ensure a good fit to your face contours.
LENSES
The OM Falcon utilises a magnetic lens change that is super simple. Literally pull the lens off and drop the other lens in place. I love the lens change on this goggle and have had no issues with the magnets failing if I take a tumble.
One major plus for the OM Falcon ski goggles is that they come with a Zeiss SONAR lens. SONAR lenses boost contrast by filtering blue light which makes them a better option than a regular lens if you want to see every bump and contour in the snow.

SONAR lenses have been used by companies such as ANON and POC on more expensive ski goggles such as the ANON M4 which retails for over £200 more in the UK.
The Outdoor Master Falcon also matches premium brands by providing two lenses with each goggle purchase. This means that you always get a low-light lens for the cloudy overcast days and a lens to use in bluebird conditions.
The video below gives a good overview of the Outdoor Master Falcon lens range however my thoughts can be compressed into the following.
Green - Best Low Light Lens I have used
Red - brilliant all-round everyday lens
Sonar Dark Smoke - great on sunny days.
FIELD OF VIEW
An important category for me when choosing ski goggles in Field of View. I have always favoured larger frames that allow for increased peripheral vision both for purpose and for style. The OM Falcon has a comparable field of view to the ANON Sync and Spy Marauder but a reduced FOW compared to larger frames such as the ANON M4 or the SMITH Squad Mag XL.
The OM Falcon still allows for a wide peripheral view that offers a great view of the mountain and other skiers around you.
STRAP
There isn’t really too much to say here other than the strap does everything you would expect. With full adjustability and anti-slip silicone the strap compares favourably to that on other brands. I am a fan of the clip on SMITH goggle straps and that’s the only thing I can think of that drops my rating to 4/5.
ANTI-FOG
Again like comfort the Anti-Fog on ski goggles can make or break your day on the hill. The OM Falcon ski goggles have a few specific features that ensure a fog-free experience.
VAPOUR SHIELD
The OM Vapour Shield Treatment is a coating that is applied to the lens which absorbs moisture. This sponge-like effect ensures that any moisture in the goggle is wicked away quickly to prevent it causing issues to your vision.
TRIPLE LAYER FOAM
The Triple Layer Foam is an important factor in the OM Falcons anti-fog properties. Triple Layer Foam ensures that ventilation is possible with airflow into and out of the goggles.
PRO TIP - ENSURE A GOOD GOOGLE/HELMET FIT SO THAT THE VENTING ON THE TOP OF THE GOGGLE DOES NOT GET BLOCKED.
COST
Probably the category that has brought you here in the first place. The Outdoor Master Falcon Ski Goggles retail for £85 in the UK which quite simply is phenomenal. For the £85 you receive the goggle frame, two lenses, a protective case and two microfibre cloths. When compared to rival brands this is simply unmatched.
ANON SYNC - £200
SMITH SQUAD MAG - £219.99
SPY MARAUDER - £170
USEFUL OUTDOOR MASTER VIDEOS
FALCON E-QUICK HUE LENS OPTION
The OM Falcon Ski Goggle is also available in the E-Quick Hue Version. This version of the goggle comes with a lens that changes automatically depending on conditions. There will be a full review on this version coming soon but for now check out the video below to see the lens change between 15%VLT and 53% VLT in an instant. Honestly… mind blown!
This version retails for £117 UK and you can save 15% of all OutdoorMaster Purchases using this link.
FINAL THOUGHTS
When I was first approached by Outdoor Master before I reviewed the OM Ultra Ski Goggle I was dubious. I have always paid the big bucks and bought the so-called best brands. The Ultra impressed me, but I kept going back to my other goggles. The OM Falcon ski goggles are different! The OM Falcon not only competes with the big brands but when you consider the price point I can not make an argument for spending big on any of the big names. The OM Falcon was my go to goggle last season and I cant see that changing anytime soon.
SUPPORT FUTURE CONTENT
If you found this post useful then consider supporting future content by purchasing through the Amazon Link below or using this link to Buy me A Coffee
Outdoor Master Falcon E-QUICK HUE Ski Goggle Review
WHAT I THOUGHT WAS A GIMMICK IS ACTUALLY A GAME CHANGER
Let’s get straight to the point, when I first saw these goggles I thought it was an absolute gimmick. I had seen photochromic lenses before and had always liked the idea of a one goggle that fits every scenario idea but a microchip… really? Well after two weeks of use for some quality spring skiing in the Grand Massif, this lens may have just revolutionised how I feel about ski goggle lenses.
If you would like to read a more in-depth review about the Outdoor Master Falcon Ski Goggles you can find my full review here. This post will focus more on the E-Quick Hue Lens technology and whether it is worth the upgrade.
This review is my opinion of the Outdoor Master Falcon Ski Goggles, which were gifted to me. My views remain my own and I was not asked to produce this post.
If you find the review useful consider purchasing your OM gear through this referral link where you can receive 15% discount on OM products by using code SIM15 at checkout. This helps me to produce more content in the future.
ABOUT ME
Before jumping into the full review it is worth noting the following information about me as a snowboarder. I am lucky to snowboard a lot but I am not a professional. I have lots of experience riding in all terrain in all conditions and have previous snowboard shop maintenance and retail experience. I use my website to express my opinions on gear and I hope you find them useful when choosing what gear works for you.
TEST CONDITIONS
The E-Quick Hue version of the Outdoor Master Falcon ski goggles was my goggles of choice for my late-season snowboard trip to Flaine in the Grand Massif. During this trip, I had a good mix of bluebird skies, overcast days and some insane powder days. The E-Quick Hue lens was brilliant across the majority of these conditions.
COMPETITORS
If you are interested in learning how the OM Falcon ski goggles compare to some of the major competitors be sure to check out the video below.
THE TECHNOLOGY
The OM Falcon E-Quick Hue Goggle Lens utilises solar energy to powder the LCD Photochromic lens. The goggle lens uses a built-in microchip to detect the brightness out on the mountain and then quickly assigns the lens to react to the correct VLT. The lens has a VLT range between 15.2% to 54.3% which covers everything from bright sunshine to cloudy days. The really impressive thing is that the transition takes 0.1 seconds meaning the lens adjusts automatically when riding between sun and shade. This is something that no other lens on the market can rival. Check out the lens change by viewing the Youtube Short linked here.
In the below video, I am wearing the Outdoor Master Falcon E-Quick Hue Lens on an overcast powder day in Flaine Grand Massif.
FIELD OF VIEW
One real positive of the Outdoor Master Falcon ski goggles is that they offer a great field of view with exceptional peripheral vision. My main concern with the E-Quick Hue lens was that the microchip which sits centrally on the goggles lens would obscure your view. My feeling is that yes you know it is there, but when you are riding about I didn’t find myself thinking about it. I was impressed with how little the microchip impacted my vision, however, if they were to redesign the goggles I would suggest placing the chip towards the periphery of the lens.
COST
The E-Quick Hue version of the Outdoor Master Falcon Ski Goggles does come at an extra cost when compared to the original OM Falcon. The E-Quick Hue version costs £117 in the UK versus £85 for the original version. I feel this still represents great value for money when you consider that the rival brands all offer similar goggles for closer to the £200 mark.
ANON SYNC - £200
SMITH SQUAD MAG - £219.99
SPY MARAUDER - £170
USEFUL OUTDOOR MASTER VIDEOS
FINAL THOUGHTS
As I mentioned at the beginning of this post, when I first saw these lenses with the microchip I thought this has to be a gimmick. After use, it was clear to me that this was the most sensible choice of lens for most occasions on the mountain. It just meant no faff or carrying a spare lens. The only time I opted for a different lens was when I knew it would be cloudy all day and I swapped it out for the OM Falcon Green lens which is excellent for those conditions.
Another consideration is whether the OM Falcon E-Quick Hue is worth the extra outlay. For most people, the answer to this is probably no. The original Outdoor Master Falcon Ski Goggles come in at £32 cheaper in the UK and that includes two lenses. Granted the E-Quick Hue lens negates the need to have a spare lens with you but if you are snowboarding a few weeks a year then the original version will do you well.
SUPPORT FUTURE CONTENT
If you found this post useful then consider supporting future content by purchasing through the Amazon Link below or using this link to Buy me A Coffee
Outdoor Master Ultra vs Falcon: Which Affordable Ski Goggles Are Right for You?
Choosing the right ski goggles is crucial for a successful and enjoyable winter sports experience, especially for skiing and snowboarding enthusiasts on a budget. With the market offering a variety of options, the Outdoor Master Ultra and Outdoor Master Falcon ski goggles have emerged as popular choices due to their affordability and impressive features. Both models boast advanced lens technology, comfort-enhancing designs, and adaptability to diverse weather conditions, making them contenders worth considering. This comparison will delve into the specifications and unique attributes of each pair, helping you determine which affordable ski goggles will best suit your needs for your next snowy adventure.
Outdoor Master Ski Goggles
In the realm of winter sports gear, ski goggles are essential for ensuring both safety and enjoyment on the slopes. Affordable ski goggles like those from Outdoor Master provide features that rival more expensive models without compromising quality. The Outdoor Master Ultra and Falcon models are prime examples, offering skiers and snowboarders an opportunity to experience high-quality lens technology at a fraction of the cost. These goggles are designed with the latest anti-fog and anti-scratch coatings, ensuring clear vision across varying weather conditions. Additionally, their comfortable fit and durable construction make them ideal for long days in the snow. By focusing on affordability without sacrificing essential features, Outdoor Master ski goggles make it possible for budget-conscious skiers and snowboarders to enjoy their trips without worrying about spending hundreds of pounds on a pair of ski goggles.
Importance of Choosing the Right Goggles
Selecting the right ski goggles is vital for any skier or snowboarder, as it directly affects safety, comfort, and overall performance/enjoyment. The right goggles not only shield your eyes from harsh UV rays and cold winds but also enhance visibility by reducing glare and improving contrast. This can be particularly important in varying light conditions, from bright sunny days to overcast or snowy weather. Moreover, well-chosen goggles prevent fogging, ensuring clear vision during intense activity. Comfort is another critical factor, as poorly fitting goggles can lead to discomfort or even pain, disrupting your focus and enjoyment on the slopes. As such, finding the right balance between fit, functionality, and style is essential. Outdoor Master ski goggles provide an excellent option by combining advanced features and comfort with affordability, making them a strong contender for those looking to invest in reliable eye protection for their winter sports adventures.
Outdoor Master Ultra Ski Goggles
Lens Technology and Features
The Outdoor Master Ultra ski goggles are equipped with cutting-edge lens technology designed to enhance visibility and protection in various weather conditions. These goggles feature a dual-layer lens with an anti-fog coating, which minimizes fogging and maintains clear vision during intense activities. The lenses also include UV400 protection, effectively shielding your eyes from harmful UVA and UVB rays. Additionally, the Ultra model boasts interchangeable lenses, allowing users to easily swap lenses to suit changing light conditions on the slopes. This adaptability ensures that you can always have optimal vision, whether you're facing bright sunlight or overcast skies. The toric lens design provides a wide field of view, enhancing peripheral vision and reducing visual distortion. With these advanced features, the Outdoor Master Ultra ski goggles offer a blend of innovation and practicality, making them a compelling choice for skiers and snowboarders seeking reliable, affordable ski goggles.
Comfort and Fit
These goggles feature a triple-layer foam padding that contours to the face, providing a snug yet comfortable fit. This padding not only adds a layer of warmth but also helps to wick away moisture, reducing the likelihood of skin irritation. The adjustable, non-slip strap ensures a secure fit, keeping the goggles in place even during vigorous activity. Additionally, the Ultra goggles are compatible with most helmet designs, making them a versatile choice for skiers and snowboarders who prioritize safety. The goggles' lightweight construction further enhances comfort by minimizing pressure on the face, allowing for extended wear without fatigue.
Performance in Various Weather Conditions
The Outdoor Master Ultra ski goggles are designed to perform exceptionally well in a wide range of weather conditions, ensuring that you remain well-equipped for any situation on the slopes. These goggles feature interchangeable lenses, allowing you to select the most appropriate lens for the current weather, whether it be bright sunlight, overcast skies, or snowy conditions. The lenses are specifically engineered with anti-fog and anti-scratch coatings, maintaining clear vision and durability even in challenging environments.
The UV400 protection guards your eyes against harmful UV rays, which can be particularly intense at higher altitudes. In addition, the toric lens shape provides a broad field of view, enhancing peripheral vision and reducing glare from the sun or reflective snow. These features combined make the Outdoor Master Ultra ski goggles a reliable choice for skiers and snowboarders who need consistent performance across varying weather conditions, ensuring safety and visibility throughout their winter adventures.
Outdoor Master Falcon Ski Goggles
Innovative Lens Design
The Outdoor Master Falcon ski goggles stand out with their cylindrical lens design that rolls back the years however everything else about this goggle is incredibly modern! Cylindrical lens goggles are my favourite style, but more than look the Outdoor Master Falcon delivers exceptional clarity and fantastic peripheral vision.
Additionally, the Falcon goggles come with a magnetic lens change system, allowing for quick and effortless swapping of lenses to adapt to changing weather conditions. This feature is especially useful for those who like to adjust their lenses as the conditions demand. The lenses are also equipped with anti-fog and anti-scratch coatings, ensuring durability and clear vision in various environments. By integrating these advanced lens technologies, the Outdoor Master Falcon ski goggles offer an exceptional visual experience.

Comfort Features and Adjustability
The Outdoor Master Falcon goggles are equipped with triple-layer foam padding, which contours to your face for a secure and cozy fit. The foam also helps to wick away moisture, preventing sweat build-up and maintaining a comfortable temperature around your eyes.
The adjustable strap is designed to be helmet-compatible, offering a secure fit that stays in place during intense activities. It features a non-slip silicone lining, which ensures the goggles remain firmly positioned, reducing the need for constant adjustments. The lightweight construction of the Falcon goggles minimizes pressure on your face, allowing for extended wear without discomfort.
These thoughtful design elements collectively provide a high level of comfort and adjustability, making the Outdoor Master Falcon ski goggles a reliable and comfortable choice for skiers and snowboarders who demand both performance and comfort in their gear.
Weather Adaptability and Visibility
The Outdoor Master Falcon ski goggles excel in weather adaptability and visibility, making them an ideal choice for diverse skiing conditions. These goggles feature a magnetic lens change system, allowing users to swiftly adapt to varying light conditions by swapping lenses in seconds. This system ensures you maintain optimal visibility whether the weather shifts from bright sunlight to overcast skies or sudden snowfall.
Learn more about the Outdoor Master Falcon lens range by watching the video below
The lenses are designed with UV400 protection, safeguarding your eyes against harmful UV rays, which are prevalent at high altitudes. Additionally, the anti-fog and anti-scratch coatings ensure clear vision and durability, even in damp or harsh environments. The toric lens design further enhances peripheral vision, reducing glare and distortion, which is crucial for navigating challenging terrains.
By combining these features, the Outdoor Master Falcon ski goggles provide reliable performance and visibility across all weather conditions, ensuring that winter sports enthusiasts can focus on their adventures without compromise.
Comparing Ultra and Falcon Goggles
Key Differences in Lens Technology
When comparing the lens technology of the Outdoor Master Ultra and Falcon ski goggles, several key differences emerge, each catering to specific user needs. The Ultra goggles feature spherical lenses, which provide a wide field of view and enhance peripheral vision, making them ideal for skiers who value expansive sightlines. The Falcon goggle conversely boast a cylindrical lens design which still offers great performance on the slopes. When it comes to the Cylindrical vs Spherical debate for me it comes down to style preference with me personally not noticing too much in the way of performance between the two styles.
Both the Ultra and the Falcon goggles boast a magnetic lens change system offers a quick and convenient way to adapt to changing light conditions. Being able to adapt your lenses easily on the slopes is a massive selling point for both of these Outdoor Master ski goggles variants.
A major difference between the Outdoor Master Ultra and Falcon ski goggles is that the Falcon goggles have Zeiss Sonar lenses. Outdoor Master have partnered with Zeiss to partner the Falcon goggle with this lens clarity technology. For me this is a stand out feature and should be considered seriously as a determining factor in your choice.
Comfort and Fit Comparisons
Both models offer excellent comfort features, but the choice between them may come down to personal preferences: the Ultra's emphasis on snug warmth and moisture control versus the Falcon's adjustability and minimal pressure design. Skiers can select the model that best aligns with their comfort needs and skiing style. It may be worth considering face shape as a determining factor here, the Ultra is a larger fitting goggle where the Falcon is a medium fitting goggle.
Visibility and Weather Performance
When assessing visibility and weather performance, both the Outdoor Master Ultra and Falcon ski goggles excel in their own ways. The Ultra goggles, with their spherical lenses, offer superior peripheral vision and reduced distortion.
The Falcon goggles are available in two versions… one which automatically adjust the VLT of the lens based on weather conditions. This partnered with a good range of lenses including Sonar make the Falcon my choice for visibility and weather adaptability.
Both models provide excellent visibility, but the choice between them depends on whether consistent or adjustable lens capabilities are needed, allowing skiers to optimize their vision based on the day's conditions.
Making Your Decision
Budget and Feature Considerations
When deciding between the Outdoor Master Ultra and Falcon ski goggles, budget and desired features play a significant role. Both goggles offer excellent value, but the Ultra model is generally more budget-friendly, making it an attractive choice for those looking for high-quality performance without breaking the bank. The Ultra provides all the essential features such as spherical lenses for wide peripheral vision and anti-fog coatings, which are crucial for most skiing conditions.
The Falcon goggles, while slightly more expensive, offer enhanced features that justify the cost for certain users. The magnetic lens change system is a standout feature, providing versatility for those skiing in variable weather conditions. Additionally, the Sonar lens design of the Falcon enhances visual clarity, which may be worth the investment for more serious or frequent skiers.
Ultimately, your choice should reflect a balance between your budget constraints and the specific features that will enhance your skiing experience, ensuring you get the best value for your needs.

Final Recommendation and Discount Code
After weighing the features and performance of the Outdoor Master Ultra and Falcon ski goggles, your final decision should align with your specific needs and skiing preferences. For budget-conscious skiers who prioritize ample vision and essential protective features, the Ultra goggles are an excellent choice. They provide all the basics needed for a great skiing experience without the higher price tag.
For those who ski frequently or in unpredictable weather conditions, the Falcon goggles offer superior adaptability and clarity, thanks to their magnetic lens change system and Sonar lenses. These features ensure that you are prepared for any conditions that the slopes may present.
Regardless of your choice, you can maximize your savings by using the discount code "SIM15" at OutdoorMaster.com to receive a 15% discount on your purchase. This offers an added incentive to invest in the pair of goggles that best suits your needs, ensuring both value and performance for your winter adventures.
Recommended Video
How do Outdoor Master compare to the big brands? Well pretty favourably, just watch this comparison video that compares OM ski goggles to Spy, Smith and Anon ski goggles with similar features.
Snowboard Shapes Explained
Walking into your local snowboard store and seeing a wall of boards all with different shapes can be quite overwhelming. In reality, understanding snowboard shapes is pretty simple and I hope that by the end of this post, you will be able to tell your twin boards from powder shapes. Choosing the right shape snowboard is important as it will affect how the snowboard rides across a variety of conditions and riding styles. Your personal ability will influence this decision along with the type of snowboarding you intend to do the most.

DIRECTIONAL SNOWBOARDS
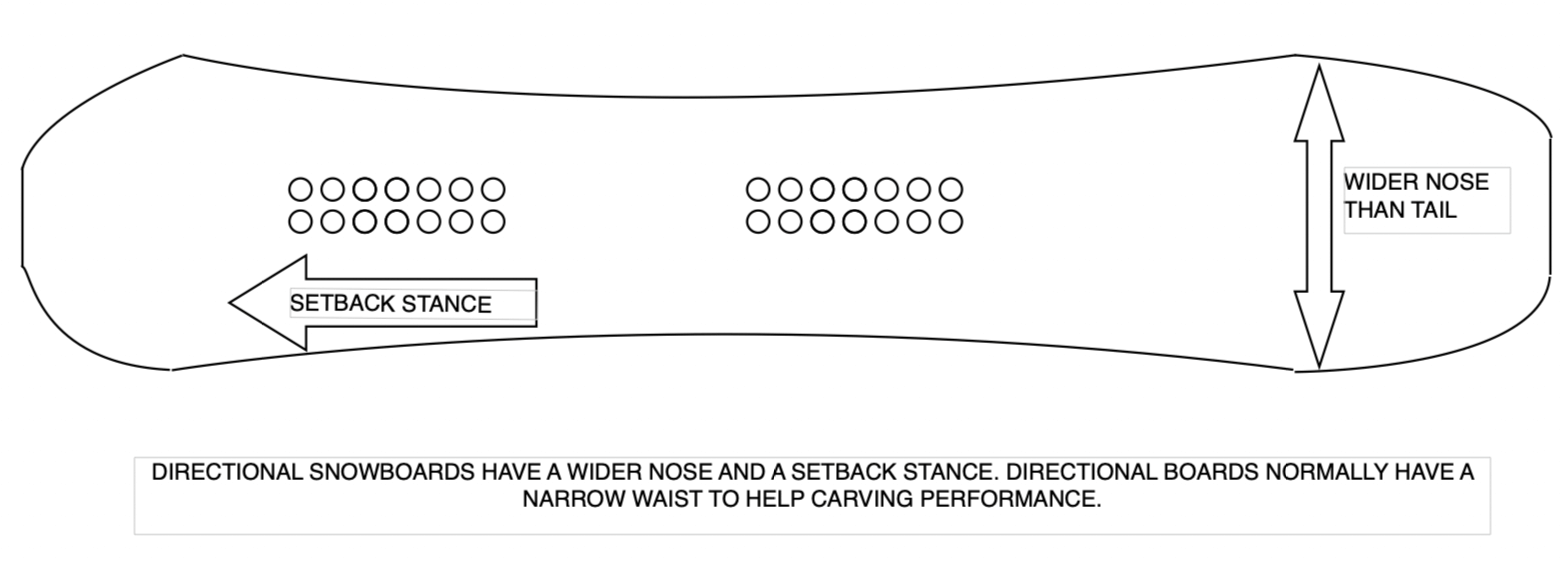
Directional snowboards are intended to be ridden in one direction and are best for floating in powder and cutting through variable snow conditions. Directional snowboards are suited to freeriding and will normally be fast boards intended to carve and slash pow. There are a number of characteristics that are found within directional snowboards but the main one will be a longer nose than tail. By adding a longer nose to the board it will have better powder performance. Directional snowboards will normally also have a set-back stance where the binding inserts are shifted slightly towards the tail. This set back does two things, firstly it places the rider’s weight towards the tail of the board lifting the nose in deeper snow. Secondly, it allows the rider to apply energy and power through the back end of the turn to pop out of turns. Directional snowboards will sometimes have a different shape on the nose and tail with the tail normally being narrower than the nose of the board. Directional shape snowboards will normally have a camber profile that favours riding in one direction. For example, a directional camrock board may have a larger rocker on the nose as opposed to the tail.
BEST SUITED FOR
Directional snowboards are best suited to riders who are not interested in riding switch. It is not that you cant ride switch on a directional board, but depending on the severity of the directional bias it will be harder to master. Directional snowboards are great for freeriders who are looking to explore the whole mountain. Best for high-speed carves and riding in powder.
NOT SUITED TO
Due to the directional nature of these shapes riders who are more freestyle focussed might not appreciate them. Directional boards will make riding switch and landing jumps in either direction more difficult.
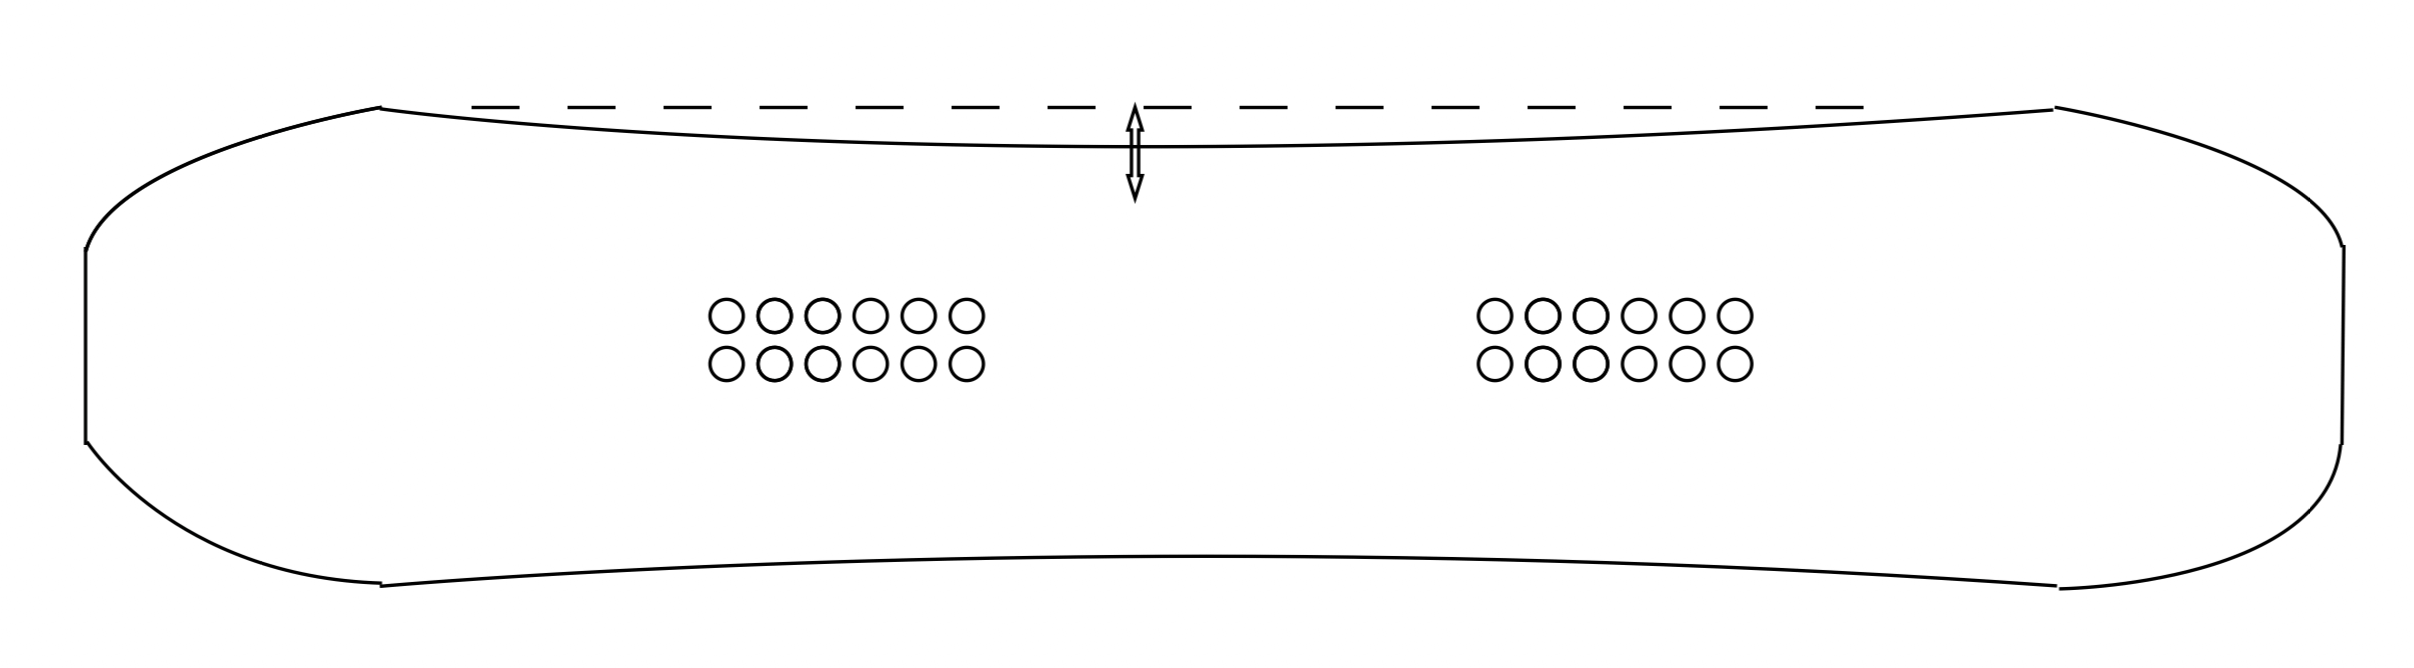
TWIN SNOWBOARDS
Twin snowboards are intended to be ridden both regular and switch and feel the same in both directions. A twin snowboard excels in freestyle terrain where taking off or landing a trick switch is required. A true twin snowboard is also great for all-mountain snowboarders who are equally happy riding in switch as they are with their front foot forward. Twin snowboards are symmetrical in every regard. This means that the board will ride and feel the same in both regular and switch. A true twin snowboard will have an identical nose and tail meaning they are the same in length and width. This equality between the nose and tail will help the snowboard feel familiar, independent of the direction it is being ridden. A true twin snowboard will have the binding inserts centred on the board so that each foot is an equal distance from the tip/tail respectively. This allows the rider to feel balanced in the centre of the board.
BEST SUITED FOR
True twin snowboard shapes are best suited to snowboarders who want a board that can be ridden in both directions. Perfect for the terrain park, true twins allow the rider to land or take off switch. Riding a twin snowboard will increase the options for spins and tricks that you can take to jumps, boxes, rails or side hits. A true twin board is also suited to beginners who are trying to figure out which foot they favour as their front foot.
NOT SUITED TO
A true twin can be ridden everywhere but will not be suited to riding powder as a directional snowboard. Because of its identical nose and tail characteristics and centred stance a twin board will be more effort to ride in deeper snow.


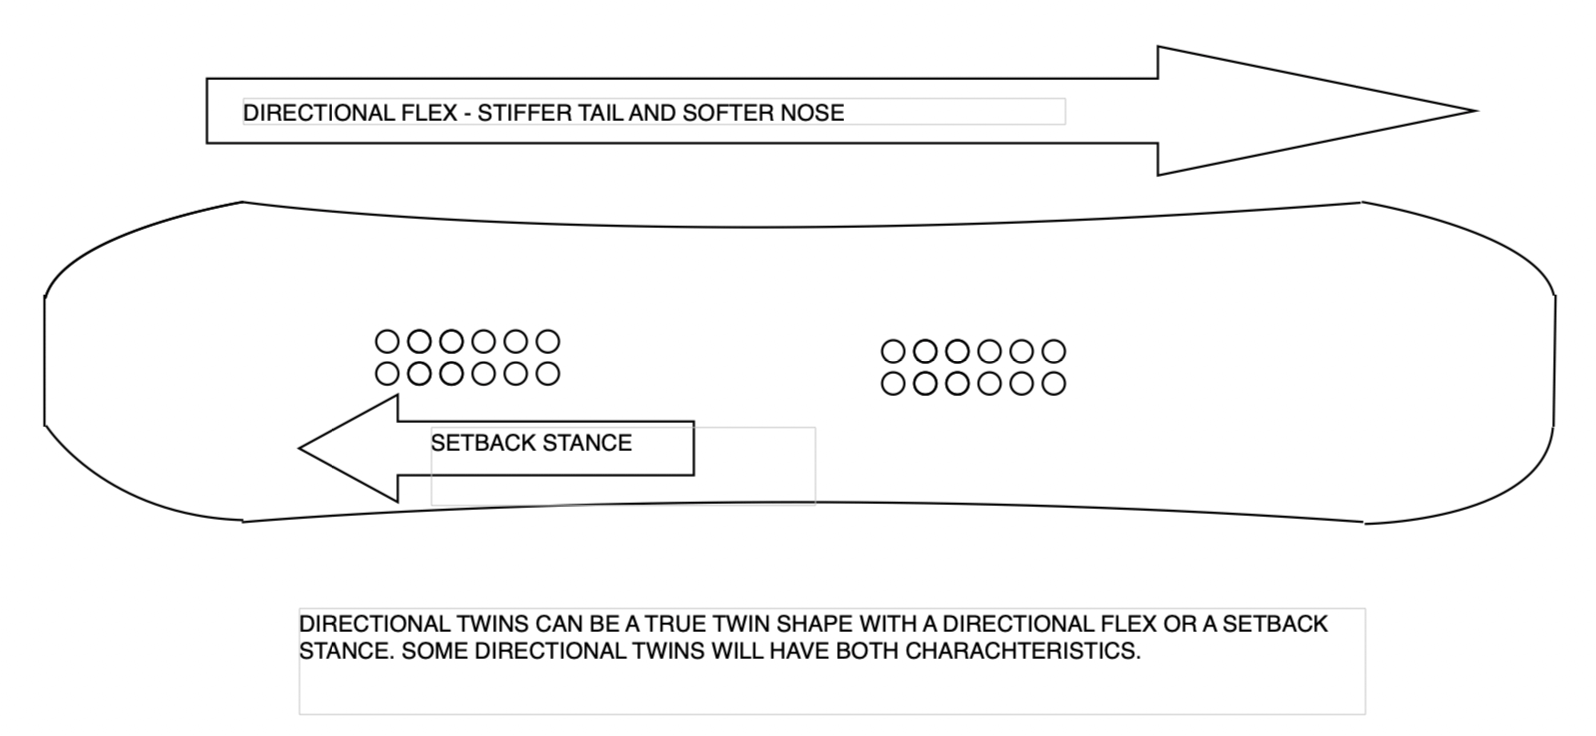
DIRECTIONAL TWIN
Directional twin snowboards are twin boards with some characteristics of a directional board. Directional twins are for the rider who wants a versatile snowboard that is comfortable riding switch but is looking for better carving and powder performance. Directional twins make great snowboards for all-mountain snowboarders who mostly enjoy exploring the mountain but will also spend some time in the park.
There are a few ways in which a twin shape can be made into a directional twin, the following will explain some of the most popular.
Binding Set Back: Placing the binding inserts slightly further towards the tail of the snowboard and creating a setback stance will increase control at the tail of the snowboard which is important for efficient turning.
Directional Flex: By creating a flex pattern that makes the board stiffer towards the tail and softer towards the nose a twin snowboard will perform better in powder as the softer nose will lift easier in deeper snow. This will also help with turn initiation.
Longer Nose: Increasing the length of the nose will not affect the performance of a twin board within the contact points, meaning you still get that manoeuvrability and control, but it will improve its performance in powder.
A twin can have one or more of the above adaptations to make it a directional twin.
BEST SUITED FOR
A directional twin snowboard is best suited for riders who want the ability to ride switch without it being their priority. Directional twin riders will prioritize all-mountain performance.
NOT SUITED TO
Riders who like to perform ground tricks and butters. It is not that you cant butter a directional twin it is just that the flex is likely to be stiffer than a jib board. Not impossible, but harder than it needs to be.
POWDER SHAPES
Powder shapes are a pandora’s box of possibilities. There is no hard and fast rule for powder shapes and you will find a variety of shapes that all excel in powder. The generally shared characteristic of a powder board is a wider than normal waist width. By increasing the waist width of the snowboard you therefore also increase the surface area in contact with the snow. This makes the snowboard harder to sink in deeper snow and keep you on top of the snow with ease. Another common characteristic is the use of rocker in the nose of the board. This rocker prevents the nose from diving under the snow and causing the rider to tomahawk! Rocker is unanimously accepted as key to a powder snowboard performance. It is very rare to find a twin powder board with the Bataleon Magic Carpet being the only one I can think of, most will retain a directional design.
Some of the following are common in designs to improve powder performance.
Swallow Tail: A swallowtail is taken from surfboard design and aims to drop the tail of the board into deeper snow, therefore lifting the nose. This makes riding pow effortless on your back leg. A swallowtail is a cut out of the tail of your board which essentially leaves two wings as your tail. There are many variations of swallow-tail with shorter stumpier designs like the Bataleon Camel Tow or longer tails like the Bateleon Surfer.
Tapered Design: A tapered powder board is a board that has a wide nose and gradually narrows throughout the board to the tail. This results in a narrow tail that sinks into deep snow, you guessed it preventing that back leg burn out. Tapered designs are found on many freeride boards and can also help your powder board feel great on the piste.
Setback Stance: Powder boards will often have a set back stance placing the rider’s weight towards the rear of the snowboard. As with all aspects of powder board design, this helps the rider to sink the back foot and lift the nose with less effort allowing them to blast through powder.

FINAL THOUGHTS
There is plenty of variety in snowboard shapes and you really should take some time to consider what shape best suits your riding style. As always thanks for reading and if you are still unsure feel free to get in touch via our socials or the comment section. Make sure to check out our Snowboard Buyers Guide where you will find all the information regarding how to buy a snowboard.
Snowboard Flex Ratings Explained | Snowboard Buying Advice
Snowboards come in all shapes and sizes, so it makes sense that their flex would also vary. Snowboard manufacturers rate the flex of each of their snowboards from 1 (soft) to 10 (high) which shows a large variation in flex scores. Snowboard flex is an important factor in how a snowboard performs different tasks and it is important to understand why specific snowboards retain certain characteristics and how it affects their performance.

SNOWBOARD FLEX RATING SYSTEM
Snowboard manufacturers rate the flex of their snowboards across a scale of 1 (soft) to 10 (stiff). Sadly there is not a defined standard across all manufacturers however the scale should help you in rating where a snowboards flex sits within that brands line up. It is rare to find snowboards that are rated at the extremities of the scale as a board that is rated as a 1 would not be very stable at speed and a 10 would be too stiff for most people to enjoy and press.
WHAT FLEX IS RIGHT FOR ME?
Depending on your style of riding and what you want to do you will need to look for a snowboard within a specific flex rating. Below are suggestions for beneficial flex patters of; Freestyle, Freeride or All-Mountain snowboarders
FREERIDE
If you like to go fast, ride steeps, and dig trenches with your carves then you will need a board that feels reassuring. By opting for a board with a stiffer flex you will benefit from greater stability and edge hold at higher speeds. A softer flexing board could be prone to ‘washing out’ through a more aggressive turn. True freeride snowboard will have flex ratings above 7 and will often use premium materials like carbon to ensure stiffness is maintained over time.
Due to the stiff flex of freeride boards, they are not recommended for beginner snowboarders.

FREESTYLE
Freestyle snowboards will come in a range of flexes depending specifically on the type of features you intend to hit. Mid flexing freestyle boards will offer a great compromise between being pressable and being able to support landings. A flex rating between 4-7 will be a good option for freestyle riders who want also want to make use of the whole mountain.
Freestyle snowboarders who want to make the most out of riding; boxes, rails, or street features will be better opting for a softer flexing board. But be wary the very soft boards will be great for butters but not a lot else. A Jib board rated between 3-5 should be very pressable but still have enough about it to leave the park and enjoy the rest of the mountains.
If you prefer jumps to jibs than moving towards the stiffer end of the board flex ratings may be beneficial. A stiffer board for hitting kickers will help you generate more speed by being stable on run in as well as more pop when you ollie. This will help you when hitting larger features where more speed is required. A stiffer board will also help you when landing too far back on your tail as it is less likely to wash out.

ALL-MOUNTAIN
If you are a snowboarder who likes to do a bit of everything then an all-mountain board may suit you better. Due to their versatility, most all-mountain snowboards will retain a medium flex pattern although could be medium soft or medium stiff.
MEDIUM
Medium all-mountain snowboards really will be the go-to boards for snowboarders who want to do everything. These boards will be stiff enough to hold an edge throughout a carve and hit kickers, whilst also retaining some of the playfulness of a more pressable board.
MEDIUM SOFT
Medium soft flexing snowboards will lend themselves more to jibs and rails but retain the stiffness to leave the park and explore the mountain. Medium soft boards are also great for beginners who will appreciate the non too aggressive nature helping them ease into turns.
MEDIUM STIFF
Medium stiff all-mountain boards will lose some of the playfulness of a medium soft flexing snowboard but gain further stability allowing the rider to charge harder and faster. Great for those who hit jumps but avoid rails a medium-stiff all-mountain snowboard is also well suited to the intermediate who is looking to progress their riding.
HOW DO SNOWBOARDS FLEX?
Snowboards flex in two main flex patterns; longitudinal and torsional, with both having an effect on how the board rides.
LONGITUDINAL FLEX
When we talk about longitudinal flex we refer to the flexibility of the snowboard from nose to tail. It is longitudinal flex that is referred to in manufacturer flex ratings which gives an indication of the overall flex of a snowboard. Longitudinal flex can run the full length of the board (continuous) or can be different throughout the board’s length (progressive).
These are some examples of snowboard flex variations.
TWIN PARK SNOWBOARDS
Some twin park boards will have a softer flex at the tip and tail whilst remaining stiffer under the feet and between the binding inserts. By having a softer nose and tail stiffness the board is more easily pressed into butters but still retains pop for ollies with the stiffer underfoot flex.
JIB SNOWBOARDS
Jib boards will have a soft continuous flex throughout the length of the board. This allows the tip and tail to be pressed whilst also allowing the centre of the board to flex ensuring a deeper press.
POWDER SNOWBOARDS
Powder boards tend to have a stiff flex from the tail through to the front binding inserts. Towards the nose the flex will soften allowing the nose of the snowboard to flex and raise above the snow. The stiffer flex towards the rear of the snowboard will help the board to be stable at faster speeds.
RACE SNOWBOARDS
Boarder X or Alpine race boards will have a consistent stiff flex running the length of the board. Speed is the aim of these boards so a stiffer flex will keep the snowboard stable at higher speeds whilst ensuring consistent edge hold.
TORSIONAL FLEX
Torsional flex refers to how a snowboard flexes from edge to edge. This is often seen when a snowboarder pedals their feet as they turn the snowboard. Torsional flex occurring across the width of the snowboard is important as it will affect how easily the snowboard turns. Although important, torsional flex is often ignored and is not rated on the manufacturer’s flex scale.
OTHER CONSIDERATIONS
ABILITY
Whether you are an experienced rider or this will be your first snowboard then ability should play a factor in your snowboard flex choice. Stiffer snowboards are harder to turn at slower speeds and this will make them a poor choice for beginner snowboarders. Beginners would benefit from a softer flexing board but if you think you will progress quickly then you could outgrow a softer board quite fast. A stiffer board is great for advanced riders but even experienced snowboarders don’t always like stiff snowboards. Ultimately the best way to find out if a stiff or soft board would suit your riding style is to get to a demo day and try them out.
ONE SNOWBOARD FOR LIFE
If you are a gear geek or like to refresh your quiver regularly then the next point may not apply to you, snowboards soften over time and with use. This means if you are going to be getting lots of use out of your snowboard you may want to consider choosing a board that is slightly stiffer than your preferred ride. This way when it softens up with regular use you will be left with a board that works well for you.
Worth Noting - Snowboards with premium materials like carbon stringers will soften less over time as these materials retain their original characteristics.
YOUR WEIGHT
Sorry I know nobody likes talking about their weight but when it comes to snowboard choices it is always an important consideration. So much so that snowboard manufacturers will add a recommended weight range for each size and model of the board they sell. In terms of flex, if you weigh more than the recommended weight range there is a danger that when flexing the board you may snap it. Alternatively, if you weigh much less than the recommended weight range you may struggle to flex the board to its potential making ground tricks harder to perform.
GET IN TOUCH
As always thanks for reading and if you are still unsure feel free to get in touch via the socials or the comment section. Make sure to check out our Snowboard Buyers Guide where you will find all the information regarding how to buy a snowboard.
PIN IT FOR LATER

CARE TO SHARE?
IF YOU FOUND THIS POST USEFUL AND YOU THINK IT MAY ALSO HELP OTHERS, PLEASE LIKE, SHARE AND COMMENT TO PROMOTE IT TO OTHERS
Smith IO Mag Ski Goggle Review
The opinions expressed in this review are my own and I am not paid by the brand. If this review helps you decide that the Smith IO Mag is the goggle for you, please consider buying me a coffee here.
For a number of seasons, I have ridden with people who rave about Smith Optics. The people I know and trust have always had positive experiences and this was enough for me to jump on the bandwagon. WELL … the positivity and the chance to try Chromapop lenses. Prior to writing this review, I have ridden with the Smith IO Mag goggles in a variety of conditions in; Japan, China, France, Italy, the USA, and New Zealand. I have experienced everything from extreme whiteouts and rain through to beautiful bluebird days while wearing these goggles. I rode these goggles with the Giro Combyn Helmet which has been a great fit.
SMITH IO MAG OVERVIEW
The Smith Optics IO Mag is a high-end goggle that comes into the Smith range to replace the IO7. Priced at £220 they are at the upper end of the goggle market in terms of price, but they do come with two Chromapop lenses. The IO Mag was introduced to make lens changes easier and utilizes a magnetic system but with the added security of a latch on either side of the goggles. The lens is spherical and the frameless design offers a great field of vision, although noticeably not as wide as on major competitor the Anon M4.
SMITH IO MAG FIRST IMPRESSIONS
Out of the box, the Smith IO Mags make a good impression. I ordered the Austin Smith Collab model that comes with a North Face goggle case that is really handy. It is great that the Smith IO Mags all come with two lenses (normally a sunny and storm lens). This makes the IO great value for money. The IO Mag is medium size but there is a larger version the XL if you prefer larger goggles. When purchasing I was worried that the clip on the rear of the goggle would be uncomfortable but this is far from the case.
HOW GOOD ARE THE SMITH IO MAG GOGGLES?
The Smith IO Mag goggle is a top performer. I have owned and tried a lot of goggles in the past and these are certainly amongst the best. I will try to break down my thoughts in the categories below.
Smith IO Mag Field of Vision
The frameless goggle gives the IO Mag a wide field of view that is not normally found with medium-fit goggles. The spherical design provides a peripheral vision that is not distorted at the edges of the lens as found with cylindrical lenses. You will be able to see the foam and nose bridge when looking towards your feet so if the field of view is your primary concern then look at the IO Mag XL.
IO Mag Lenses
Smith has been at the forefront of lens technology for a few years now. The spherical shape matches the curvature of your eye meaning there is less distortion, especially towards the periphery of the lens. It’s hard to beat Chromapop and the IO Mag comes with two Chromapop lenses. Chromapop lenses are Smith contrast lenses that filter blue light to increase clarity and definition on snow. Added to this Smith has a patented Porex filter on each lens that prevents fogging during elevation changes.
How Easy Is The Lens Change
This is my only real bugbear with the Smith IO Mag. As a goggle that is advertised with a magnetic lens change system, you would expect a really simple transition. Sadly Smith has added two latches on either side of the lens which just makes the process more fiddly than it has to be. Ok, it’s still easy but it’s not as easy as it could be. I understand the reason for the catches is to make the lenses more secure but Anon achieve this without the catch.
Smith IO Mag Fogging
The simple answer to this one.. no. I’ve been really impressed with how the Smith IO Mag has not fogged at all. The patented Porex filter works a treat and allows for fast changes in elevation. The goggle is well ventilated and has not fogged up on me whilst hiking.
Comfort
The Smith IO Mag is one of the more comfortable goggles I have worn. I would suggest that they might not be a good option if you have a larger face as you might find the frame fits tightly around the bridge of your nose. The comfort offered by the face foam is excellent and I have not found it to be irritable, even with prolonged use. The strap has a clip at the back that I thought would not work well under a helmet but it can’t be felt.
Smith IO Mag Durability
I own the Smith IO Mag and had to use my own money to buy them so I have looked after them well. That being said they have taken many a fall or been dropped on the floor accidentally but the lenses have held up really well. I have stored the lenses in the top of my backpack whilst riding and are scratch-free. The rest of the goggle is in great condition with no visible wear and tear to the face foam, frame, or straps.
Smith IO Mag Style
The IO Mag goggles from Smith Optics comes in a range of straps so you can personalise it to your taste. If you are a fan of the frameless look you will love these goggles. Personally, I like a larger frame so would like to try the Mag XL but for most people, the IO Mag would be a good size. Smith also offers a range of lens options so there is further functional personalisation available there.
What I Love About The Smith IO Mag…
The fit is incredibly comfortable on the IO Mag
Chromapop lenses are some of the best on the market
The clip on the goggle strap makes them really easy to take on and off.
What I Dislike About The Smith IO Mag…
I think the IO Mag missed the point of magnetic lens change. The lens change system is more complicated than it needs to be.
FINAL THOUGHTS ON THE SMITH IO MAG
I would definitely recommend the Smith IO Mag as the only negative I could find was the addition of two latches on the lens change. The lenses are quality and the goggle super comfy, I think most people would be really happy with this purchase.
BUY SMITH IO MAG

Snowboard Sidecut... What Is It? And How Does It Effect How The Snowboard Turns?
Probably one of the more confusing aspects when choosing a snowboard, sidecut will influence the shape and size of your turns. The sidecut is what you see when you look straight down the edge of your board. Essentially, your sidecut is a small cut out of a larger circle influencing the shape of your turn. A smaller sidecut will give you a tighter turn whereas a longer sidecut will offer long drawn-out carves.

WHAT IS A SNOWBOARD SIDECUT
The term sidecut refers to the shape of the edge of the snowboard, in other words, it’s the curvy bit on the side. The arc of the sidecut will vary between boards and will depend on the intended use. You will hear the terms sidecut and sidecut-radius used to describe the snowboard’s turn shape.
In straightforward terms the deeper or more obvious the sidecut the shorter the turn and the smaller the sidecut-radius. This means if you are looking for a snowboard that will turn quickly you should look for a board with a deeper sidecut, this would be useful in the terrain park as you initiate a spin of a kicker. Alternatively, if you are looking to perform longer arcing turns then a board with a more shallow sidecut would be better.

TYPES OF SNOWBOARD SIDECUT
To suit the variety of terrain that snowboarding has to offer there are also a number of sidecuts that will be suited for the purpose. Below is a generalized outline of the types of sidecut and their suited uses.
Radial Sidecut
Radial sidecut refers to boards that have a deeper sidecut for quicker and smaller turns. A radial sidecut will be very narrow at the waist of the snowboard ensuring a shorter turn radius. Radial sidecuts are often found on freeride boards that are designed for carving.
Progressive Sidecut
Progressive sidecuts use varying sidecuts along the length of the same board. The tip and tail may have a different sidecut to the middle of the board meaning that the board will act differently through the turn. This sort of sidecut can be used to help beginner riders when initiating a turn but ensuring the middle of the turn is longer.
Asymmetrical Snowboard Explained
Asymmetrical snowboards have a deeper heel sidecut than on the toeside. Heel turns are harder due to our bodies anatomy so an asymmetrical sidecut helps to even out this imbalance. Asymm boards allow for shorter heelside turns with minimal effort. Asymm sidecuts are found on a number of boards with all-mountain boards finding this sidecut increasingly popular.
Magna-Traction / UnderBite / Traction Tech
Brands use different terminology to explain this type of sidecut but essentially it is the same thing. A serrated edge that gives you more contact points on the snow. By introducing more contact points throughout the sidecut your board will have a better grip in icy snow conditions. Think of this sidecut as a bread knife with more contact points allowing you to slice through the snow more efficiently.
HOW DOES SIDECUT AFFECT YOUR RIDING STYLE?
Freestyle
Freestyle snowboards tend to have a shorter sidecut radius allowing the boards to turn quickly at slower speeds. Having a shorter sidecut on a freestyle snowboard will help initiate spins and allow quick changes of direction with greater manoeuvrability.
All Mountain
If you are looking for a snowboard that feels comfortable everywhere then consider a snowboard with a medium sidecut radius. A medium sidecut will be a middle ground between short sharp turns and long drawn out carves.
Freeride
Now, this is actually a tough one as it will depend on what type of freeride you like to do. If your only goal is carving on groomers than getting a snowboard with a sidecut of 8m + will suit you well. This larger sidecut radius will allow for mellow carves with a longer turning radius. That’s all well and good for a nice wide piste but if you want to have fun in some tight trees then you may want to size down that sidecut radius.
FINAL THOUGHTS ON SNOWBOARD SIDECUTS
Essentially, although sidecut might not be the first thing you look at whilst choosing your snowboard it will have a large impact on how your snowboard rides, specifically in carving and your ability to quickly go edge to edge. Choosing the right snowboard sidecut for you will ensure you have the best day on the mountain. Hopefully, that is the snowboard sidecut radius explained, however, if you have any questions make sure to drop them in the comments below. Make sure to check out the Snowboard Buyers Guide where you will find all the information regarding how to buy a snowboard.
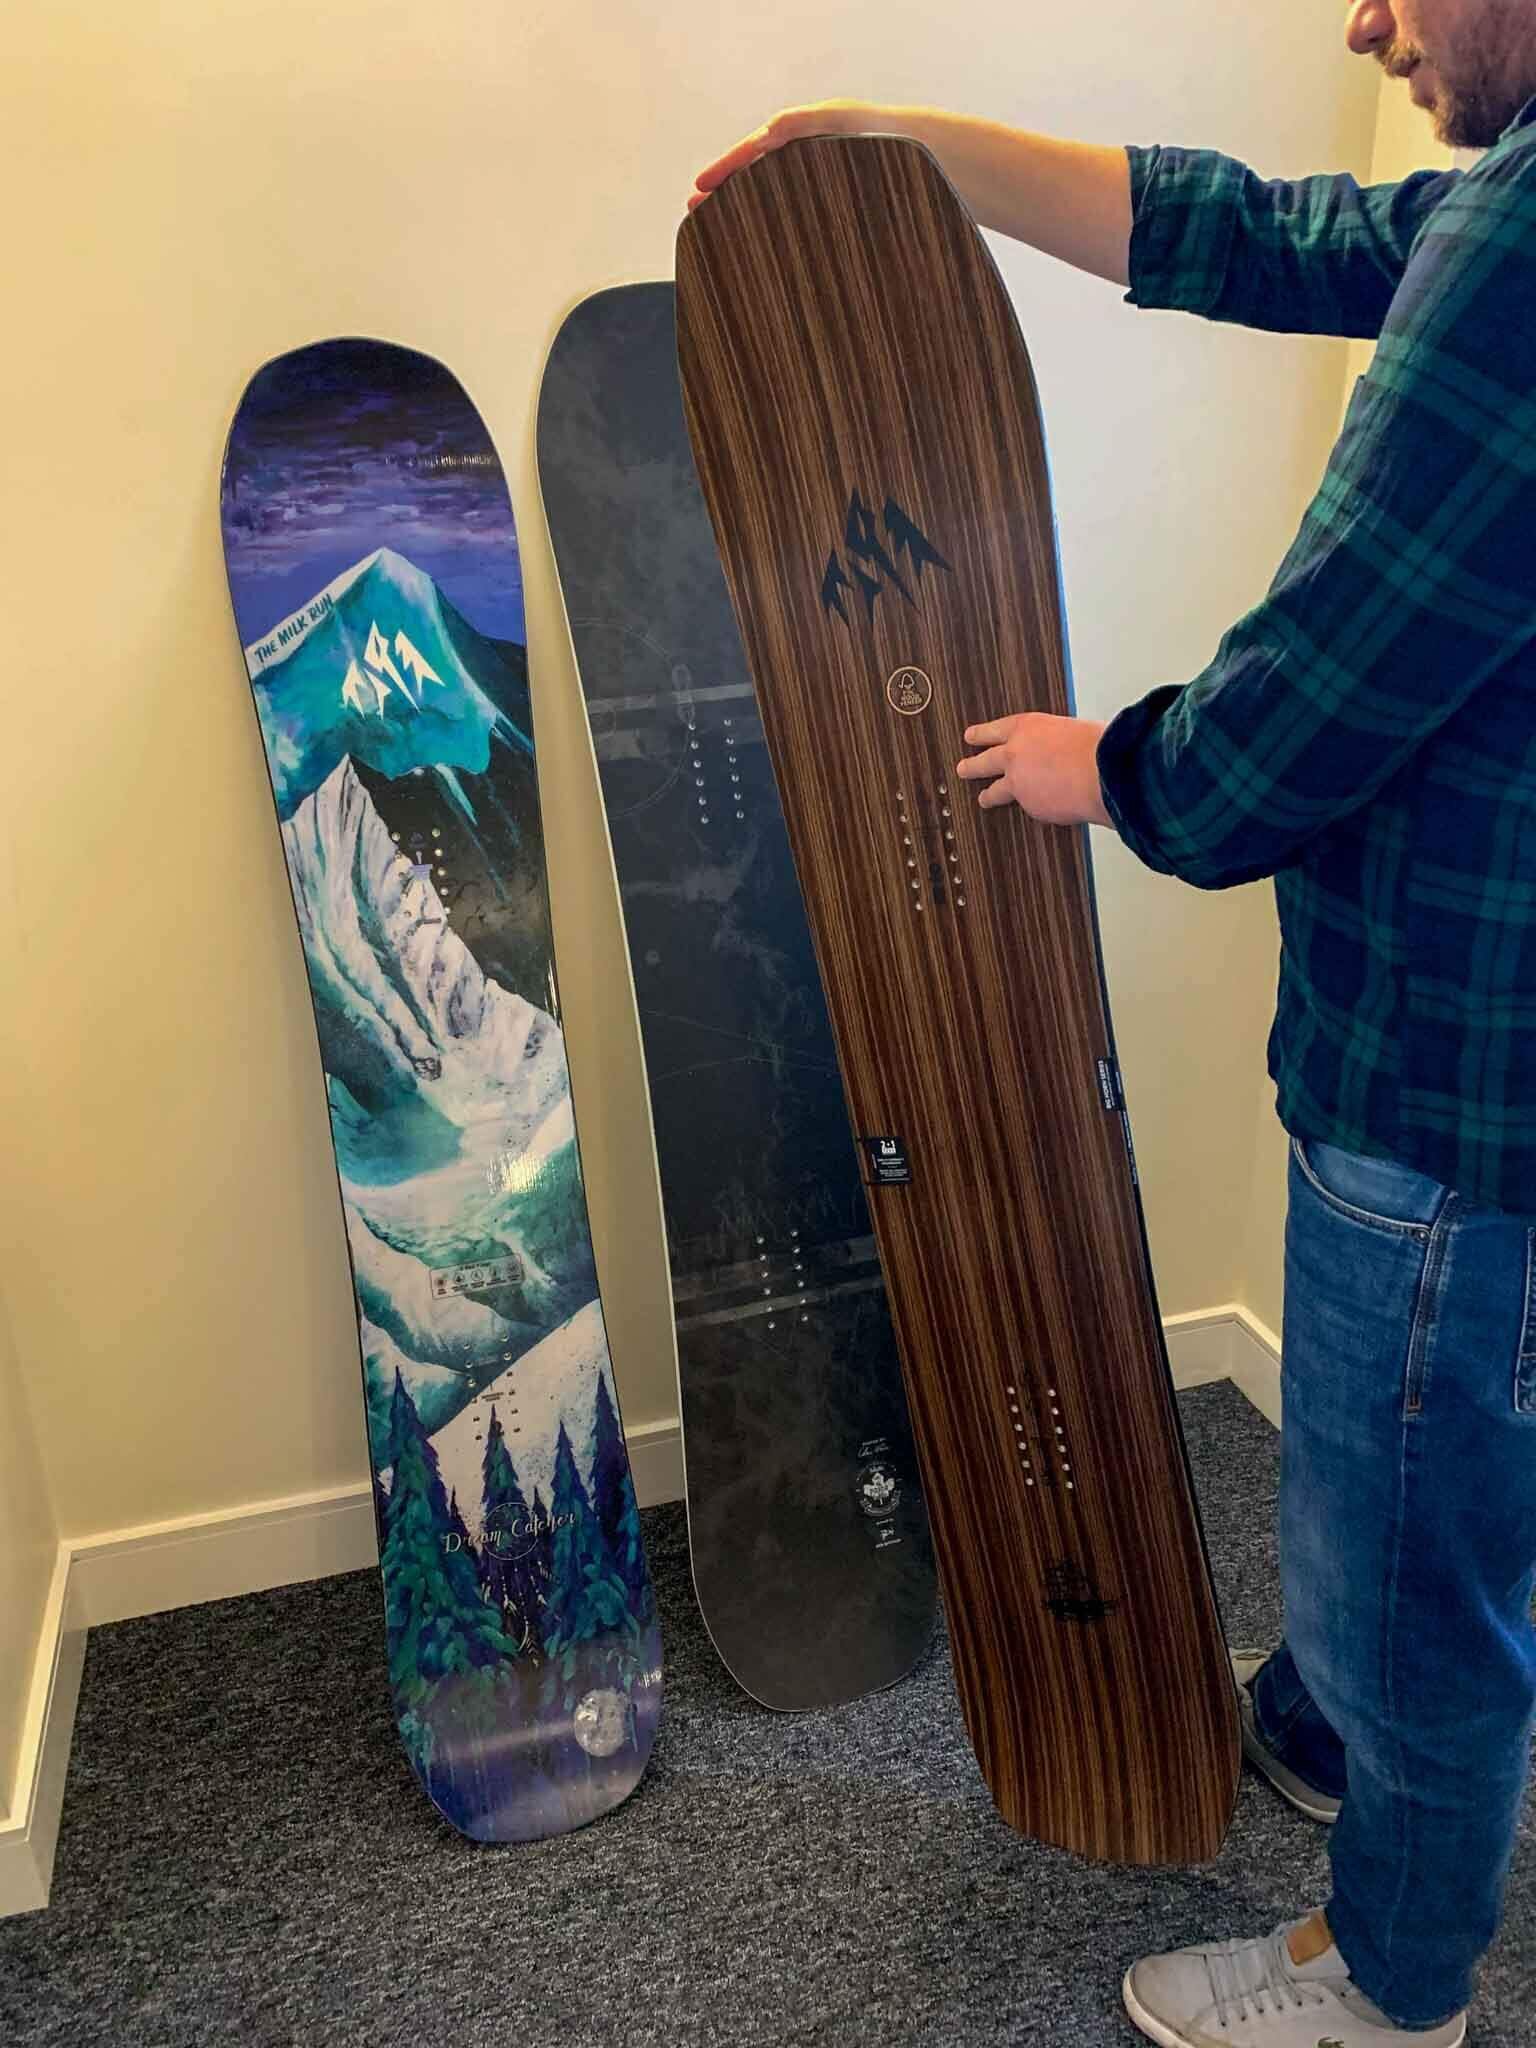
How To Choose The Correct Snowboard Length
Traditionally people would choose their snowboard length based on their height but ultimately that doesn’t really make sense. Imagine two people of equal heights, however one weighs 70kg, and the other weighs 90+ kg. Due to the difference in weight, it would make riding the same snowboard feel much different. Then throw into the mix the riders terrain preferences… if one wanted to ride park whilst the other wanted to ride powder then riding the same length of snowboard would not work. Below I break down the things that really matter when choosing the correct size of snowboard to ride.
WEIGHT
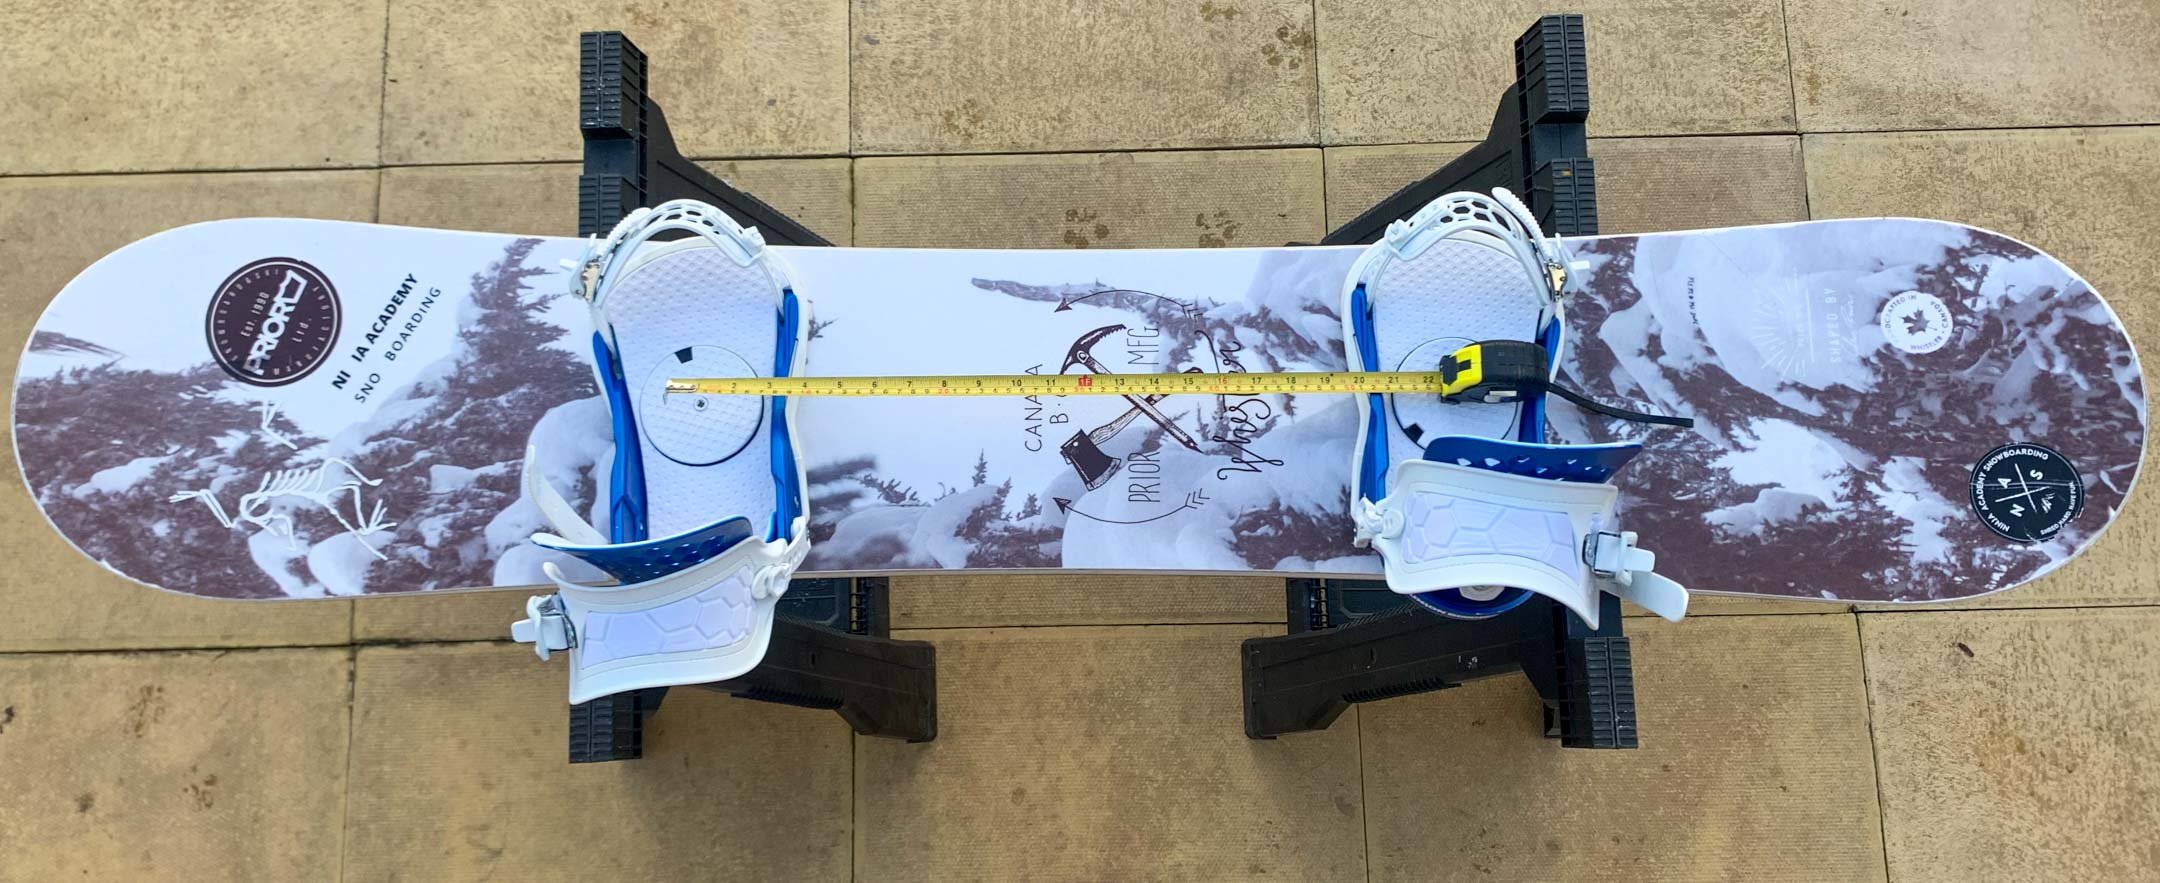
The most important aspect to consider when choosing snowboard length is the weight of the rider. This is so important that snowboard manufacturers put a handy weight range on the back of every board. Below is the information for my snowboard from Prior Snowboards. Each brand will produce a snowboard size chart or snowboard size calculator for the boards in their range.
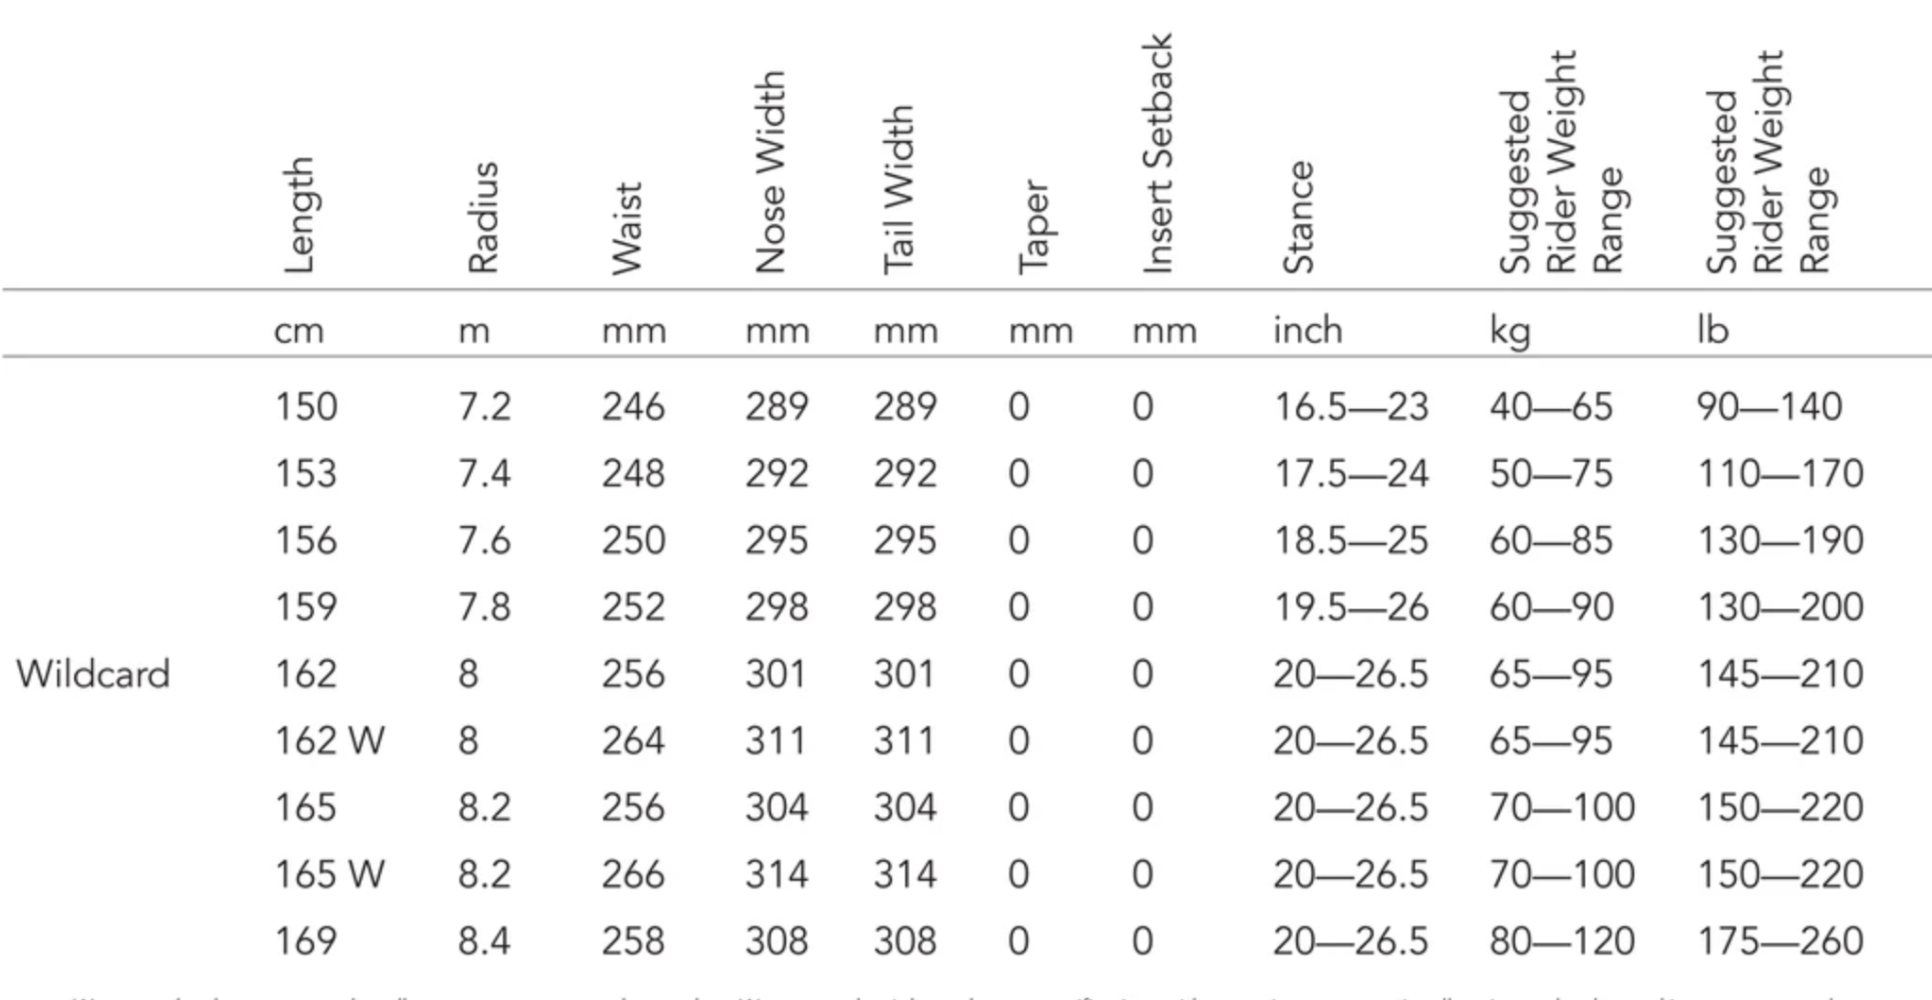
Looking at the snowboard sizing guide above you can see that each size has a recommended weight range. Taking weight into consideration we can work out how to choose the correct size snowboard. The reason we rely on weight and not height is that each snowboard has a set flex pattern (Learn More - Snowboard Flex).
If you are below or towards the bottom of the weight range you will find the snowboard harder to press and manoeuvre. Being too light for the board will prevent you from using your body weight to apply the correct pressure to the board. This will make learning ground tricks and butters quite difficult. On the other hand, if you are above or towards the top end of the weight range you could put too much pressure on the board whilst flexing. This could result in the snowboard snapping or breaking if landing backseat of a jump. Being over the recommended weight range for the board will cause the board to flex more and make it less stable at higher speeds.
In an ideal scenario, you want to be in the middle of the recommended weight range for the snowboard. This will give you the best on-snow experience and you will feel the board ride as it was intended to be ridden.
The recommended weight ranges on the snowboard sizing charts are not a definitive answer to the question. Here are some reasons you may wish to size up or down your snowboard.
TYPE OF SNOWBOARDER AND SNOWBOARD LENGTH
The type of snowboarding you do will influence the size of snowboard you should ride. This is why people who snowboard frequently often have a quiver of boards in different lengths or sizes so they can ride a board well-suited to the conditions or type of snowboarding they are doing that day.
FREESTYLE
Freestyle snowboarders may choose to ride a shorter snowboard. A shorter snowboard will be easier to spin and press, whilst it will also feel easier to initiate turns and sharp movements. By opting for a snowboard that is a few centimetres shorter you will find your park riding will be easier to progress. Be wary of going to short, as if you are well above the weight range you may snap your snowboard.

FREERIDE
The opposite applies to freeride snowboarders who will value stability and float over manoeuvrability. By opting for a snowboard that is a few centimetres longer a freeride board will feel fast and stable allowing you to rip around the mountain. A longer board will have a longer edge meaning that you will have more edge in contact with the snow helping you maintain grip. Do not go for a board that is far too long for you as you may find this difficult to initiate turns on.
ALL-MOUNTAIN
All-mountain snowboarders should aim to stick to the recommended weight ranges as these will allow the most versatility. If you are an all-mountain freestyle then opt 1-2cm shorter but no more. If you prefer freeride than 1-2cm longer.

HOW ABILITY INFLUENCES SNOWBOARD LENGTH
Ability can be a key factor in snowboard length choice and it can have a big impact on your enjoyment. When I first learnt I was given a 162cm snowboard which was far too long. I found for learning that it was better to use a shorter board as they were easier to turn. Building confidence is important in the initial stages of snowboarding and riding a board that is too long for you can really put a dampener on the enjoyment factor. It is ok for a beginner to ride a snowboard where they are slightly above the weight category as they are unlikely to be doing anything extreme to snap or break the board.
After the beginner stage, there is little reason to consider snowboard length dependent on ability as the other factors such as weight and riding style take priority.
HEIGHT AND SNOWBOARD LENGTH
As mentioned in the intro to this post height is traditionally the method used to determine snowboard length, however, it is outdated and shouldn’t be used as the determining factor. Height if anything should be used as a starting point and should then be refined using the rider’s weight and riding style.
Particularly short or tall people should pay attention to the length of their snowboard as they want to ensure they can fully adjust their stance into a comfortable position. A tall snowboarder on a shorter board may end up with too narrow a stance whereas the opposite may apply to a short rider on a longer board.
IS IT BETTER TO GET A LONGER OR A SHORTER SNOWBOARD?
Ultimately the answer to this question really depends on the type of snowboarding you want to do and your ability. Short snowboards will be easier to turn, making them great for beginners. A longer board will be more stable and have more contact with the snow ensuring they are perfect for carving. Advanced snowboarders who favour park may choose to downsize their board by around 2-4cms. Similarly, snowboarders only interested in freeride may opt for a board that is longers by 2-4cm.
STILL UNSURE?
As always thanks for reading and if you are still unsure feel free to get in touch via the socials or the comment section. Make sure to check out our Snowboard Buyers Guide where you will find all the information regarding how to buy a snowboard.
Care to share?
If you found this post useful and you think it may also help others, please like, share and comment to promote it to others.
Snowboard Width Explained
Snowboard width is a measurement that is often overlooked as riders tend to focus more on the length of their snowboard. Get the width wrong though and you will have all kinds of trouble, and you may not be able to perform certain techniques, such as carving accurately. The width of your snowboard may vary depending on the type of riding you do and the conditions you are riding in, but the biggest indicator is your foot size.

HOW TO JUDGE SNOWBOARD WIDTH
The width of your snowboard should allow your toes and heels to overhang the edge of your board by around 1/2 an inch. By having this slight overhang, your toes and heels will be directly placed above the edges of your snowboard. This foot placement will allow you to quickly transfer the power from your movements to your edges to turn your board.
When in the store finding your next snowboard, ask the salesperson to let you place the snowboard on the floor. This is common practice in snowboard stores so should not be an issue. When on the floor you can stand on the board in your stance, without shoes, to see where your feet lay in relation to the edges. Remember that snowboard boots will add a few CMs to your feet so if you are already over the edge it is likely the board you are standing on will have too narrow a waist.
Even better if you bring your actual boots and bindings to the store with you. Most stores will allow you to attach your bindings to their demo board so you can see what the width is like when using your gear. This will give you the best idea of whether the board is the right width for you.
Really important to stand on the board using your riding angles! This will give you the most accurate results.
IS SNOWBOARD WIDTH REALLY IMPORTANT?
If your toes/heels overhang the board by over 1/2 an inch it is likely that you will experience some kind of toe or heel drag in the snow when turning. Toe or heel drag indicates that your snowboard width is too narrow and will result in reduced snowboard performance. The drag can cause your board to slip out during turns and you could end up falling regularly. This will be a particular problem during carving.
Having a board that is too narrow will negatively affect your snowboarding however some people choose to ride with a wider snowboard. Wide snowboards are designed for those with bigger feet, ergo bigger boots, and should help prevent toe/heel drag in the snow. The same 1/2 inch rule should apply to big booted riders only that they will achieve this by riding a wider board.
CAN I RIDE A WIDE IF I DONT NEED TO?
In short, the answer is yes… here are some of the reasons why you may or may not want to do that.
One guy who absolutely swears by riding a wider board is Ryan Knapton. Ryan is probably one of the best carvers you will ever see and he rides an extra wide board to allow him to fully lay trenches. By having a wider board Ryan demonstrates that you can lean further into your turns without getting any drag. If you have not heard of Ryan Knapton make sure to check out his Youtube here where this point will be fully demonstrated. Or watch the below video.
Riding a wider board will add stability and increase your float in pow, so for freeriders going wider could be a better idea.
Why may you not want to ride a wider snowboard than you need to… well due to the extra width a wider board can take longer to go from edge to edge. This can influence your turn size and shape. By watching the video above I hope it proves that going wider doesn’t stop you from being able to snowboard well… but you will need experience to handle that width on your snowboard.
POWDER BOARDS
Powder boards may be the exception to every rule where you will want to look for a wider board. In recent years, powder shapes are getting wider as this adds surface area and will increase float in the deep stuff. On a powder board, don’t worry if your feet are a little narrower than the board’s width. If your intention is to only use this board when its dumped you will thank yourself for getting the extra width.
FREESTYLE BOARDS
Pay extra attention to waist width when choosing a freestyle snowboard. Generally speaking, freestyle boards are designed to improve manoeuvrability and as such will have narrower waists. The narrower waist will help reduce swing weight and allow the rider to turn on a dime but if your feet are overhanging then this could cause you issues.

ARE SIZING CHARTS RELIABLE?
Snowboard width sizing charts do exist but honestly, in our opinion, the best thing to do is to get into the store and stand on the board. Even better if you can bring your boots and bindings to the store to get a proper feel. Most shops now have a demo fleet and I would recommend a demo day if you are still unsure of width.
WHAT TO DO IF YOUR SNOWBOARD IS TOO NARROW
Assuming that it is too late to return the snowboard and that nobody wants to buy it off you for a reasonable price…. all is not lost. If your snowboard is too narrow you can add risers to your bindings. Risers will lift your bindings higher off the board allowing you to lean but reducing toe/heel drag in the process. Yes, you would have to buy them but its a damn lot cheaper than a new board!
Another purchase you could make is a new pair of snowboard boots. You will find that different brands or models of boots can be longer or shorter even if they are the same shoe size. Ask your local snowboard store about low profile boots that may reduce your foot length on the snowboard. By reducing the space your boots take on the board you may even be able to fit into a smaller pair of bindings.
ABILITY AND SNOWBOARD WIDTH
For beginners, it is unlikely that snowboard width will affect your ability to learn. In the formative stages of snowboarding, you are not going to be doing any extreme inclination or angulation with your board. This means if you are given a rental board and your boots overhang it should not pose a massive issue. If however, you are buying your own board to learn, make the effort to find the correct width snowboard as if it is too narrow this could hold you back later on.
Advanced snowboarders who like to spend their time carving aggressively should ensure they get the width right. Having a board that is too narrow will prohibit your ability to get further up onto your edges. You should aim to get a lower profile boot to accompany your snowboard to make the perfect combination for carving. If carving is your main riding style then going wider will help ensure there is less drag through your turns.
FINAL THOUGHTS
Getting the width of your snowboard right is important and shouldn’t be a rushed decision. Make sure to go to your local snowboard store and try out a number of boards. By standing on the boards you will have a better idea of whether you will need a wider board in that model.
STILL UNSURE?
As always thanks for reading and if you are still unsure feel free to get in touch via the socials or the comment section. Make sure to check out the Snowboard Buyers Guide where you will find all the information regarding how to buy a snowboard.
Jones Ultra Mountain Twin Snowboard Review

THE ONE-STOP SHOP FOR ALL-MOUNTAIN FUN
Jones has been renowned for making some of the best freeride-inspired snowboards on the market. Jones snowboards have been ridden in some of the most gnarly terrain so when they had the idea to spec up their already popular Mountain Twin snowboard I had to get one.
During this review, I will delve deeper into the Jones Ultra Mountain Twin Snowboards performance in Powder, Piste and Park whilst giving further information on its profile and the important specs.
This review is my opinion of the Jones Ultra Twin Snowboard, which I purchased with my own money. If you find the review useful consider purchasing your gear through the affiliate links in the post to support the website and future content.
ABOUT ME
Before jumping into the full review it is worth noting the following information about me as a snowboarder. I am lucky to snowboard a lot but I am not a professional. I have lots of experience riding in all terrain in all conditions and have previous snowboard shop maintenance and retail experience. I use my website to express my opinions on gear and I hope you find them useful when choosing what gear works for you.
WHAT JONES SAY
The Ultra Mountain Twin is a high-powered directional twin freestyle board built for the expert freerider who likes to throw big tricks outside the terrain park. Balanced rocker in the tip and tail deliver serious float in pow, while camber underfoot gives the Ultra Mountain Twin awesome pop and edge hold.
TEST CONDITIONS
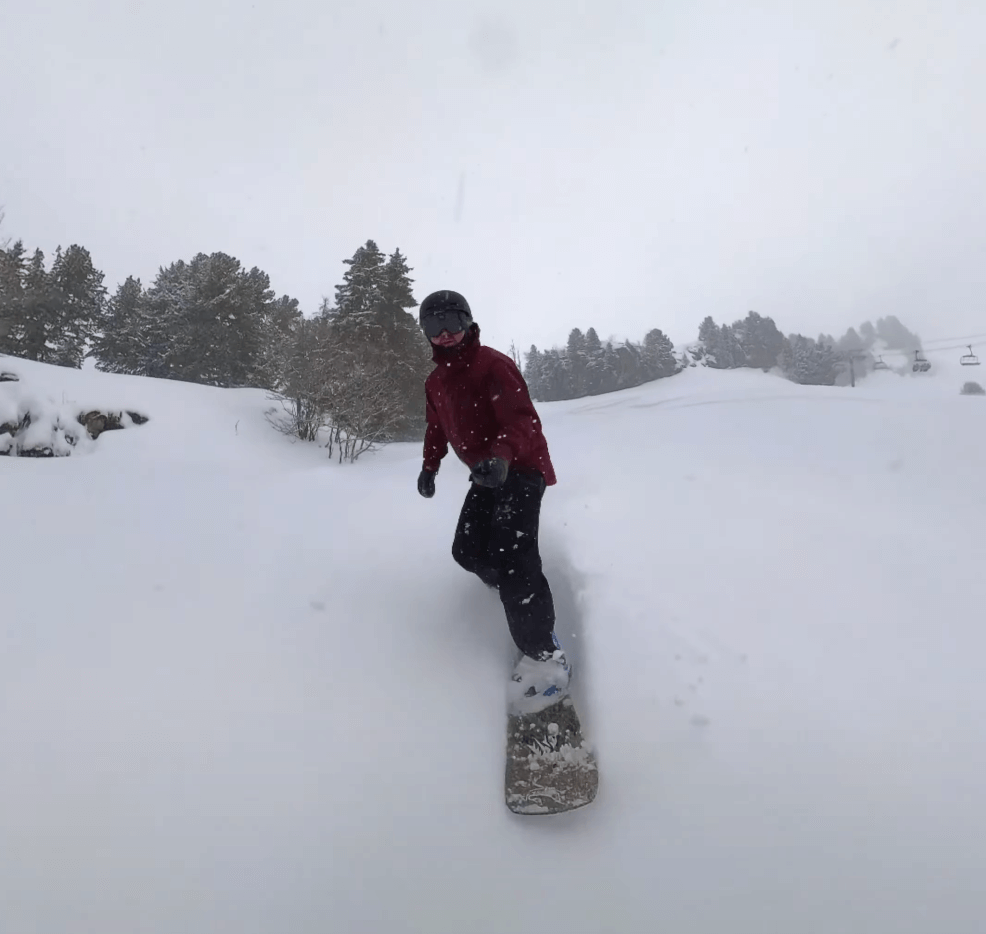
The Jones Ultra Mountain Twin Snowboard was my board of choice for the 2023/24 winter season where I snowboarded across the Grand Massif. I chose the Jones Ultra Mountain Twin as I wanted to see if I could cut down my quiver and take only one snowboard to do it all. Throughout the winter I had the full range of conditions from incredible powder, hard icy pistes to spring slush. If you want to check out exactly what I put this board through then head to my Grand Massif Youtube playlist.
BINDINGS
Across the winter I partnered the Jones Ultra Mountain Twin with the following bindings.
Burton Cartels
STANCE
The Jones Ultra Mountain Twin has two recommended stance widths; centered and freeride. I rode this board in the freeride stance, slightly set back for the majority of the winter.
BOOTS
I partnered this board with the following boots.
Salomon Echo Dual Boa
Jones Ultra Twin Snowboard
PROFILE
The Jones Ultra Mountain Twin Snowboard has a hybrid CamRock profile that ensures it is a versatile all-mountain snowboard. The hybrid profile of the Ultra Mountain Twin combines camber underfoot with a rocker tip and tail.
BENEFITS
Camber provides a stable ride and pop
Rocker allows for a catch free turn initiation and better float in pow.

COST
The Jones Ultra Mountain Twin Snowboard isn’t cheap and at £629.95 on the Jones website can feel like a massive outlay. I managed to find one in the sales and paid around £400 so it is worth hunting for deals.
CONSTRUCTION
In terms of construction, there are some differences between the Ultra and regular Mountain Twin which account for the extra cost. A major upgrade is the responsive Power Core which is stiffer than the regular Mountain Twin which gives the Ultra a performance lift. The Power Core combines, poplar, bamboo and laulownia to make a durable and lightweight core.
In addition to the Power Core the Ultra Mountain Twin utilises tri-ax glass and Basalt stringers. This helps to deliver an improved responsiveness from the Ultra over the regular Mountain Twin.
The Jones Ultra Mountain Twin also has an incredibly fast sintered base which is one of the most high-end bases on the market.
To learn the difference between sintered and extruded bases you can check this article.
PISTE
Whether you are a powder fiend or a park enthusiast you are going to have to ride some pistes along the way. The Jones Ultra Mountain Twin was great on the pistes even on those icy days with hardpack snow.
The Jones Ultra Mountain Twin snowboard has a few key features that help it excel on-piste.
The first feature is the camber under the bindings. This is something that I will not compromise on with any of my snowboards, camber underfoot in my view is a necessity. The camber on the Jones Ultra Mountain Twin helps it feel secure in its carves and gives the board a stability that is reassuring.
Secondly, the Jones Ultra Mountain Twin snowboard has Traction Tech. This is similar to Magna traction or Underbite that you will find on Never Summer and Yes Snowboards. Traction Tech essentially adds extra bumps along the boards edge which help your snowboard cut through and grip on harder icier snow. Think about a bread knife and the serrated edge, Traction Tech works in the same way.
Finally, the Flex on the Jones Ultra Mountain Twin makes is stiffer than on the regular Jones Mountain Twin snowboard meaning it feels more stable at higher speeds.
FREESTYLE
I am not an incredible freestyle snowboarder so you can take my advice here with a pinch of salt however I enjoy heading into the park and will hit both rails and jumps.
What I am looking for in a snowboard in terms of freestyle is does it feel fun and whether it has a catch-free feel. The Jones Ultra Mountain Twin Snowboard delivers in both of these regards.
Let’s start with pop: The Jones Ultra Mountain Twin Snowboard has a camber under the feet which gives it a snap and pop which is great for boosting of rollers, jumps and side hits.
Edge Catch: The Jones Ultra Mountain Twin has a rocker on both nose and tail which meant it felt really catch-free when doing flatland spins and presses. The board felt smooth and this feeling transferred onto boxes and rails where I never felt like I was going to catch an edge.
Switch Riding: Despite riding the snowboard in the set-back stance for the majority of the winter the Jones Ultra Mountain Twin was super easy to ride switch. This isn’t a surprise for a Directional Twin snowboard but it is good to know it delivers on what is expected.
POWDER
The Jones Ultra Mountain Twin exceeded my expectations in terms of powder riding. There was no back leg burn and it seemed to float effortlessly. I’ve ridden directional snowboards that performed worse in deep snow. This was a big surprise for me because I had sized down 3cm compared to my usual directional board length so had expected powder performance to suffer.
The setback stance and rocker in the nose and tail seem to do an amazing job of keeping the board above the snow. My version of the Jones Ultra Mountain Twin Snowboard was a 156W. The wide version will have helped the powder performance due to an increase in surface area over the regular boards.
CHECK OUT THE POWDER PERFORMANCE IN THE VIDEO BELOW
FINAL THOUGHTS
The Jones Ultra Mountain Twin Snowboard has been one of my all-time favourite snowboards to ride and I truly rate it as a one board to do everything. I was really surprised by just how well the Jones Ultra Mountain Twin performed in powder, especially given that I sized down. There was no back leg burn and it seemed to float effortlessly. I’ve ridden directional snowboards that performed wor
SUPPORT FUTURE CONTENT
If you found this post useful then consider supporting future content by purchasing through the Amazon Link below or using this link to Buy me A Coffee
Union Strata Snowboard Bindings Review

GREAT BINDING THAT YOU CAN TAKE ANYWHERE ON THE MOUNTAIN
The Union Strata bindings have been one of the best-selling snowboard bindings over the past few seasons. What is appealing to many about the Union Strata is they are a binding from a household name in the binding world at a reasonable price with fantastic performance and comfort.
Let’s take a closer look at the Union Strata snowboard bindings whilst considering the following categories; Style, Cost, Flex, Comfort, and Durability.
Union Strata Snowboard Bindings
This review is my opinion of the Union Strata snowboard bindings which were purchased with my own money. If you find it useful consider purchasing your pair through the affiliate links in the post to support the website and future content.
ABOUT ME
Before jumping into the full review it is worth noting the following information about me as a snowboarder. I am lucky to snowboard a lot but I am not a professional. I have lots of experience riding in all terrain in all conditions and have previous snowboard shop maintenance and retail experience. I use my website to express my opinions on gear and I hope you find them useful when choosing what gear works for you.
WHAT UNION SAY
Union's #1 men's park and freestyle snowboard binding. The soft and surfy ride feel of the Union Strata is perfect for snowboarders looking to cruise the park or surf the whole mountain. Strap in and unlock your snowboards true flex.
TEST CONDITIONS

These bindings have been part of my binding rotation since 2020 and therefore have been put through their paces in a number of conditions.
BOARDS
I have partnered the Union Strata with the following all-mountain freestyle snowboards over the years.
Prior Wildcard
Prior AMF
STANCE
Mostly I run with +12 -9 but have recently switched to 0 on the back foot. My stance width is 21.5inches.
BOOTS
Salomon Synapse
Salomon Echo Dual Boa
JUDGEMENT
The Union Strata snowboard bindings have been perfect as a one-binding choice to ride everything The 6/10 flex offers enough response for freeriding but also subtlety for comfort. My riding style ensures I see a wide variety of terrain and these bindings’ biggest complement is that I never thoughts about them when riding… they just do the job and do it well.
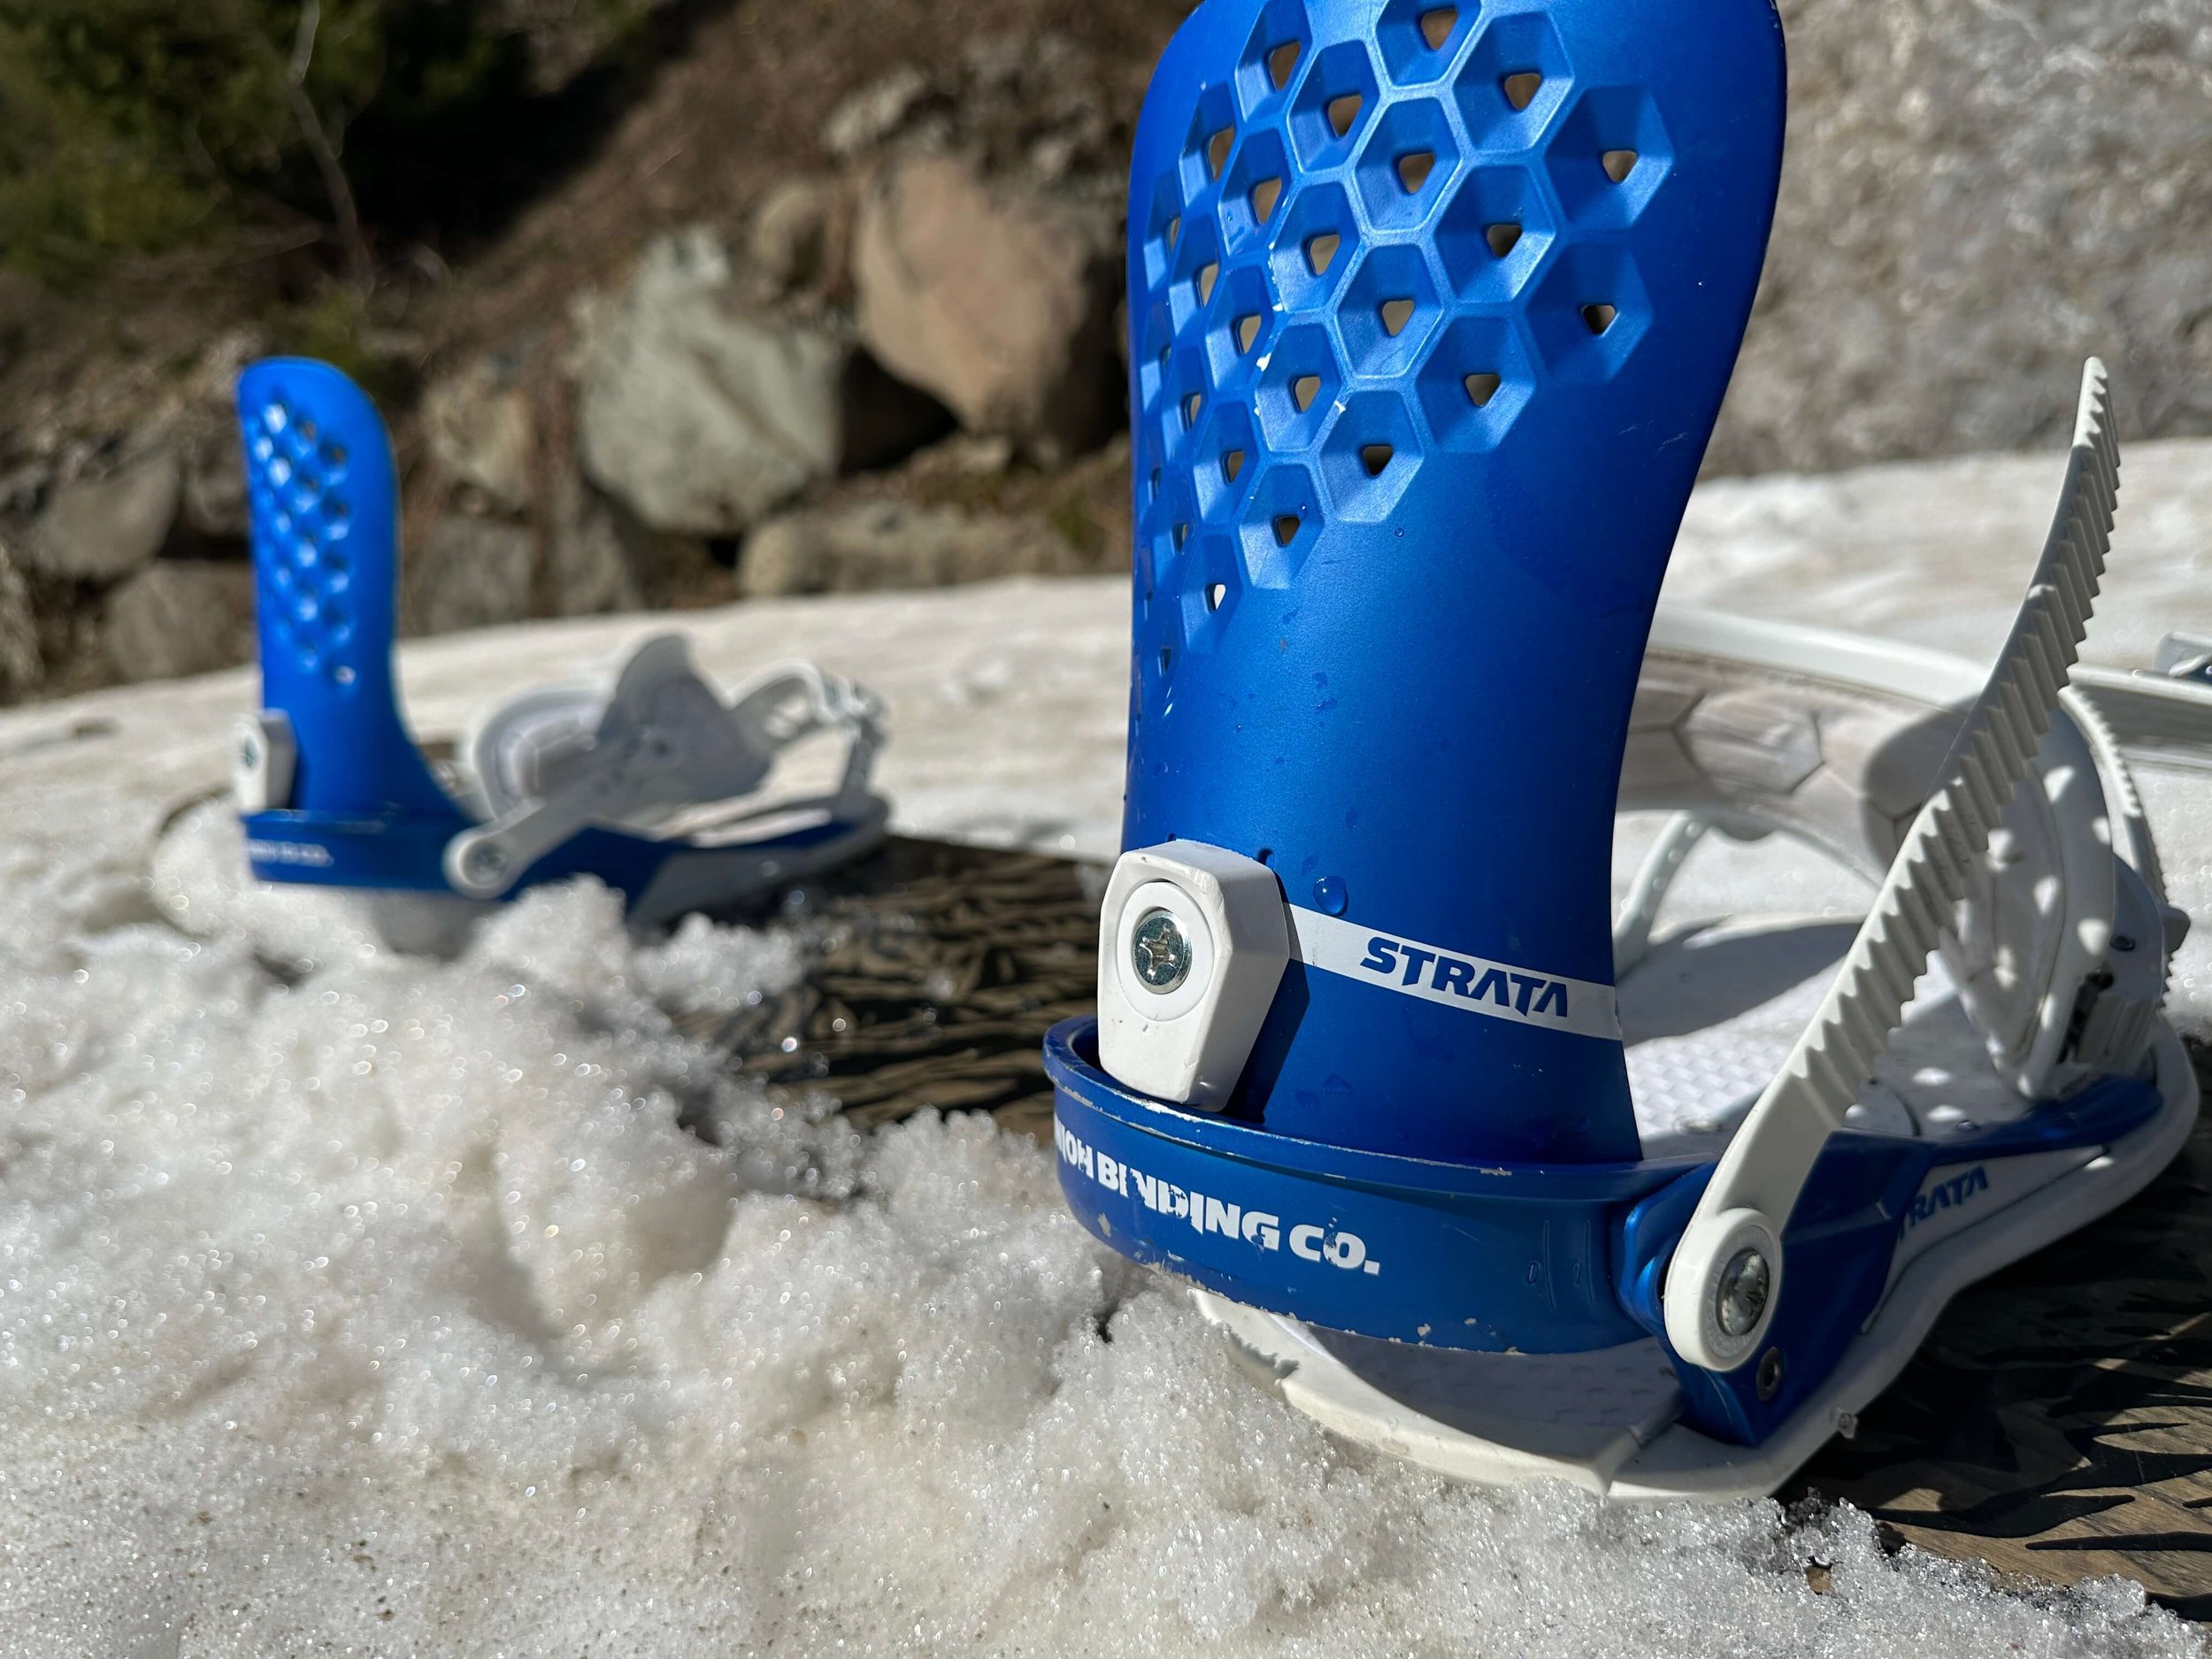
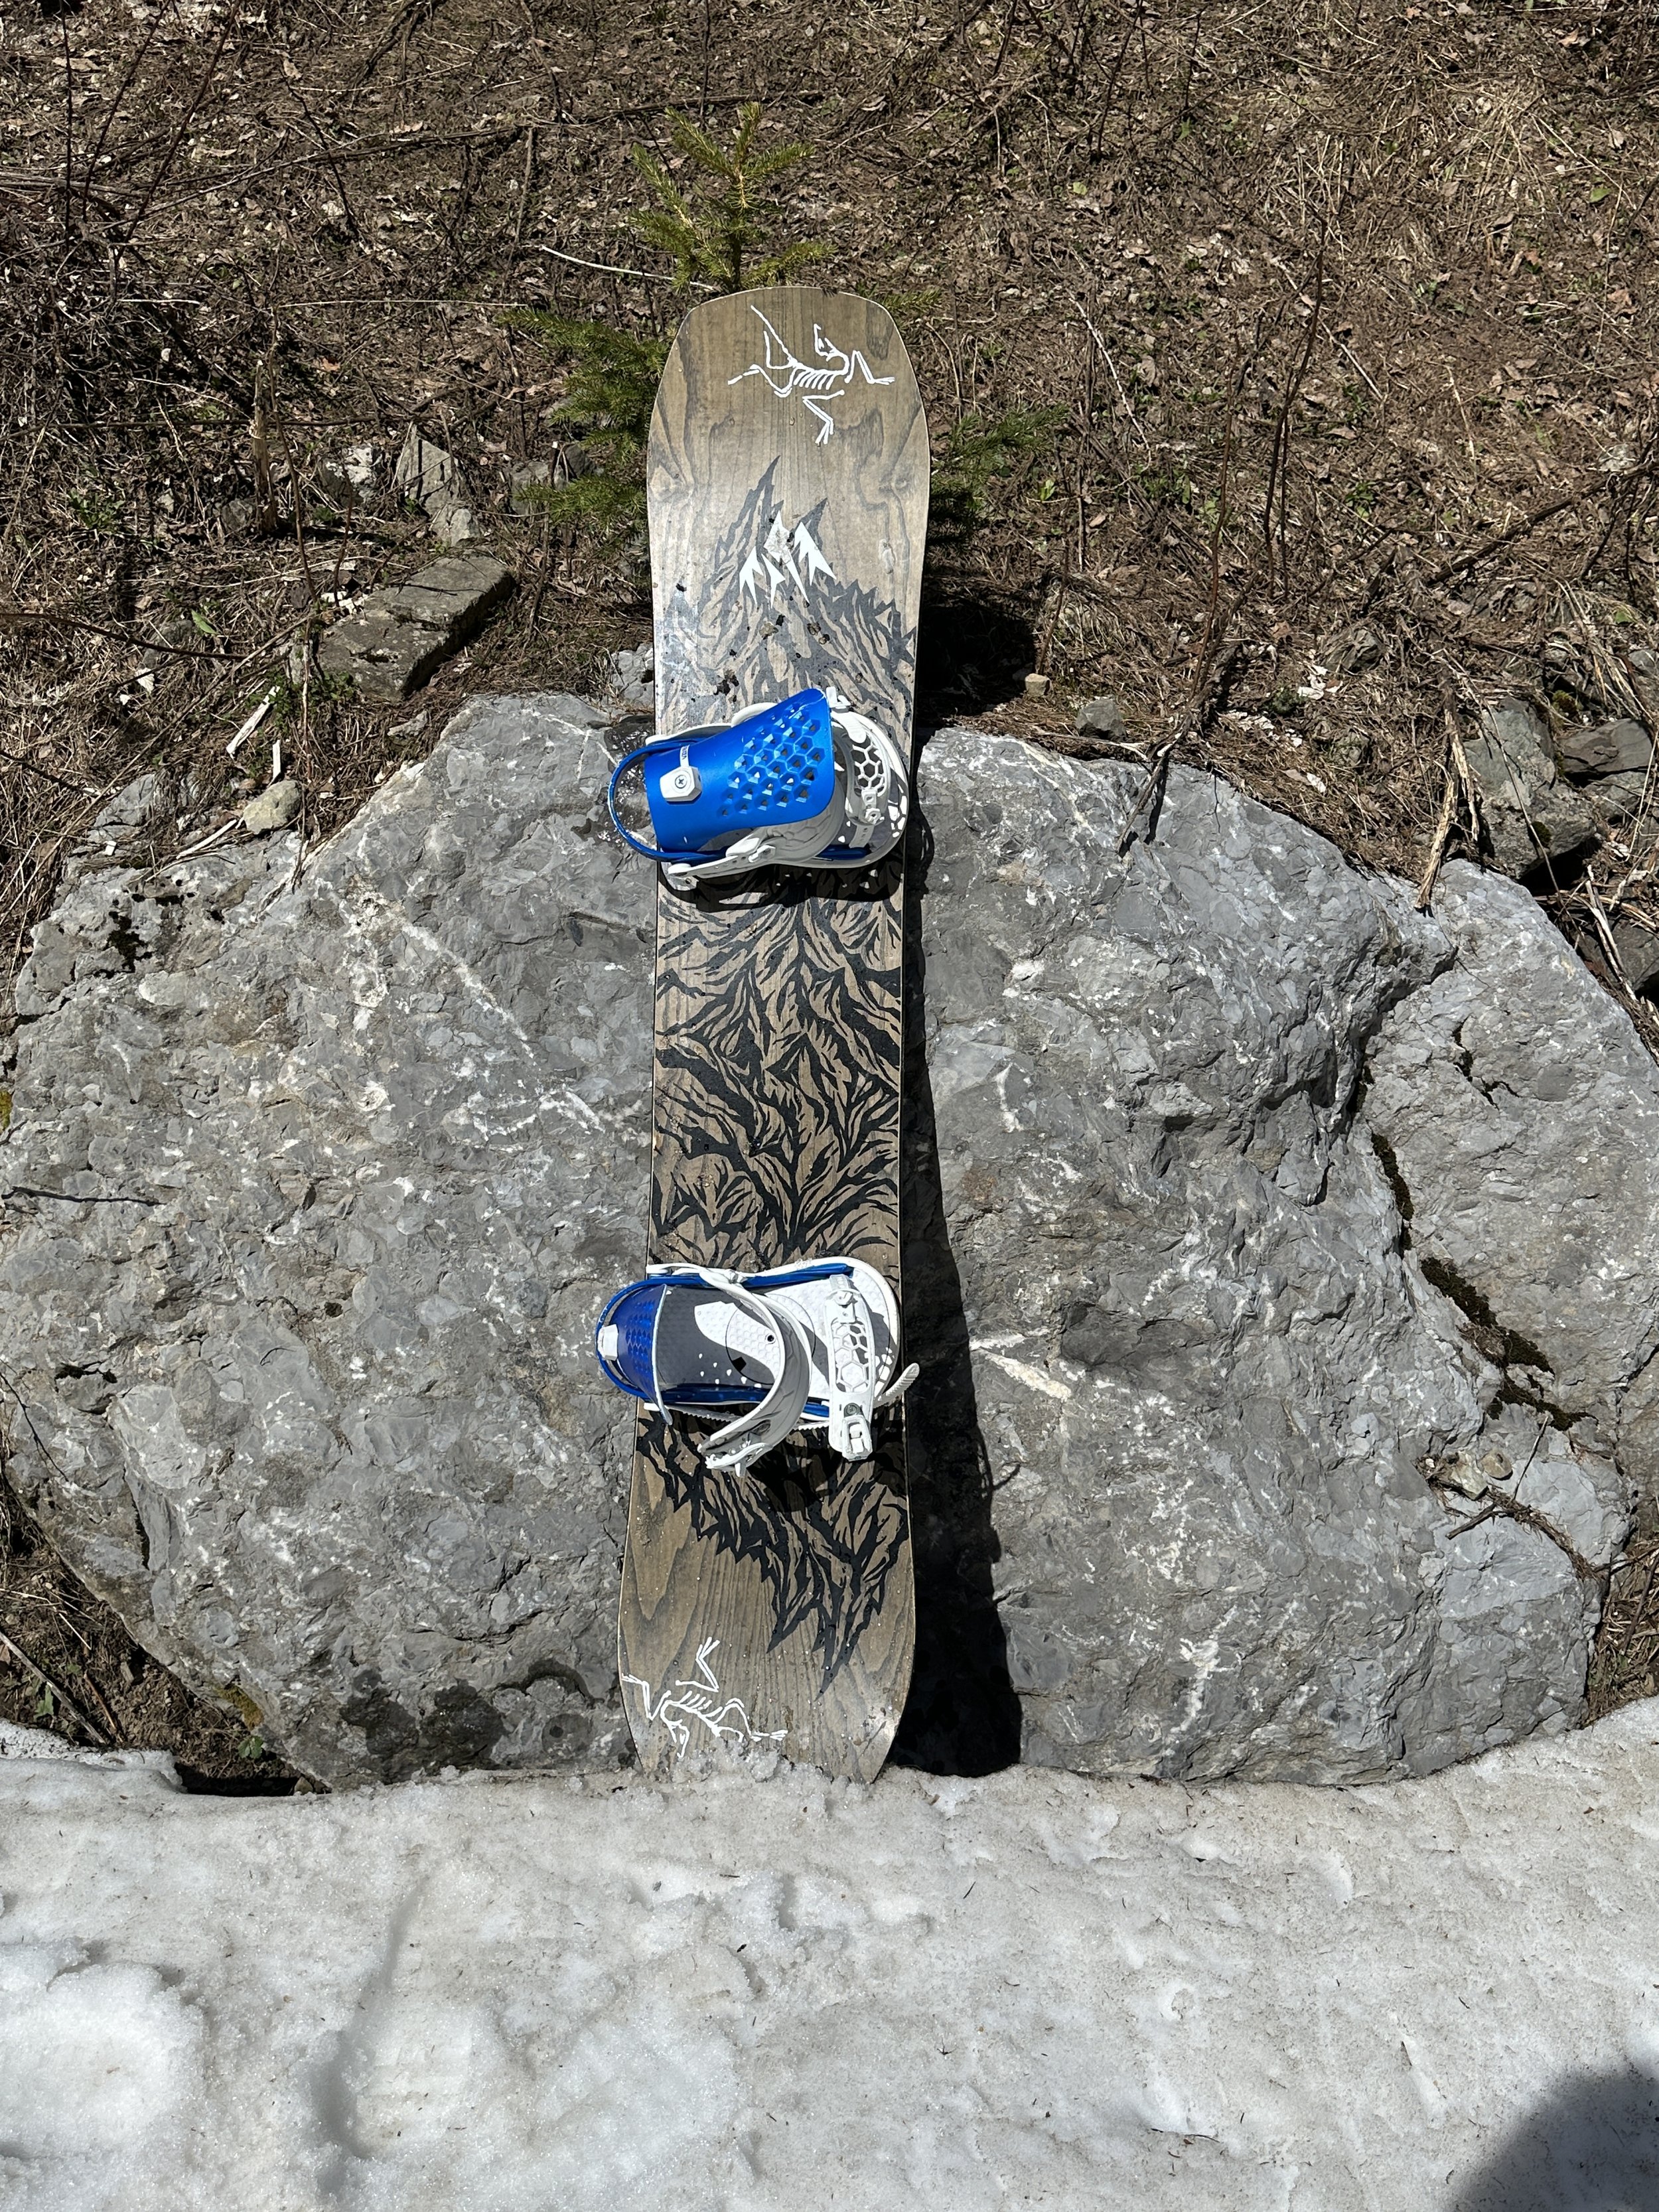
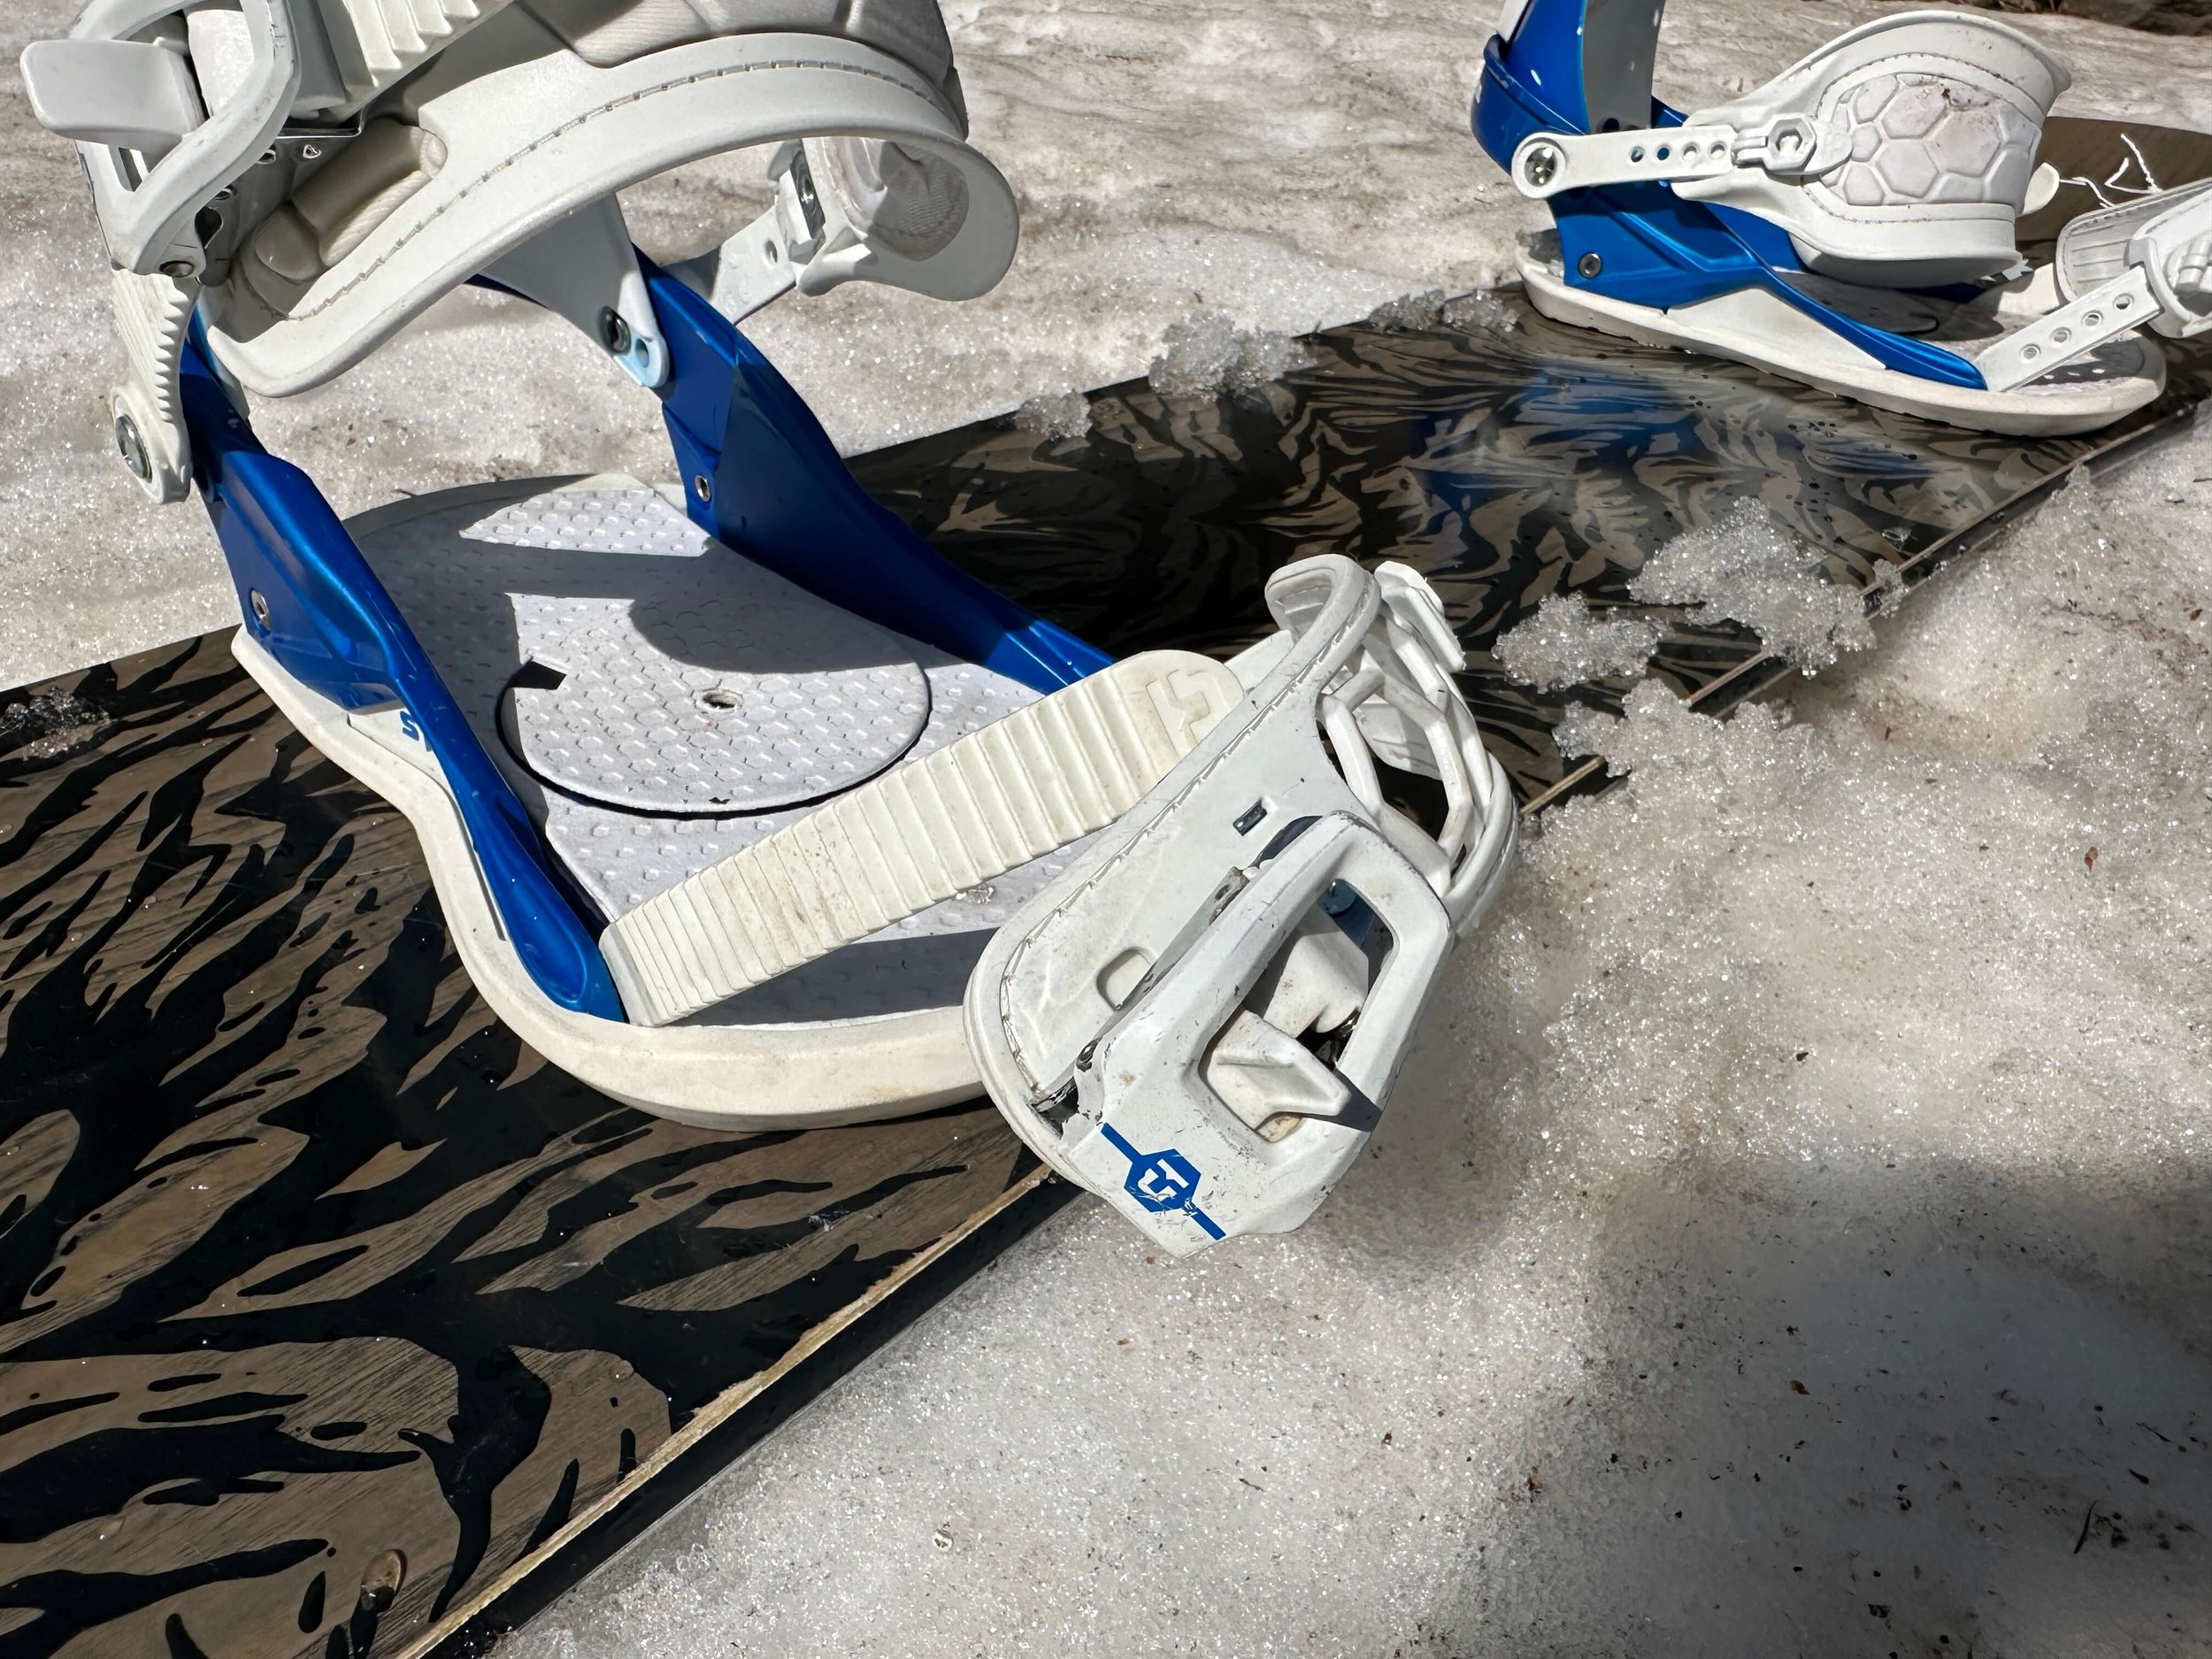

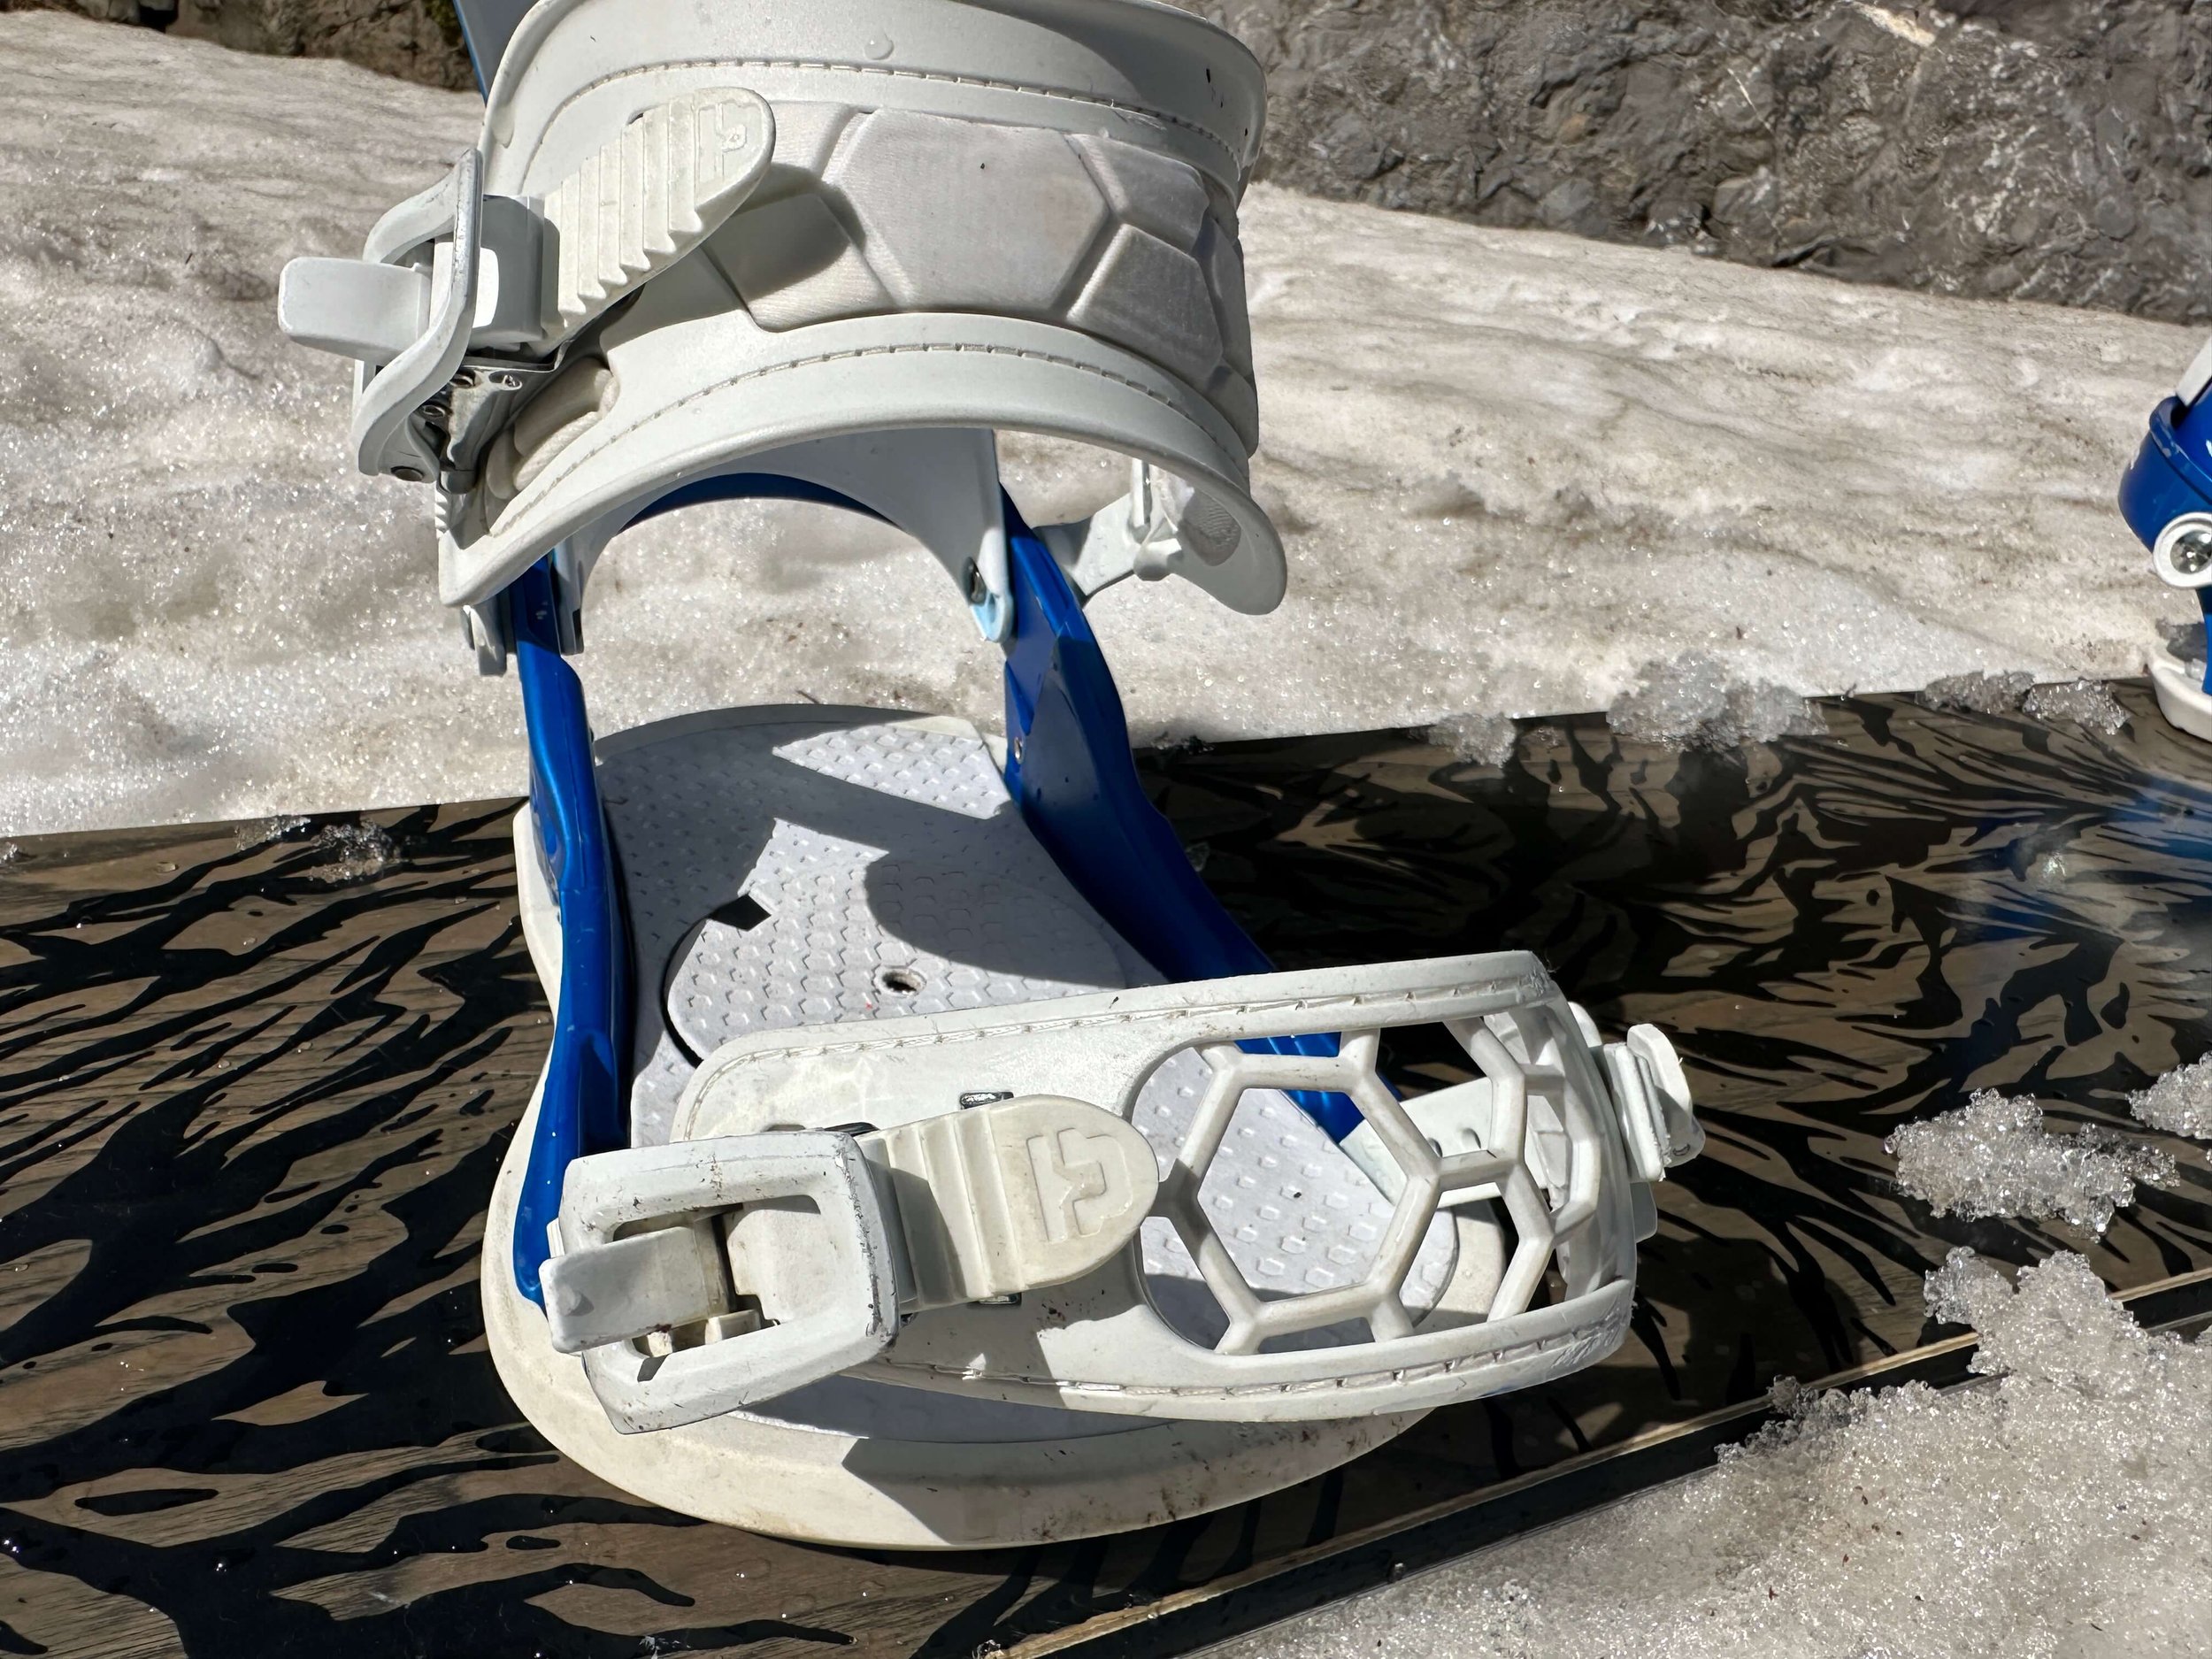
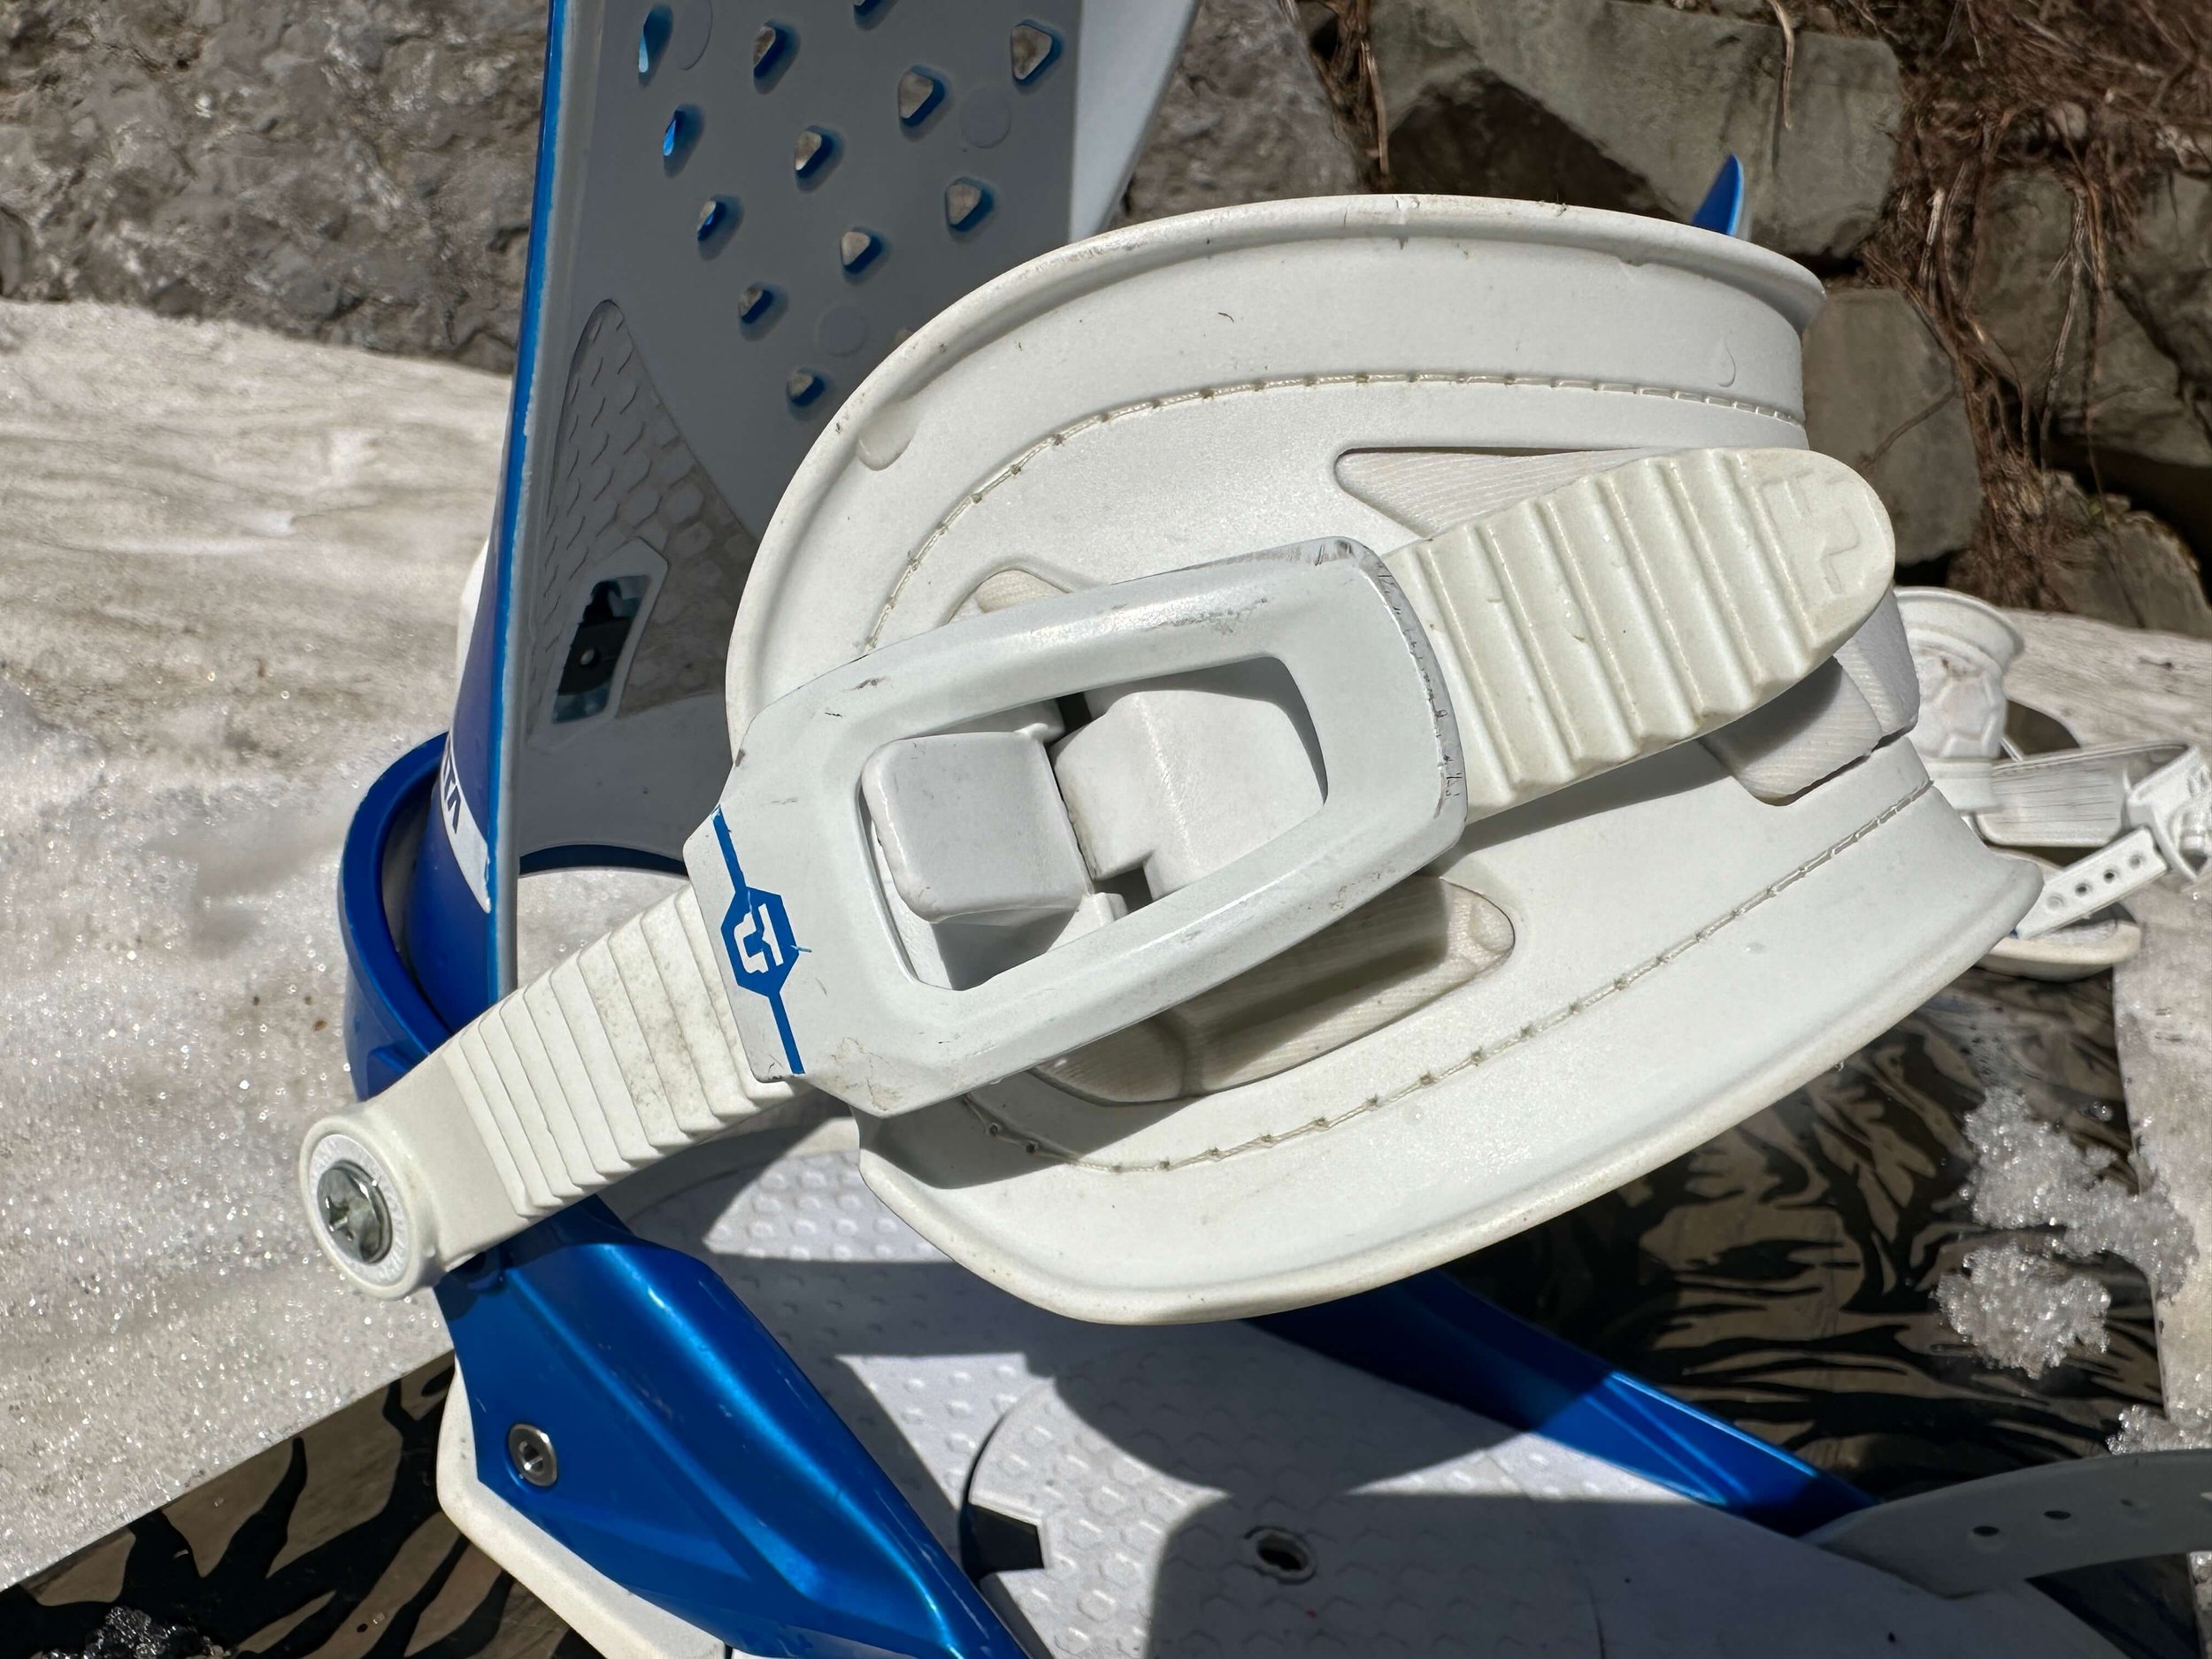
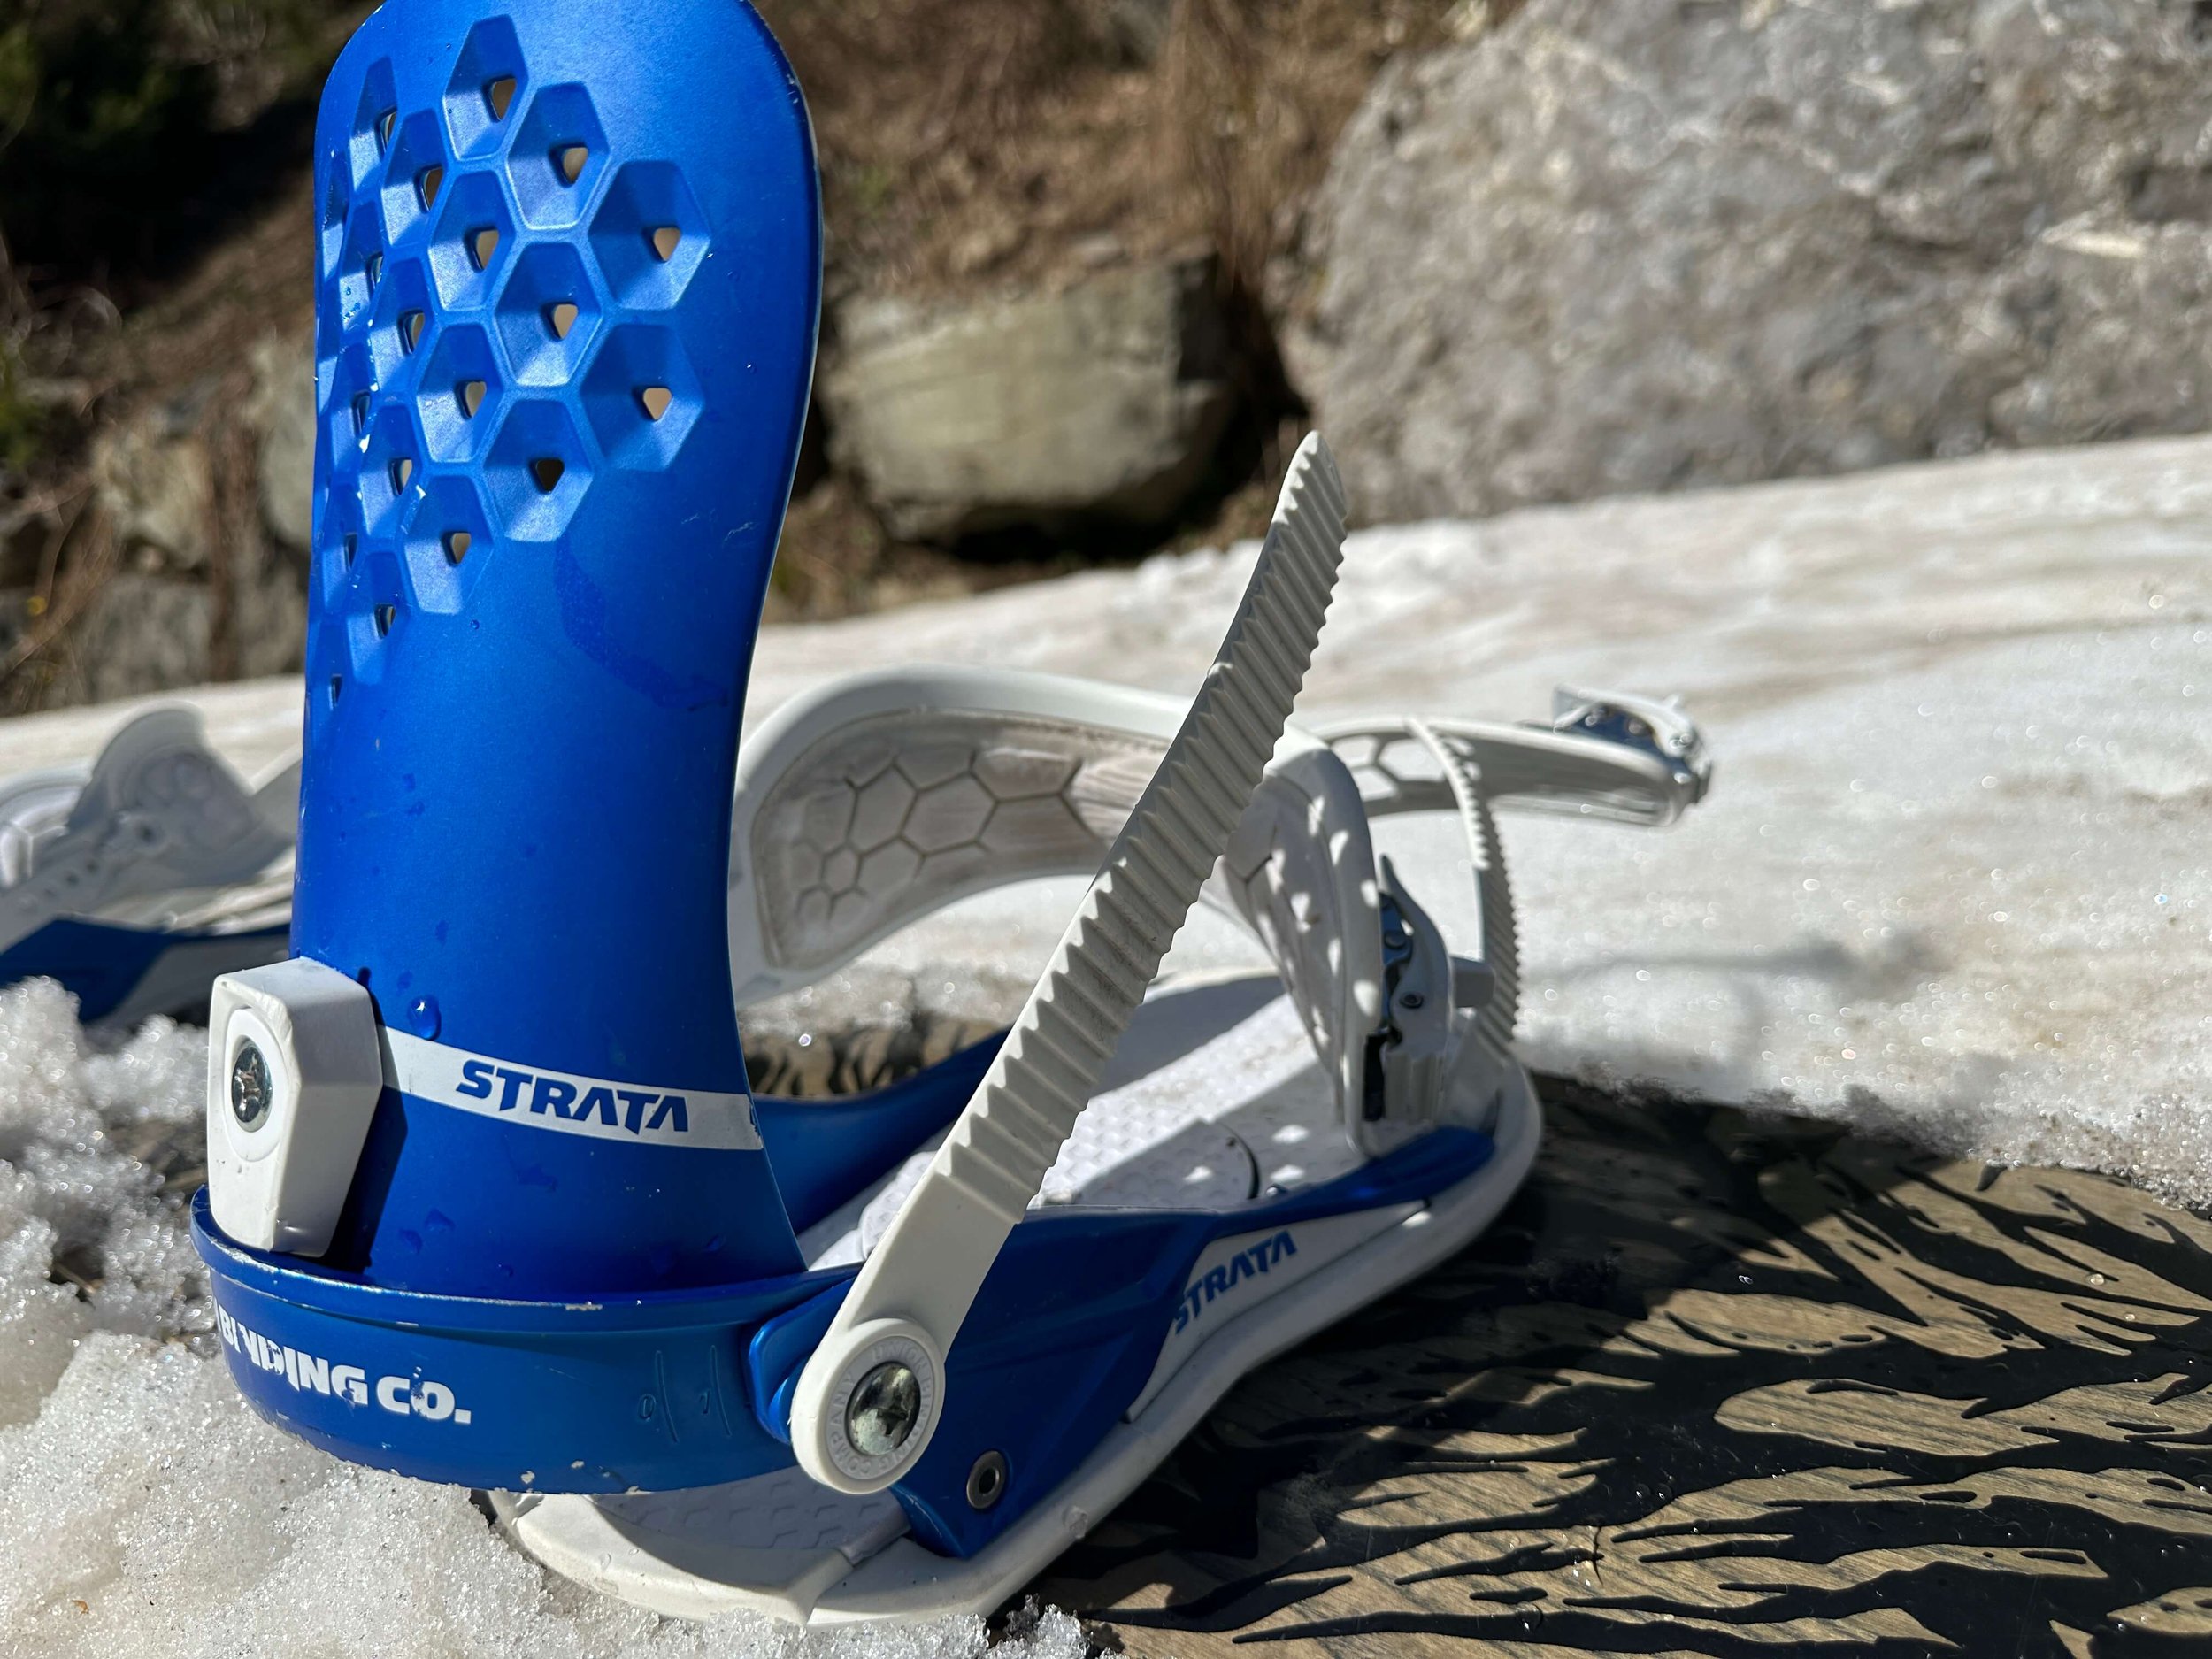
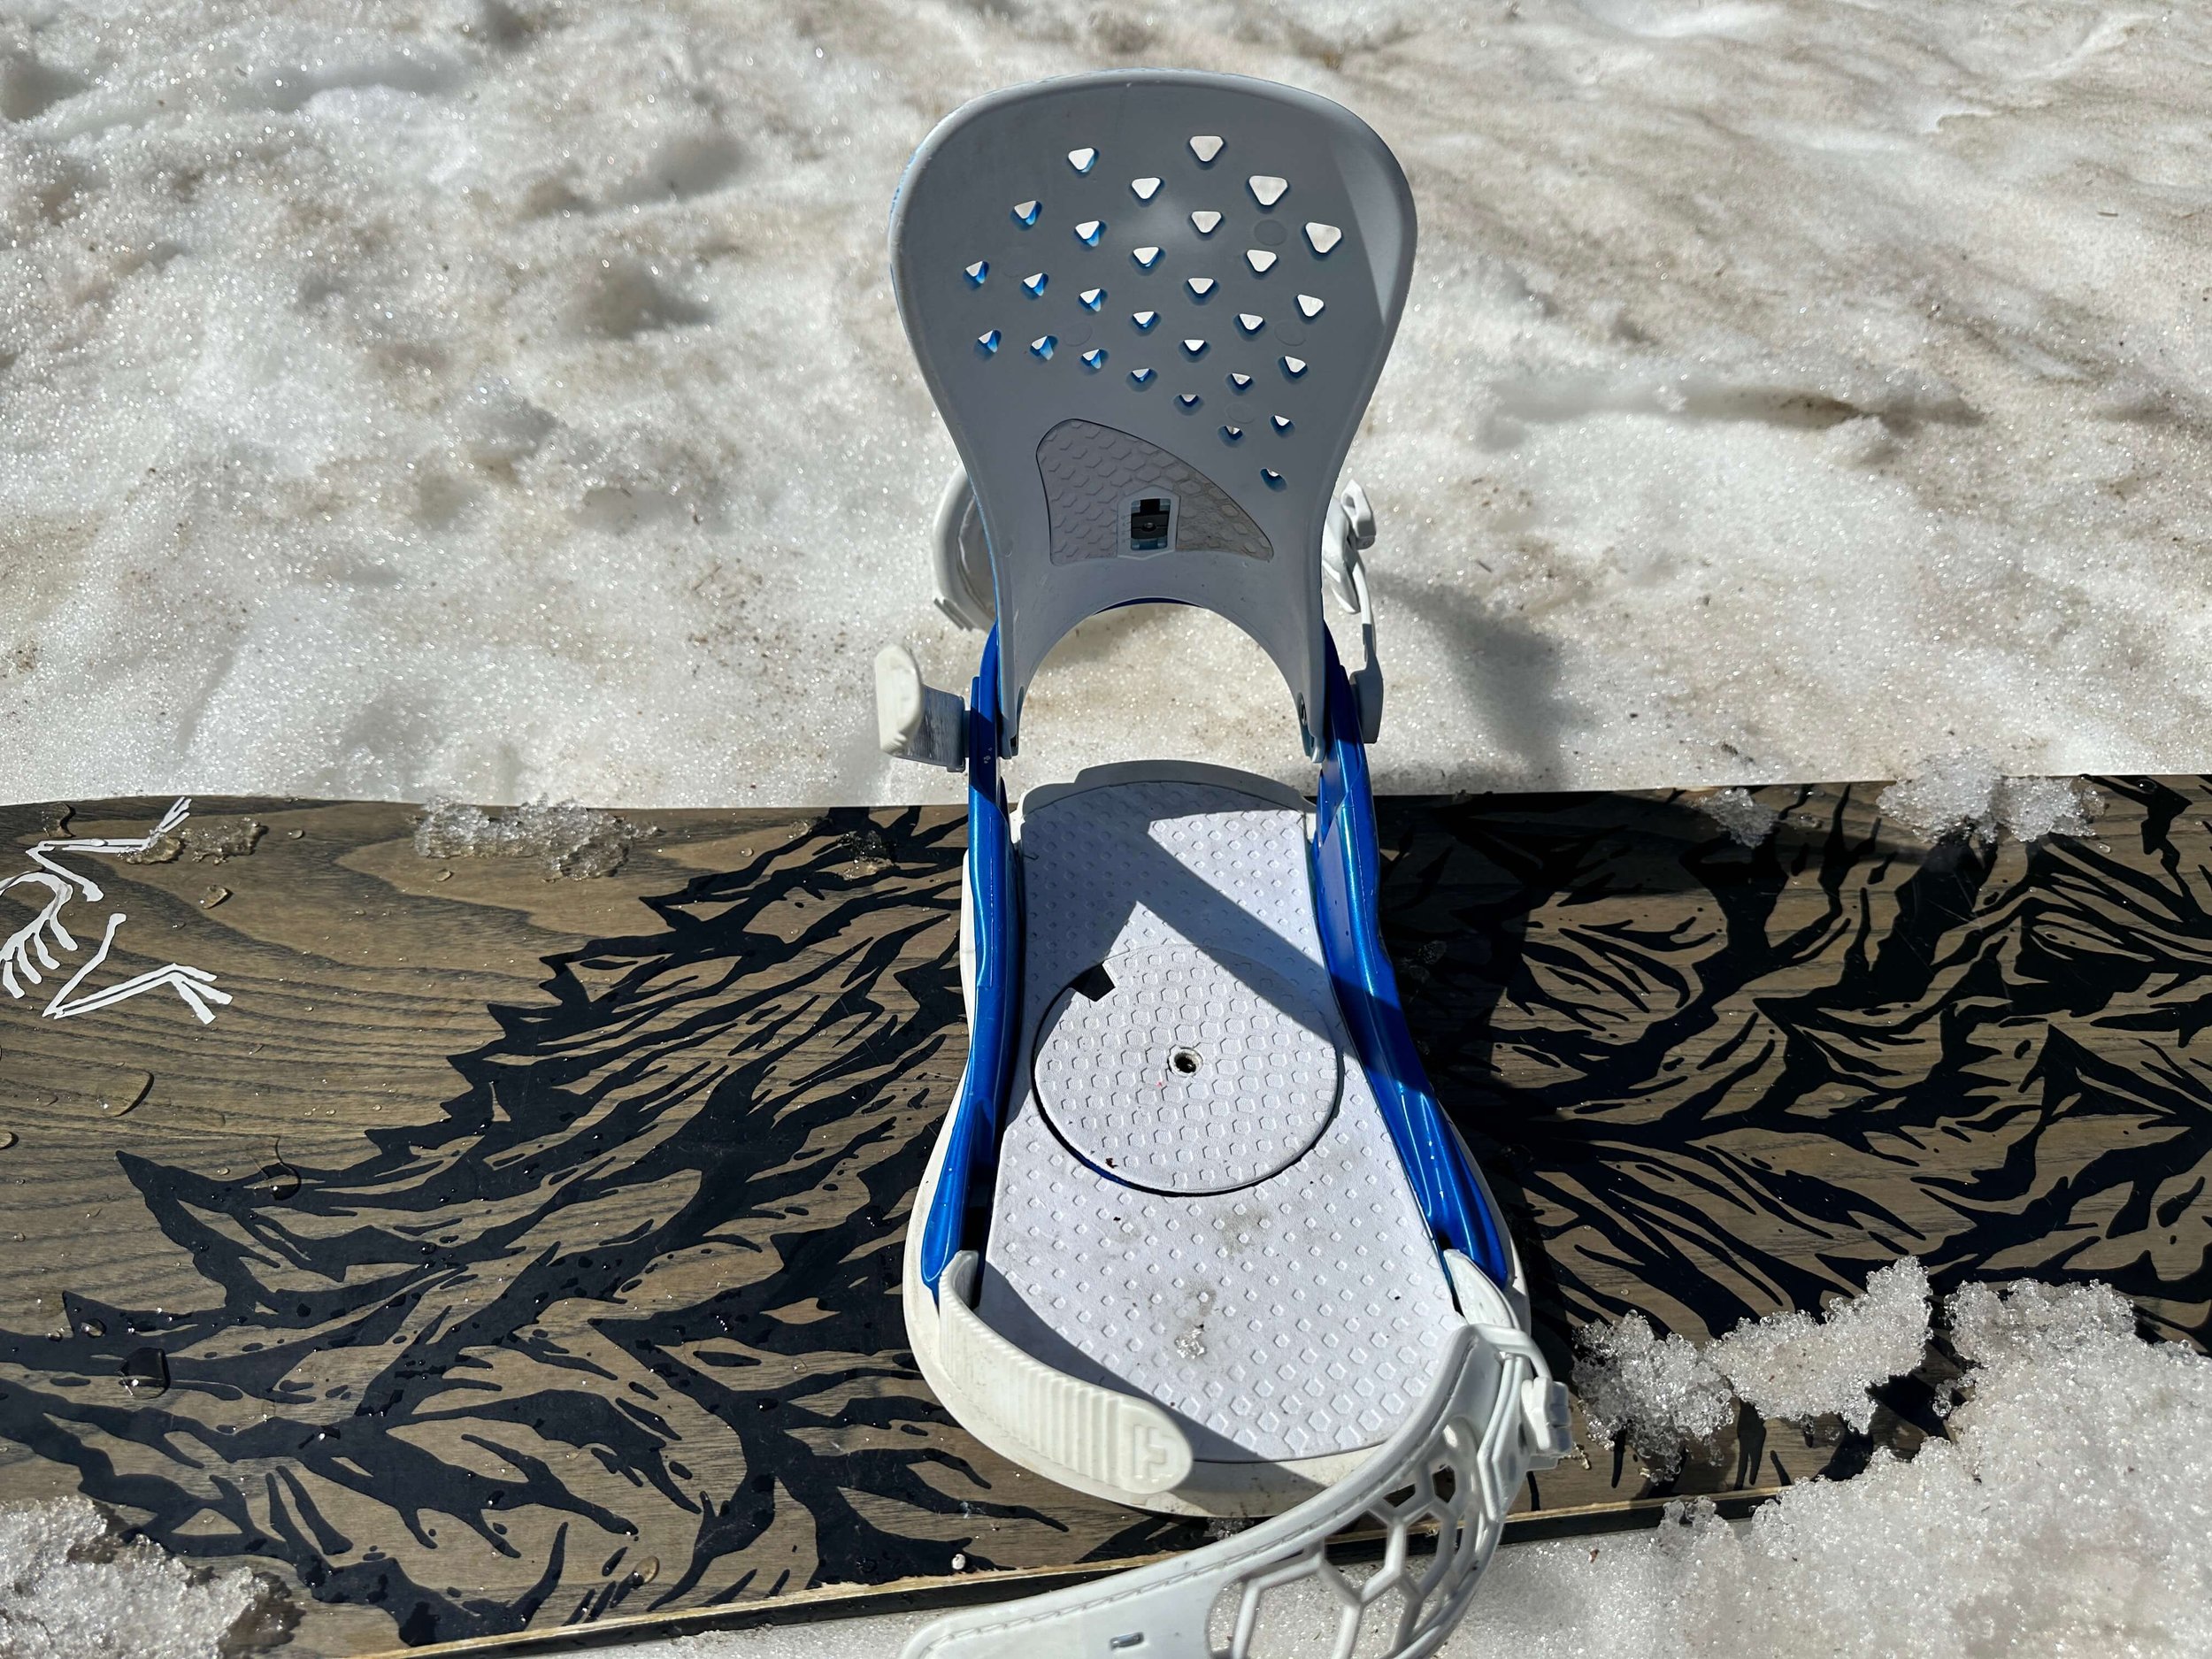
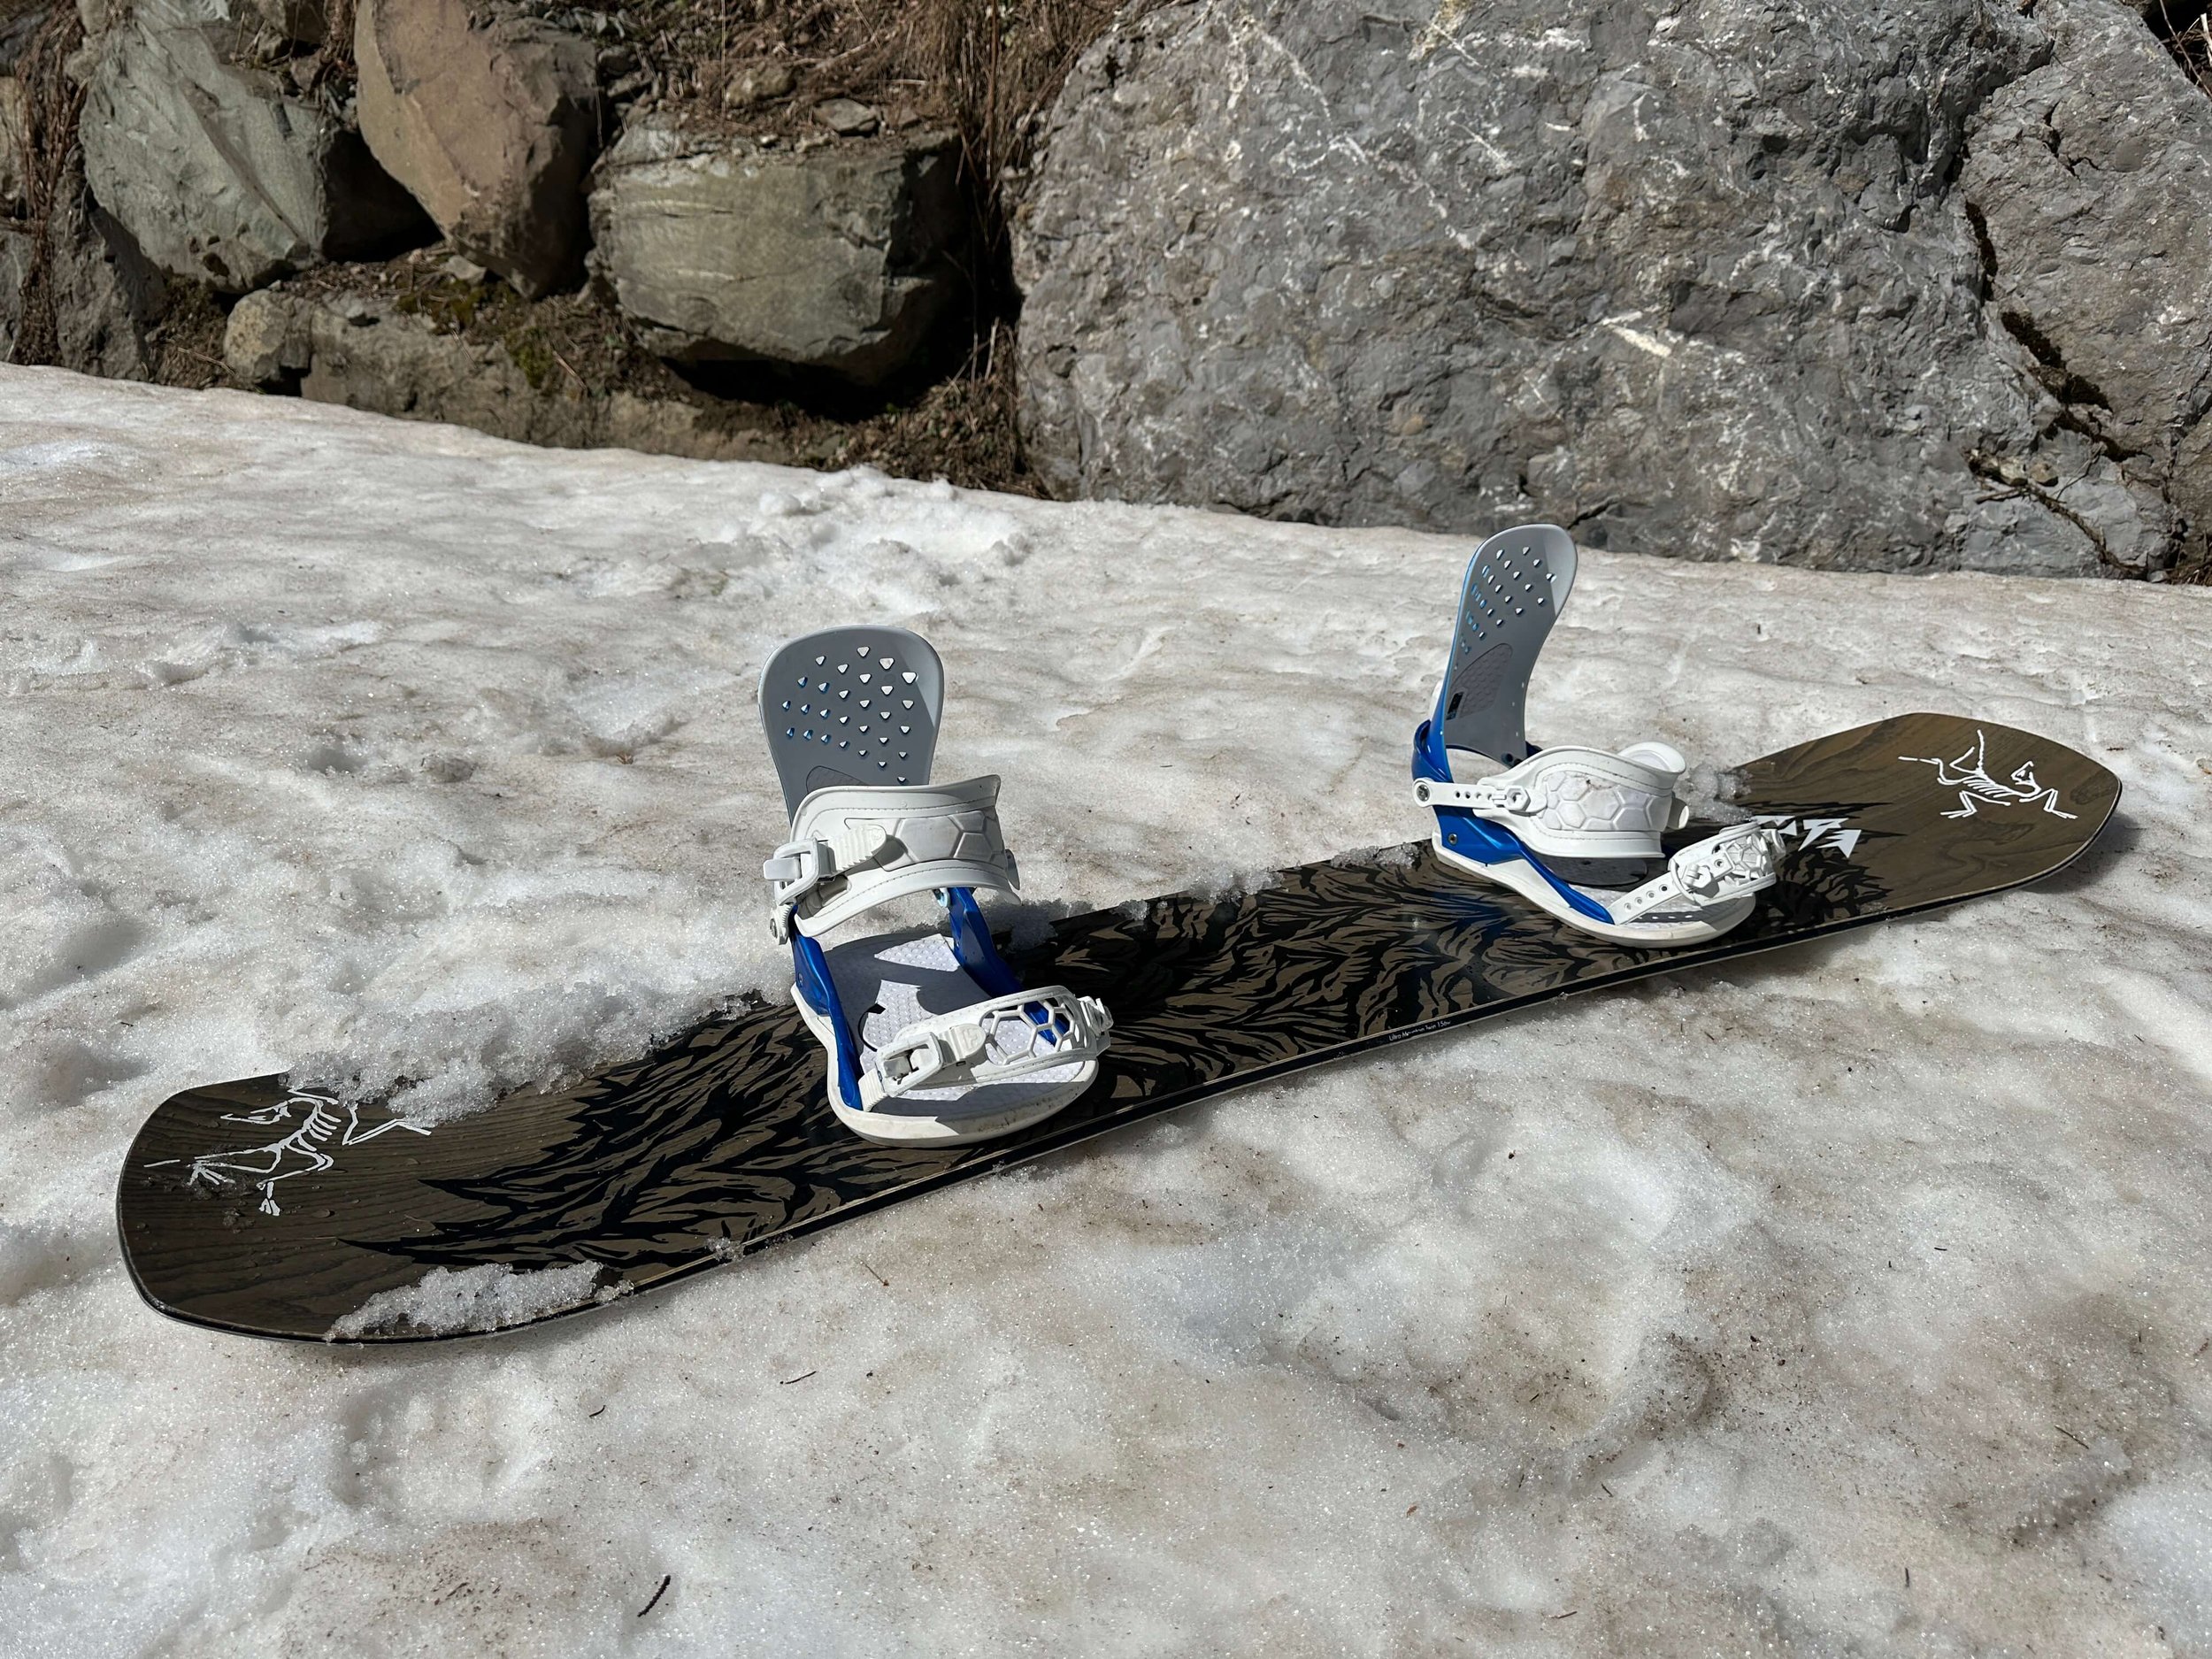

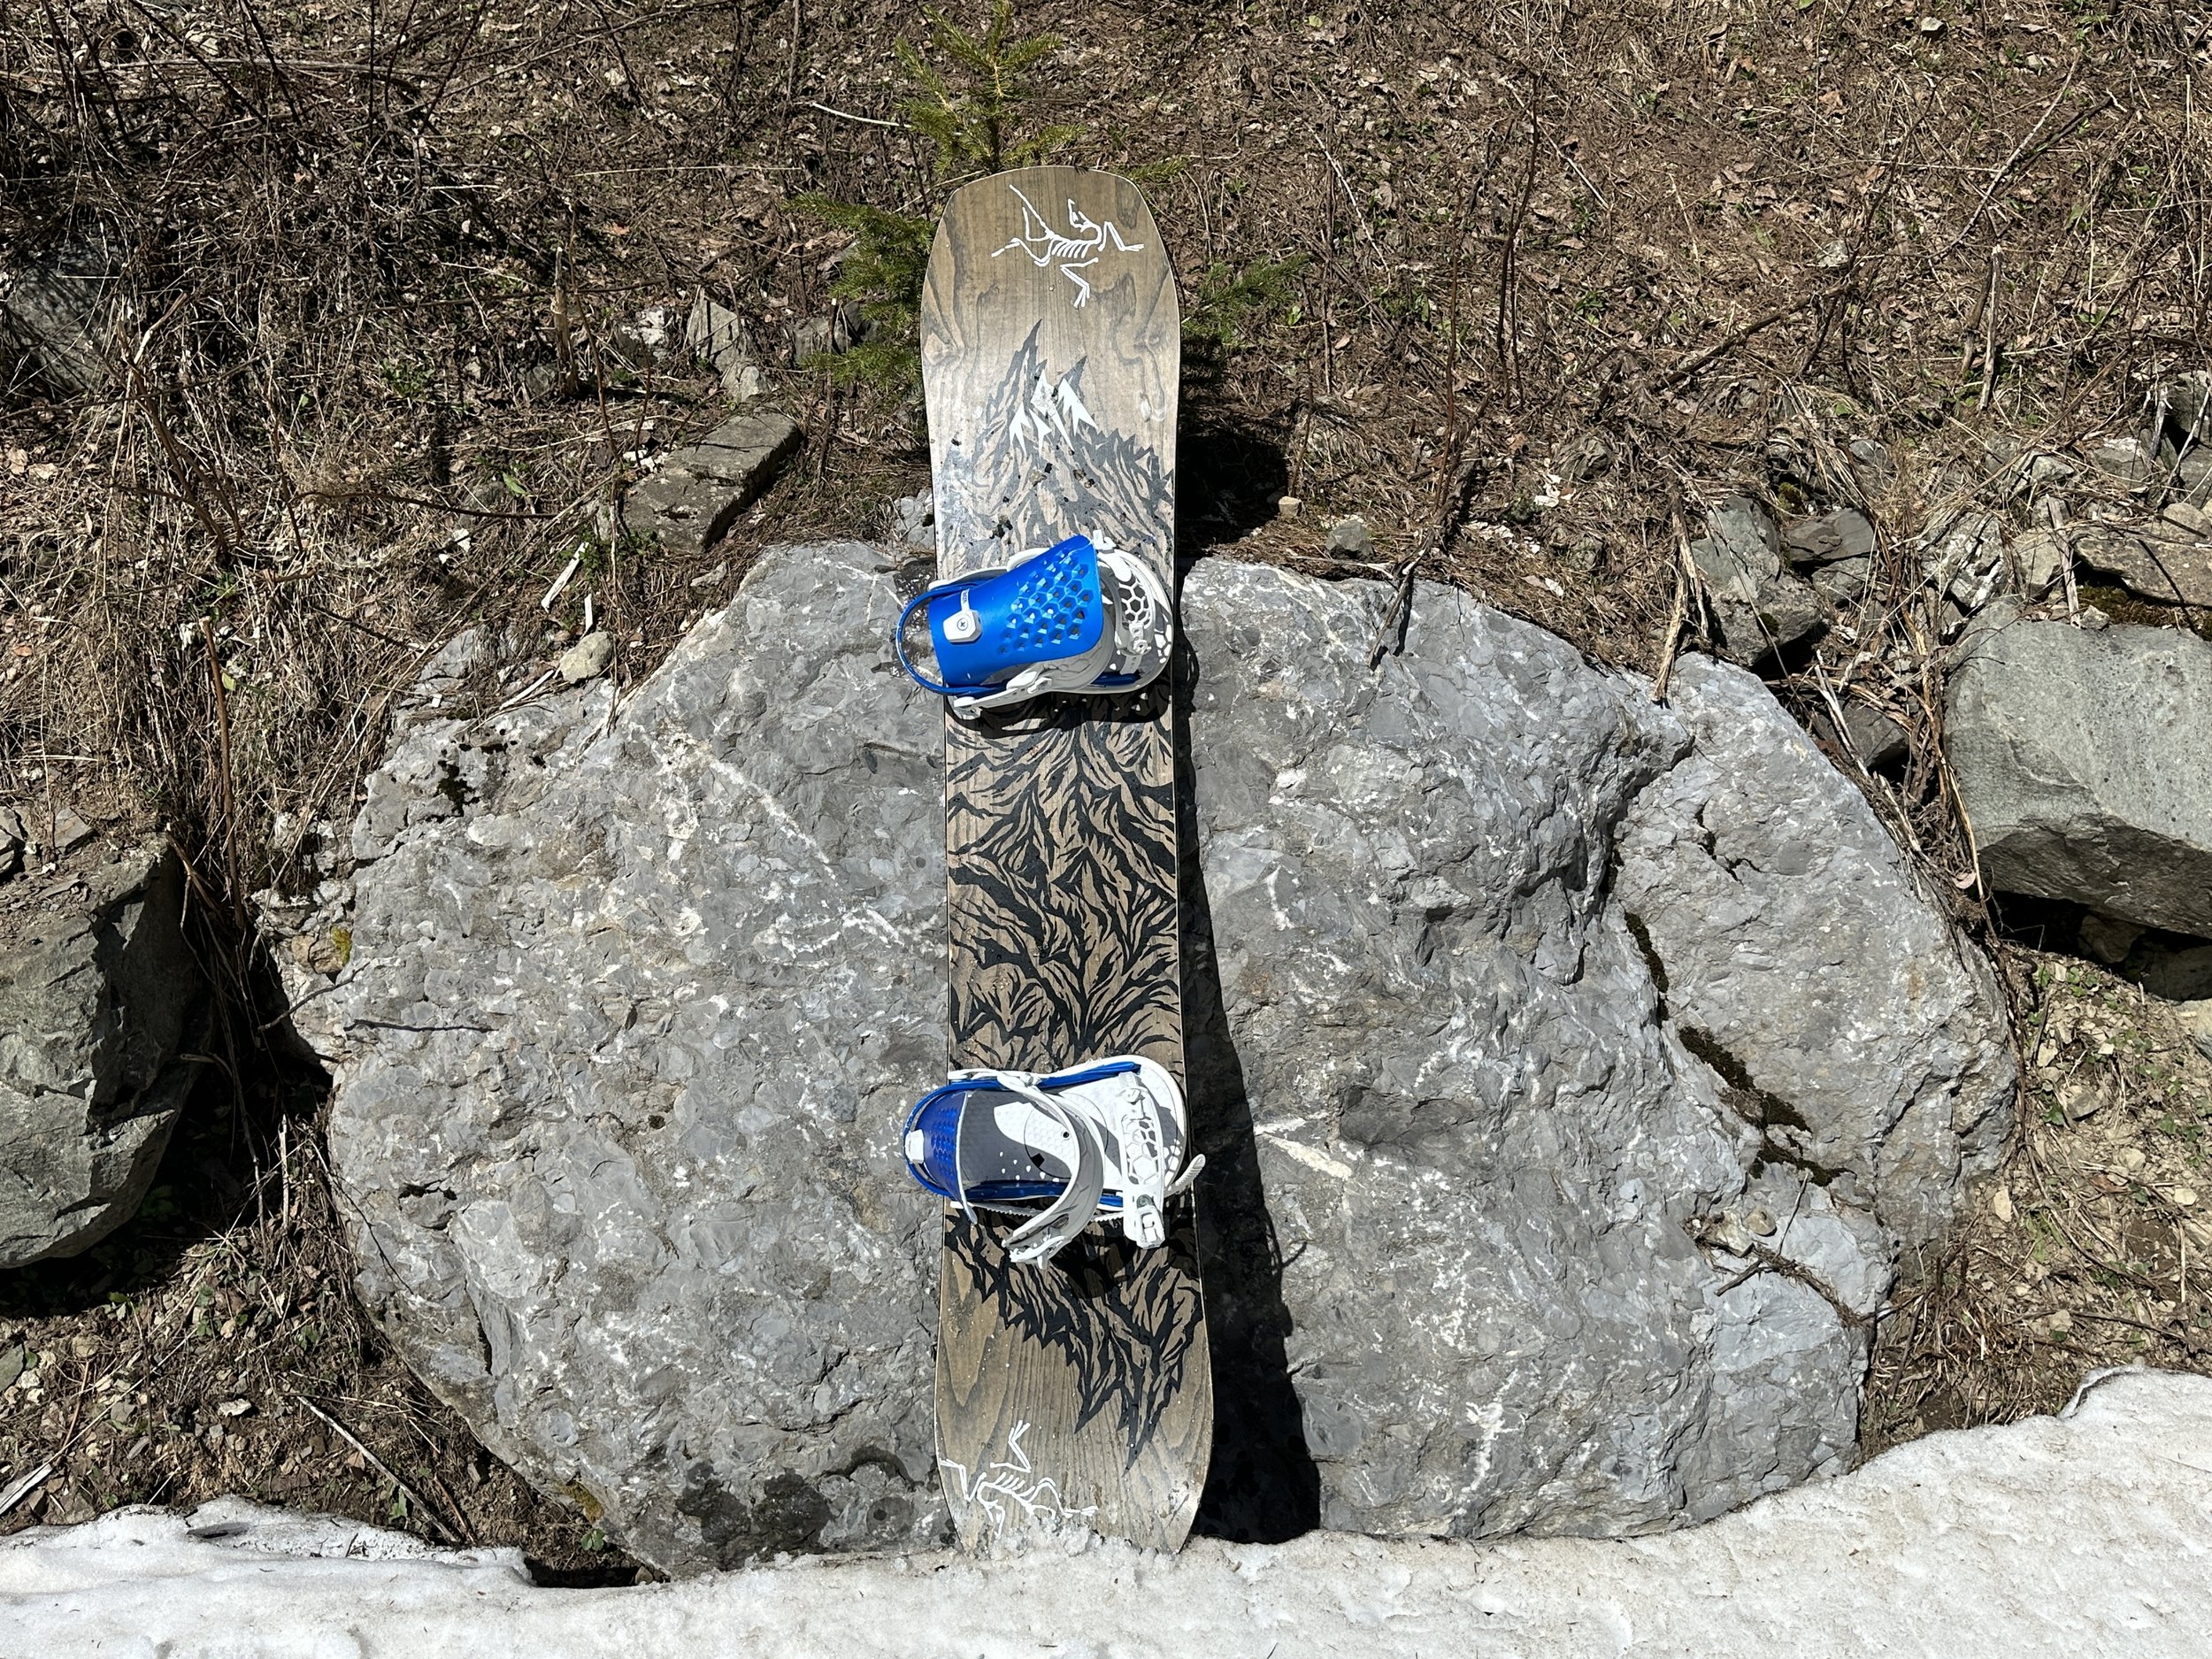
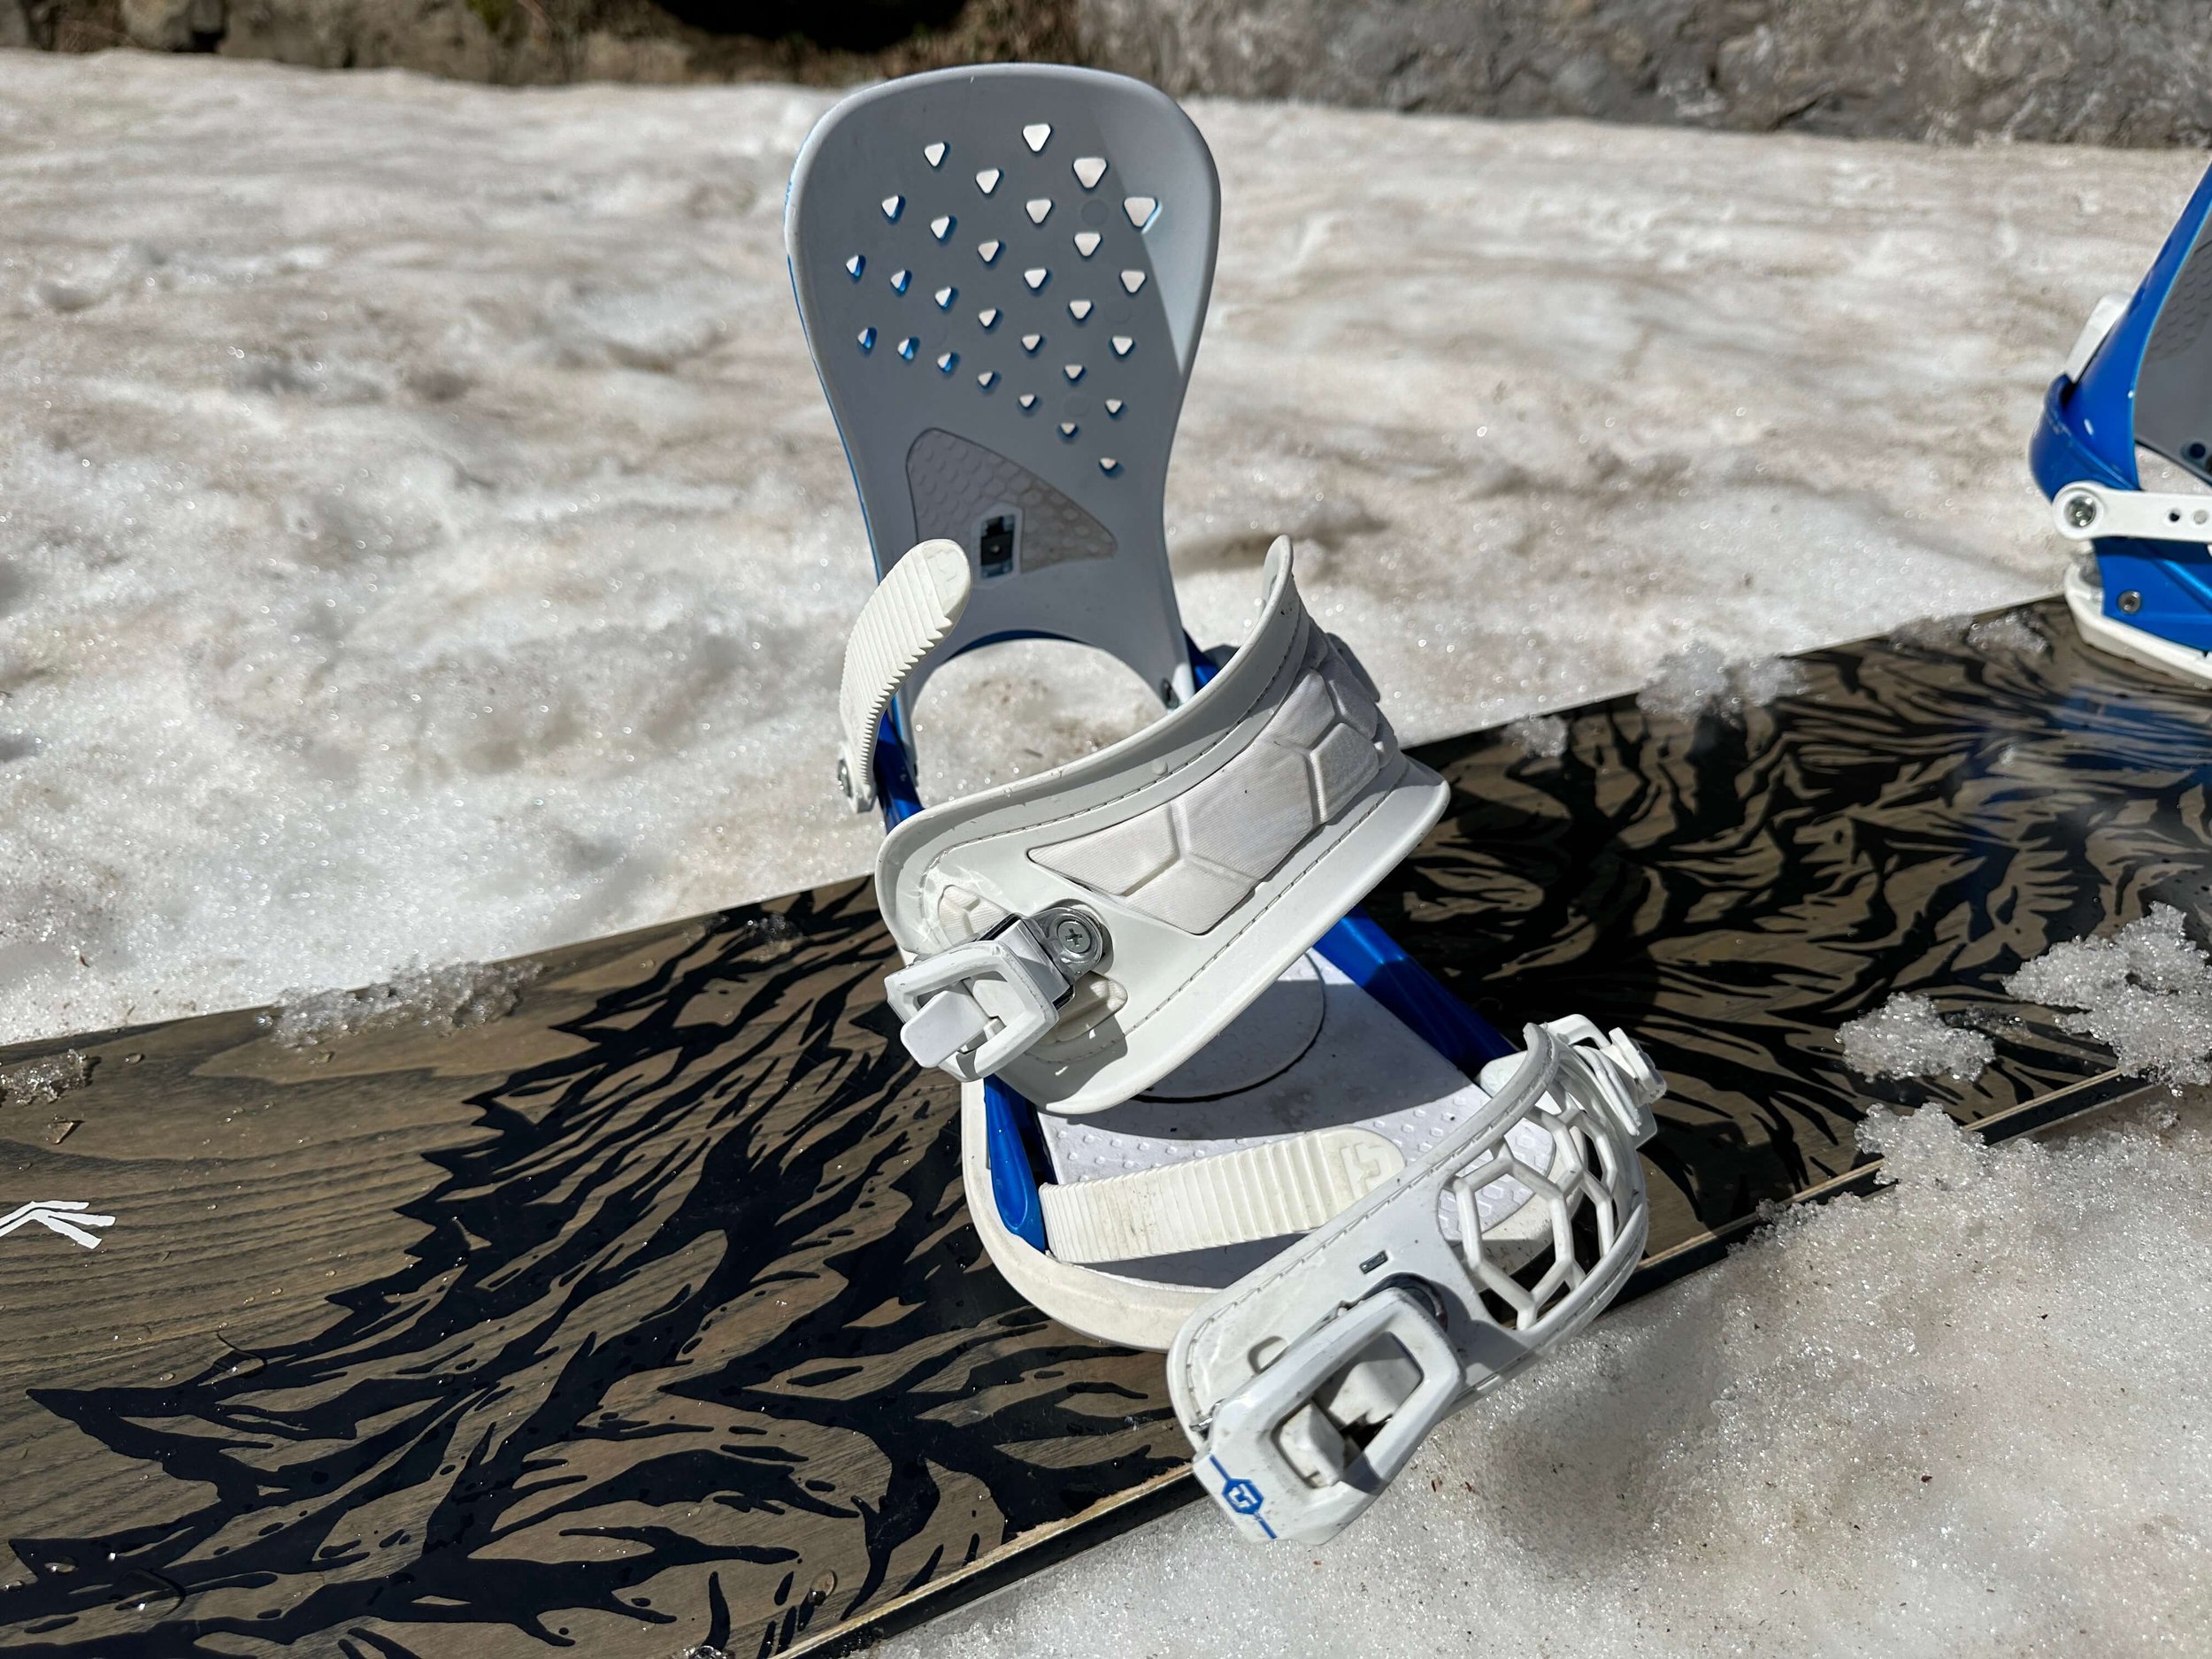
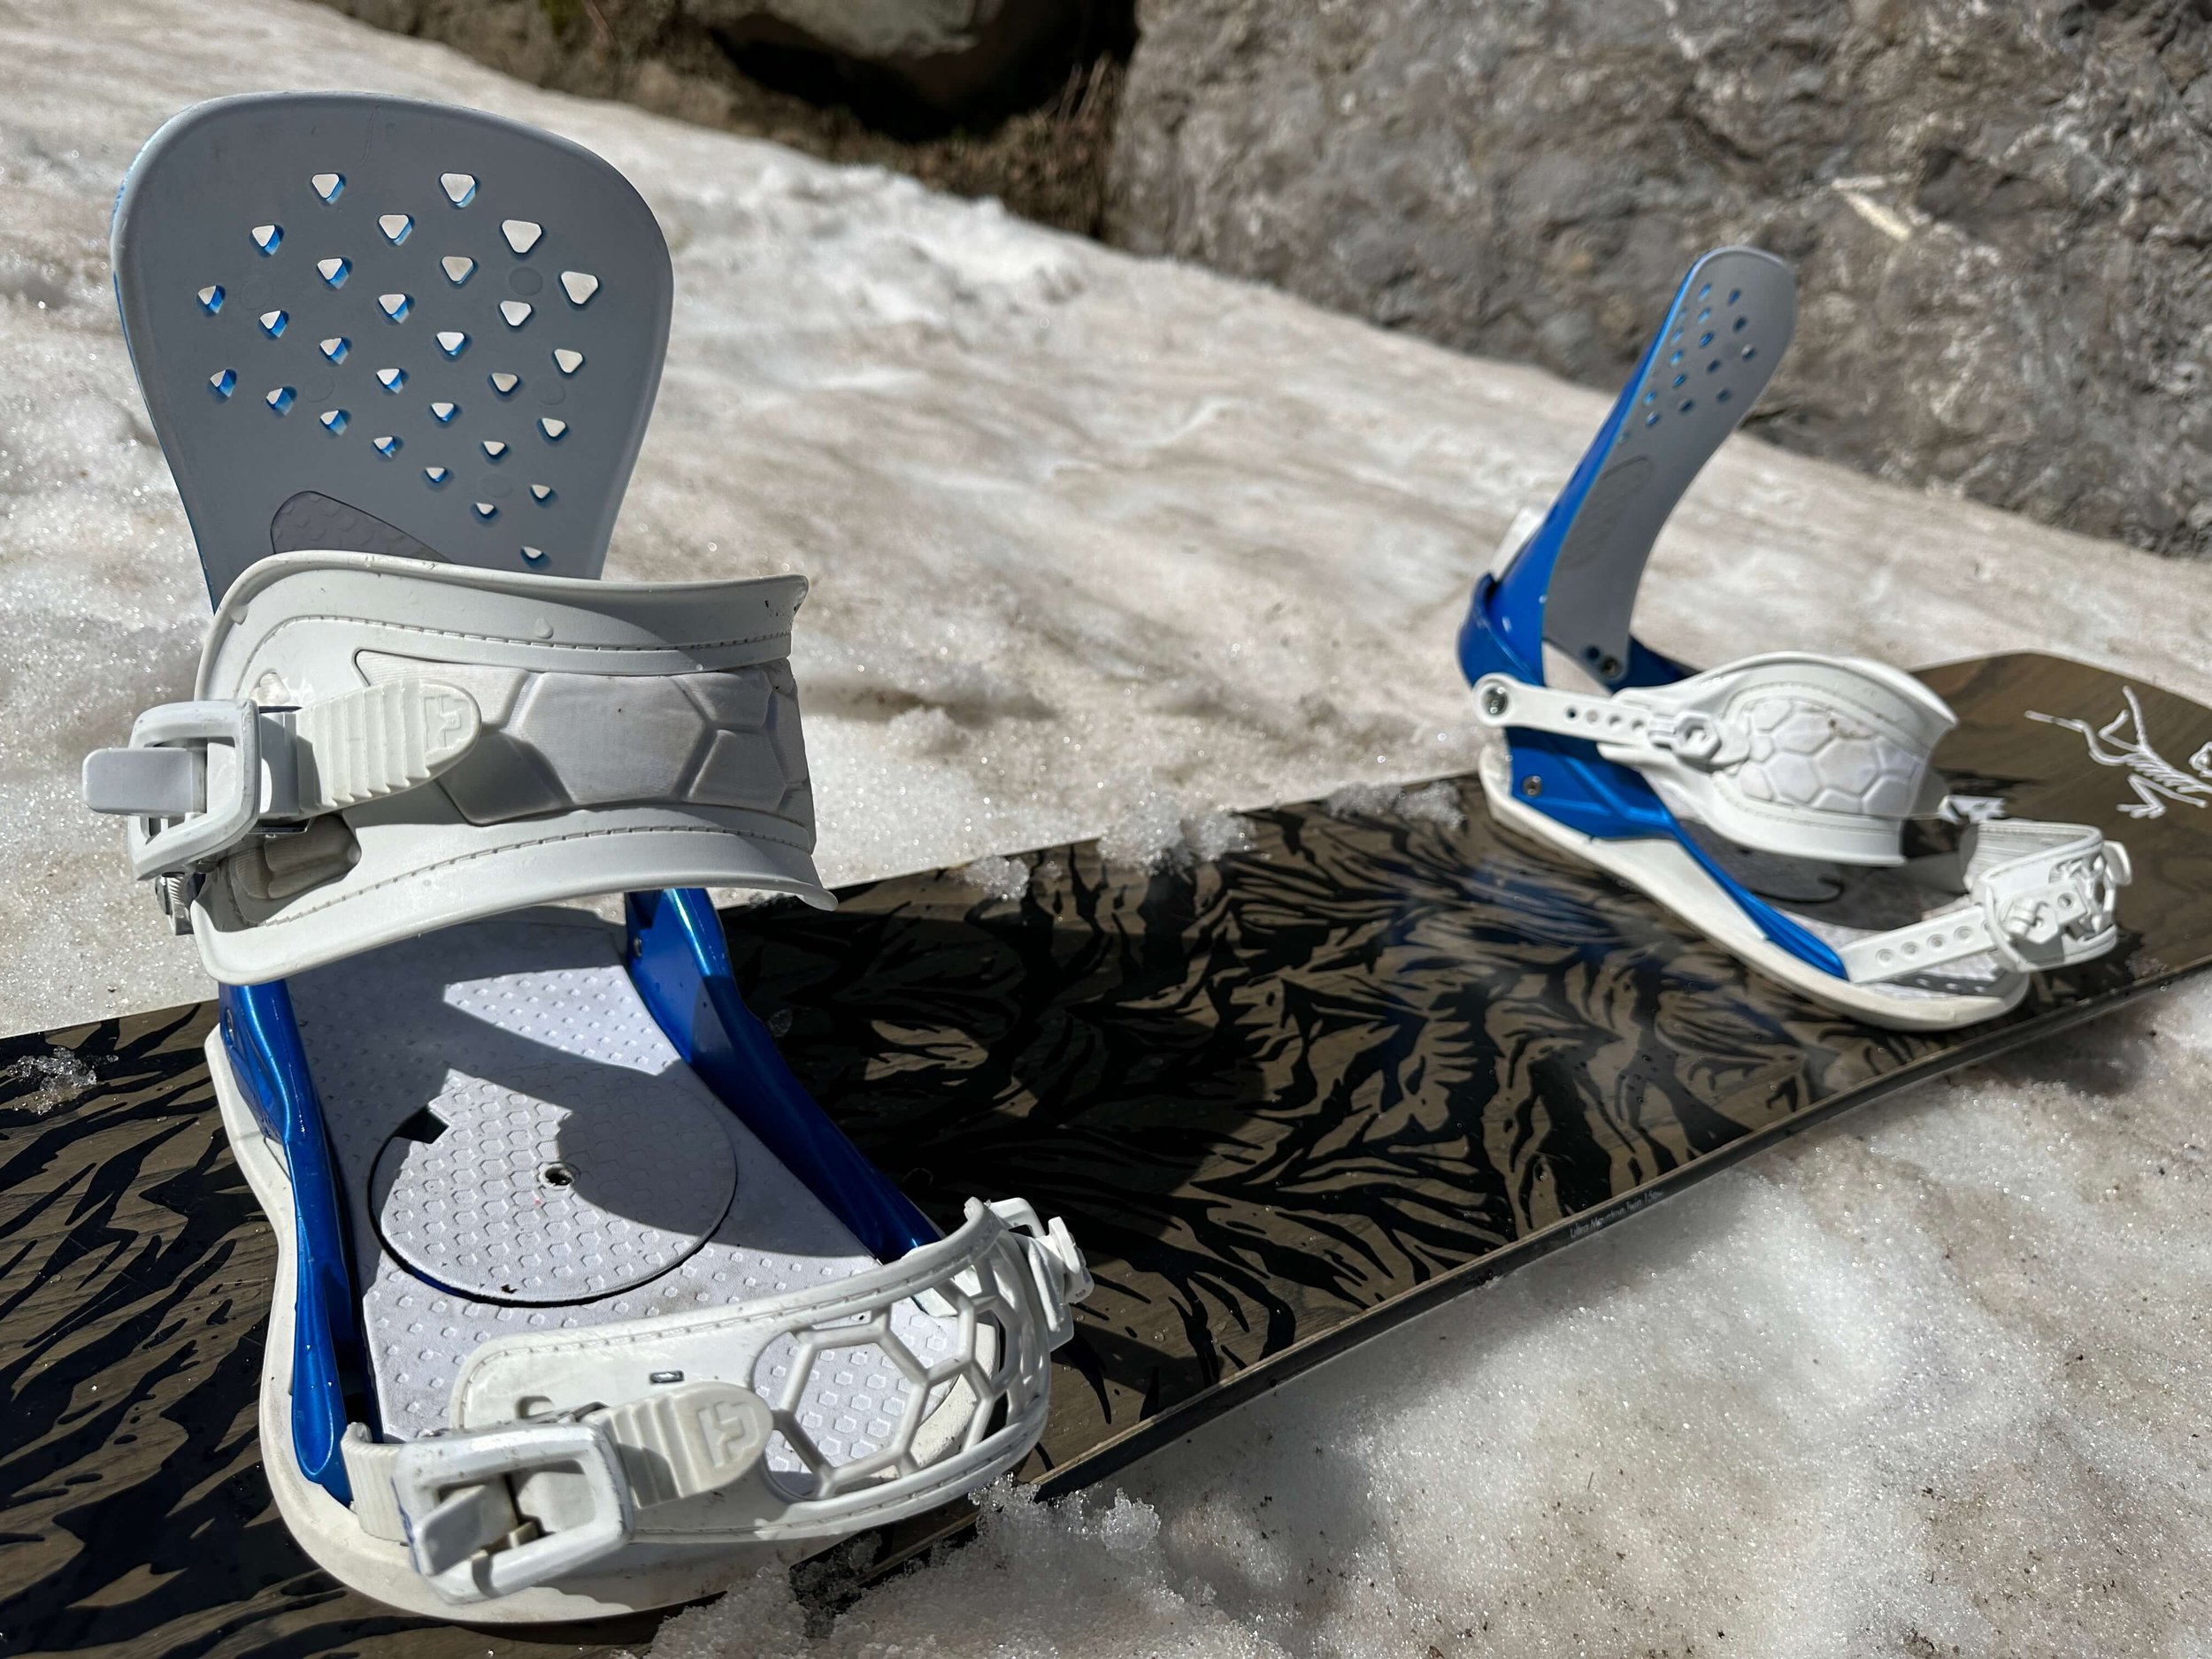
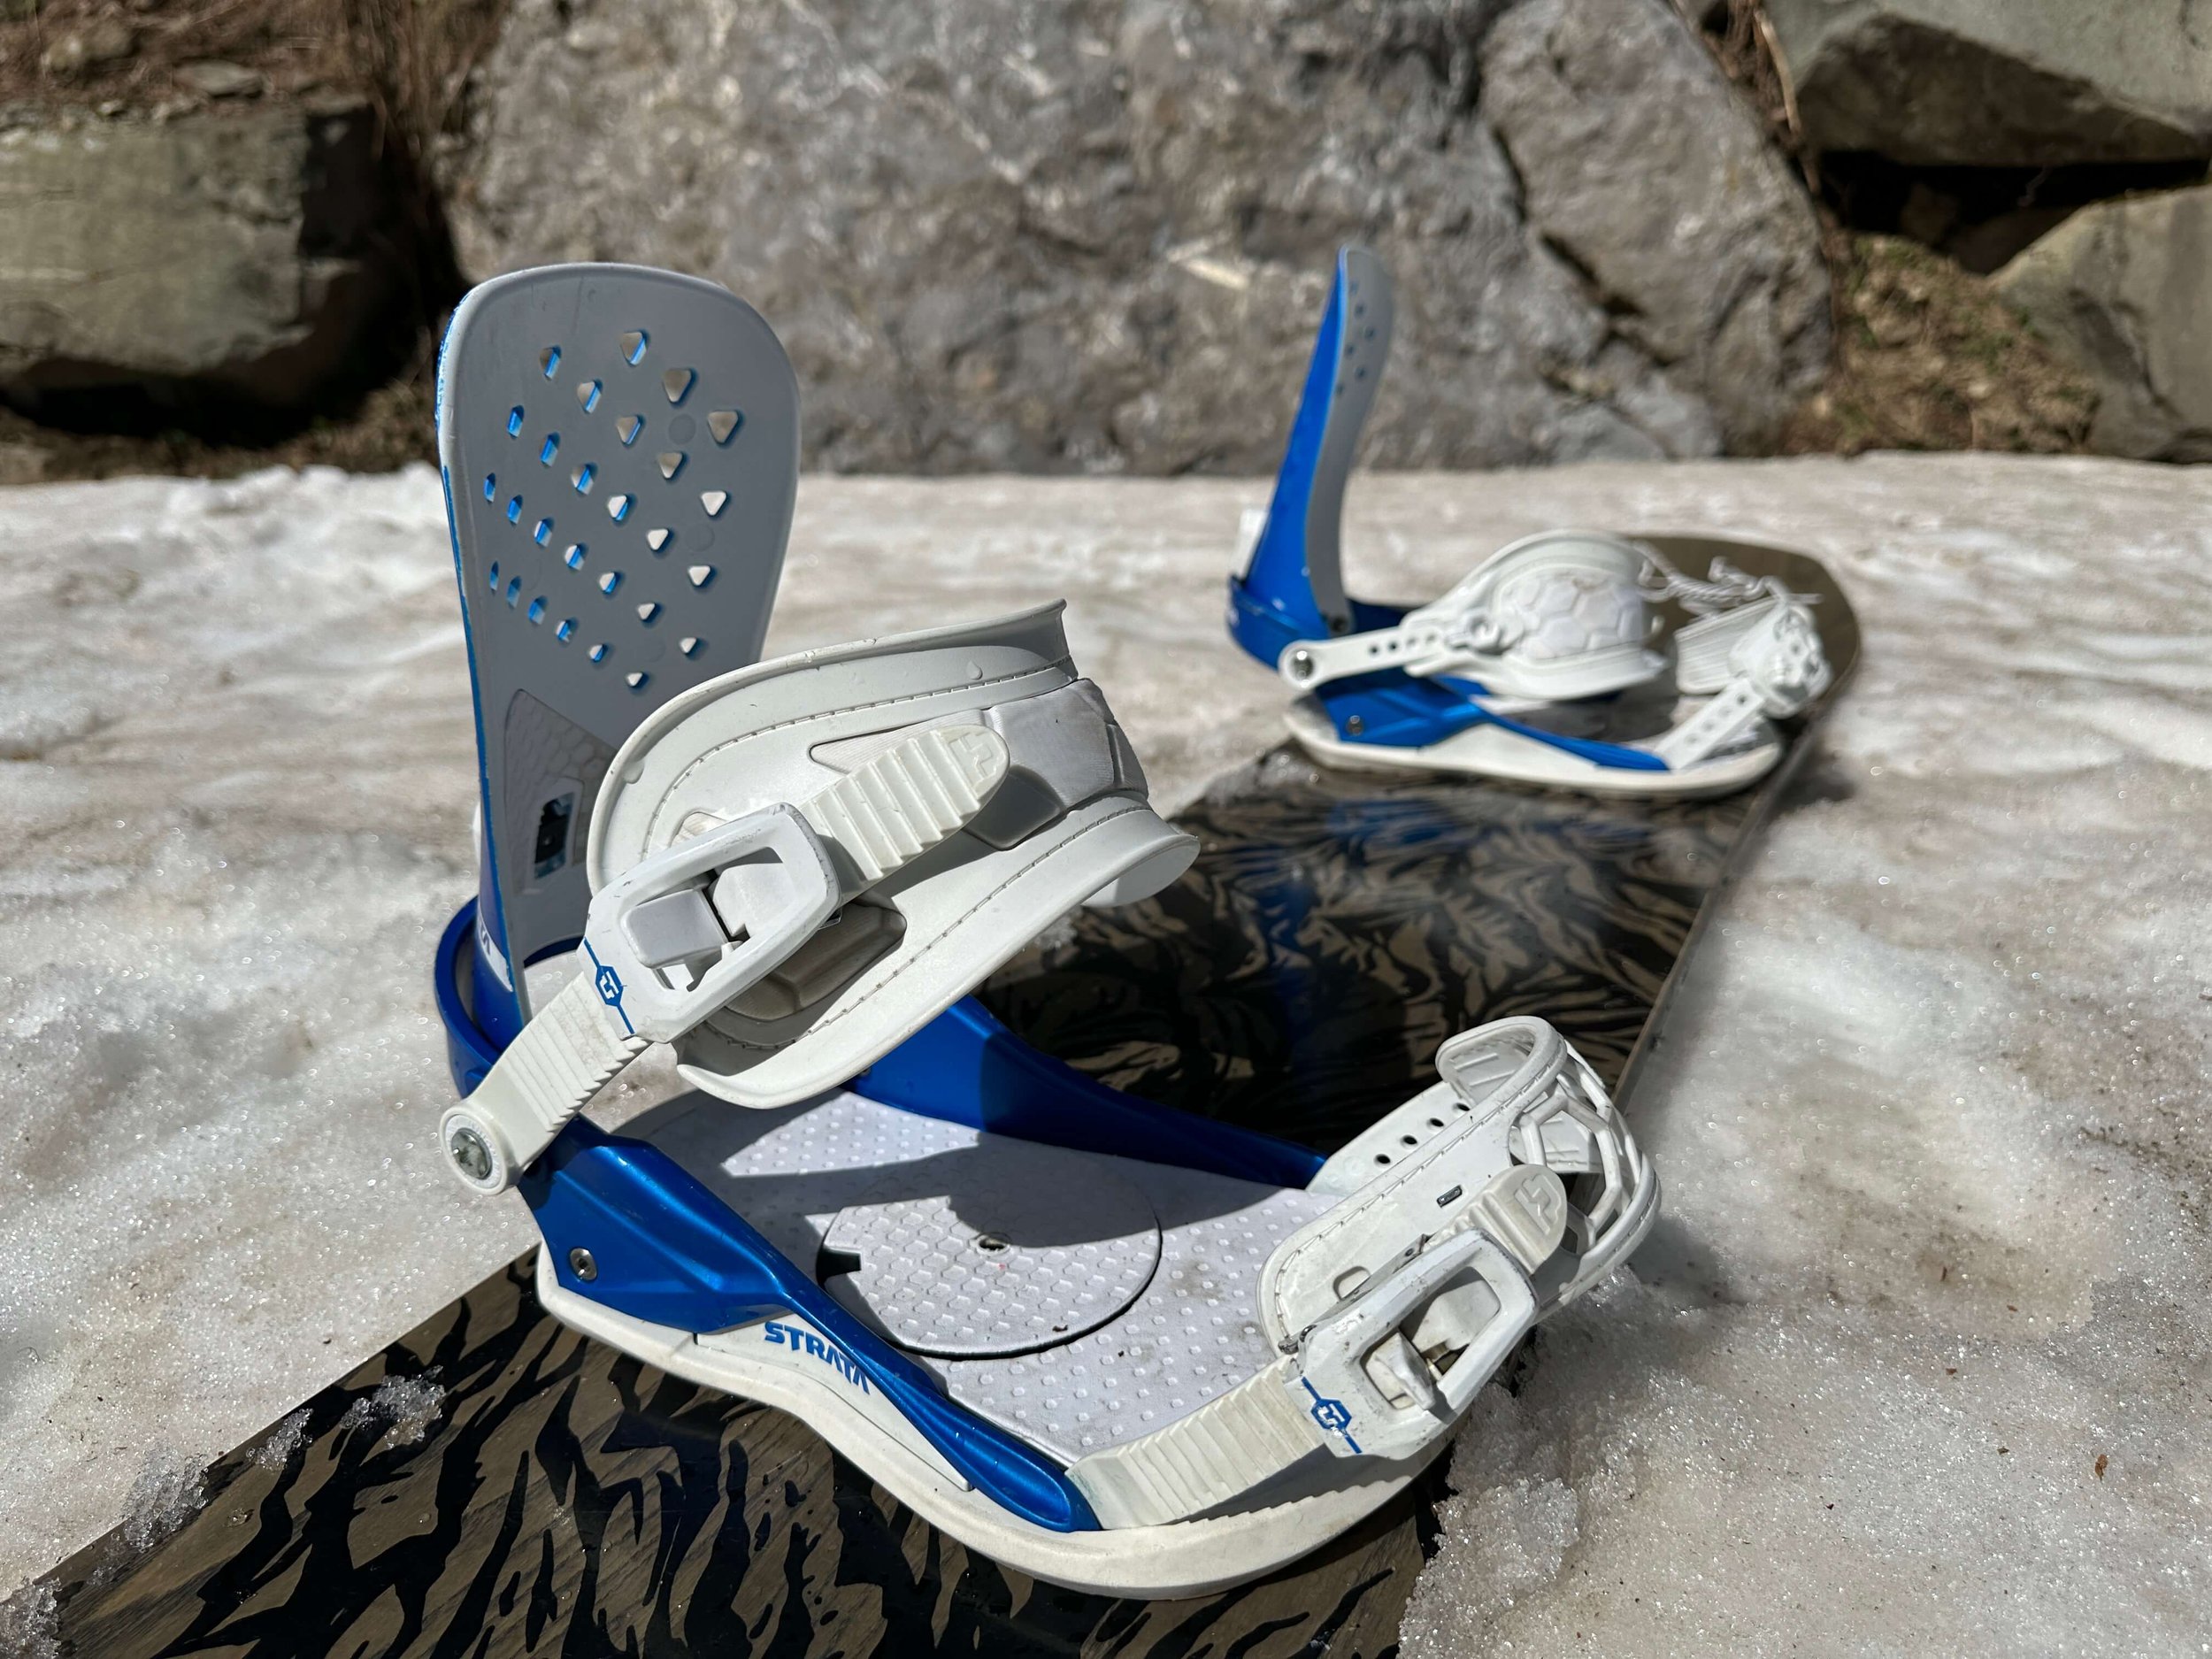
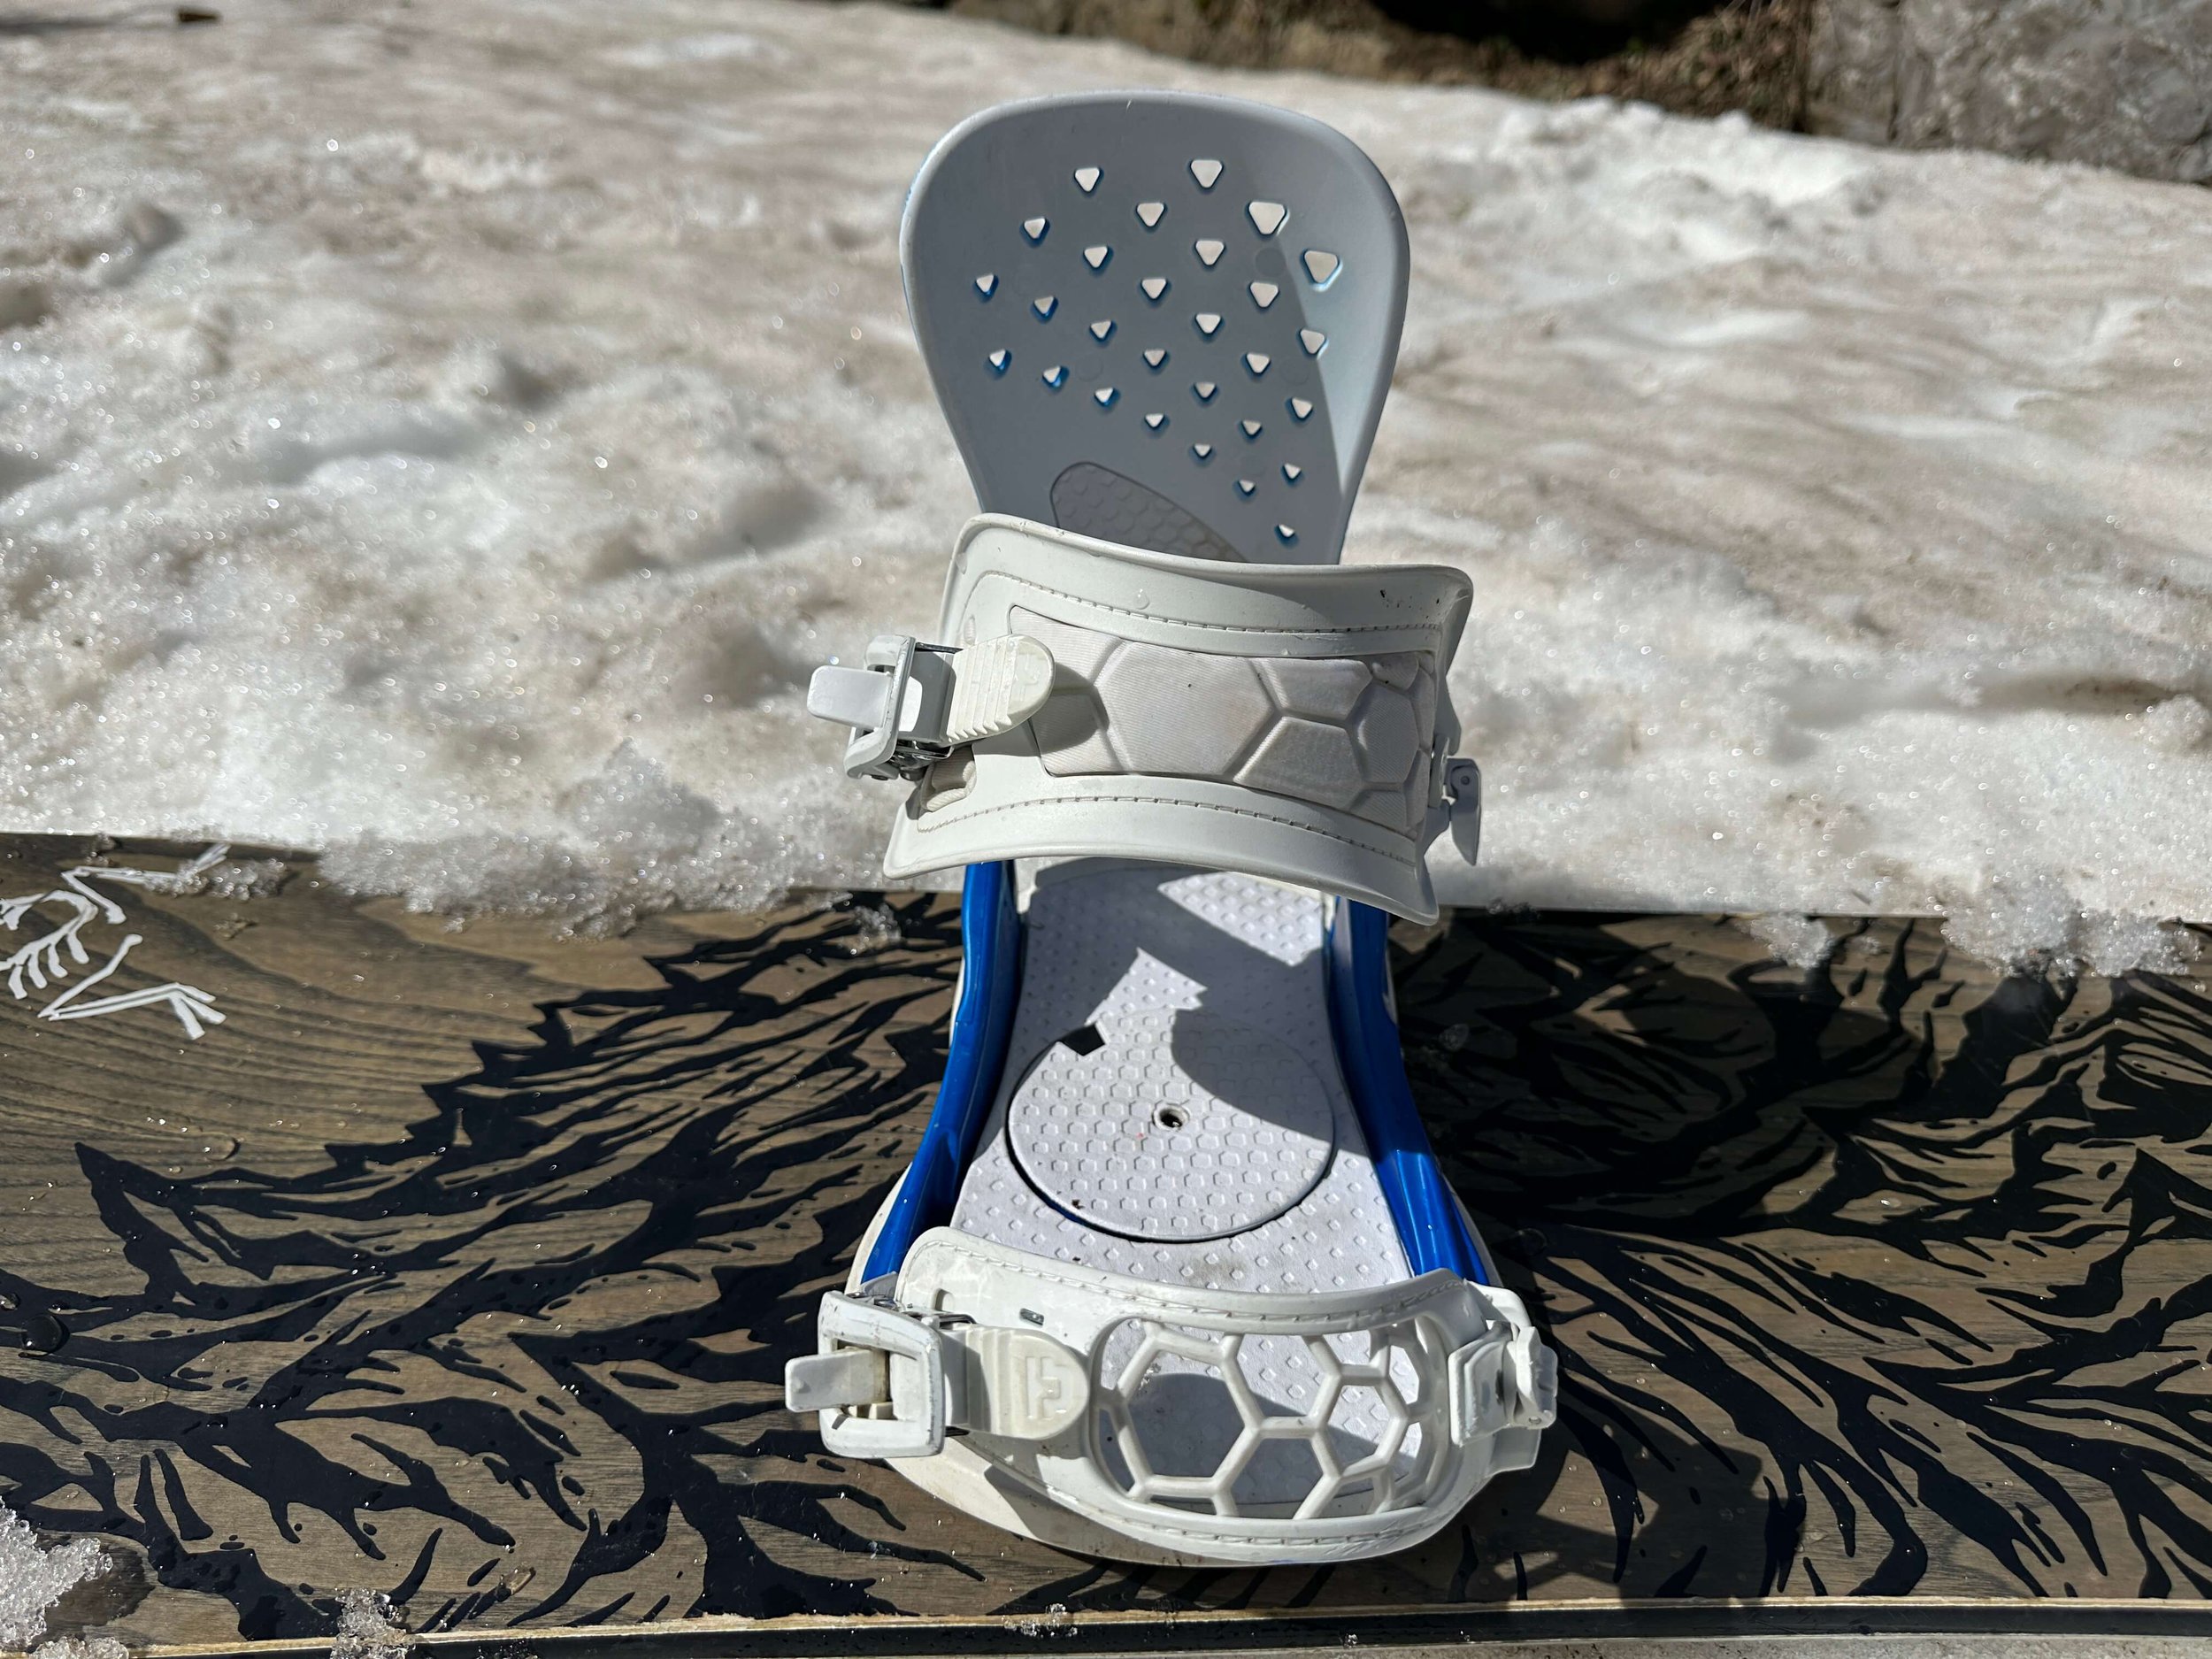
STYLE
The Strata snowboard bindings from Union are an all-mountain binding with a freestyle feel. These are not the stiffest binding but neither are they wishy washy, the Union Strata is capable of exploring everywhere. Both videos below were filmed whilst wearing the Union Strata Bindings, from park to pow they deliver.
COST
The Union Strata snowboard binding has a RRP of £240 in the UK which sits it in the moderately priced category. The Union Strata is £70 cheaper than the popular Union Atlas and £170 cheaper than the Union Atlas Pro. When you factor in that the Union Strata is regularly available in the sales for closer to £160/£170 they represent great value.
COMFORT
The comfort of the Union Strata snowboard bindings is fantastic. I love the straps and how they hug your boots in a secure but not straight jacket way. The straps have some give/flex which means you don’t get any pressure points across the boot. Similarly, the high-back doesn’t bite the back of your boots so comfort has never been an issue for me in these.
Union Strata Comfort
The footbed is cushioned and adds some great shock absorbtion to these bindings further adding to the comfort of riding the Union Strata bindings.
FLEX
Union rates the Strata as a medium flex 6/10 and I’d say this feels true. The Strata highback feels firm for a freestyle-inspired binding but this also helps its all-mountain appeal.
DURABILITY
Long gone are the days of losing ankle straps on Union Bindings with any issues regarding the screws well and truly resolved. The Union Strata snowboard bindings have stood the test of time.
The baseplate and highback are in great condition with only the expected scratches from multiple seasons of use. The straps are dirty but function like day one. My only issue has been one buckle that recently had started to stick when unlocking. I tightened a screw and this issue was resolved.
Union Strata Bindings
STRAPS
To me the straps on a snowboard binding rate highly as to whether I am going to get along with the binding as a whole. A good easy to use strap with smooth buckles makes all the difference for a day on snow. The Union Strata has this smooth transition out of the binding with the quick release buckles and they are equally smooth to lock in. The Union Strata toe strap is one of my favourites across different bindings with the webbing really wrapping around your boots and pulling the boot back into the binding.
FINAL THOUGHTS
The Union Strata bindings have been a fantastic addition to my gear room and I never worry about them when out on the hill. The Union Strata will take you anywhere on the mountain and ultimately that’s what I am looking for in a snowboard binding. These Union bindings are comfortable and have lasted the test of time. A win for me.
SUPPORT FUTURE CONTENT
If you found this post useful then consider supporting future content by purchasing through the Amazon Link below or using this link to Buy me A Coffee

Hestra Heli Ski Glove Reviews | Hestra Gloves

For the harshest weather and the deepest storms, the Hestra Heli Gloves will keep you warm and dry lap after lap.
The Hestra Heli Ski Gloves are part of the Alpine Pro range which is the Swedish company’s attempt at delivering products that will stand up to the test in the harshest environments. To give them their full name, the Hestra Army Leather Heli Ski Gloves are an all-time classic. These gloves are the go-to for many ski instructors, mountain guides and all-out powder enthusiasts.
If you are looking for an under-the-cuff alternative to the Heli Ski Gloves, consider the Hestra Fall Line Mittens or Fall Line Gloves.
Hestra Heli Gloves Powder Protection
This review is my opinion of the Hestra Heli Ski Gloves which were purchased with my own money and have been worn on rotation since 2017. If you find it useful consider purchasing your pair through the affiliate links in the post to support the website and future content.
ABOUT ME
Before jumping into the full review it is worth noting the following information about me as a snowboarder. I tend to run warm, I have a tendency on all but the coldest days to remove gloves frequently due to overheating and feeling warm. This may skew my thoughts on these gloves warmth.
WHAT HESTRA SAY
Hestra's best-known ski glove is a modern classic with well-thought-out functionality. A long model suitable for those seeking powder snow and who need a warm, reliable comrade on the mountain. Removeable liner makes it easy to adapt to different temperatures and activity levels.
JUDGEMENT
The Hestra Heli Ski Mitt is my choice for powder days and when the temperature drops. These gloves are the ultimate barrier to the elements and have kept my hands warm and dry in the most extreme conditions on the mountain.
Below I will provide a more detailed review based on the following categories; Warmth, Dexterity, Waterproofing, Durability, Breathability, and Comfort
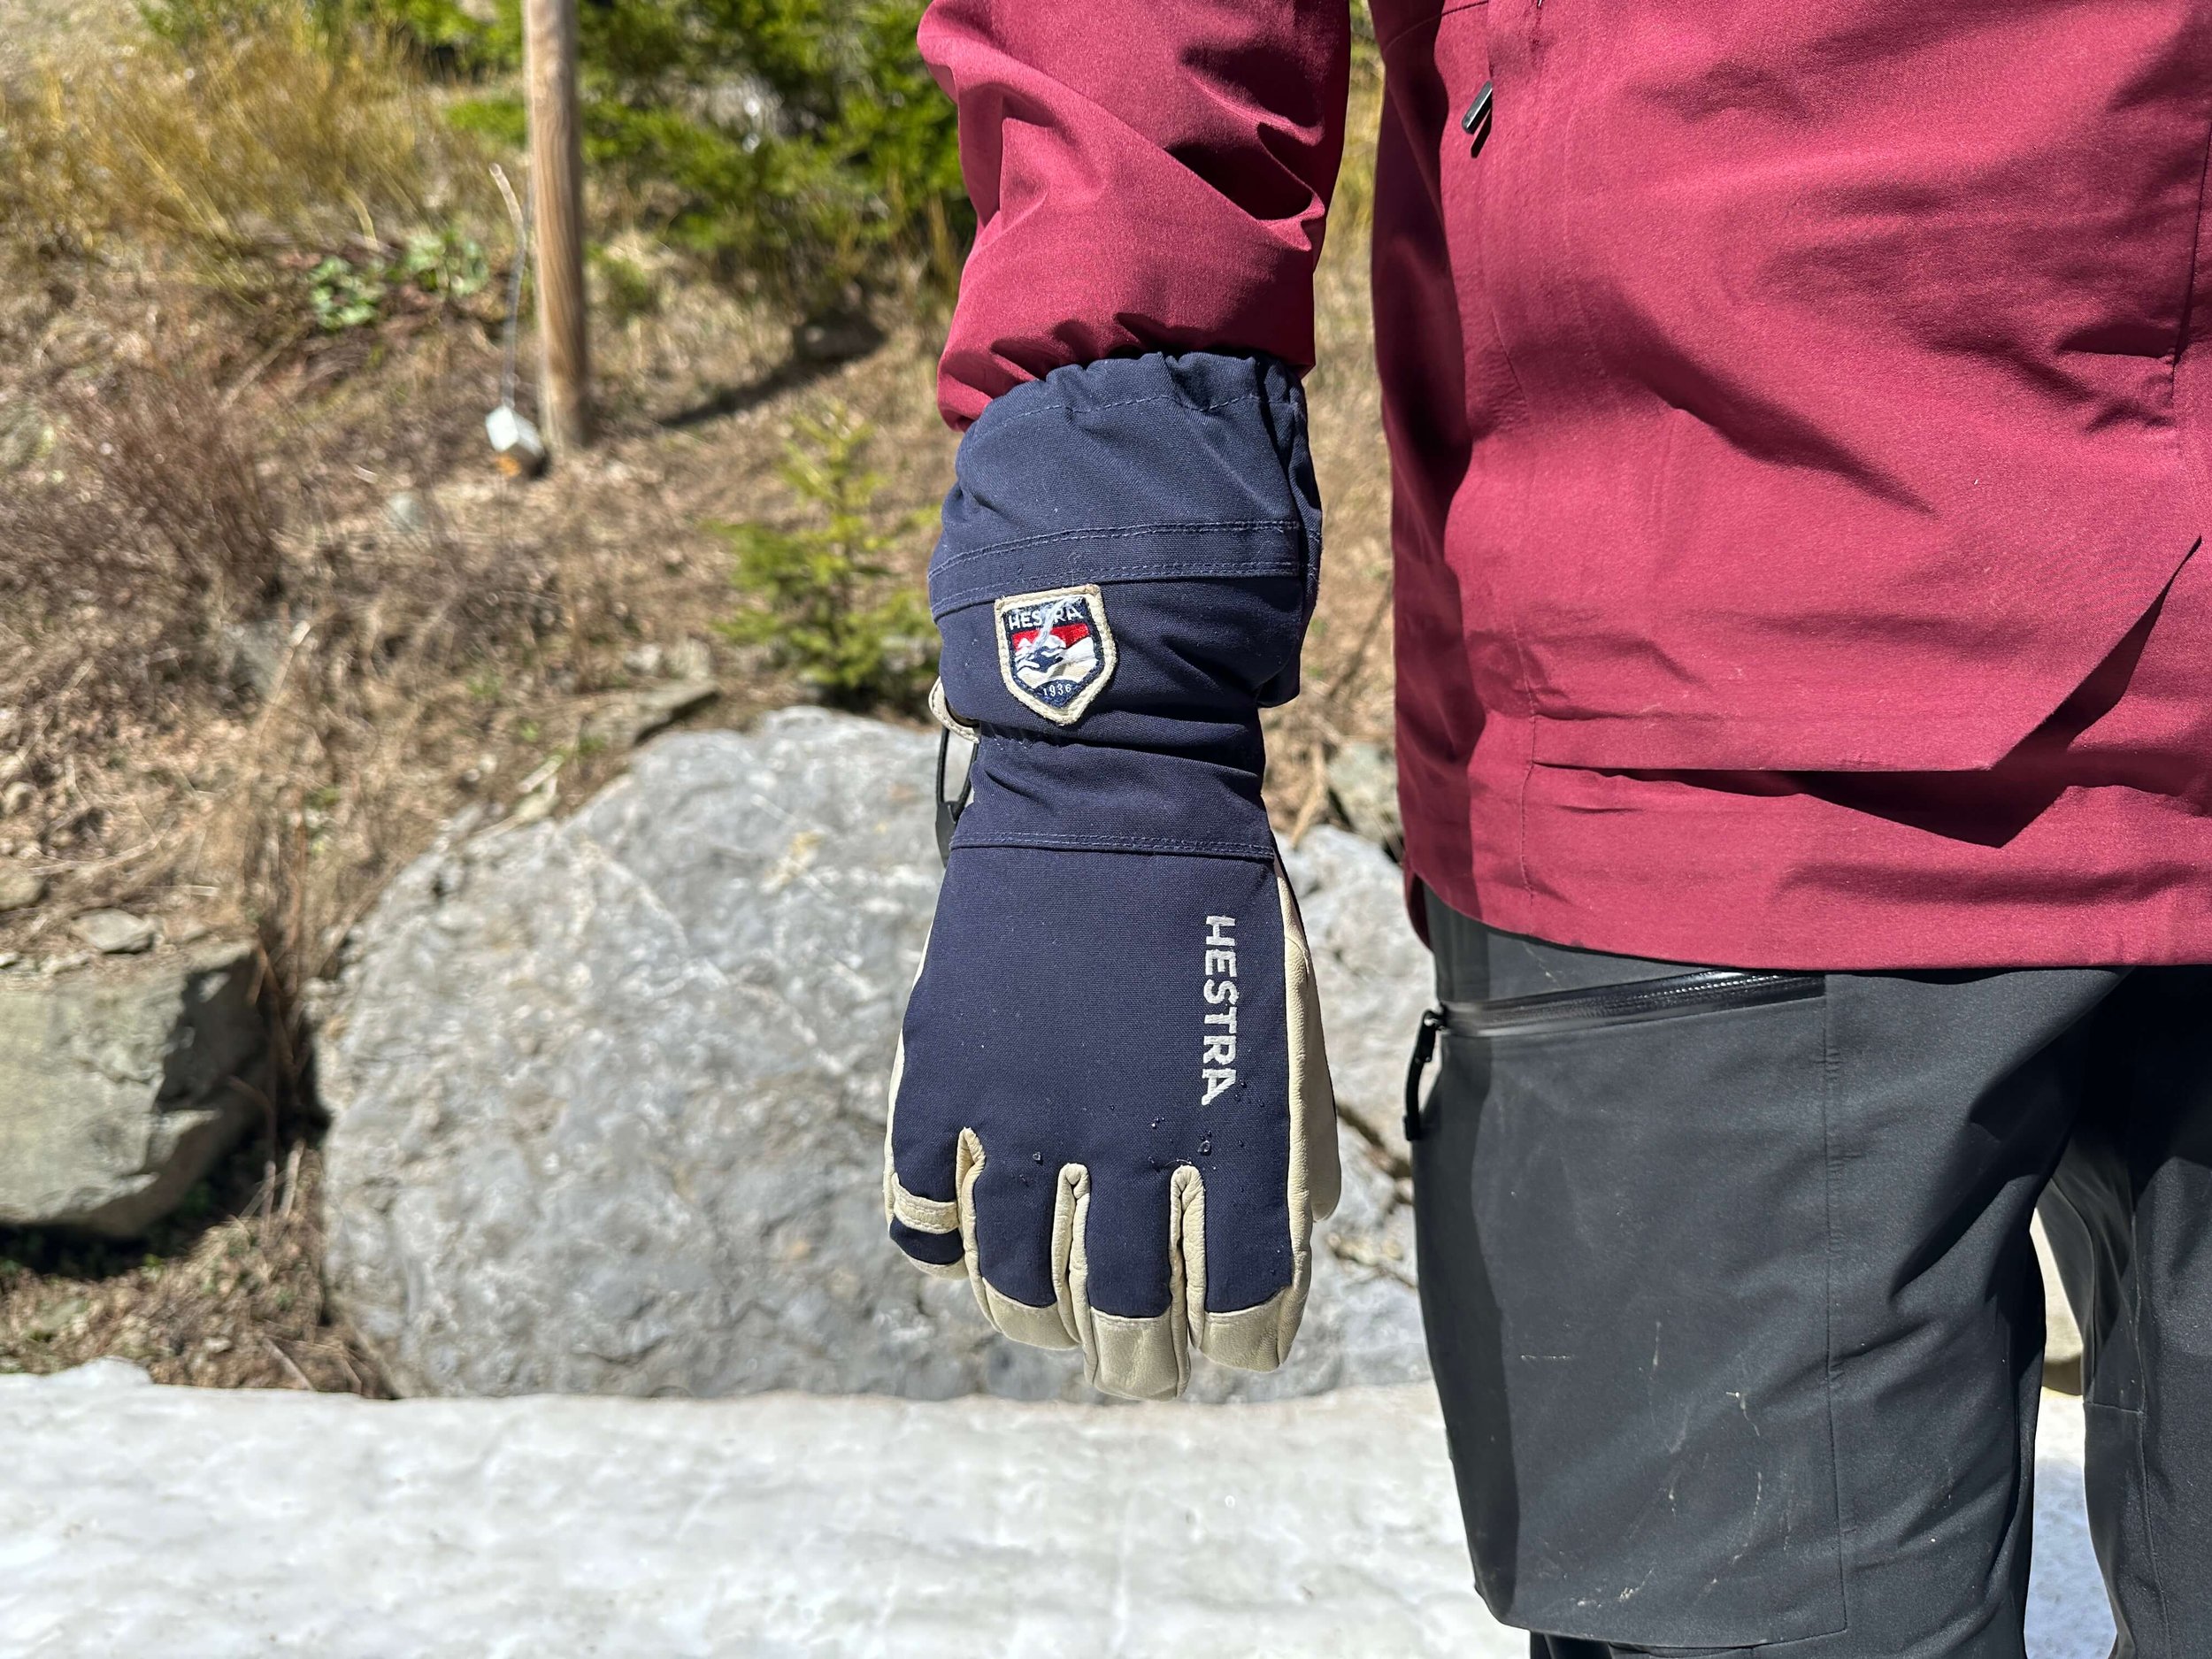
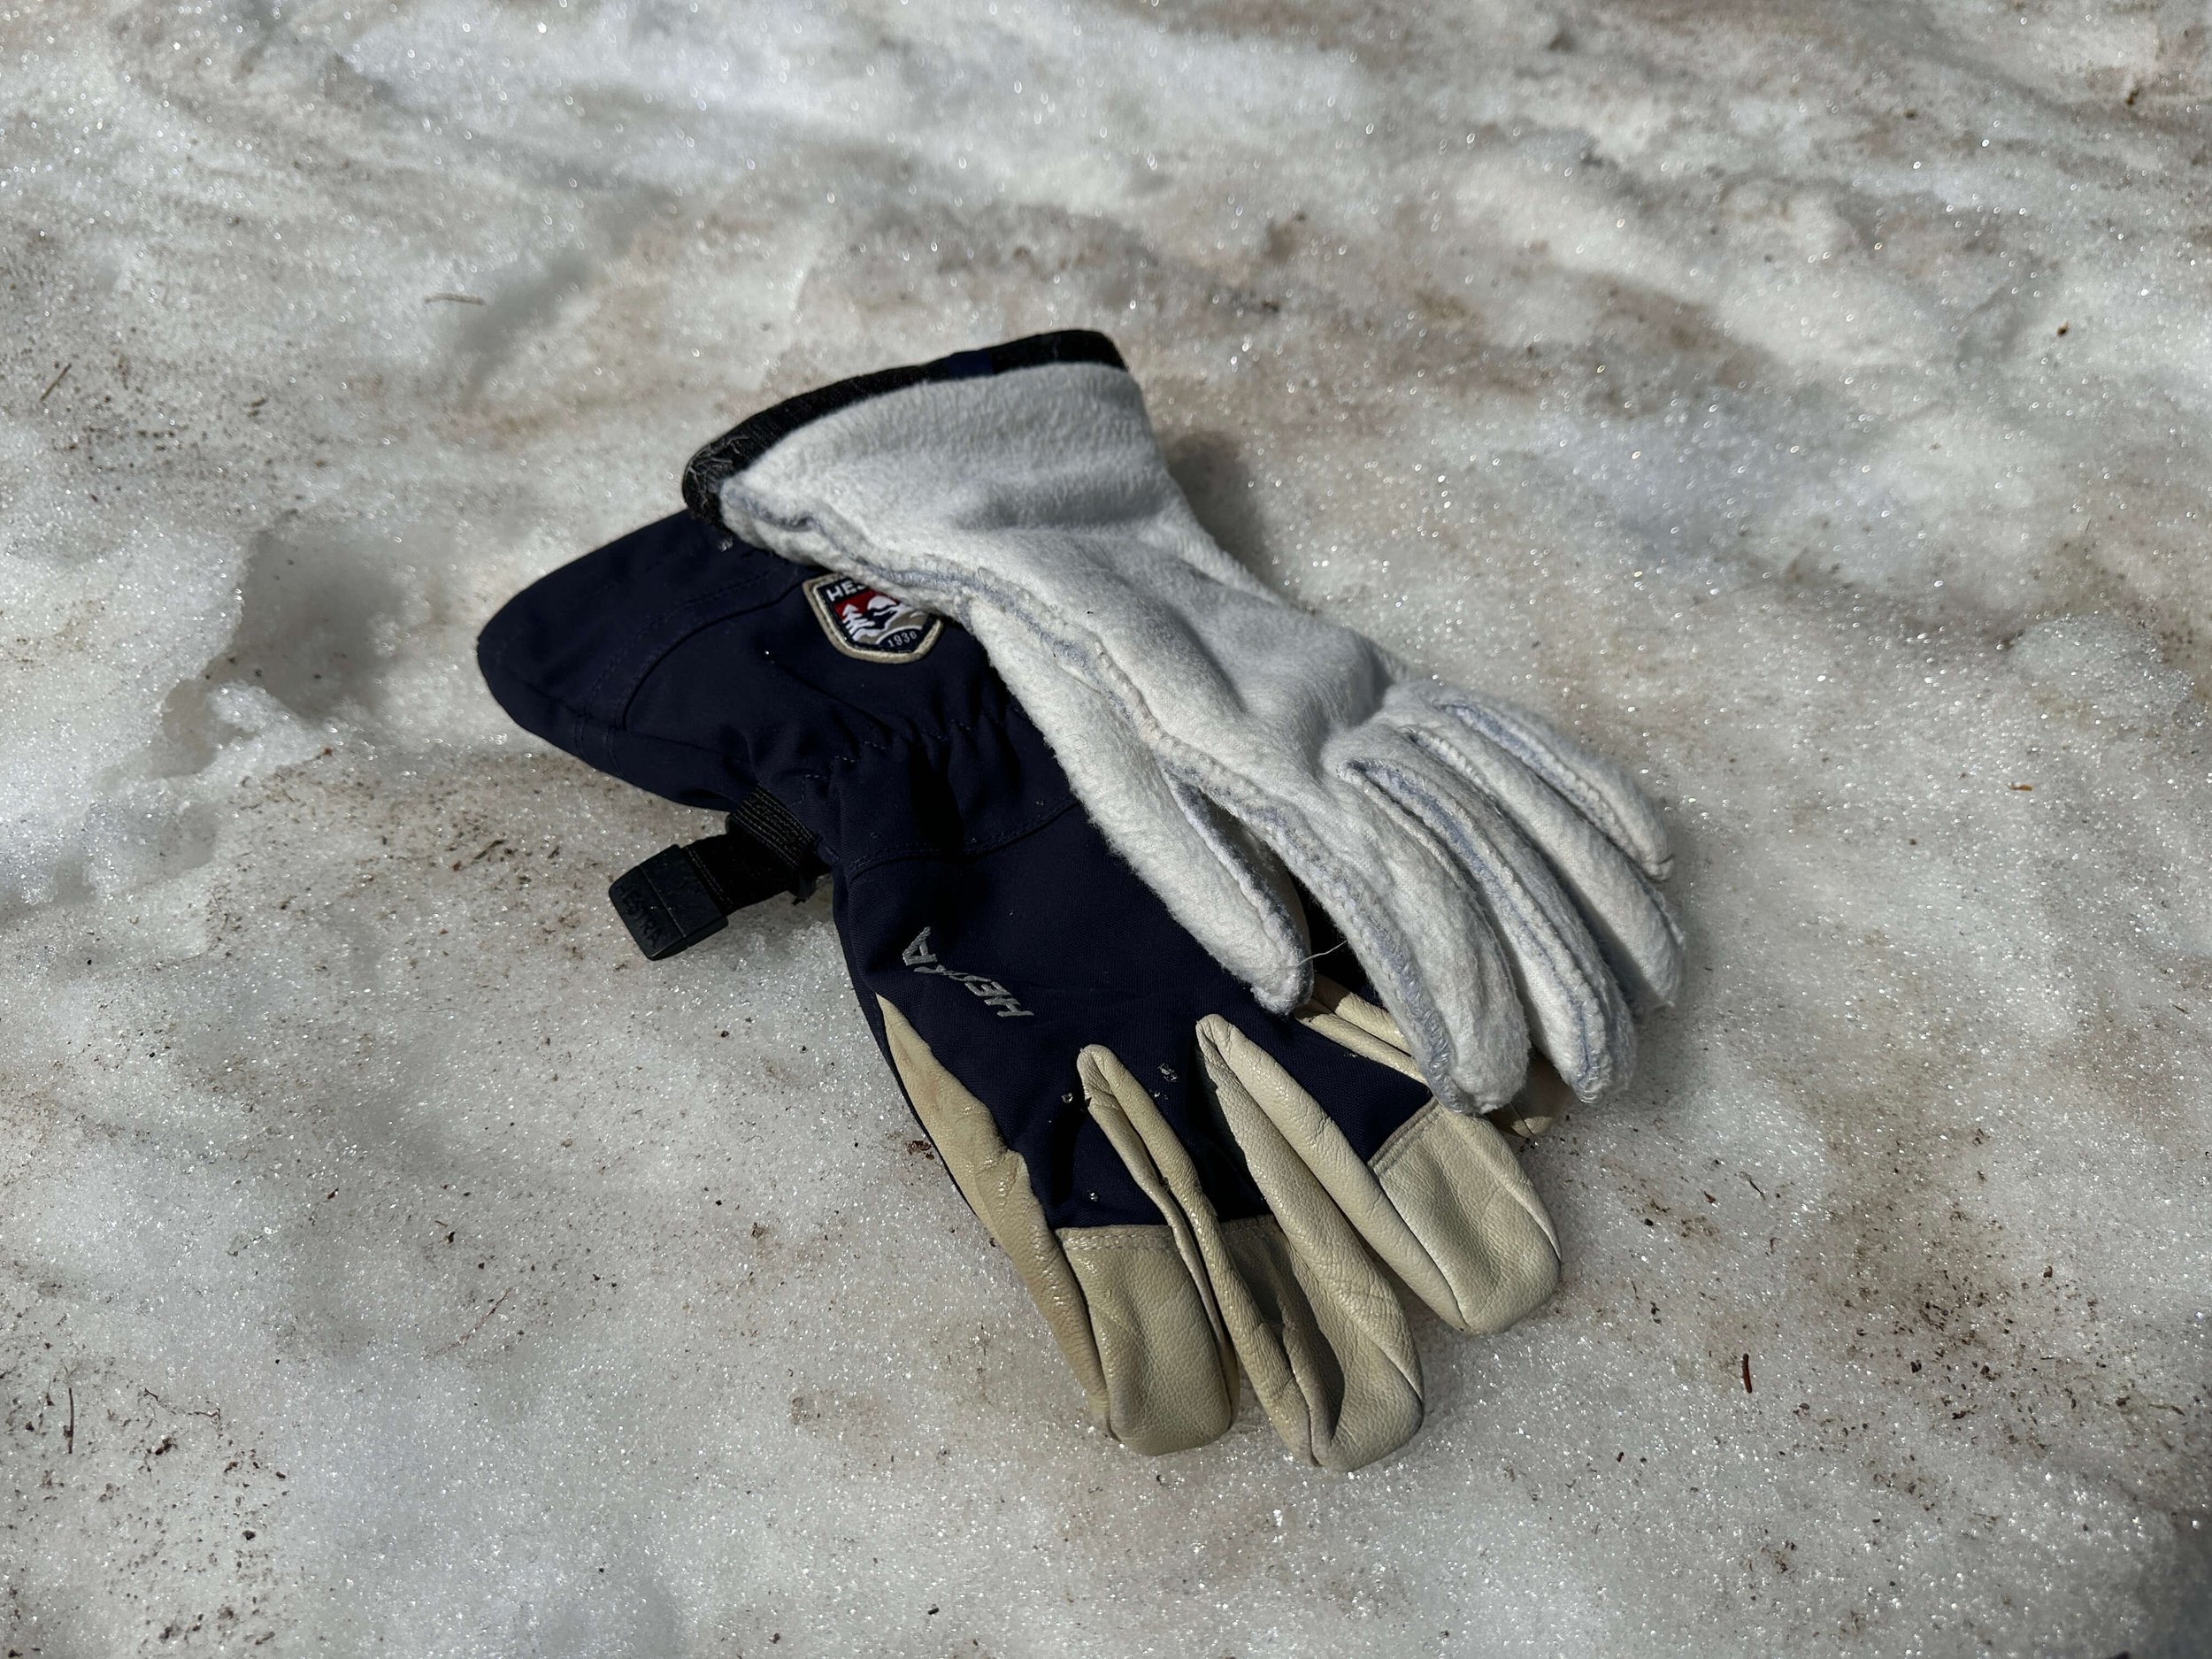
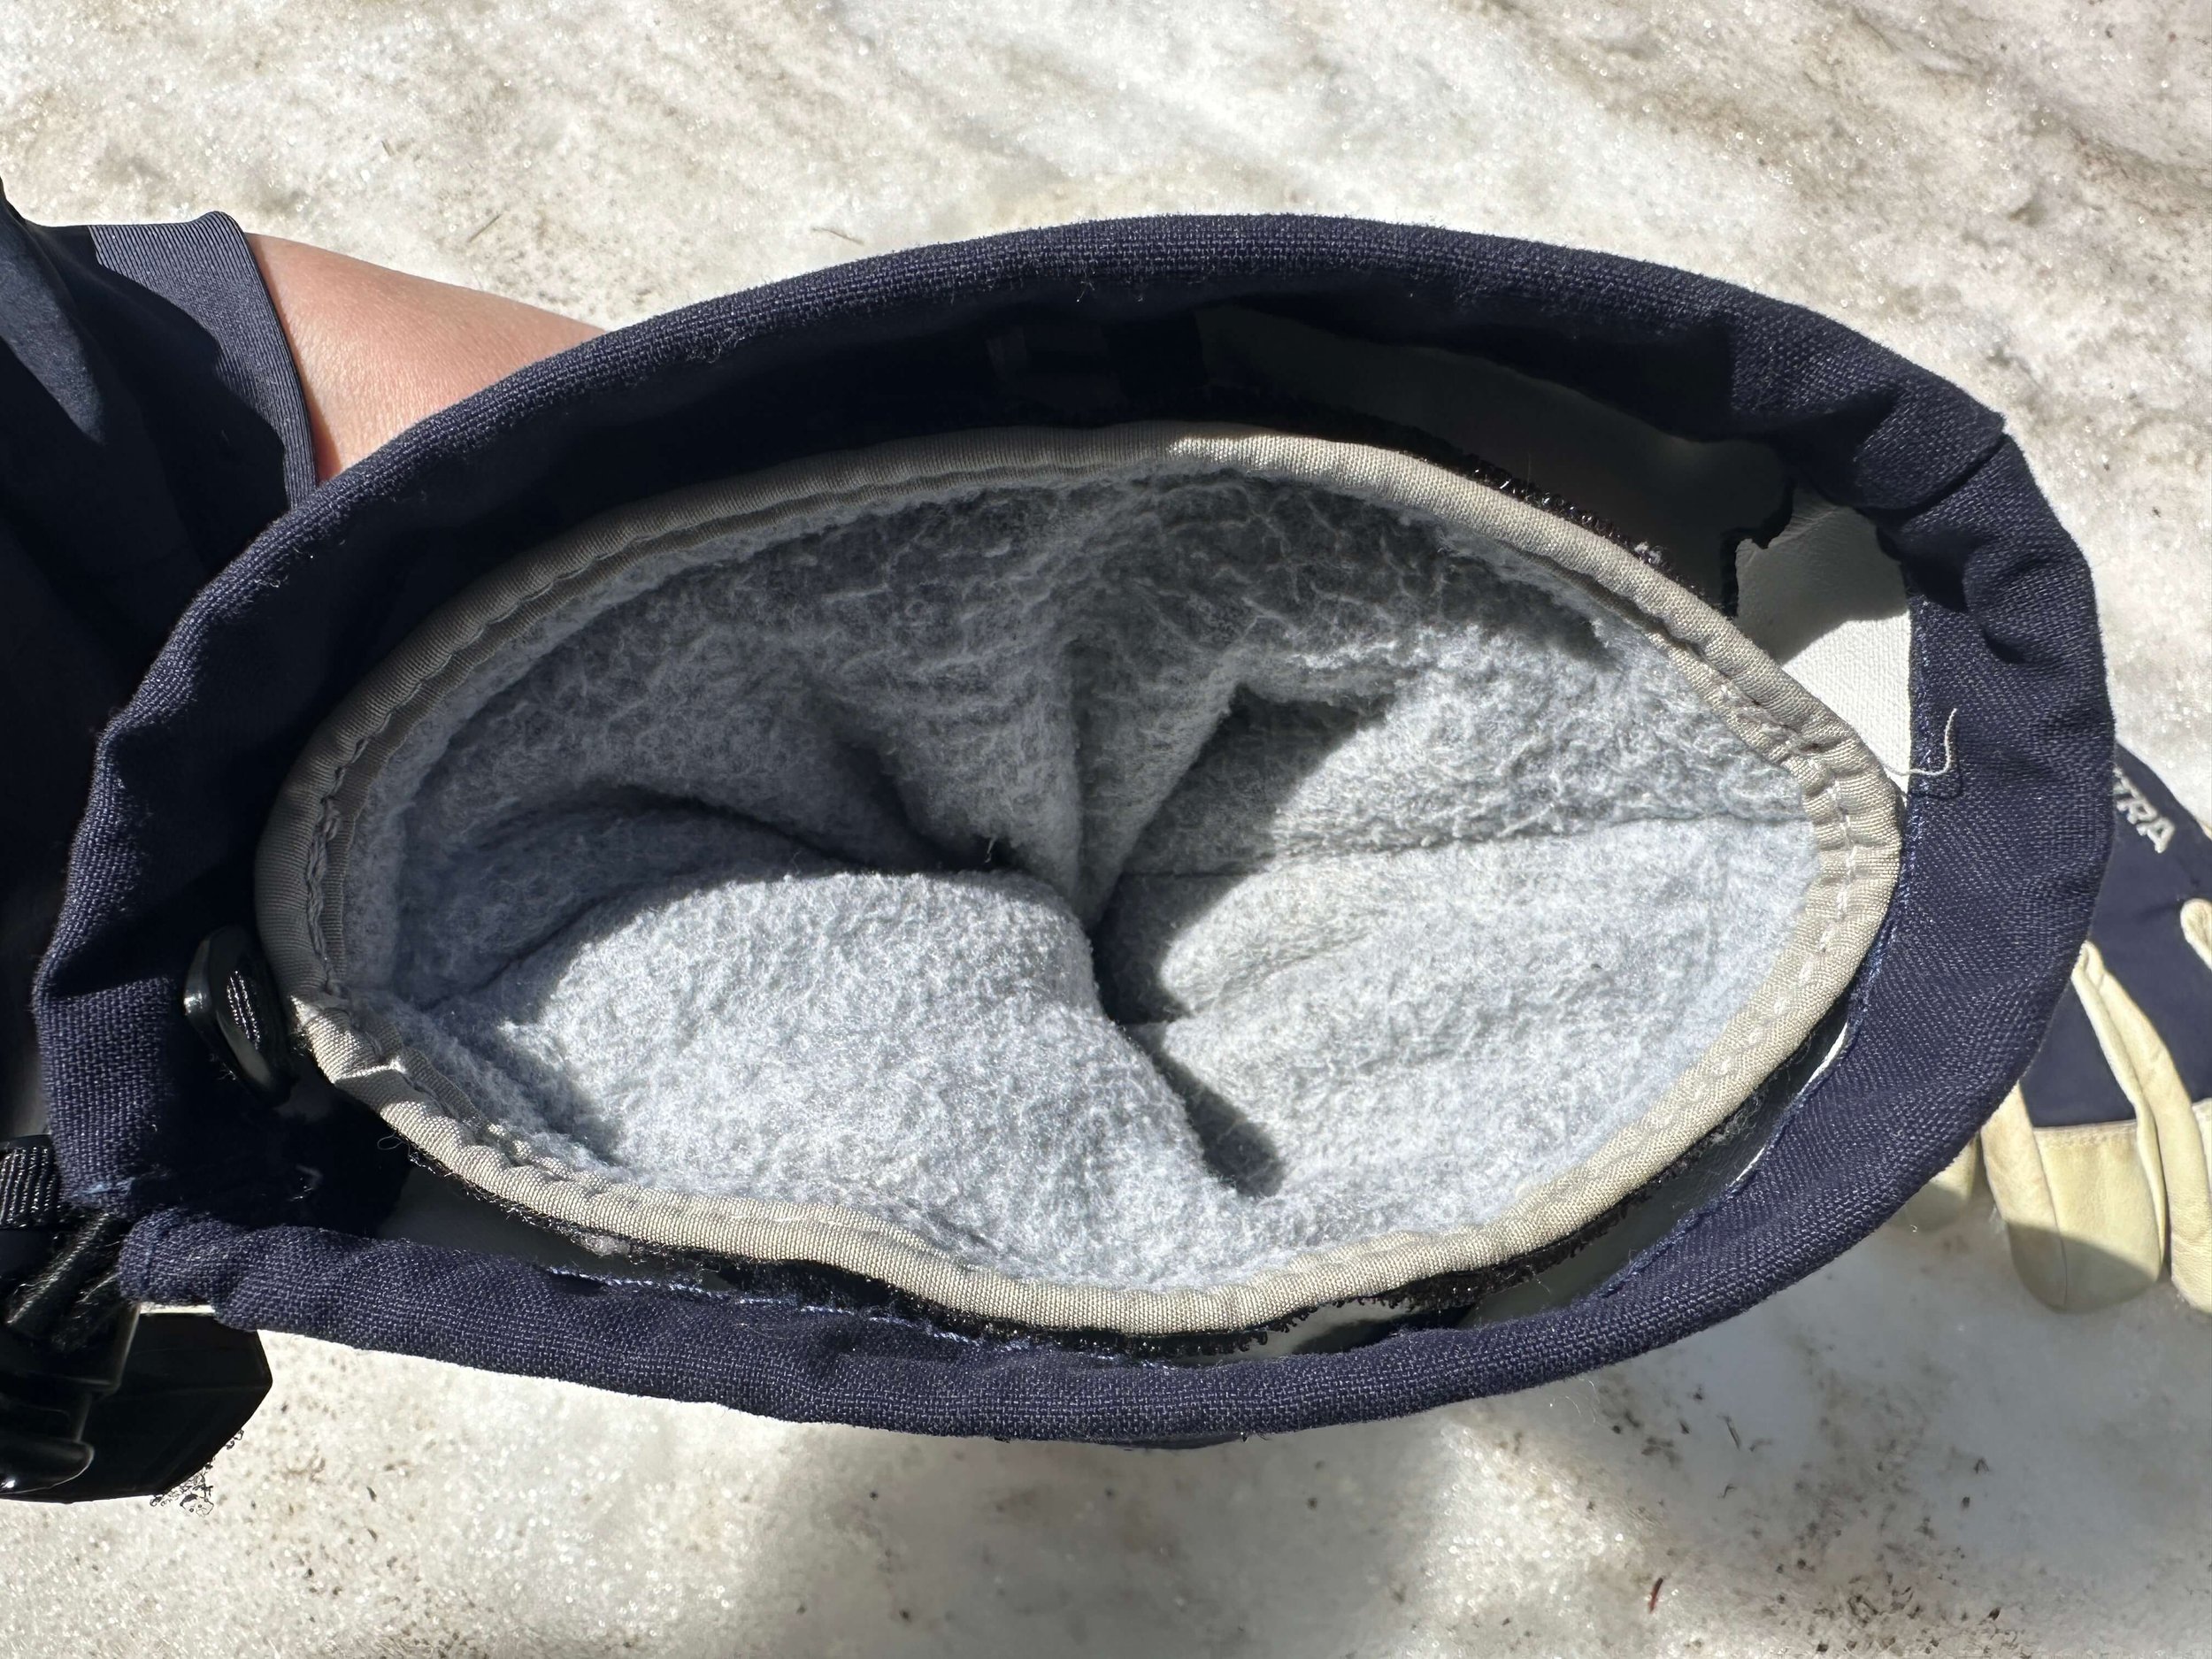
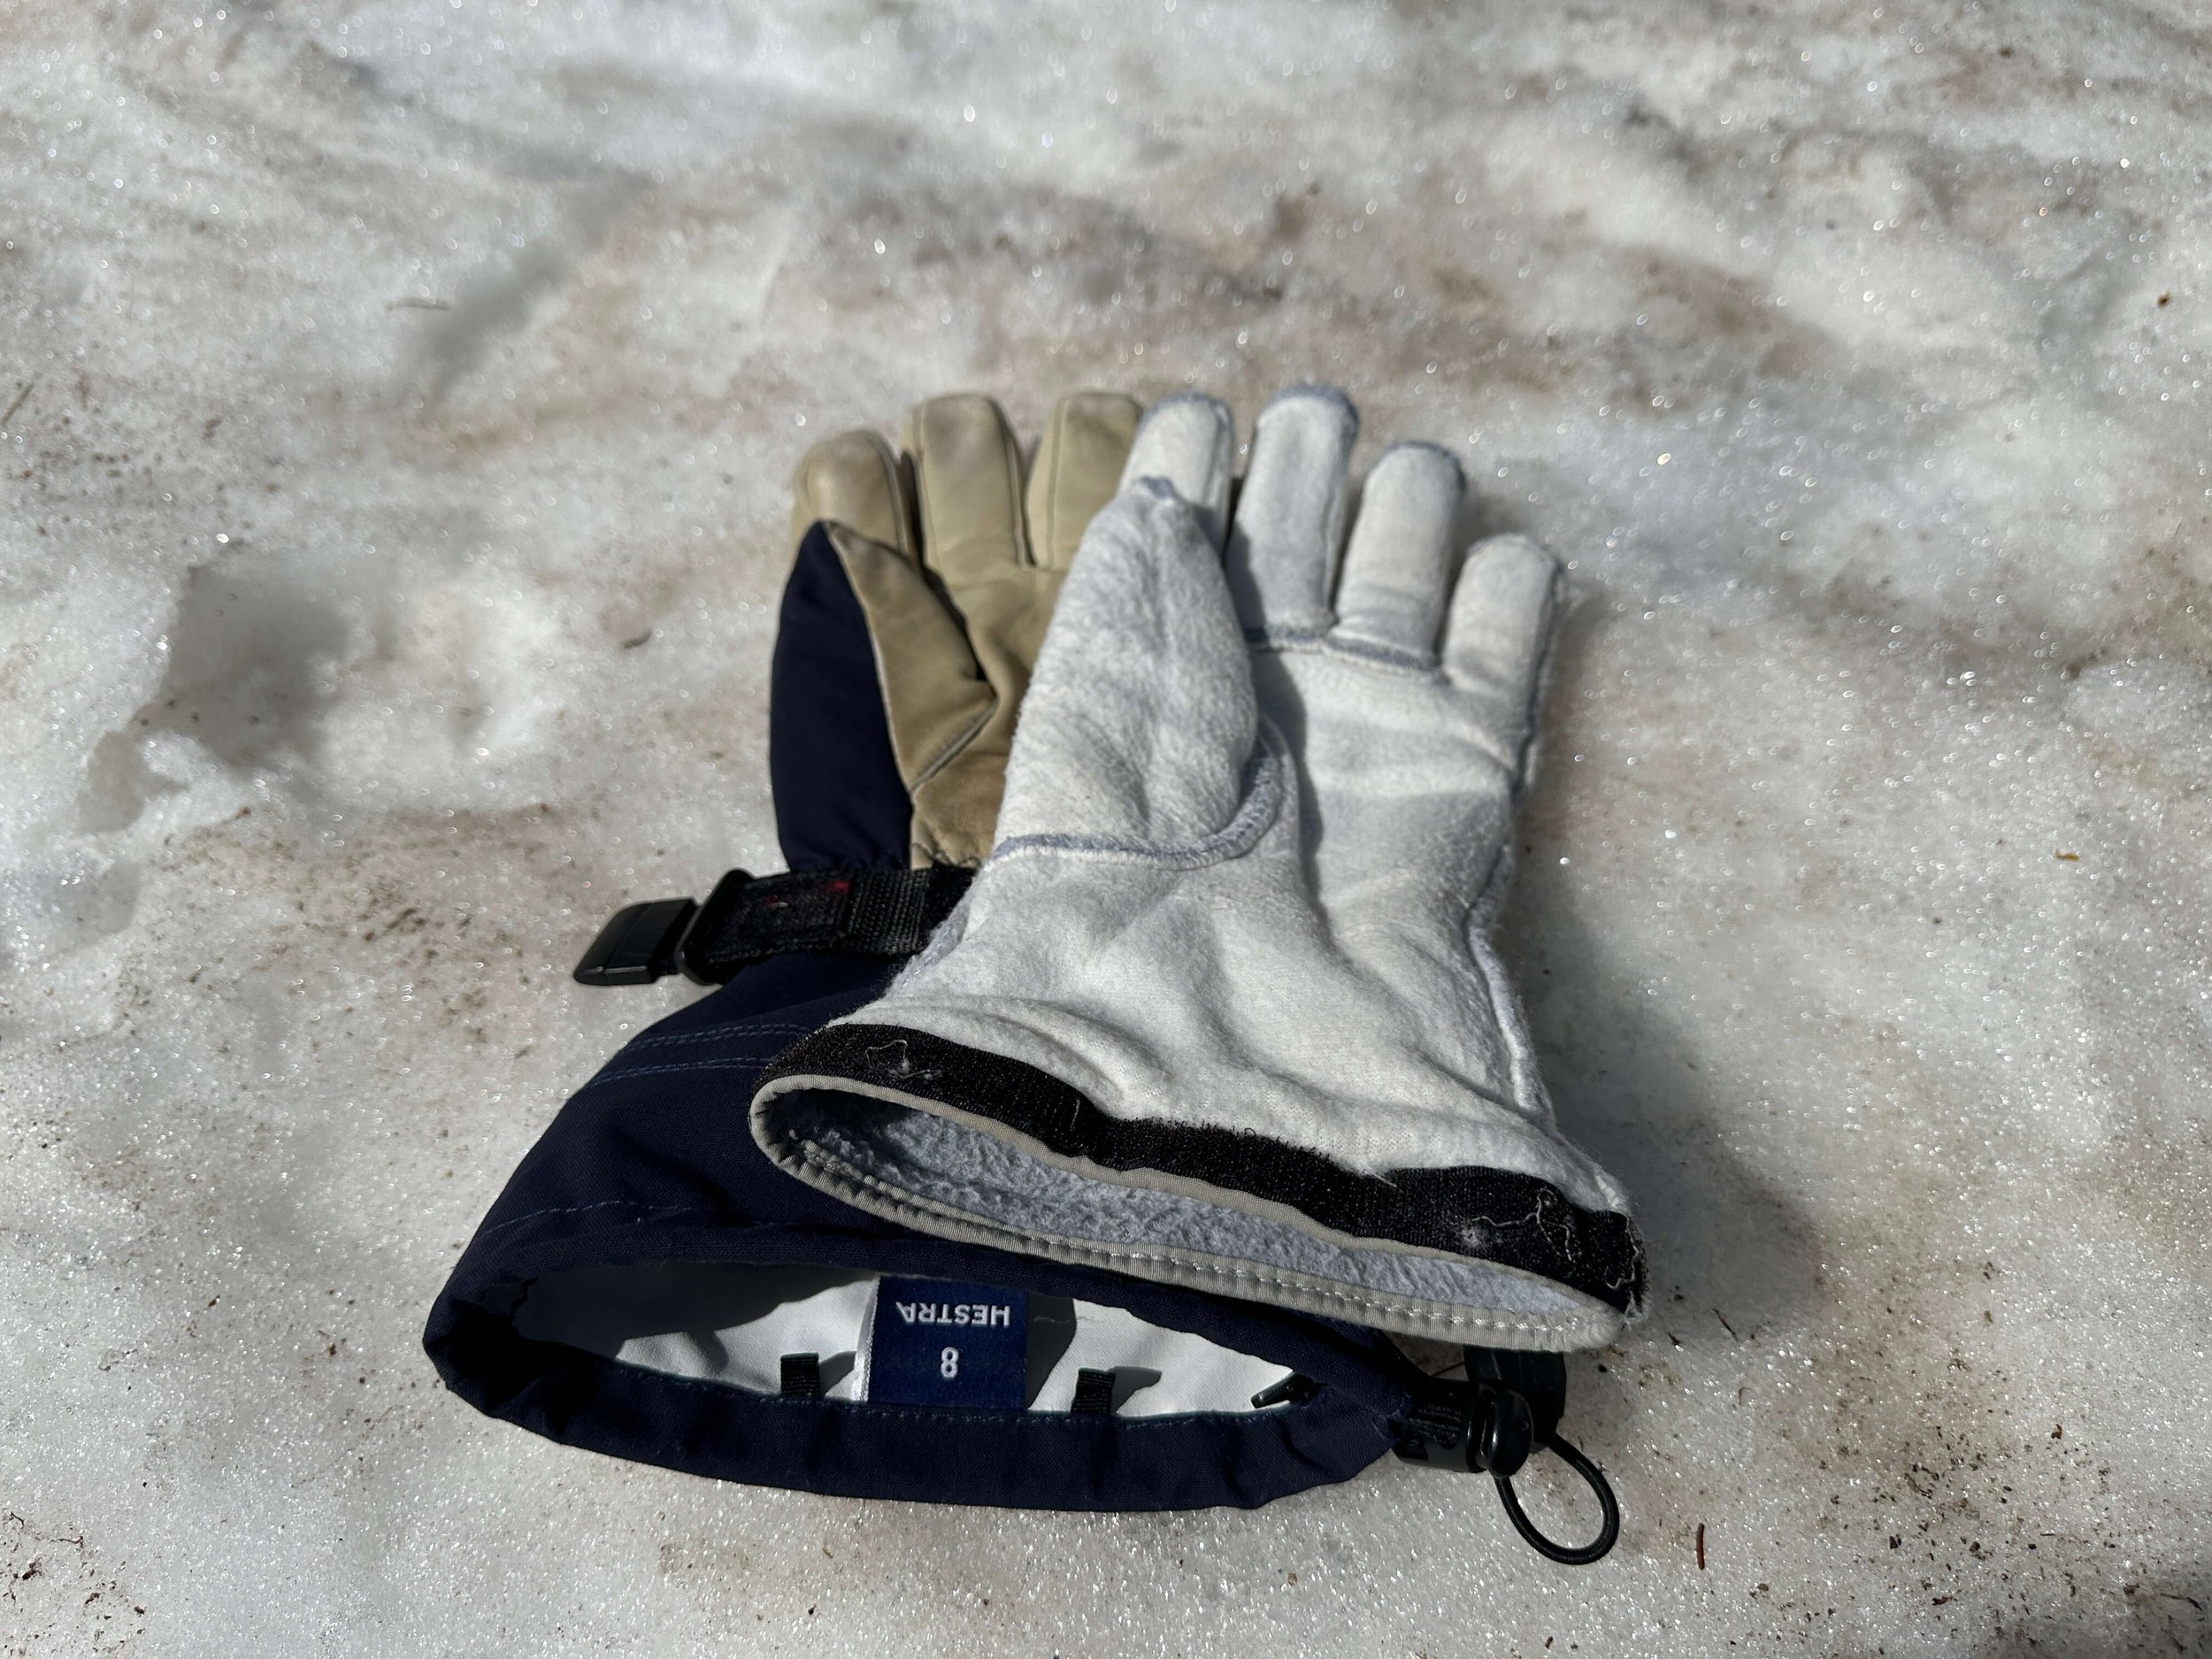
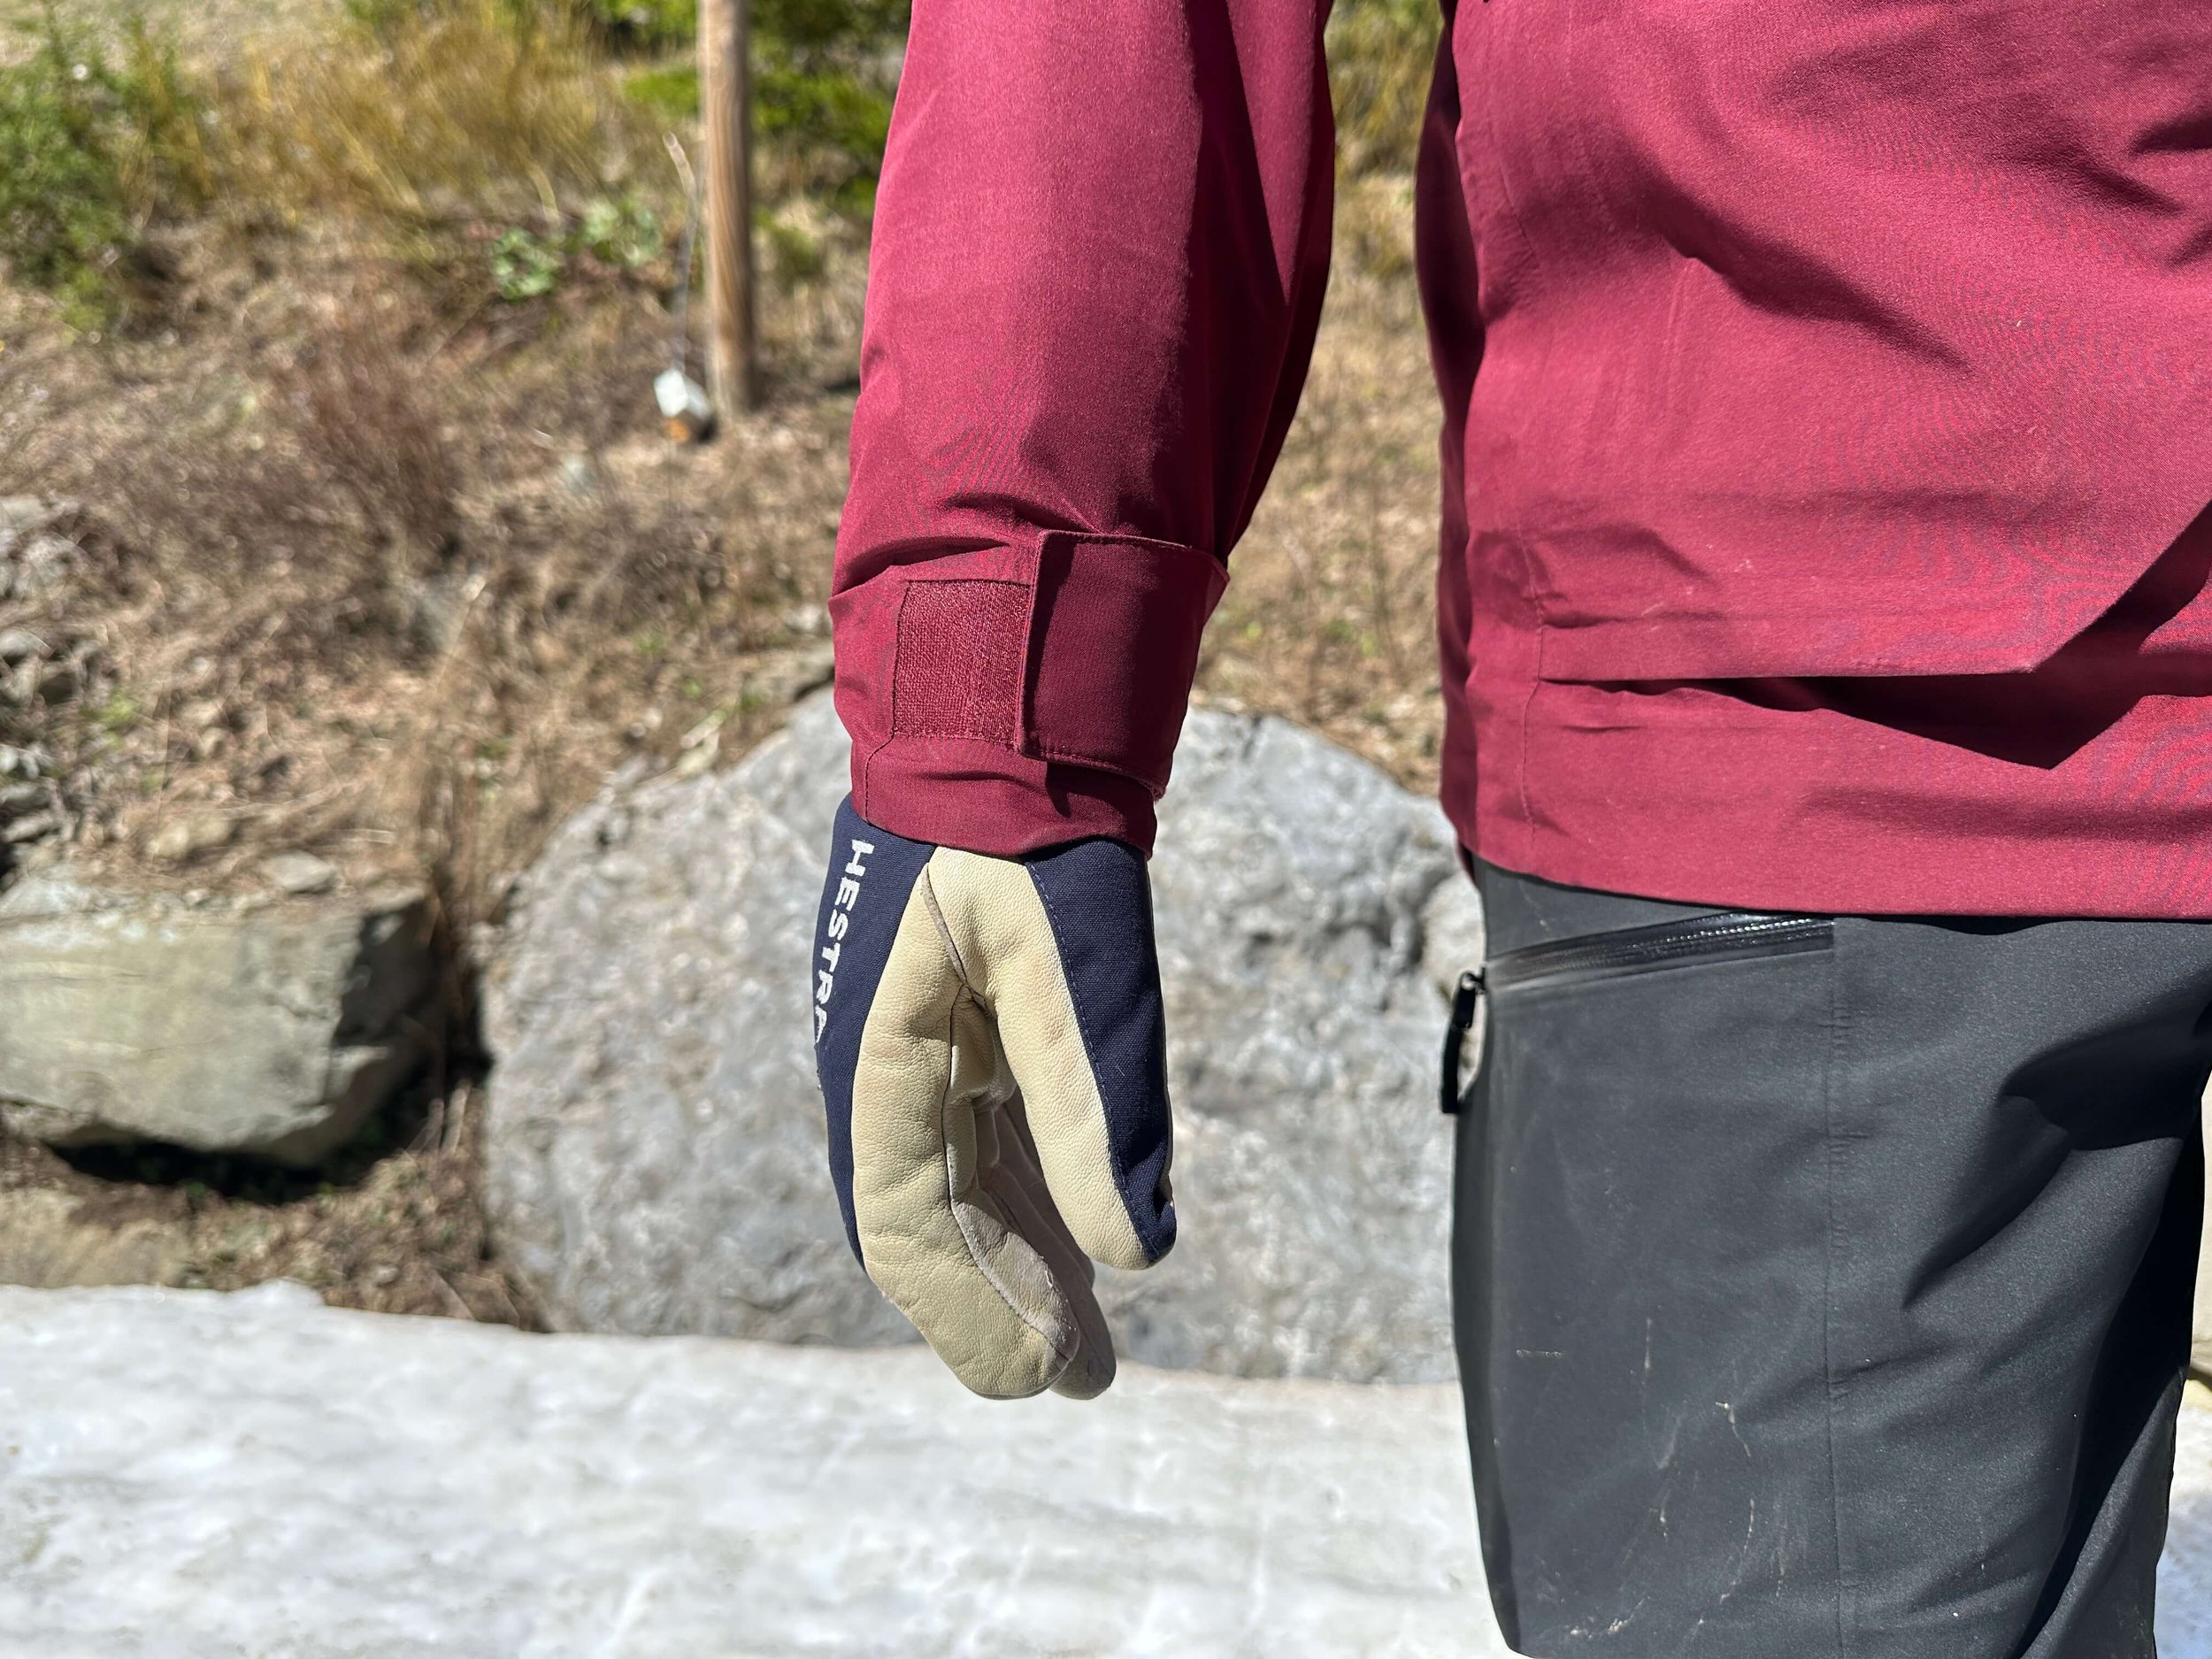
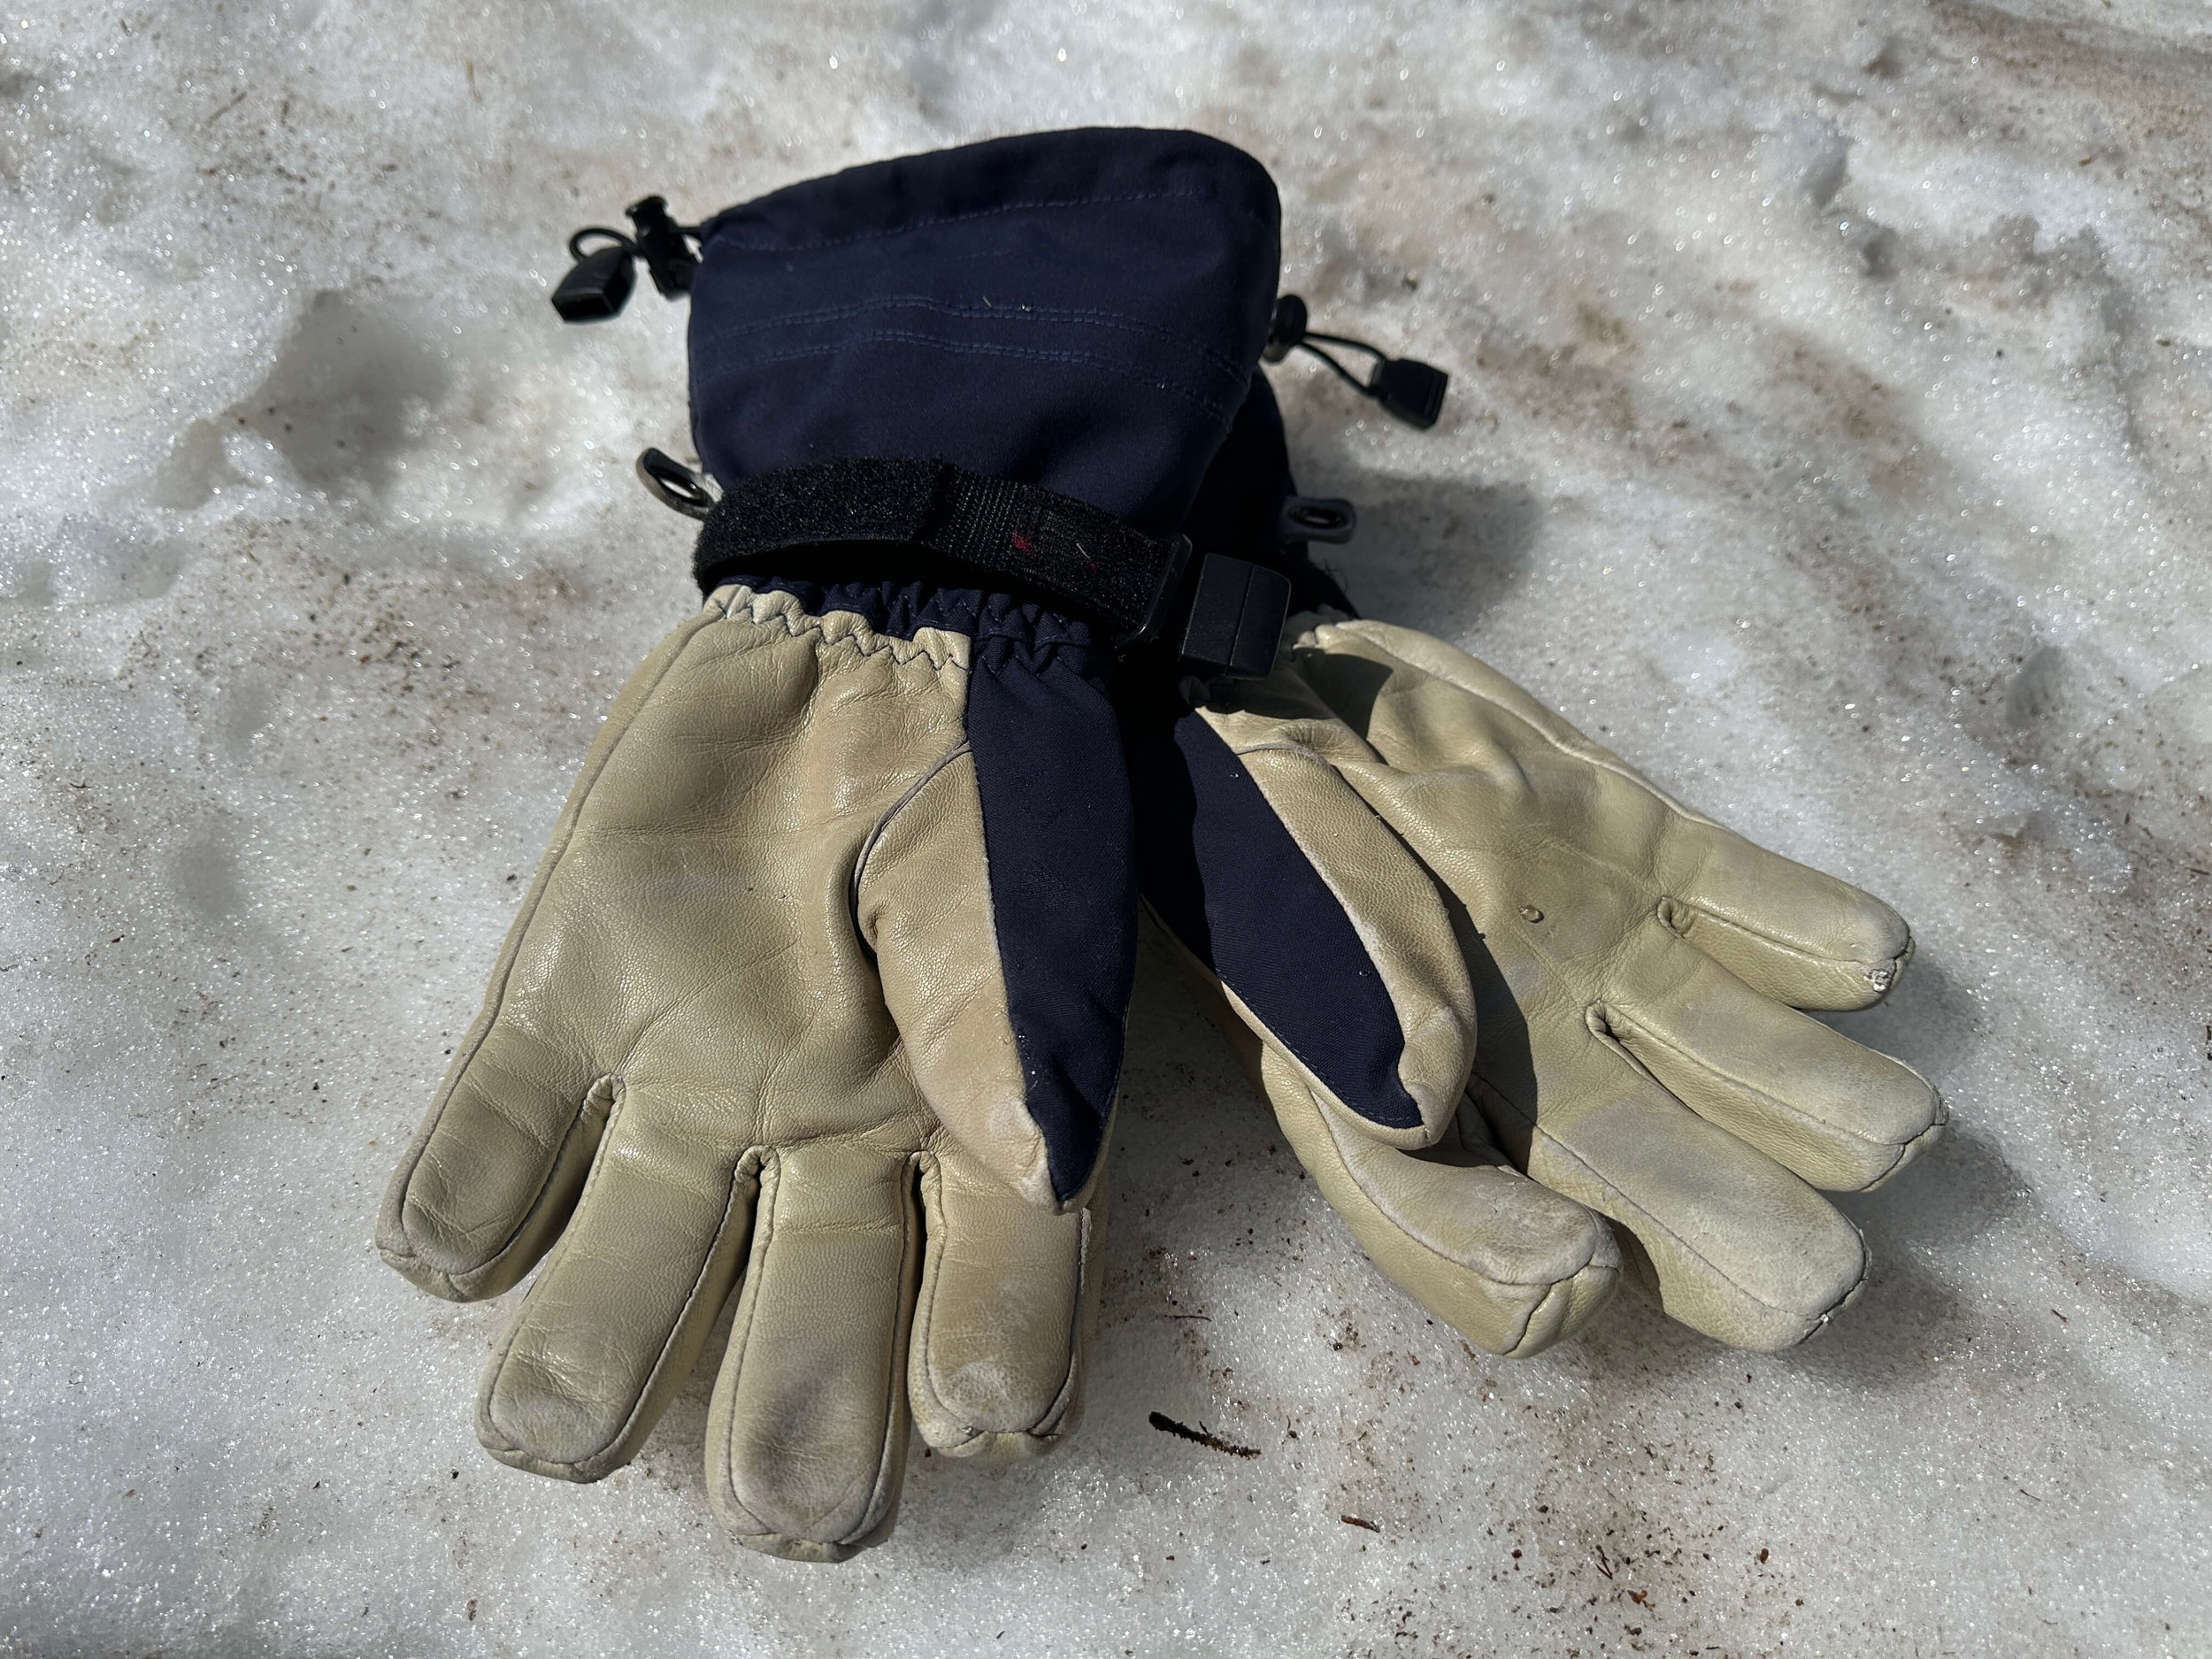
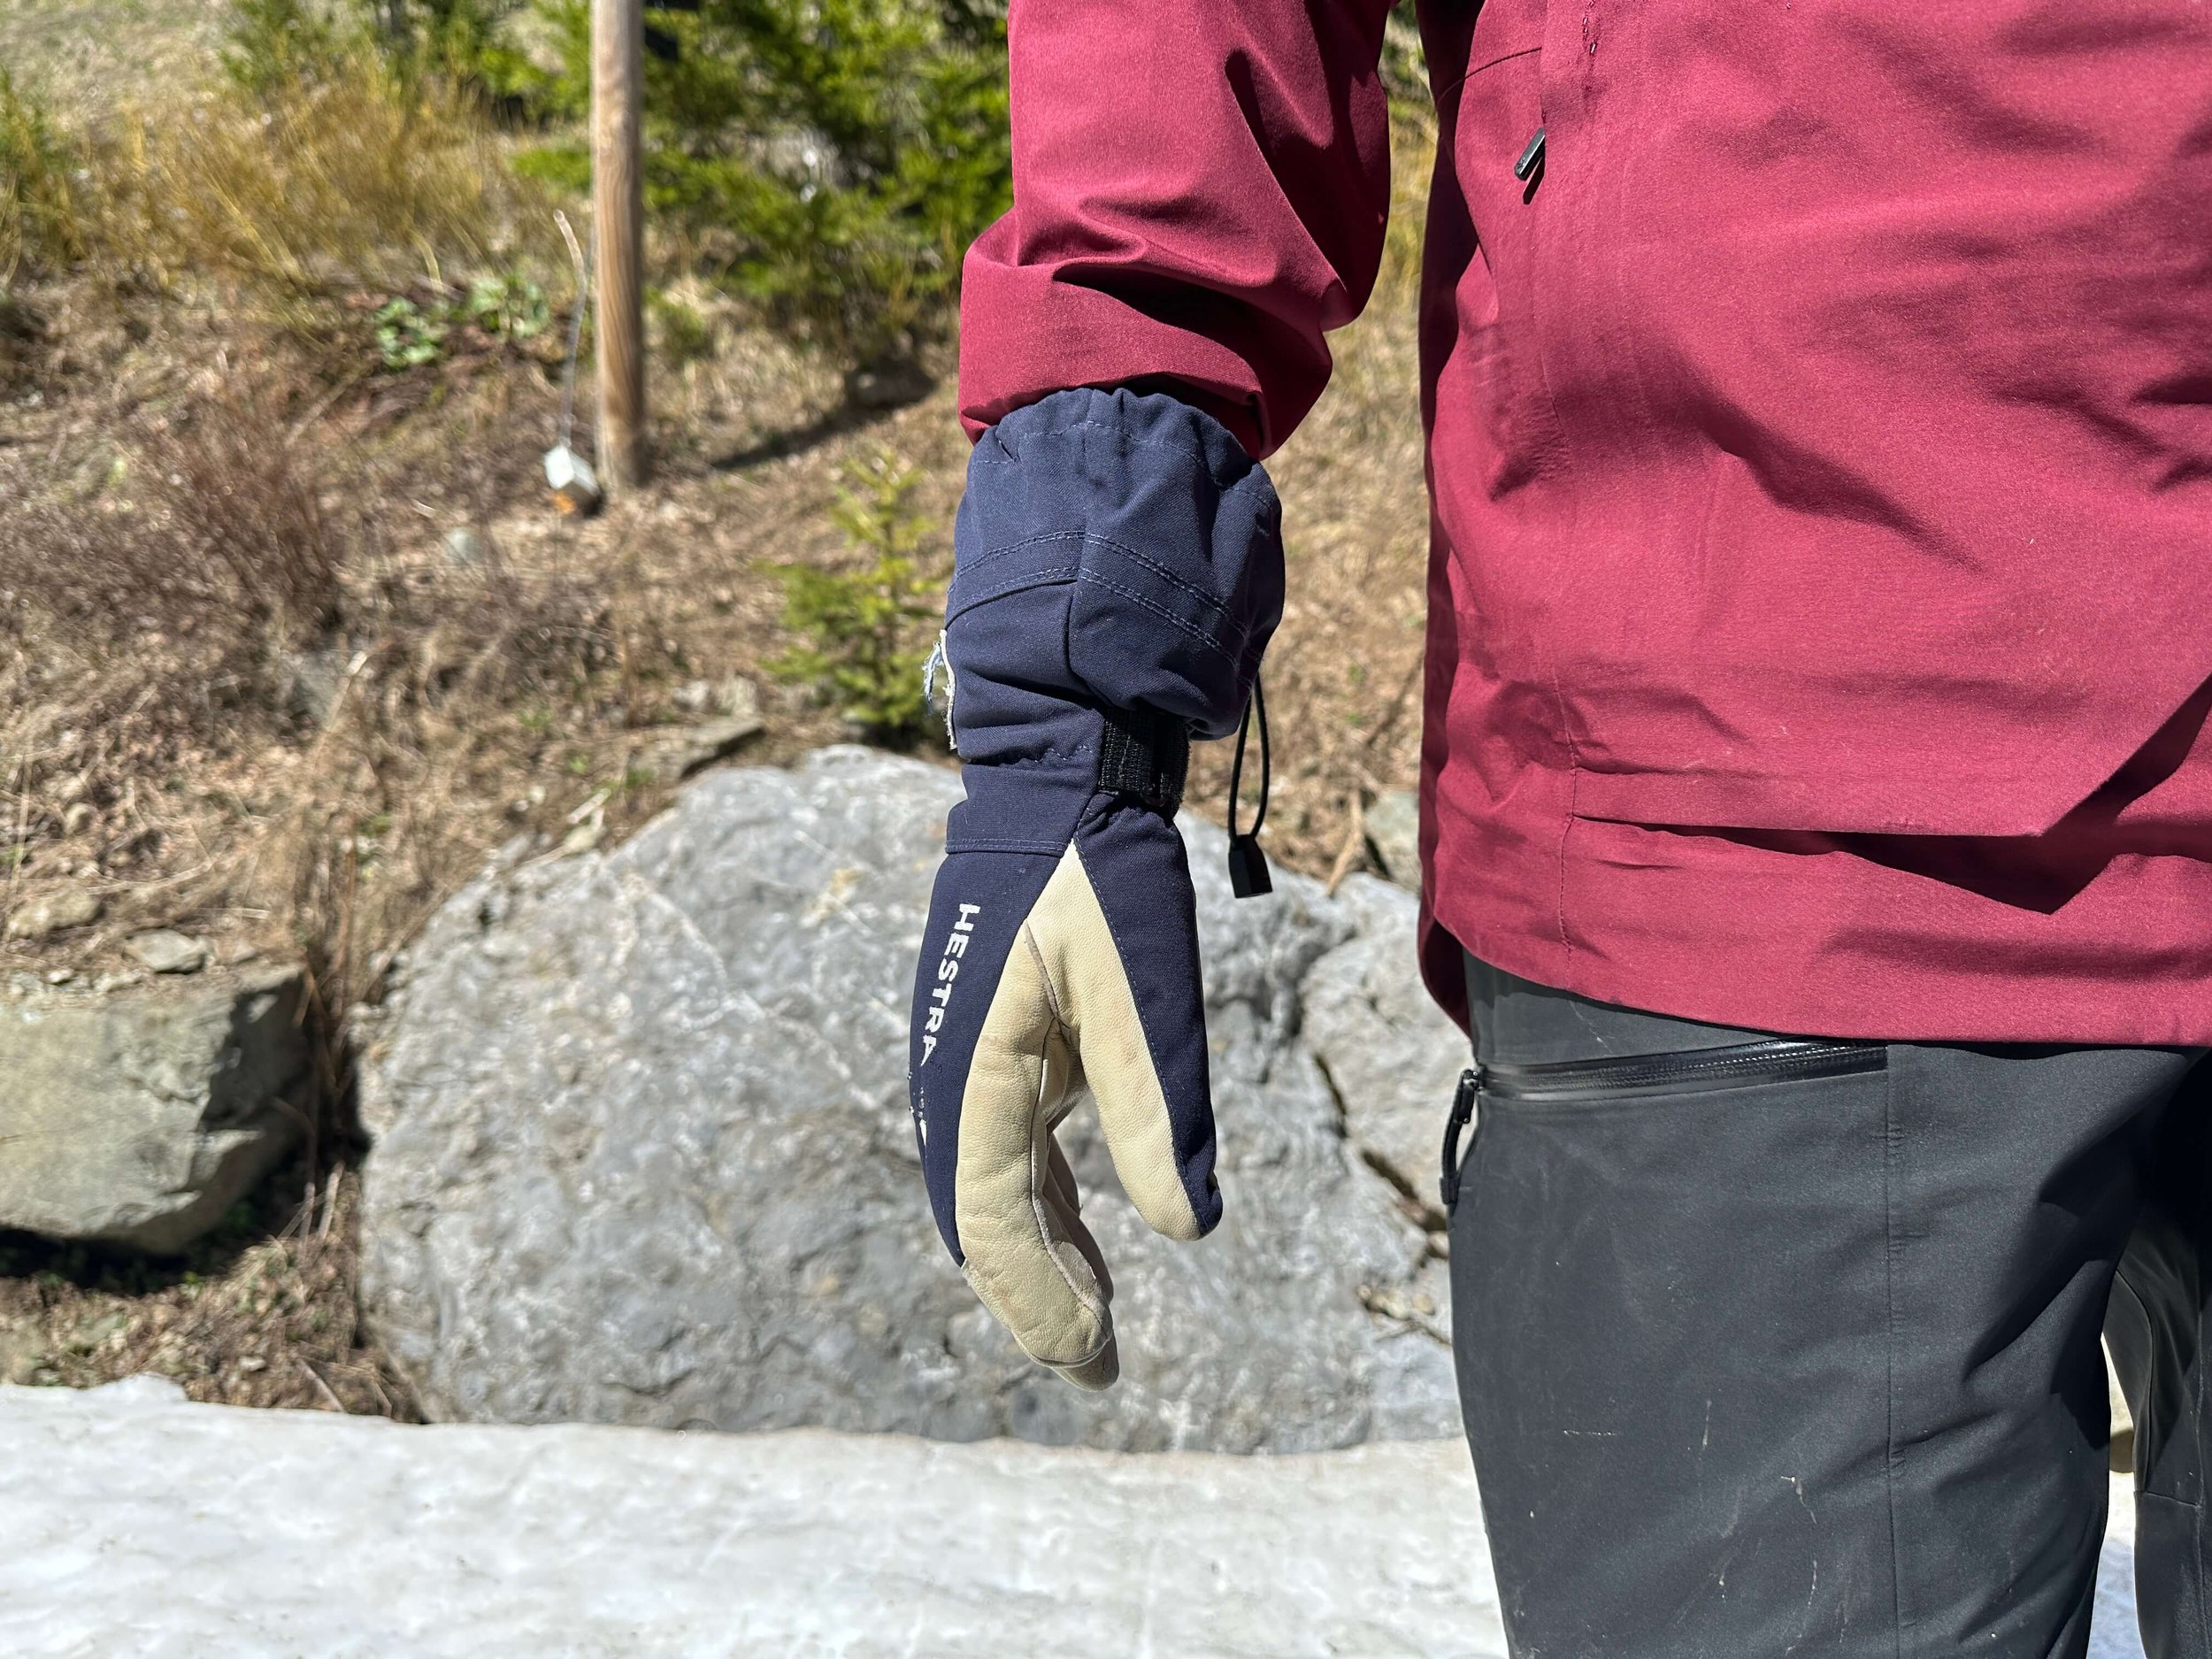
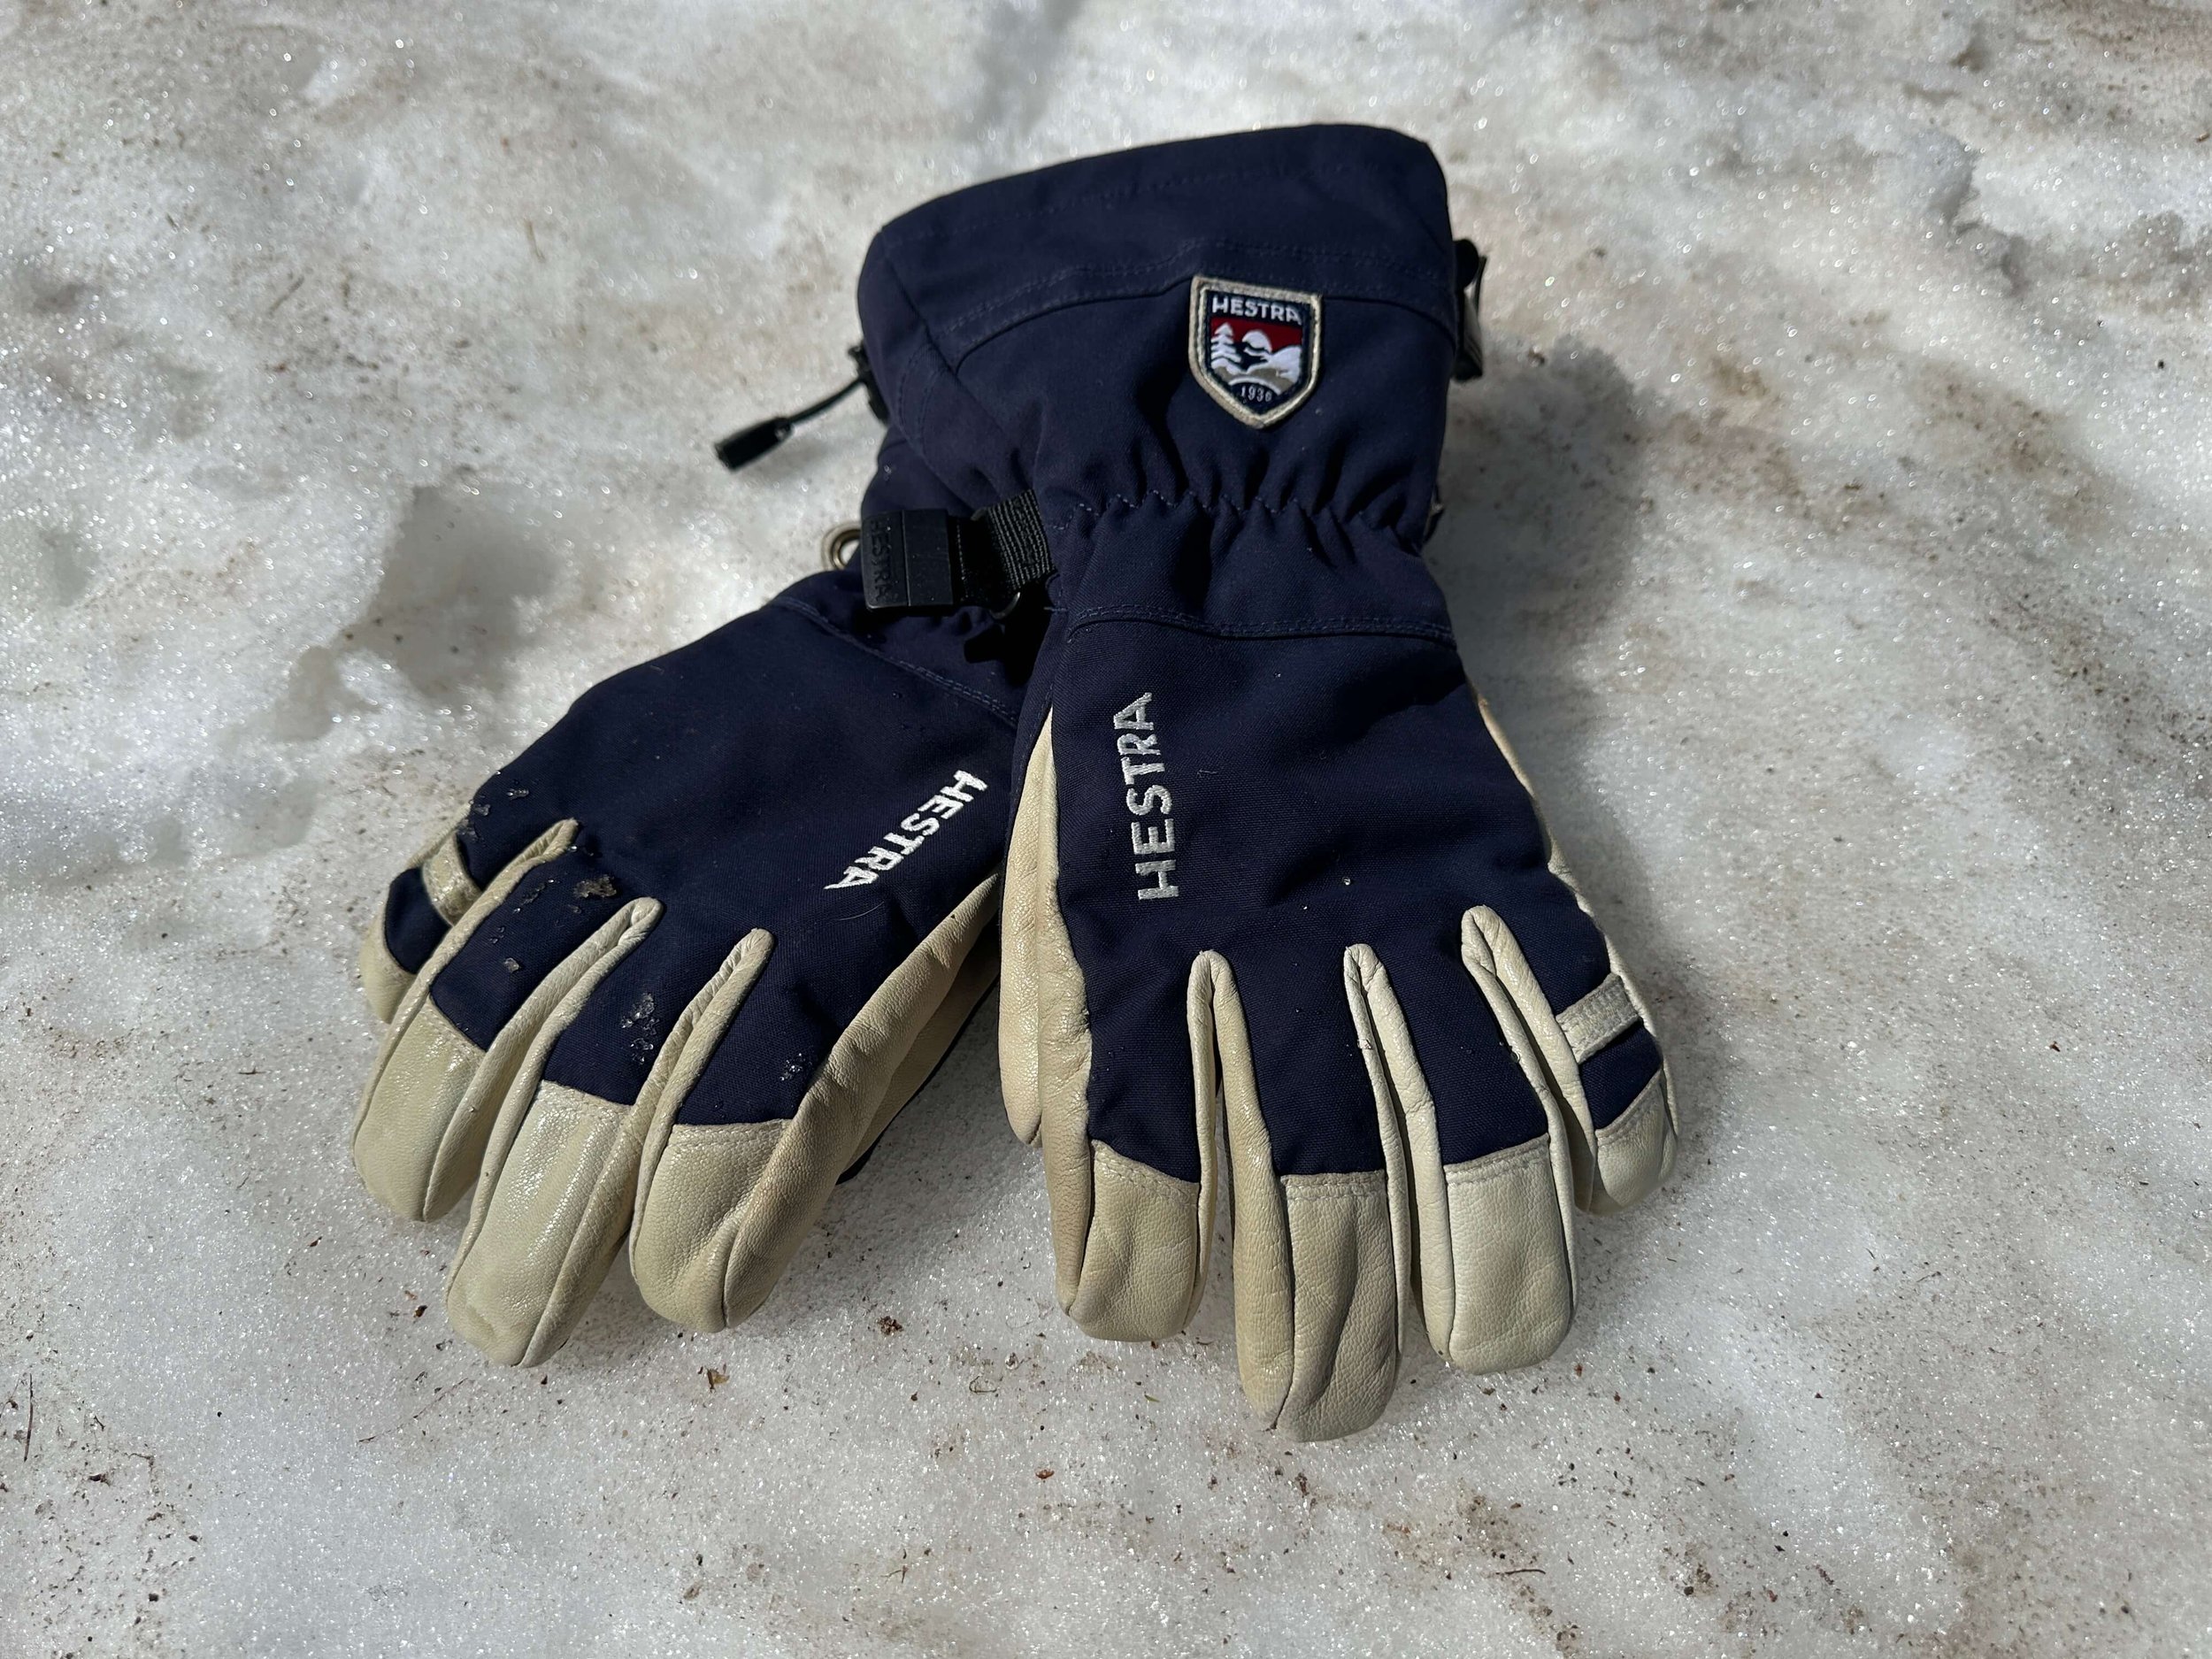
WARMTH
The Hestra Heli Ski Gloves were originally created for ski guides in Western Canada who deal with some of the coldest and most difficult winter conditions a daily basis.
The removable fleece liner is warm and comfortable and has kept my hands warm throughout the coldest days. I love that this warm liner can be removed, and spares can be purchased to keep a spare in your backpack to change out on those wetter days.
The Hestra Heli Glove is my only choice when I know it is going to be a cold day out in the ski resort and that’s why I rate it 5 stars for warmth.
DEXTERITY
Dexterity is an important factor for me when choosing gloves to snowboard in as I need to operate a camera and tighten bindings (preferably without removing my gloves). I have no issues using the Hestra Army Leather Heli Ski for either of these requirements. These gloves are fine for the daily tasks of zipping pockets and jackets.
That being said, the Hestra Heli Ski Gloves have a thick liner which means these gloves are not as dexterous as other models… therefore 4/5.

COMFORT
The fleece liner on the Hestra Heli Ski Glove make it an incredibly comfortable glove to wear, the fleece is soft and warm against the skin so no complaints from me.
The wrist strap allows you to secure the glove in place meaning they do not slide about which also adds to the comfort factor.

Hestra Heli Ski Glove Wrist Gaitor
Finally, with the Hestra Heli Ski Gloves being having a long write gaitor you can be sure to keep the elements out ensuring all day comfort even on the stormiest of days.
WATERPROOFING
To ensure waterproofing remains at maximum performance Hestra leather gloves will require maintenance over time. If treated using the Hestra Leather Balm or an alternative you will see good waterproof performance. As these are not a daily driver for me I have applied the leather balm at the start of each season and this has ensured good waterproofing performance.

As with all leather gloves, you will need to ensure maintenance to keep the glove waterproof over time. Using Hestra leather balm or an alternative will keep the gloves performing their best throughout the season.
BREATHABILITY
The Hestra Heli Ski Gloves have a 3-layer fabric which sits on the backhand of the glove. The front and palm are made from goat’s leather. Both the 3-layer fabric and goat’s leather offer breathability however the warmth of the glove can make these sweaty on temperatures above freezing.
Pro Tip: On the warmer days remove the liner and just wear the shell as a cooler waterproof/wind barrier.
DURABILITY
The goat’s leather palms on the Hestra Army Leather Heli Ski Gloves is extremely durable. I purchased these gloves in 2017 and they are still going strong. Yes, they are no longer my daily driver but they once were. If you look after these gloves and maintain them with the leather balm they will last.
Hestra Heli Gloves Powder Day
FINAL THOUGHTS
These gloves from Hestra are at the premium end of the market and the outlay may put many off purchasing them. However when you consider the longevity of the gloves and how many seasons they will last with proper care then the outlay for the quality seems negligible.
The Hestra Heli Ski Glove will always have a place in my snowboard bag.
SUPPORT FUTURE CONTENT
If you found this post useful then consider supporting future content by purchasing through the Amazon Link below or using this link to Buy me A Coffee

Hestra Fall Line Mittens Reviews | Hestra Leather Mitts

Durable, warm and the perfect companion for most days on the mountain.
The Hestra Fall Line Mittens are part of the Alpine Pro range which is the Swedish company’s attempt at delivering products that will stand up to the test in the harshest environments. These gloves first came to my attention when working as an instructor and noticing most of my colleagues had a pair of either the Fall Line Mittens or Fall Line Gloves. I had to try them. Years later this post gives an honest review of a glove I never go on a snowboard trip without.

Hestra Fall Line Mitts
This review is my opinion of the Hestra Fall Line Mittens which were purchased with my own money and have been worn on rotation since 2020. If you find it useful consider purchasing your pair through the affiliate links in the post to support the website and future content.
ABOUT ME
Before jumping into the full review it is worth noting the following information about me as a snowboarder. I tend to run warm, I have a tendency on all but the coldest days to remove gloves frequently due to overheating and feeling warm. This may skew my thoughts on these mitten’s warmth.
JUDGEMENT
The Hestra Fall Line Mitt is my go-to mitt for most days on the mountain. I enjoy the comfort and ease of the under-the-cuff design and appreciate the added touches like the finger sleeves on the interior of the mitt. The leather of the mitt is supple enough to ensure comfort but has remained extremely durable over time.
The Hestra Fall Line Mitt has features such as the wrist clip. This ring near the wrist allows you to clip your mitts to your pants or jacket. For me, this has been brilliant for those warmer days when I can clip the mitts to my pants and ride without gloves, but keep them close in case I need them.
Below I will provide a more detailed review based on the following categories; Warmth, Dexterity, Waterproofing, Durability, Breathability, and Comfort
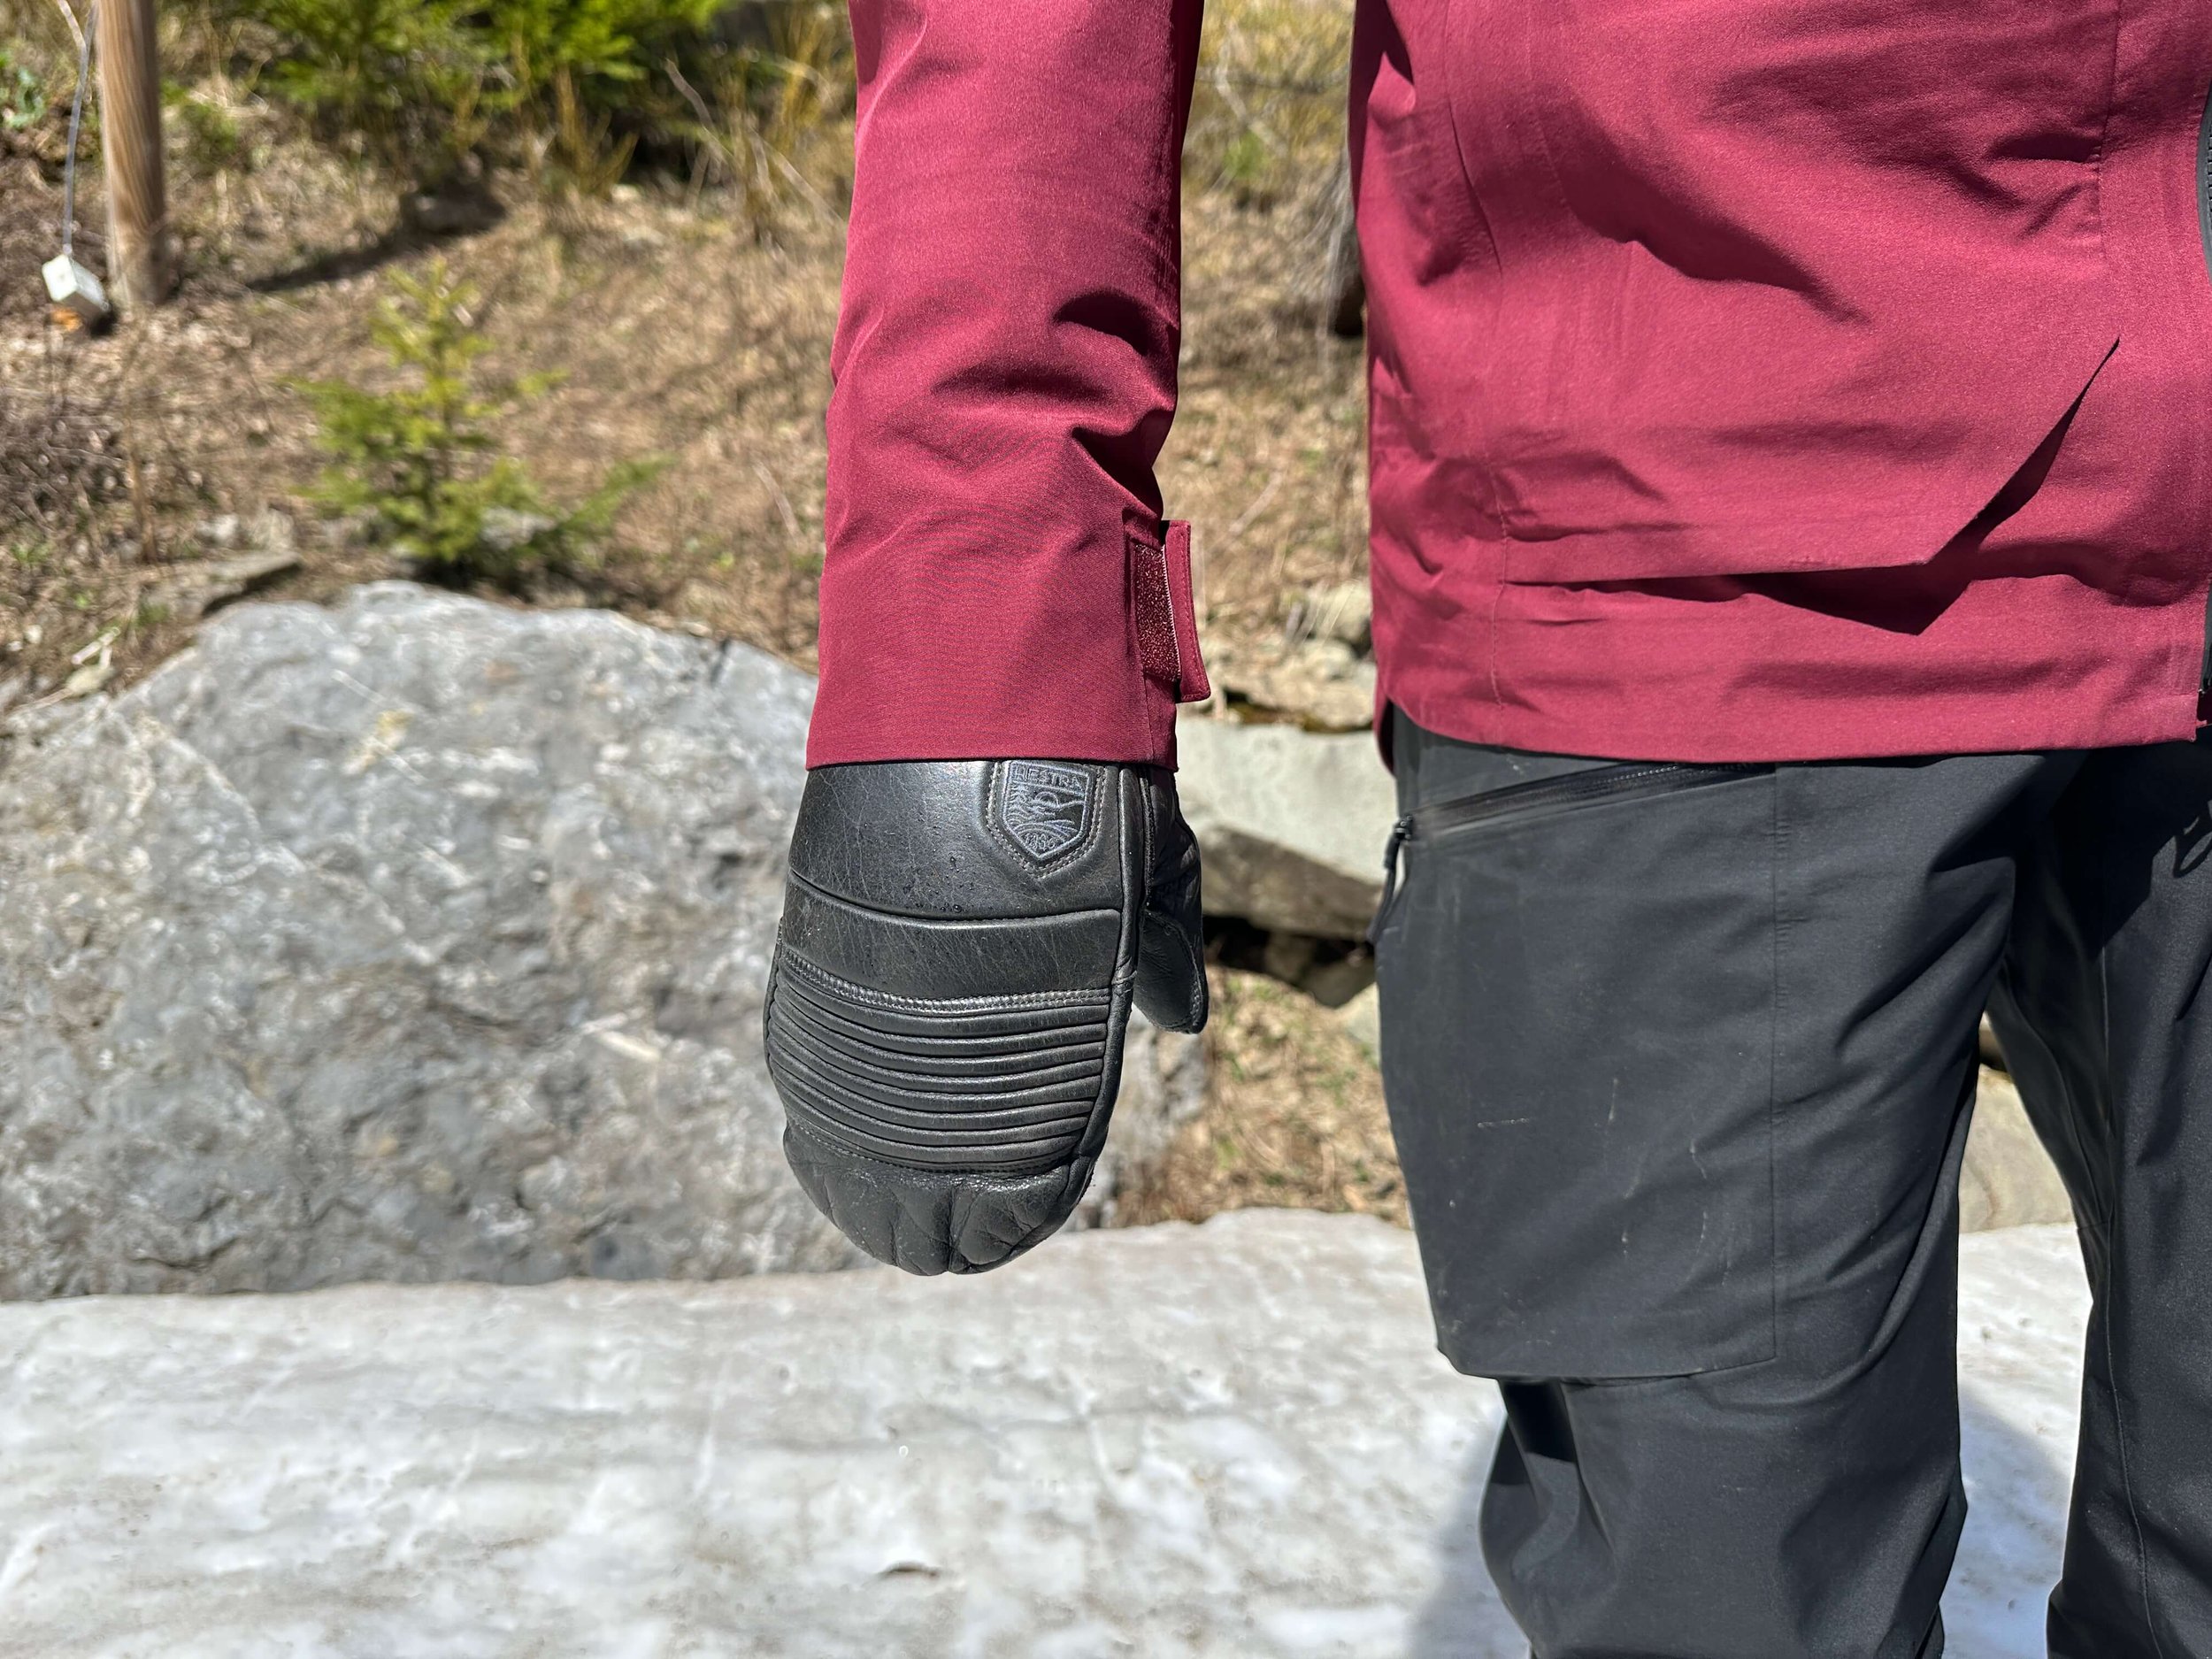
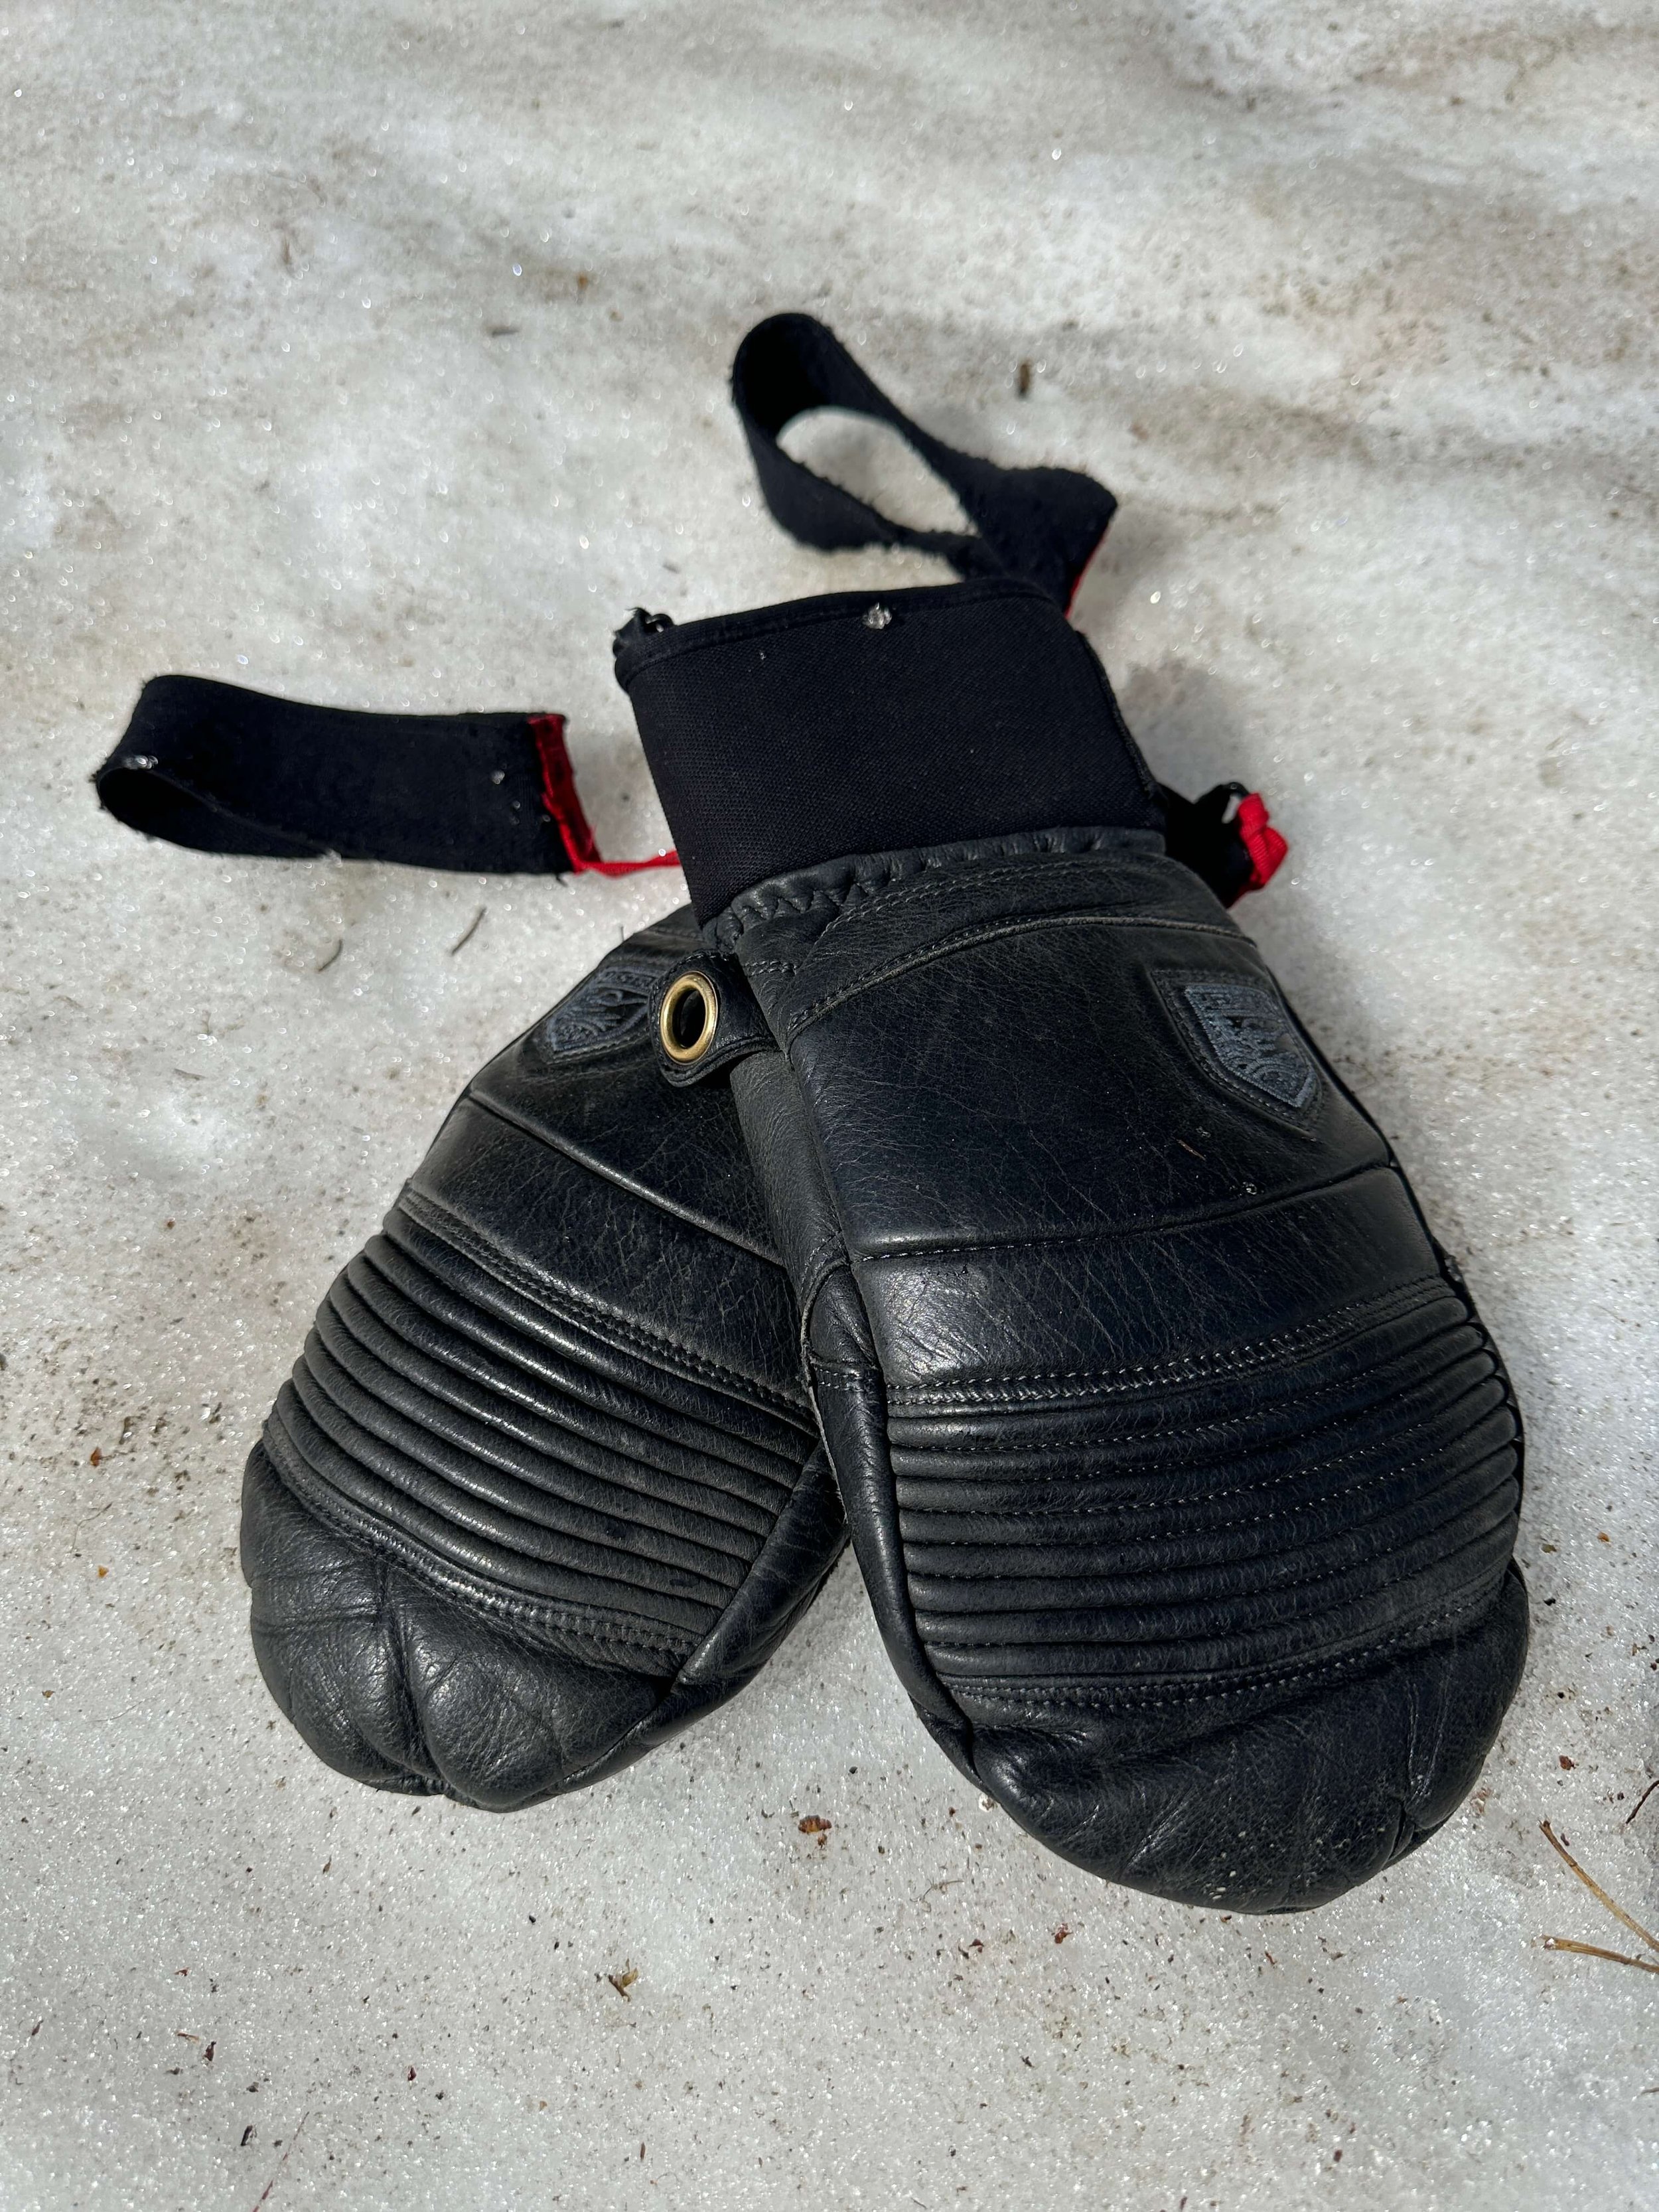
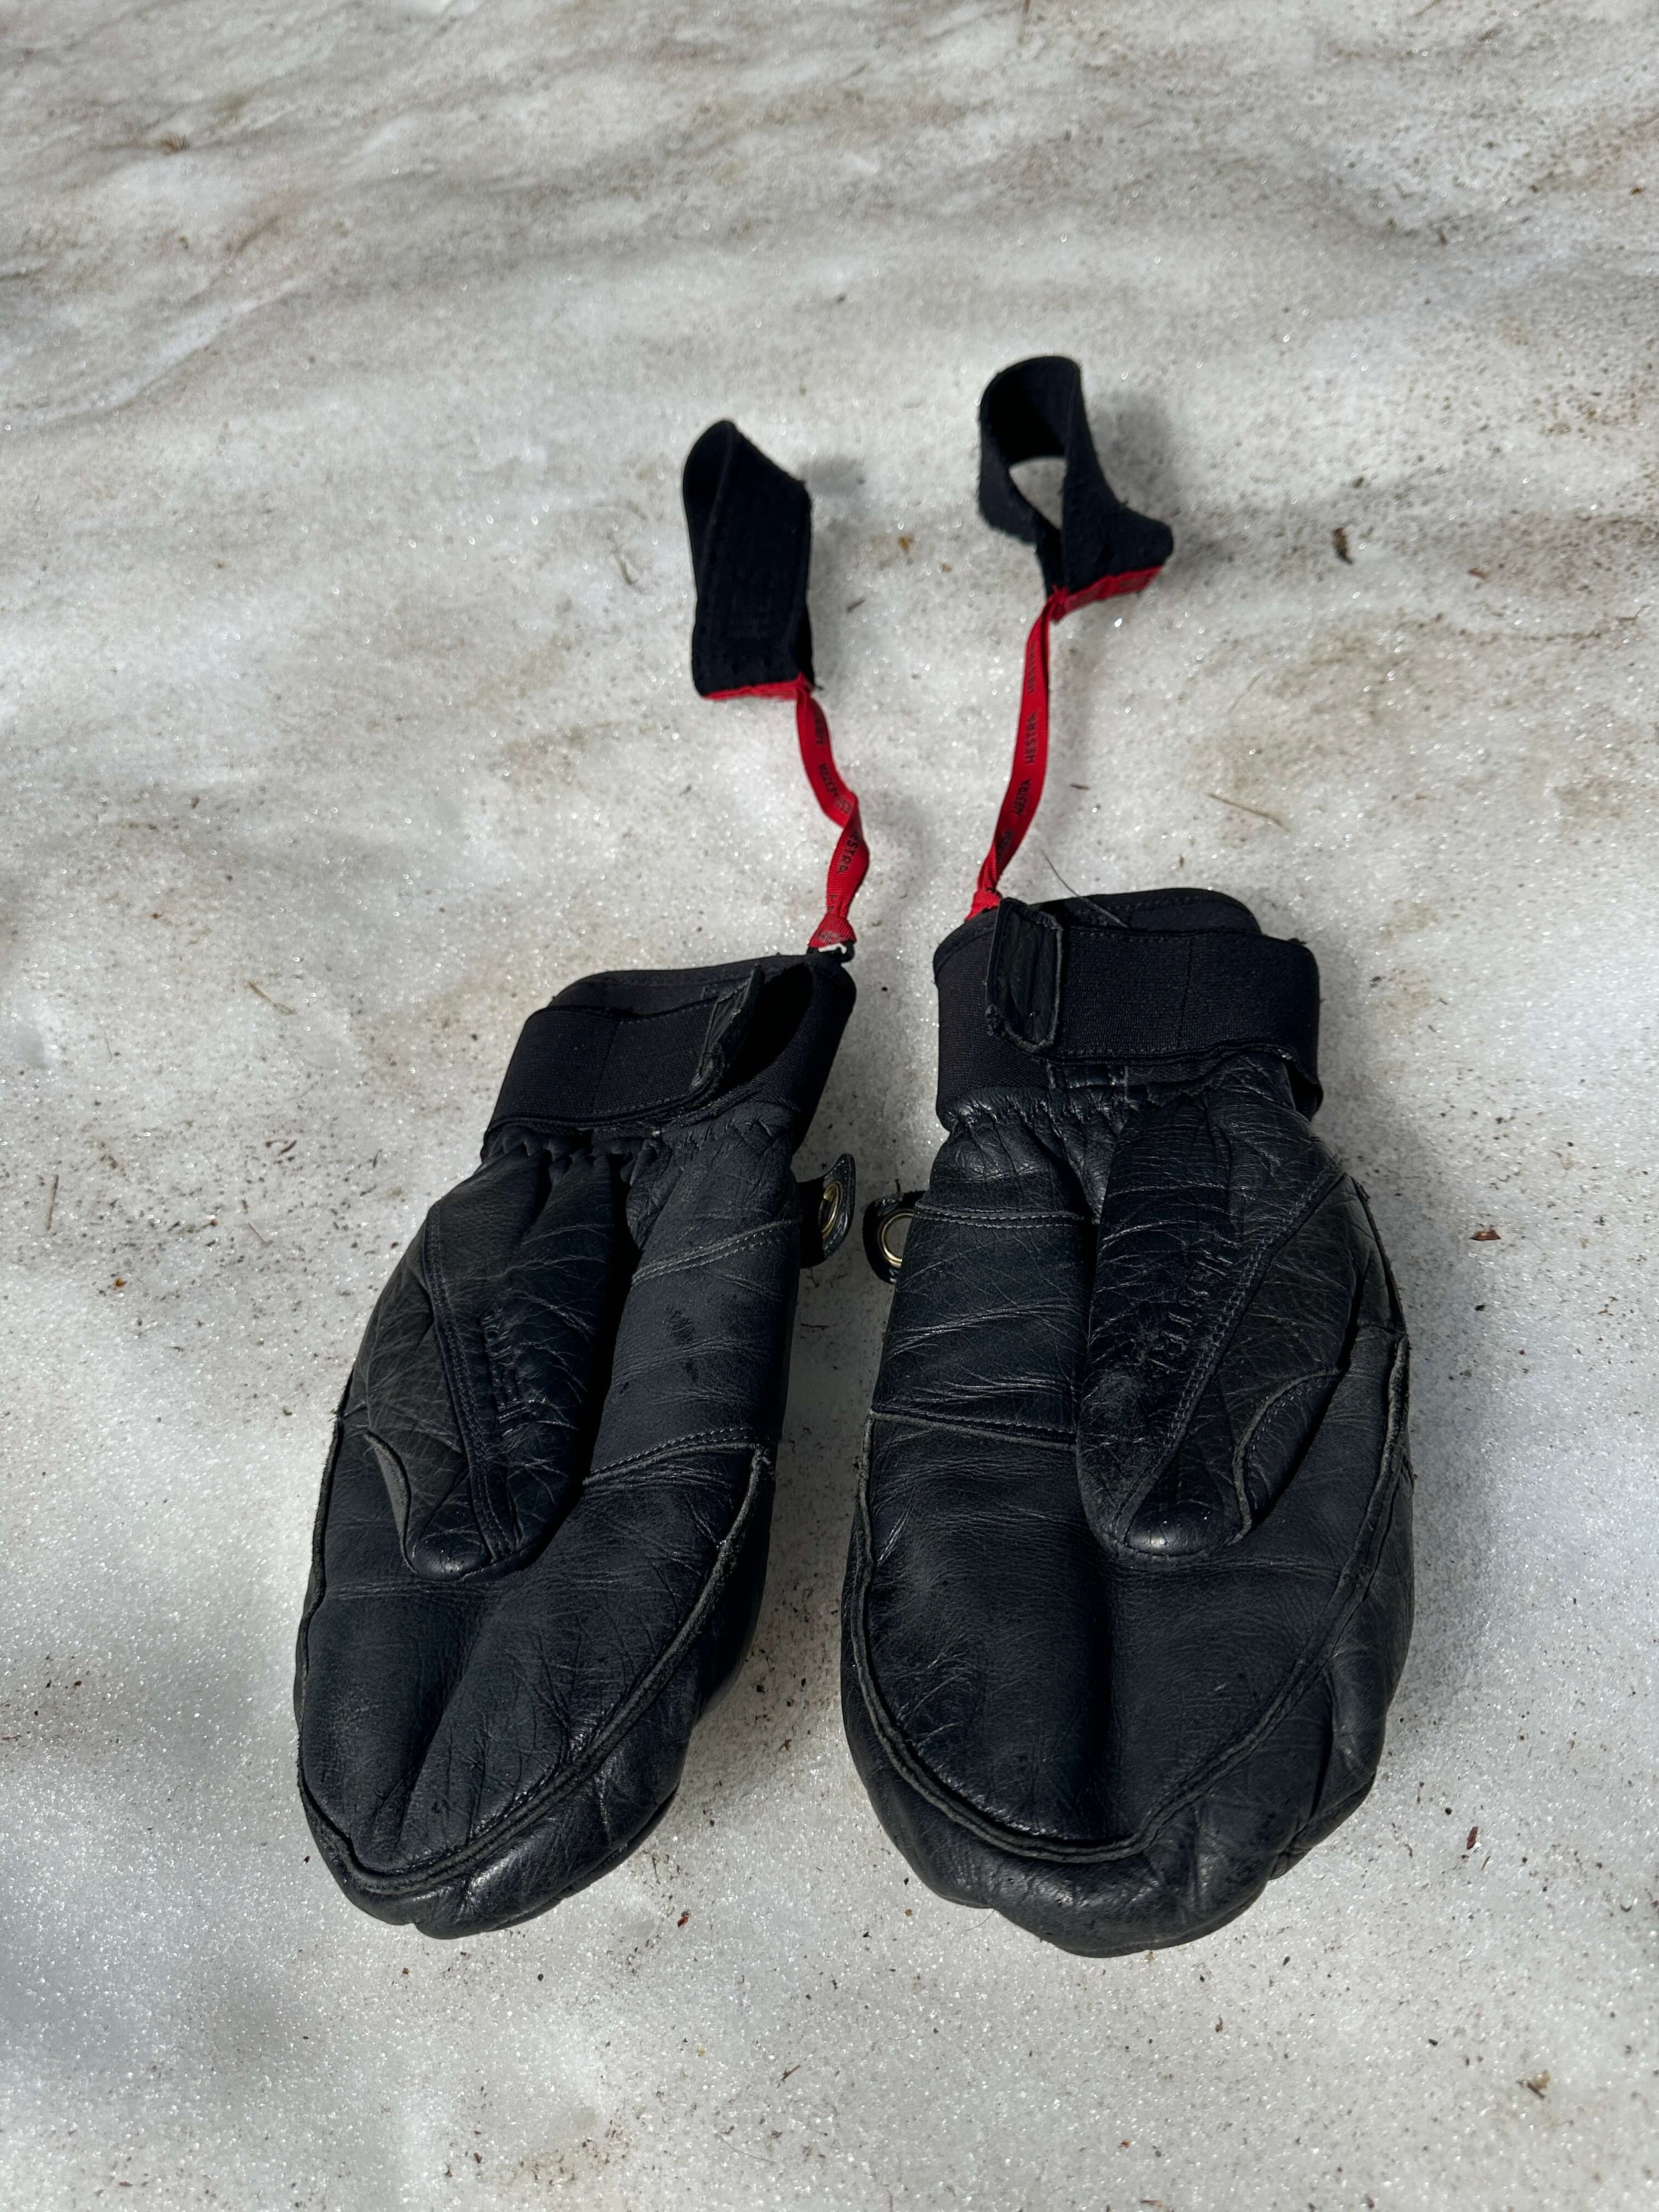
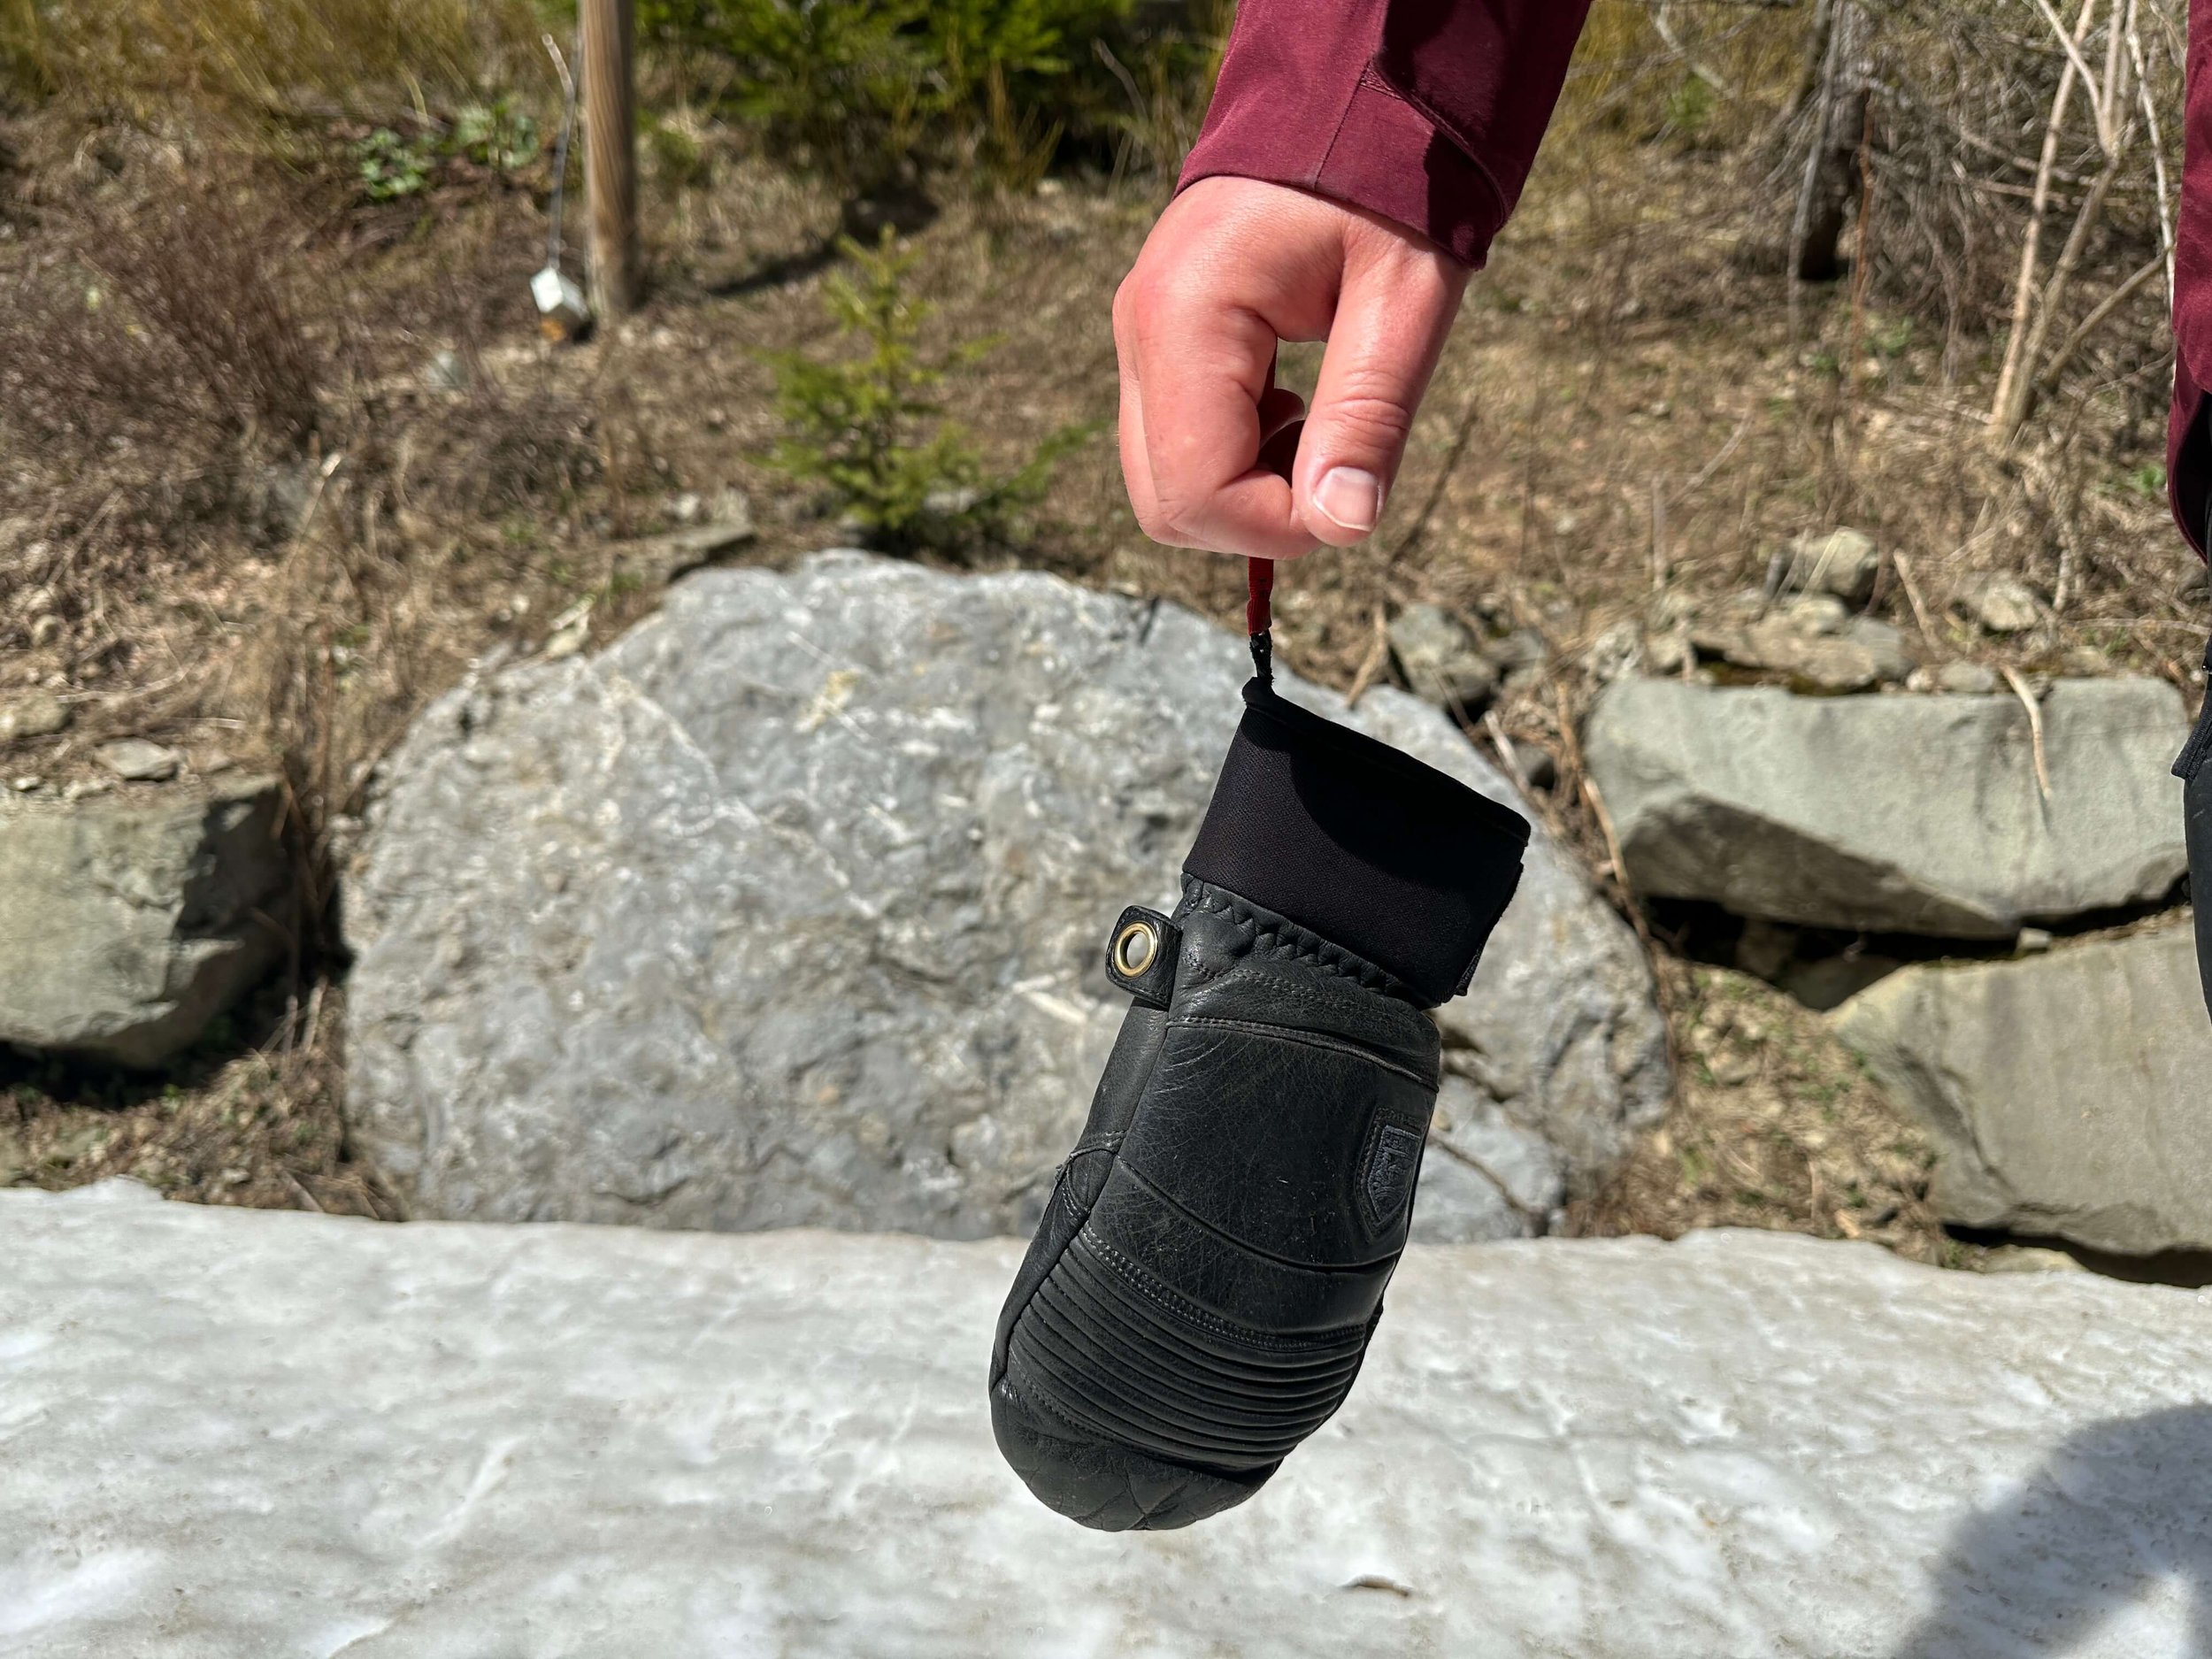
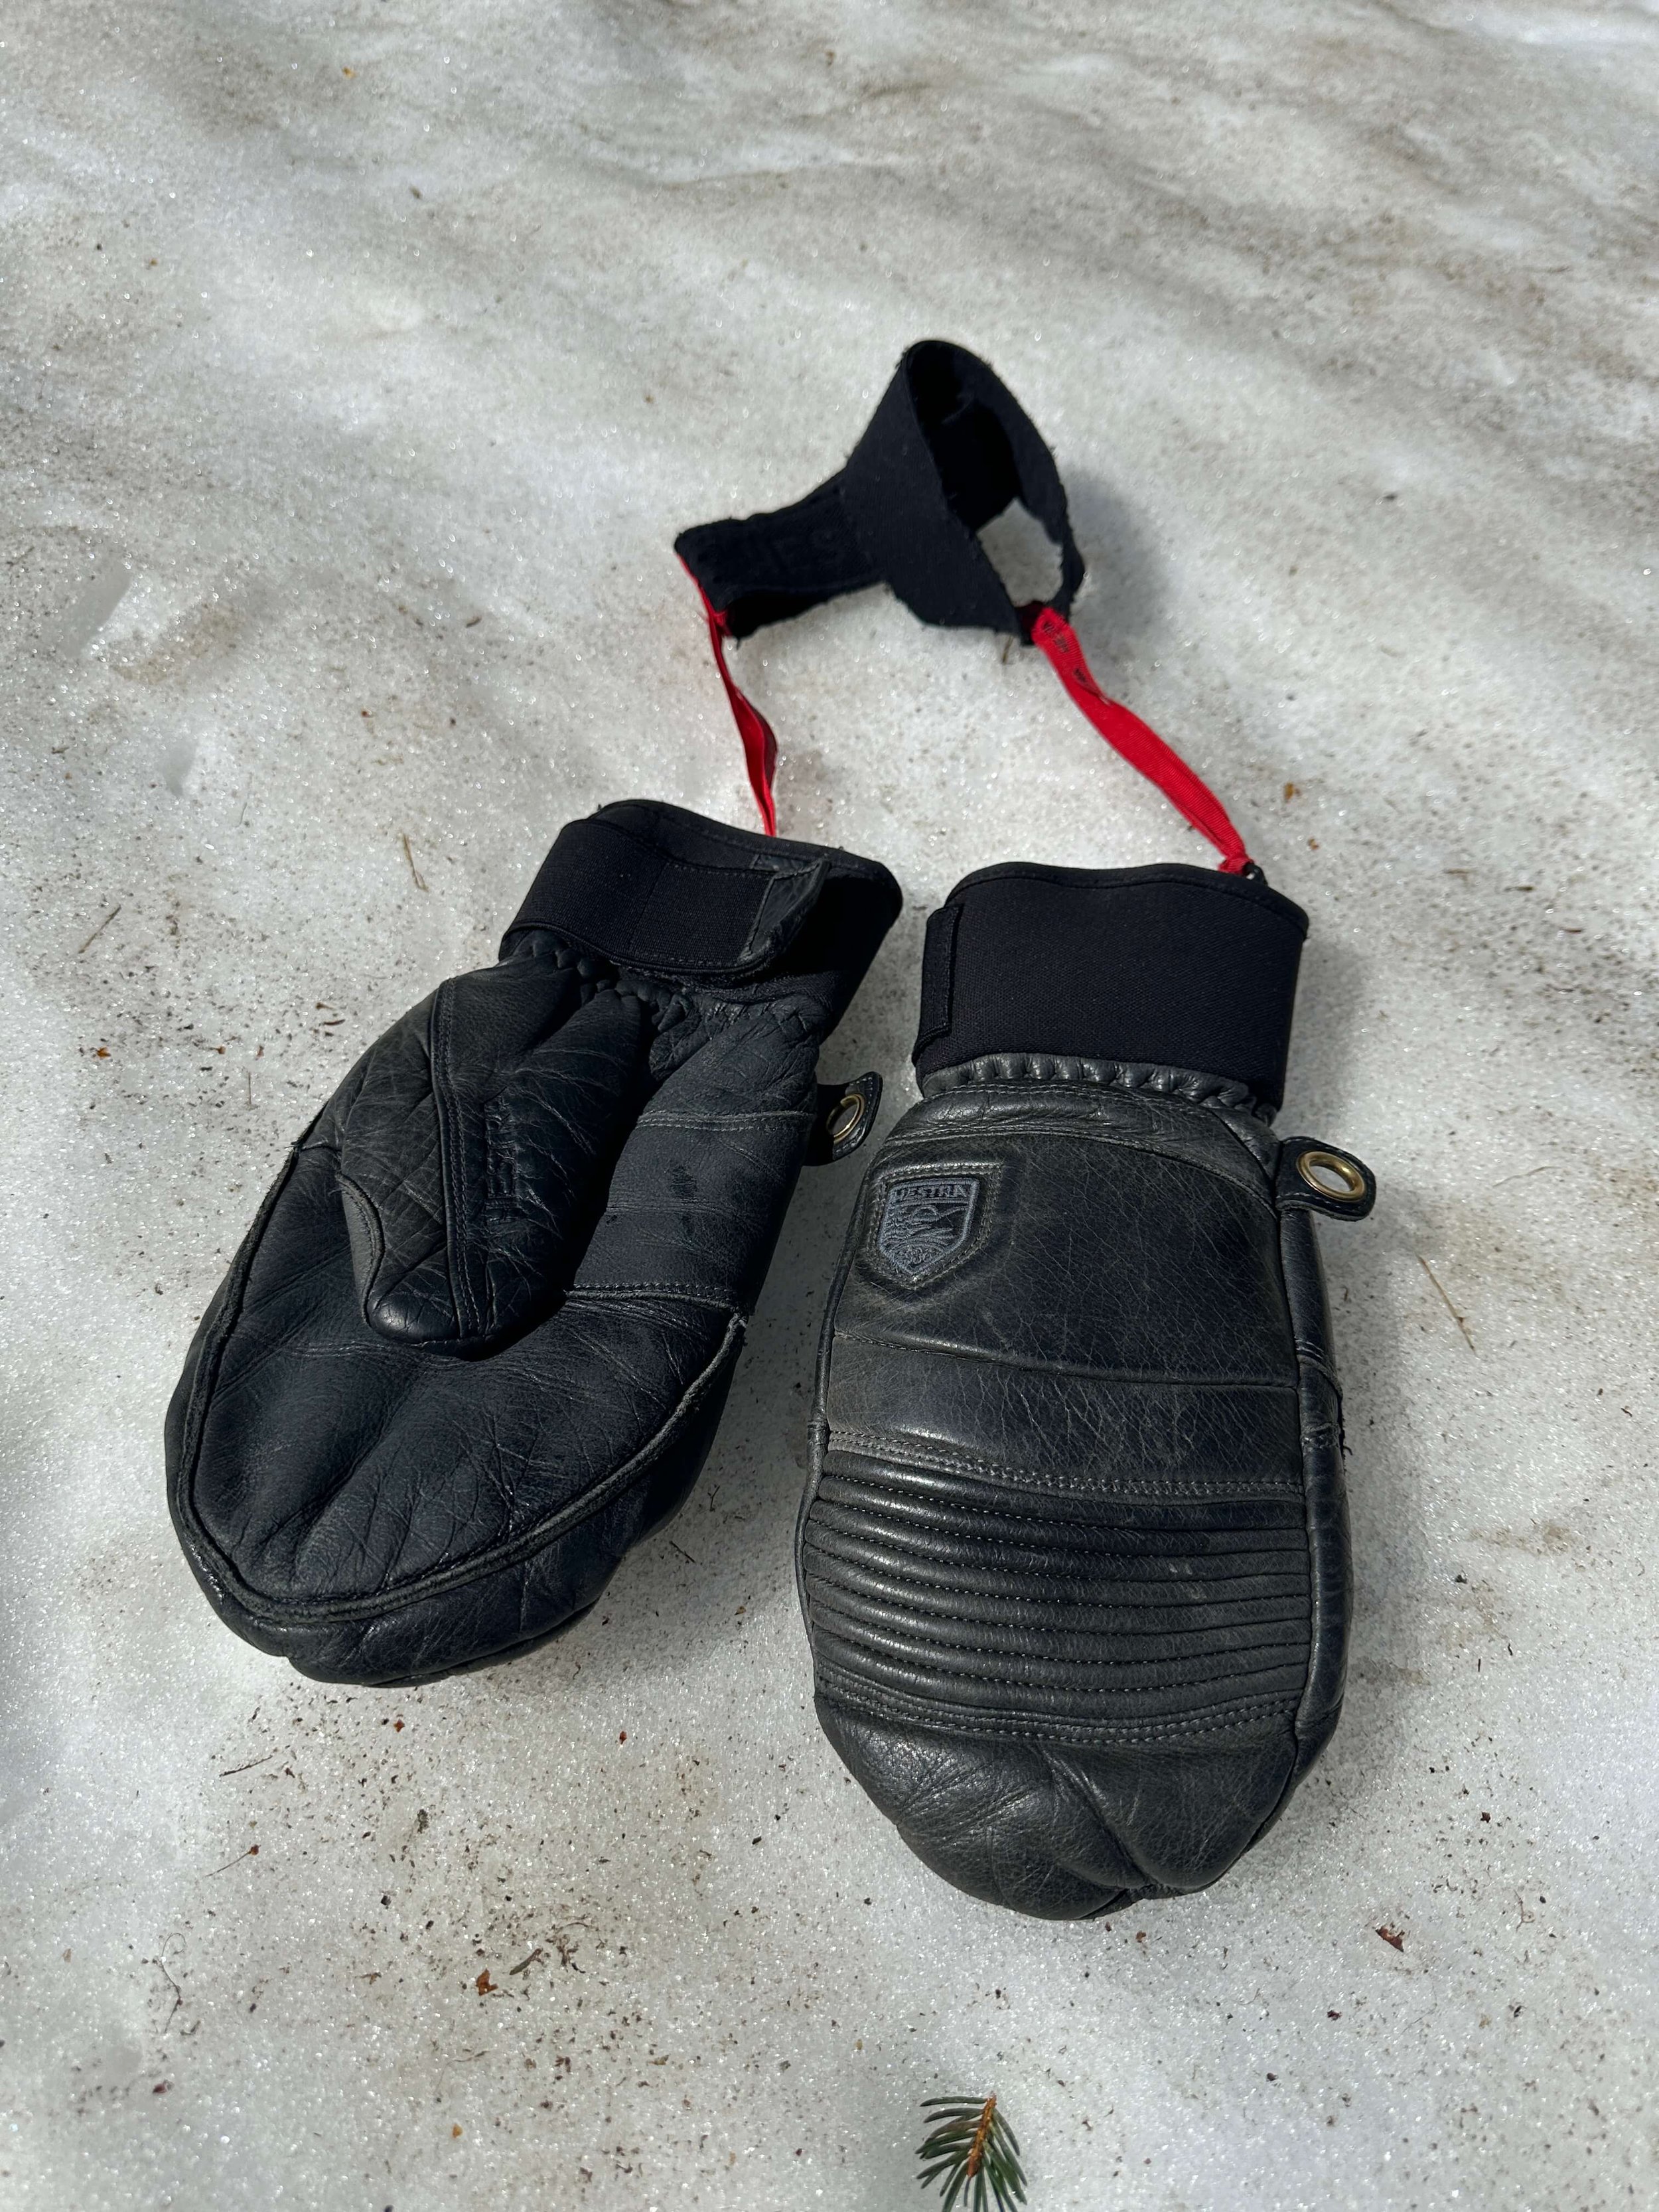
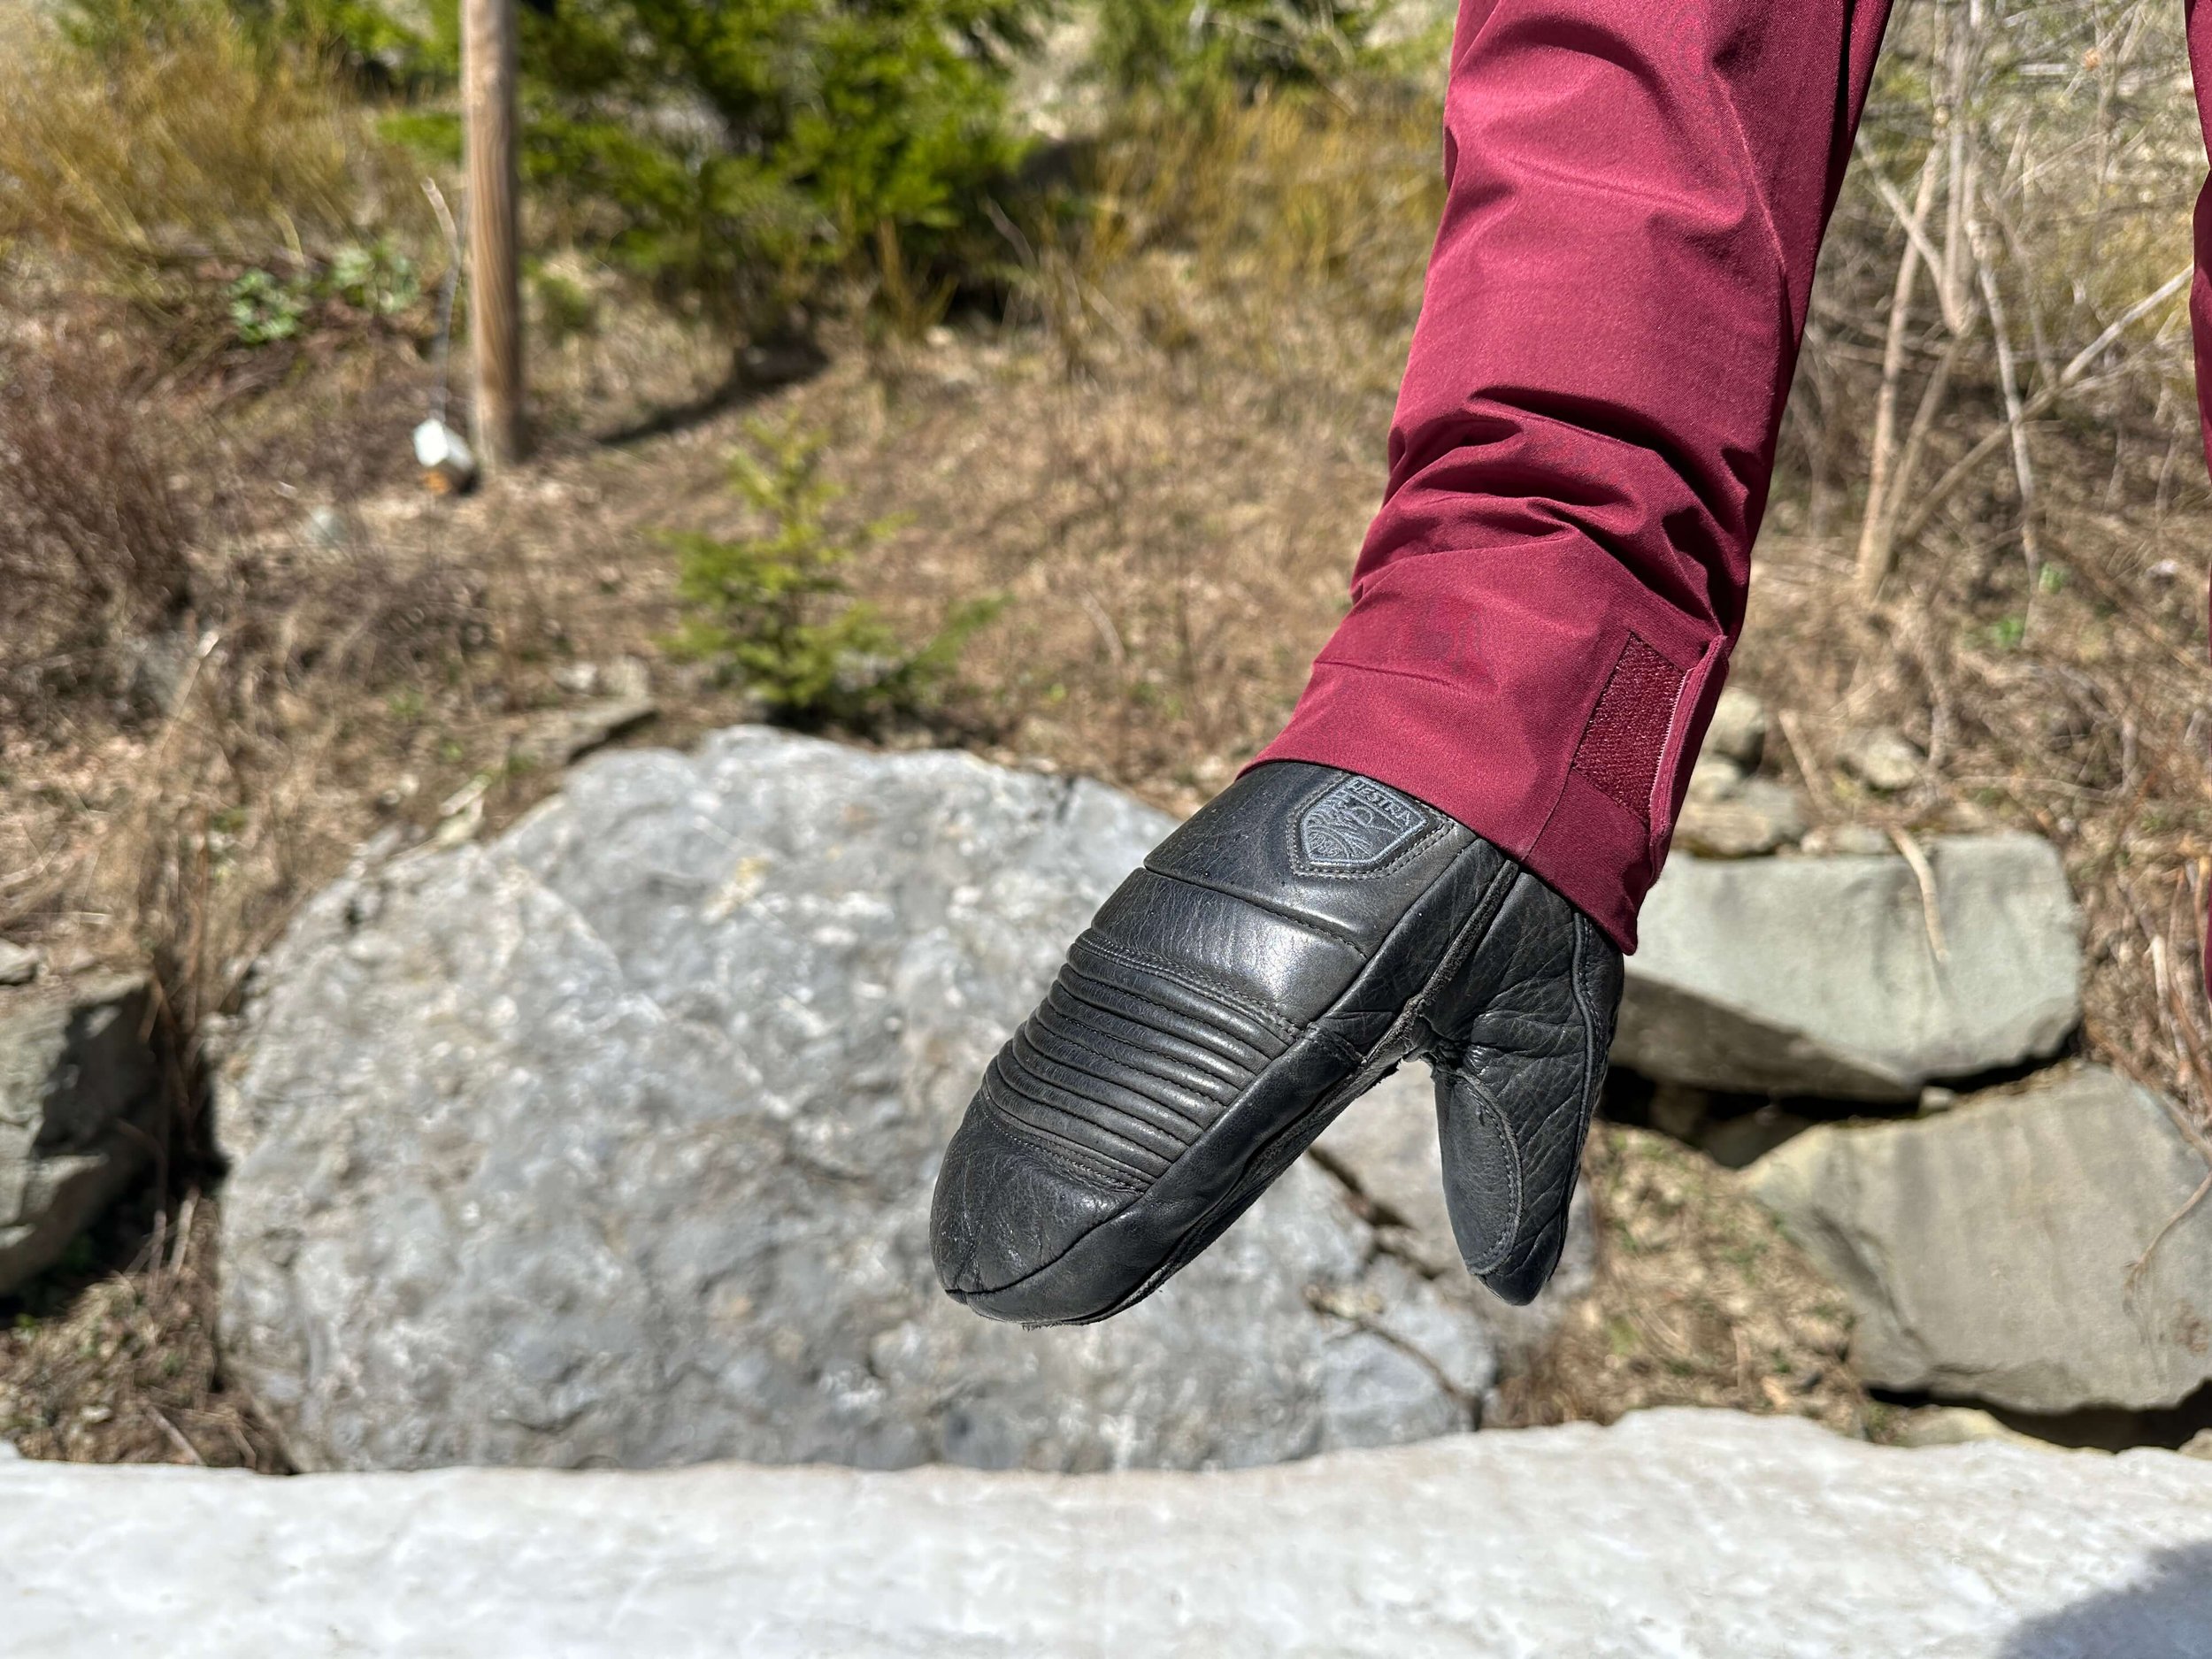
WARMTH
Most people’s concern when choosing a pair of ski gloves or mittens is whether they keep their hands warm whilst on the mountain. For me, the warmth factor has to be combined with other aspects such as variability and dexterity to choose the perfect warmth glove.
As someone who snowboards throughout the season, I have faced variable temperatures and conditions. The Fall Line Mittens are not the warmest glove I own and if warmth is the only consideration for you then consider my go-to for the coldest days, the Hestra Heli Glove which has a thicker liner.
For me, the Hestra Fall Line Mitts have kept me warm on most days and have been comfortable in the minus temperatures. The foam inserts which line the fingers on the inside of the mitt have been huge for ensuring fingers stay warm and not sweaty within the mitten.
DEXTERITY
Talking about dexterity in a mitt may seem silly as your fingers are confined to one space however without dexterity I couldn’t wear the mittens as I am always using cameras when I ride.

The high quality of the materials and construction ensures that the Hestra Fall Line Mitten has as much dexterity as possible in a mitten. The placement of the stitching in smart areas allows for the hand to move freely and the leather is soft and flexible without sacrificing durability.
Consider partnering the Hestra Fall Line Mittens with the Hestra wrist straps to allow for more flexibility on the mountain.

COMFORT
The Fall Line Mitts are amongst the most comfortable gloves I have ever worn. A combination of high-quality leather, a comfortable liner and the neoprene cuff make them top-of-the-line for comfort. One bonus of leather gloves is the more you wear them the more comfortable they feel as the leather softens and moulds to your hand. Putting on these gloves is one less thing to worry about as you can just enjoy your day knowing your hands are fine!
WATERPROOFING
The waterproofing on Hestra leather gloves and mittens will require maintenance over time if you want to keep performance to a maximum. If treated using the Hestra Leather Balm or an alternative you will see good waterproof performance. I treat my gloves at the start of the season and then again around February and have had no issues with waterproofing.
As with all leather gloves, you will need to ensure maintenance to keep the glove waterproof over time. Using Hestra leather balm or an alternative will keep the gloves performing their best throughout the season.
BREATHABILITY
I often end up taking these mitts off as my hands get too hot and on those warm spring days, you can get sweaty hands. The foam finger liners do a good job of keeping hands dry and wicking sweat away in all other temperatures.
One thing I miss from my previous mitts from Swanny is the zip which is intended for placing hand warmers in however, I used to open to vent the gloves.
Breathability is one area these gloves could improve.
DURABILITY
These mitts from Hestra have been incredible in terms of durabilty. Whether just enduring the conditions or being dragged through snow doing tripods the Hestra Fall Line Mitts have stood up to the tests. As with all leather gloves they need maintanence and if you keep on top of that TLC then these gloves will look after you for the foreseable.

Tripod testing the durability of the Hestra Fall Line Mitts
FINAL THOUGHTS
The Hestra Fall Line Mitts retail around the £100 mark in the UK, although deals can always be found, placing them at the top end of most peoples glove budget. For the cost, you are getting an extremely durable and comfortable glove that I have found to be perfect for most days on the hill.
SUPPORT FUTURE CONTENT
If you found this post useful then consider supporting future content by purchasing through the Amazon Link below or using this link to Buy me A Coffee

Outdoor Master Ultra XL Ski Goggle Review
Disclaimer: The goggles were #gifted by the brand for review however the opinions in the post and videos remain my own. I was not paid to make the review. If you found this review useful please consider using the buymeacoffee link to support future content.
Ski goggles can be the difference between a great day or a bad day on the snow. With the harsh weather that we can experience on the slopes, it is important to protect your eyes. Unfortunately, decent ski goggles can be pricey and great ski goggles can be unaffordable for many people. The Outdoor Master brand has grown massively off the back of this juxtaposition by designing quality ski goggles at affordable prices This has led to the Outdoor Master Ultra XL Ski Goggles being one of the best-selling ski goggles around the world. If you are looking for high-quality, durable, and comfortable goggles, consider the Outdoor Master Ultra XL. In this blog post, we’ll take a closer look at these goggles and what makes them an excellent choice for your next winter adventure.
OUTDOOR MASTER ULTRA XL OVERVIEW
The Outdoor Master ski goggles offer the same quality that the major brands like; Anon, Dragon, Oakley, Smith, and Spy, but at a fraction of the cost. Want magnetic lenses, tick. Wide field of view, tick. Antifog that works… ok Outdoor Master throw that in as well. Essentially Outdoor Master have looked at what is working in other successful goggles and integrated that into their goggles.
COST
The Ultra XL ski goggle rrp is £120 but they are usually available at a discount. Included with the Ultra XL ski goggle are two lenses, the goggle, a hard goggle case and a microfibre bag.
BUY A PAIR AT: https://outdoormaster.com/?ref=Qcrf1p... Save 15% with code: SIMON15600
DESIGN
The Outdoor Master Ultra XL Ski Goggles are designed with a large Toric lens design that provides a wide field of view, giving you an unobstructed view of the mountain. The frameless construction also adds to this wide field of view and ensures that your vision is never obstructed. The large fit might not fit all face types in which case you may want to consider a smaller frame size from the Outdoor Master range.
THE LENSES
The Ultra XL lens is a Toric design. This means that the lens is curved both vertically and horizontally. The benefit of Toric lens designs are increased field of view with less distortion at the periphery of the lens.

Credit - Outdoor Master
The lens is made from impact-resistant polycarbonate, which is strong enough to withstand the toughest conditions. It’s also coated with a multi-layer anti-fog treatment, so you won’t have to worry about your vision being obscured by fog, even in the harshest conditions. The lens also provides 100% protection from harmful UV rays, so you can ski or snowboard with confidence, knowing that your eyes are protected.
The Outdoor Master Ultra XL Ski Goggles are also designed to be versatile, so you can use them in a range of different weather conditions. They come with a range of interchangeable lenses, so you can switch out the lens to suit the conditions. For example, you can use a low-light lens for cloudy days or a mirror lens for bright, sunny days. The lenses are easy to change, so you can quickly adapt to the changing conditions on the slopes.
COLOUR-OPTIMIZATION TECHNOLOGY
Similar to Smith Chormapop, Anon Perceive and Oakley Prizm Outdoor Master ski goggles have Color-Optimization technology in their lenses. COT filters blue light to increase contrast and context in the snow.


Color-Optimization Credit - OutdoorMaster
ANTI-FOG
You would expect that any half-decent ski goggle has an anti-fog coating but those who ski regularly will know that some anti-fog is better than others. The Outdoor Master claim that their lenses can absorb a ‘significantly higher amount of moisture’ which in turn means they fog less. I was impressed by the lack of fogging on these lenses which stayed clear at all times.
You will see from my video that I wear a goggle insert and at times this fogged up. The goggle lens however stayed clear. On reflection, this probably demonstrates the success of the anti-fog coating fairly well.
SUPER HD-TECHNOLOGY
Honestly… I thought this was marketing jargon when I first read it. However, having used the goggles I want to believe it. Whether my eyes (I wear glasses) are the best to judge this remains to be seen.
Watch the video below 3:20 which shows the comparison between four Toric goggles. I recognise the Brand 1 lens as Anon and Brand 3 as Smith. The Outdoor Master lens clearly performs well in this regard.
Check out the video below from Outdoor Master which explains all of the lens tech in more detail.
ULTRA XL LENS OPTIONS
The Ultra ski goggle from Outdoor Master has a range of lens options. Each goggle is sold with two lenses one for sunny days and one for cloudy conditions.
COMFORT
Comfort is key when it comes to ski goggles, and the Outdoor Master Ultra XL Ski Goggles do not disappoint. They feature a triple-layer foam padding that is comfortable against your face and helps to reduce the pressure of the straps. The straps are adjustable, so you can get a perfect fit, and they are also made from a flexible material, so they won’t dig into your head. The goggles have an ergonomic design that is compatible with most helmet styles, so you can wear them with confidence, knowing that they will stay in place
PROS
The Ultra ski goggle has a large spherical lens design that provides a wide field of view
The frameless construction gives you an unobstructed view of the mountain
The outdoor master lenses are really durable.
Multi-layer anti-fog treatment works really well.
The ultra ski goggle is comfortable to wear.
Adjustable straps for a perfect fit
The Outdoor Master Ultra fits well with a range of helmets due to its ergonomic design.
Interchangeable lenses for different weather conditions
Easy to change lenses for quick adaptation to changing conditions
CONS
The goggles are quite large, so they may not be suitable for those with smaller faces
FINAL THOUGHTS
Although I had previously felt dubious about stepping outside of the big-name brands in the goggle market I would recommend the Outdoor Master goggles. Having used these
Salomon Taka Split Snowboard Review
Designed as part of Salomns hillside project the Taka split is an evolution of Takaharu Nakai’s solid board. The Japanese snowboarder has built his board around a powder shape that excels in the deep stuff. Now in split version the Taka Split is a take it anywhere on the mountain powder killer.
Disclaimer - I am not paid to write reviews about the gear I use and this board was purchased using my own money. I do not claim to be an expert just an average rider who is passionate about snowboarding and gear. If you find this review useful feel free to help me out and buy me a coffee using the button below.
SALOMON TAKA SPLIT OVERVIEW
SHAPE
The Salomon Taka Split has a directional freeride shape with a taper from nose to tail. The wider nose prevents the board from burrowing under the snow and sending you into a tomahawk. This is combined with the tapered tail which drops the tail of the board effortlessly preventing that powder leg burn. There is 12mm of taper from nose to tail.
CAMBER
The camber profile of the Salomon Taka Split is a hybrid camber with a combination of camber and rocker. The camber is under the insert packs ensuring control and stability of the Taka Split at higher speeds. Just after the front insert pack a long rocker starts which is perfect for ensuring extra float in pow. This rocker also helps turn initiation on-piste ensuring a less catchy ride.
FLEX
The Salomon Taka Split has a medium flex which is ideal for its powder performance. The nose feels soft and has some give in it which again helps it stay above the snow when needed. Despite not being overly stiff I found the Taka Split to hold an edge really well on harder snow.
CONSTRUCTION
The Taka split utilises Salomons Ghost Green Core. This core is constructed from their premium sustainable materials reducing board weight whilst being good for the environment. Salomon add what they call BA MD throughout the board which is a layer of fibreglass. The fibreglass weave keeps weight low whilst providing some predictability to the board’s performance.
SIZE GUIDE
The Salomon Taka Split is available in three sizes, 155, 158 and 161.


BASE
The Taka Split is fast thanks to its Sintered EG base. The sintered base on this board is one that I have had on a number of previous Salomon snowboards. The base does require regular waxing but if looked after performs brilliantly.
HOW DOES IT RIDE?
STABILITY
On piste and at speed the board feels solid despite being split down the middle. It holds an edge really well and wants to fly. This stability transferred into softer snow cutting through pow with ease and never feeling in danger of sinking.
FLEX
The Take Split has a medium flex under the feet but gets softer towards the nose and tail. The softness in the nose is perfect for keeping above deeper snow.
TURN INITIATION
The early rise rocker in the nose gives the Salomon Taka Split a loose feel rolling into and out of turns. I was taken back by how fun this board was to get on edge and turn with the expectation that performance in this area would suffer for powder performance.
ASCENT
The light construction of the Taka Split means it doesn’t feel heavy underfoot. The powder nose can be wider than the average skin track so you can find yourself cutting your own trail. Coupled with my Union Expedition bindings I was happy with the uphill performance.
POWDER
This board has a powder shape and a powder purpose. Without surprise, its designers Takahura Nakai and Wolle Nyvelt have hit the nail on the head with this one. Check out the videos below to see its powder performance.
PARK
This is not a freestyle board.
THE VERDICT
I really enjoyed riding this board although I did have a warranty issue with it. This has now been resolved by Salomon which is all you can ask for really. For accessing those areas close to the lifts this board was perfect and made my life a lot easier than boot packing it. I was really impressed with how this board floats in pow but more so how it rode around the rest of the resort. Its versatility meant I was happily riding it on a resort day just on the off-chance I would decide to get into hike mode.

Prior Wildcard Snowboard Review
Hand-built in Canada just outside of Whistler Prior Snowboards have a fantastic reputation, although not yet globally renowned. They were formed in 1989 by the late great Chris Prior and have been doing their thing ever since.
Disclaimer - I am not paid to write reviews about the gear I use and this board was purchased using my own money. I do not claim to be an expert just an average rider who is passionate about snowboarding and gear. If you find this review useful feel free to help me out and buy me a coffee using the button below.
PRIOR WILDCARD OVERVIEW
There are lots of variations and customisations available with Prior Snowboards so first of all I will talk about the standard Prior Wildcard.
SHAPE
The Prior Wildcard is a true-twin shape that rides the same in both directions. This suits the board’s all-mountain freestyle focus as makes riding away in switch easy.
CAMBER
The Prior Wildcard utilizes a hybrid camber profile. The Wildcard has a camber under the feet with a rocker on the tip and the tail. This is actually my preferred camber profile as it provides stability and pop but with that bit of help floating in pow.
FLEX
The Prior Wildcard utilises what Prior call their Twin Flex. The Twin Flex means that the board flexes the same whether you are riding regular or switch. The flex of the wildcard is also dependent on the construction but more on that shortly.
CONSTRUCTION
Part of Prior snowboards uniqueness is the ability to customise their boards in a number of ways. When you buy a Prior choosing its construction is part of this process. Standard boards come with a Triax glass weave or you can upgrade to an XCE carbon construction. The XCE carbon shaves around 15% of the board's weight. As someone who owns a version of the Prior Wildcard with both constructions, the XCE is also a more damp ride although both versions are great at cutting through crud.
SIZE GUIDE
Check the size guide below for regular Prior Wildcard Sizing. As a brand that prides itself on providing customs it is possible to make adjustments to the below chart. I have a 156 standard sizing and a 159 with an increased waist width.
BASE
The Prior Wildcard has a sintered base that is fast but needs regular maintenance. I love the speed that you get out of these boards but the bases are quick to show dry marks after a couple of days riding.
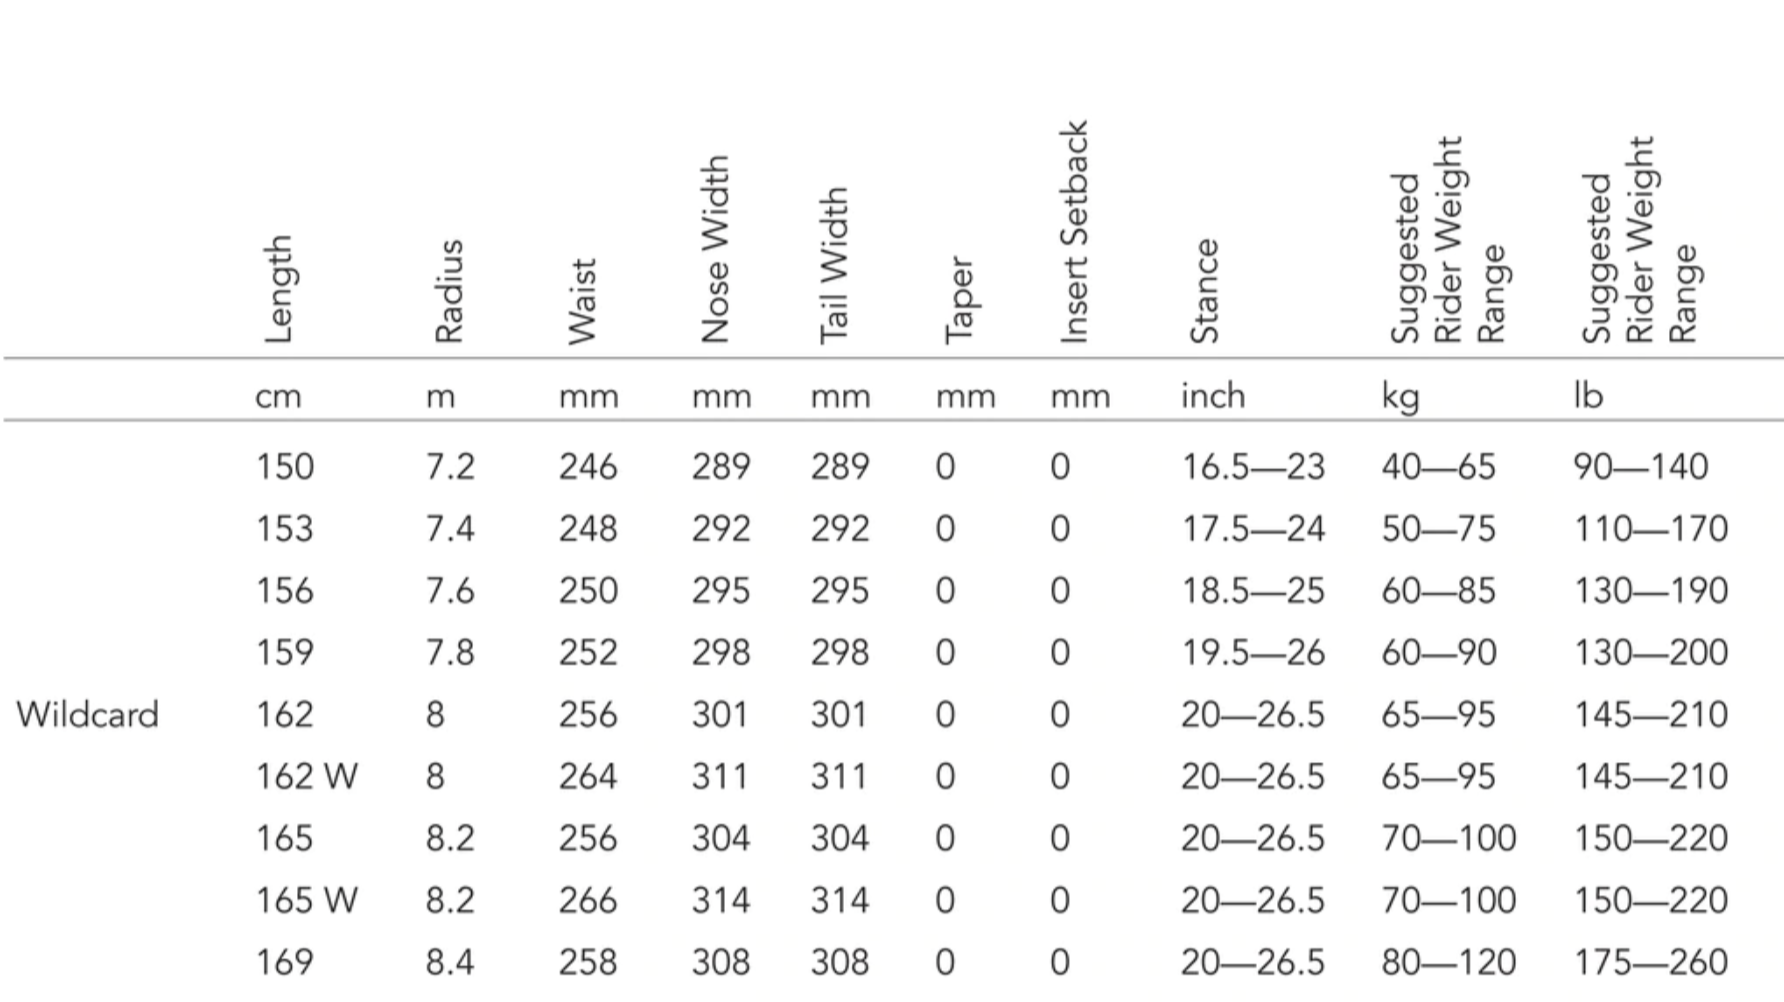
HOW DOES IT RIDE?
STABILITY
Ultimately when I am looking for a board I really want something that feels stable and isn’t going to wash out on me. The camber under the bindings is reassuring throughout the turn and you can feel the board lock into a carve. Even on icy snow the Prior Wildcard feels stable.
FLEX
I am not really one for pressing and buttering boards but the Prior Wildcard makes you want to do it. With your hips shifted over your tip or tail you can hold your press with decent stability. Doing a tripod and you can lock it in and just go. The flex between your feet is stiffer than on the tip and tail which means you are not sacrificing performance for that more playful ride.
TURN INITIATION
Some of the earlier hybrid camber boards like the Salomon Mans Board still felt catchy when initiating turns. That’s is not the case with the Prior Wildcard. The rocker on the nose just seems to lift those pesky contact points enough that you can just roll into your turn. The Wildcard feels quick between edges and is easy to throw around some tight trees.
PISTE
The Prior Wildcard’s underfoot camber makes the board incredibly fun to turn whether arcing across the piste or performing short turns down the run the Prior Wildcard has you covered. Both the XCE carbon and standard construction have enough ummpfh to powder you into your next turn.
POWDER
I was surprised at just how well the Prior Wildcard performs in deeper snow for a true twin snowboard. The rocker helps keep the nose afloat and although powder performance is never going to be as good as a true powder board check out these videos to see how it performed.
PARK
The Prior Wildcard is touted as an all-mountain freestyle board so it is fair to say that you should expect good park performance, it delivered. The Prior Wildcard was really fun to throw off jumps knowing that it will handle the landings. Similarly it has helped my confidence grow on rail features although it is not a jib board.
THE VERDICT
I love this board and have ridden it for a number of years now. Although other true twin snowboards have caught my eye I cant see myself replacing my Wildcard’s in my quiver anytime soon.
Arcteryx Aerios FL Mid GTX Review
INTRO
Arc’teryx introduced the Aerios FL GTX and Aerios FL GTX Mid hiking shoes as lightweight waterproof options for hikes on variable terrain. I have previously owned the Aerios FL GTX and recently started using the Aerios FL Mid GTX so all opinions are based on the actual use of both shoes. I wear a size 10UK which is my regular shoe size and the Aerios FL and Aerios Mid are both true to size. The following is based on a year of use in the UK mountains and Fells in the Brecon Beacons and Lake District National Park.
WHAT IS THE ARCTERYX AERIOS FL GTX / FL MID GTX?
The nice thing about Arc’teryx products is that the clue is always in the name. FL stands for Fast and Light which is a large part of the appeal of the Aerios shoes. GTX stands for the use of GORE-TEX as a waterproof membrane in the shoe. These two characteristics mean that the Aerios FL GTX is a great lightweight hiking shoe for variable conditions. Think of the Aerios FL as an extension of the Arcteryx trail running range that is known for its lightweight comfort but with added stability and durability.
OUT THE BOX
WEIGHT
Taking the Aerios FL GTX out of the box it is possible to see the first real pro, the weight. Weighing in at 690g (size 10 UK) and 740g for the Mid, these shoes are incredibly light. The synthetic upper contributes to this massively and is pliable which will help the comfort.
SOLE
A quick look at the sole and you can see there are deep lugs that should help with traction. The sole itself is a Vibram Megagrip sole. Vibram Megagrip is a rubber compound that is both extremely durable and reassuring in terms of grip.
OUTER
The outer of the shoe is constructed out of a lightweight Cordura Mesh and sealed with TPU high abrasion protection films in the harder wearing areas. The Cordura Mesh comes in one piece, reducing the need for additional stitching on the walking shoe. This lightweight mesh doesn’t hold water so dry’s quickly when wet.
The minimal stitching on the Aerios FL is a deliberate ploy by Arc’teryx. By reducing the stitching, to the front of the shoe under the laces and along the back of the heel, Arc’teryx has also reduced the likelihood that the stitching will fail. Occasionally get ripped after rubbing against corse materials like rocks.
WATERPROOFING
Attached to the inside of the Cordura Mesh is the GORE-TEX membrane that keeps your feet dry through wet weather activities. GORE-TEX is the biggest name and still pretty much regarded as the industry standard for waterproof membranes.
BUMPER
The toes are protected by a somewhat beefy toe guard. This toe guard prevents abrasion of the shoe in an area that is high use ensuring durability.
COMFORT
The Aerios FL has a compressed EVA foam midsole that runs the length of the shoe and acts to stabilise and add comfort to the shoe. The midsole is thicker under the heel but there is ample cushioning under the toe box as well.
AERIOS FL GTX PROS
Available in two heights, mid and low top, mean that this shoe can suit a broader range of preferences.
Aerios FL is incredibly grippy across surfaces due to the Vibram Megagrip sole so you can spend less time worrying about your footing and more time enjoying the view.
An incredibly light shoe that is perfect for day hikes or for multi-day trips when reducing weight is important.
The Arcteryx Aerios FL has a nice design that looks good as well as being functional.
AERIOS FL GTX CONS
Arc’teryx products are not cheap and at £160 for the Aerios Mid, these shoes are at the upper range for shoes in the same category.
The Aerios FL isn’t overly cushioned so some people may want more in terms of comfort. The Ortholite insole that comes with the shoe offers 4mm of cushioning but this can be replaced for a more cushioned insole.
I would like to see offered in waterproof and non-waterproof versions similar to Arc’teryx trail shoes.
COMFORT
It doesn’t take long-wearing the Arc’teryx Aerios FL to realise it will not be the most cushioned shoe. Despite this, I found it an incredibly comfortable shoe. The Aerios FL is a stiff shoe and initially, this did lead to some blistering on my heel. The more I have used the shoe the softer the heel cup has become but the shoe retains its stiffness throughout the length of the sole. I have found no pressure points from the tongue or laces making this a very comfortable shoe.
GRIP
The success of a hiking shoe like the Aerios FL will most probably be decided on its traction. It is all well and good being incredibly light and comfortable but if the shoe doesn’t fill you with confidence on a range of terrain you probably wouldn’t use it. So far I have used the Aerios FL on; roads, public footpaths, fields, hills, woods, beaches and fells. Across all-terrain, I have found that the traction of the Vibram Megagrip sole was great. I haven’t slipped out, despite walking in some very wet conditions.
SUPPORT
My main concern with using the Aerios FL as my go-to walking footwear would be that it is a low top. As someone who has previously injured ankles, I prefer the support of a boot. That being said on the walks I have tested these shoes on I have had little trouble with unexpected ankle rolls. Carrying the added weight of a pack over rocks and uneven terrain caused no issues and I was generally impressed with how the shoe performed. If like me, you worry about your ankles this you should order the Aerios Mid version which will provide more support.
WEIGHT
As mentioned in the intro the Aerios FL is an extremely light pair of shoes. At 690g for the pair, it is hard to find a similar shoe on the market. I do worry with lighter products that they may lack durability over time but one year in and my Aerios FL shoes have stood the test of time.
WATERPROOFING AND BREATHABILITY
There is an argument that waterproofing in a shoe rather than a boot can be pretty pointless. The lop top design will normally lead to water entering the shoe in harsh weather conditions. The Gore-Tex held up well to rain as expected with no spots that held water.
DURABILITY
Buying Arc’teryx products often comes with a sense of reliability that befits the price tag. The Aerios FL Mid GTX are not cheap at £160 but this price tag reflects the craftsmanship. .
LOOK
The least important aspect of a hiking shoe is its looks but I guess it is still worth commenting on. The Arcteryx Aerios FL is an aesthetically pleasing shoe that doesn’t look out of place around town. This actually makes the shoe quite versatile as it could double as your walking shoe during the day and your round the town shoe at night. This could help you reduce weight in your pack and also help the price tag seem a little less steep.
AERIOS FL GALLERY
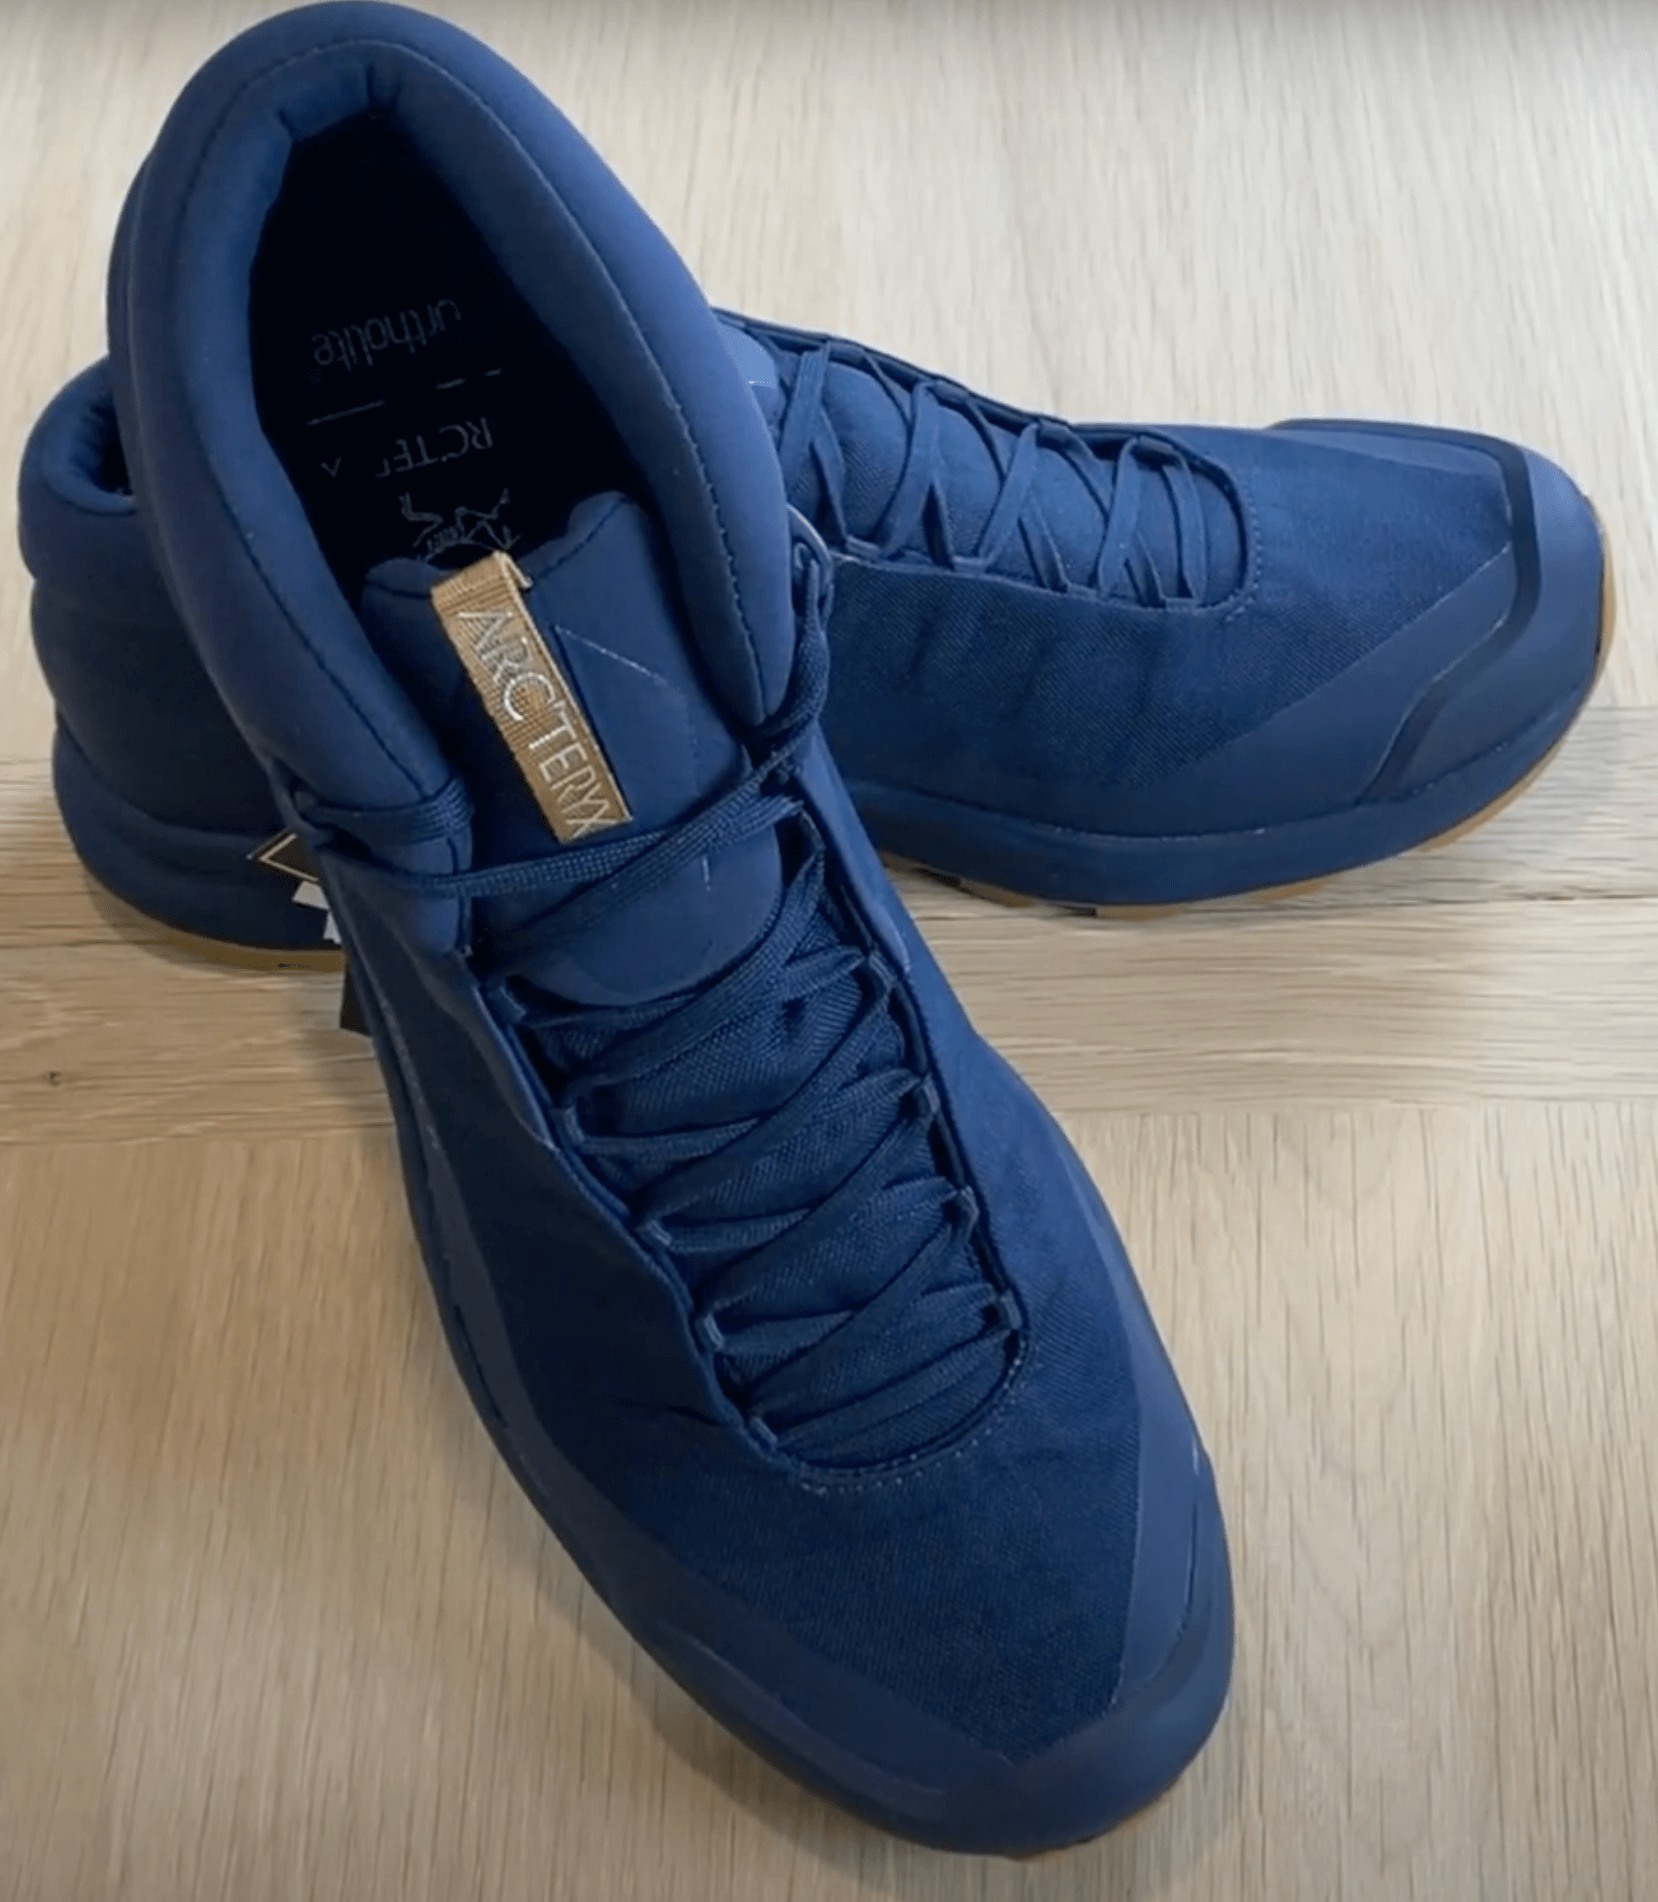
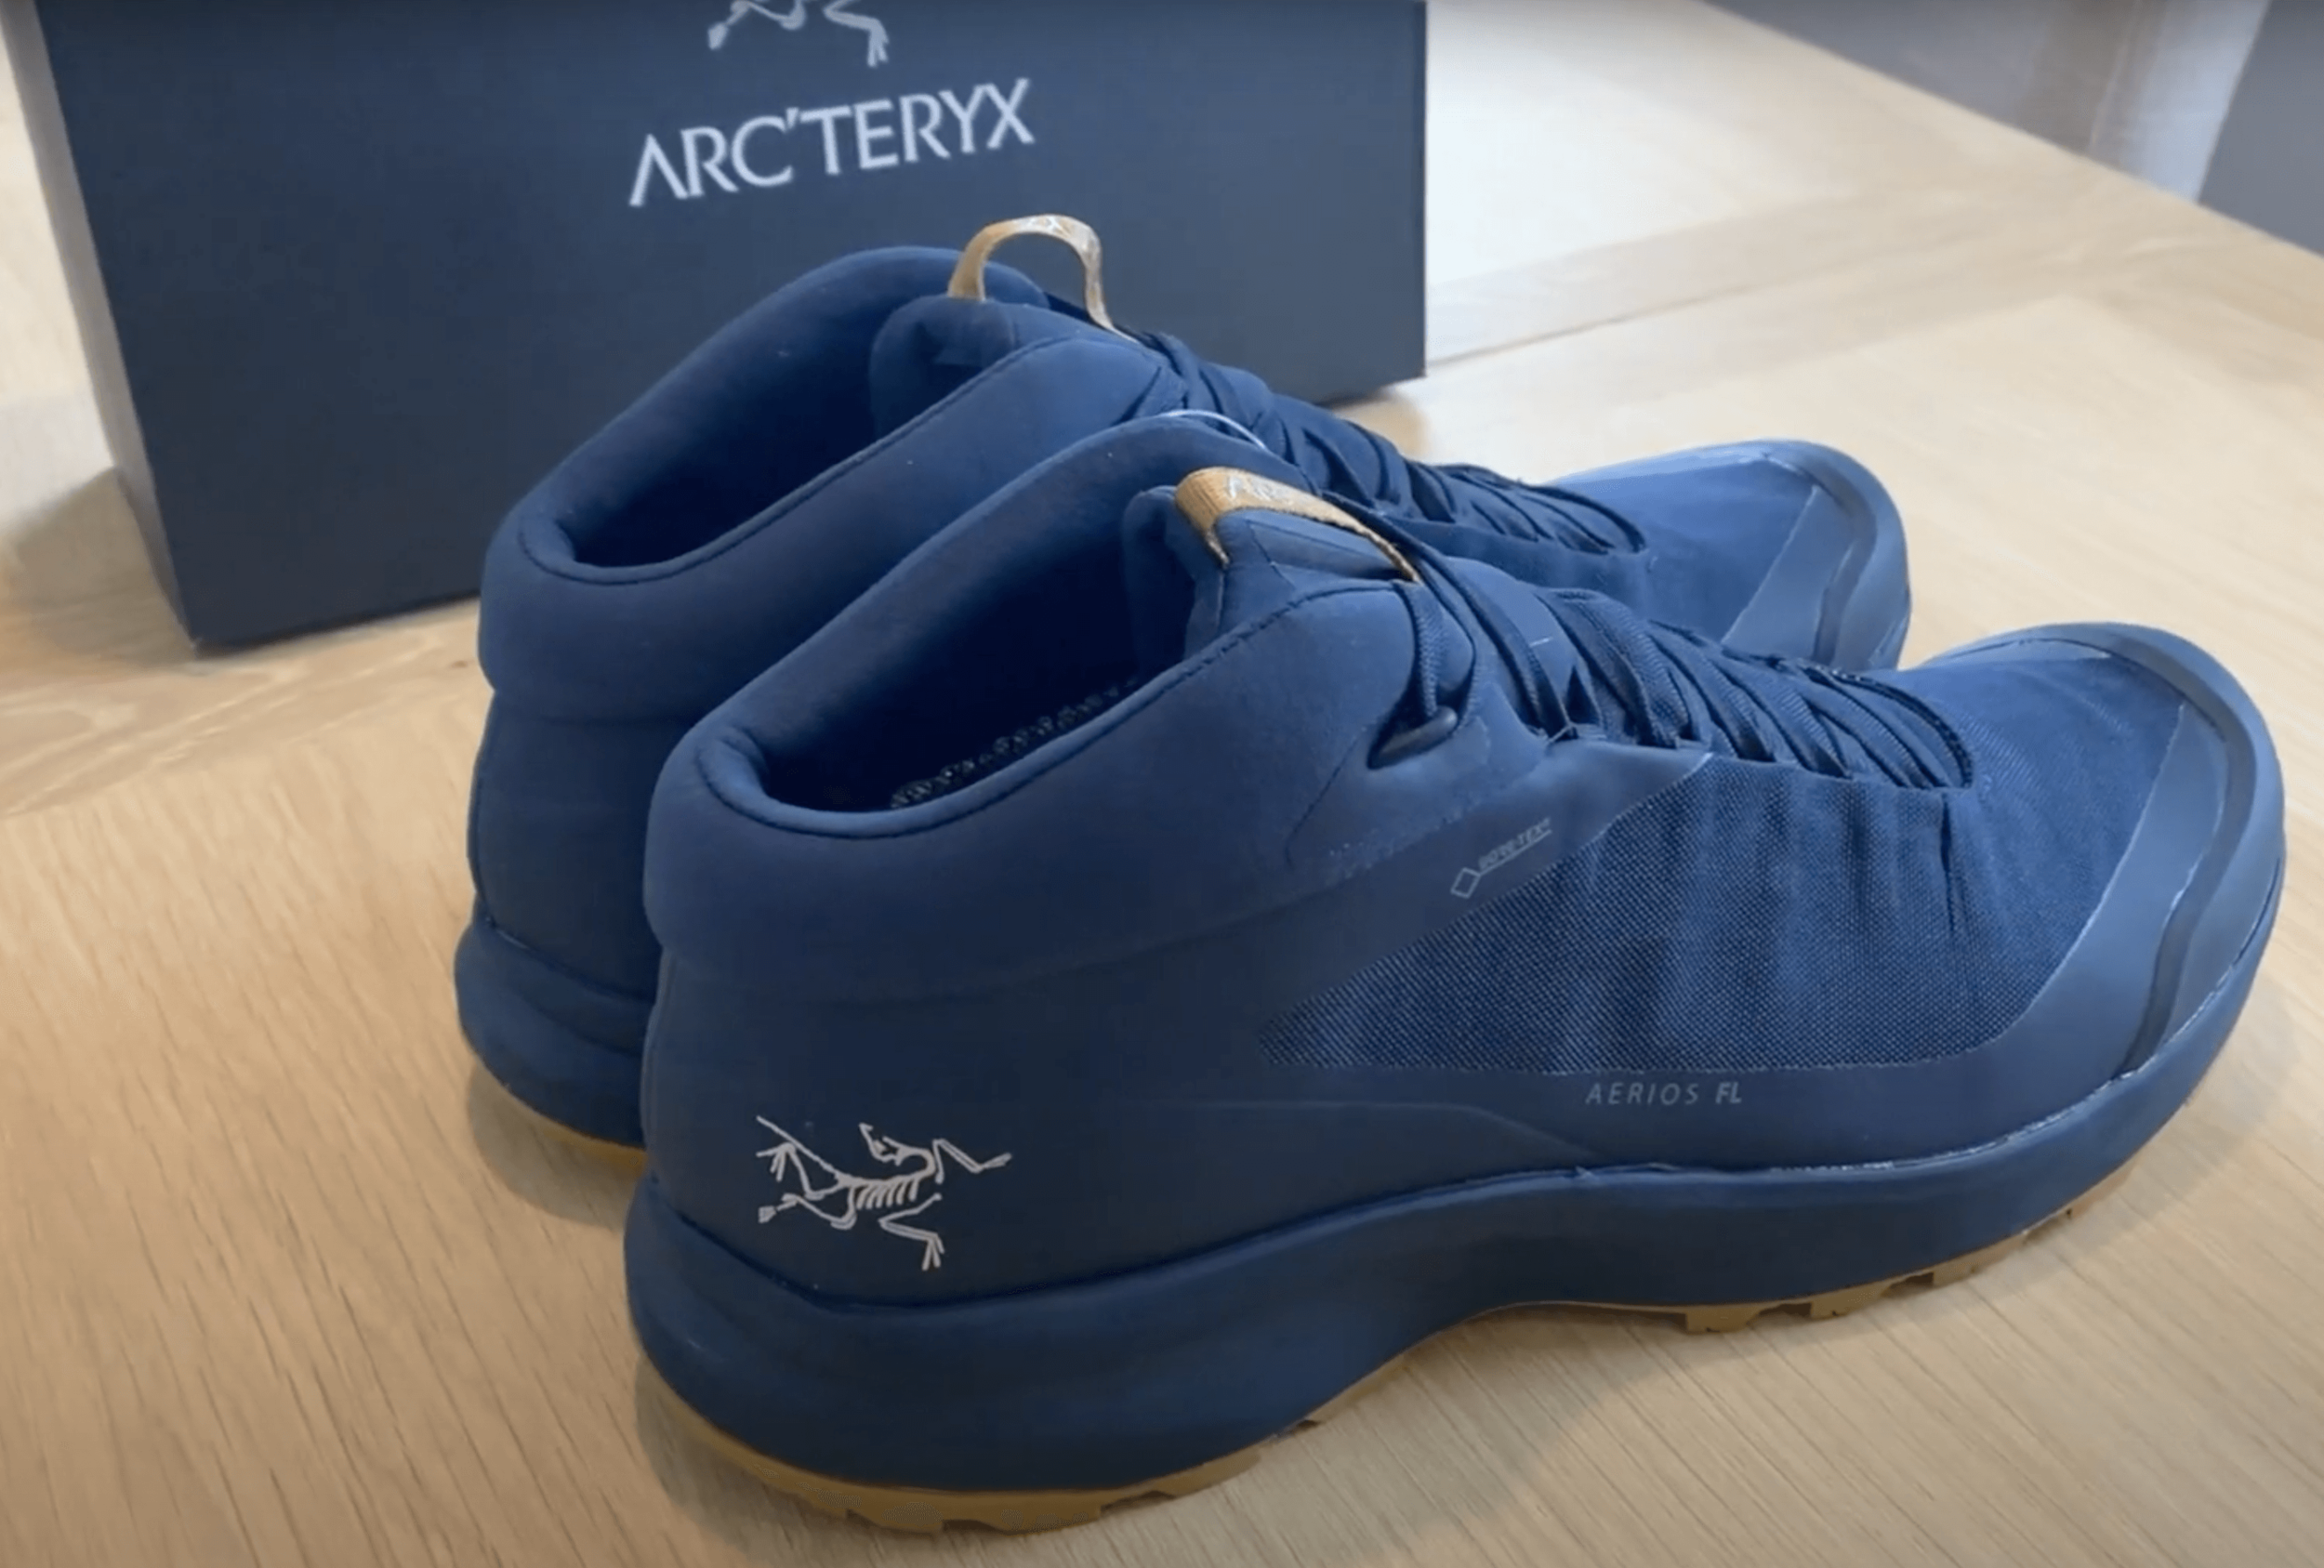

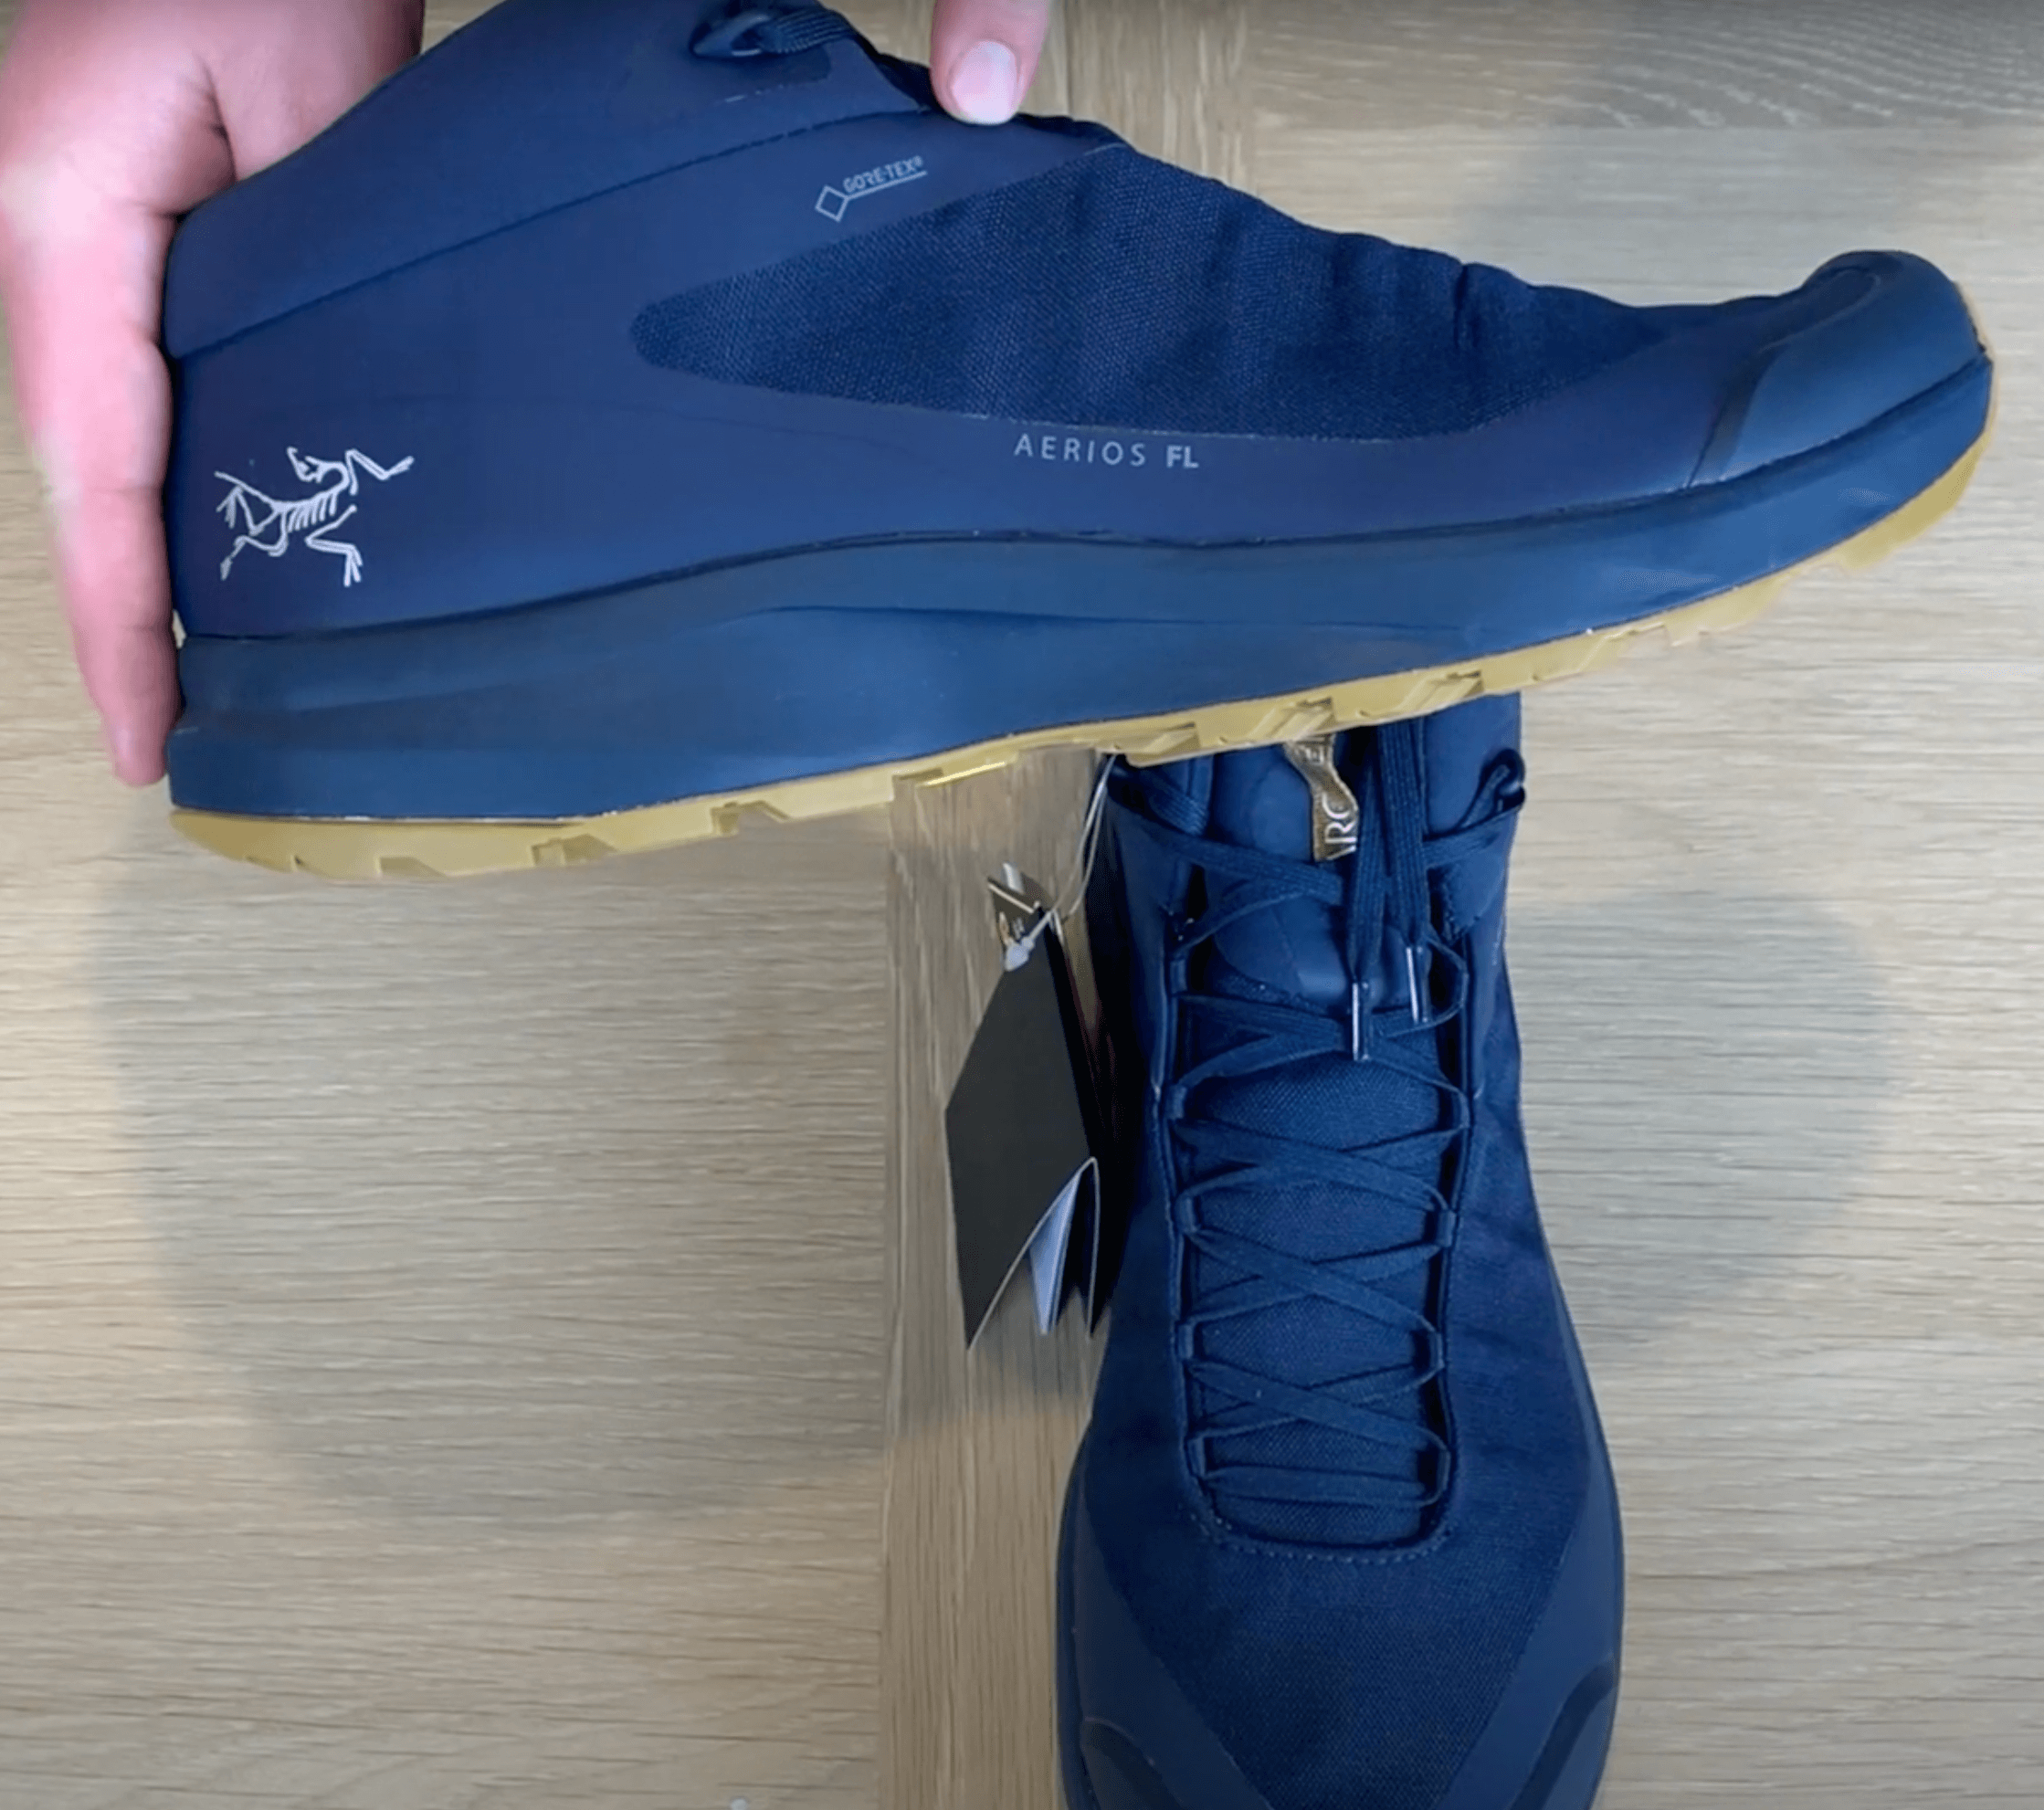
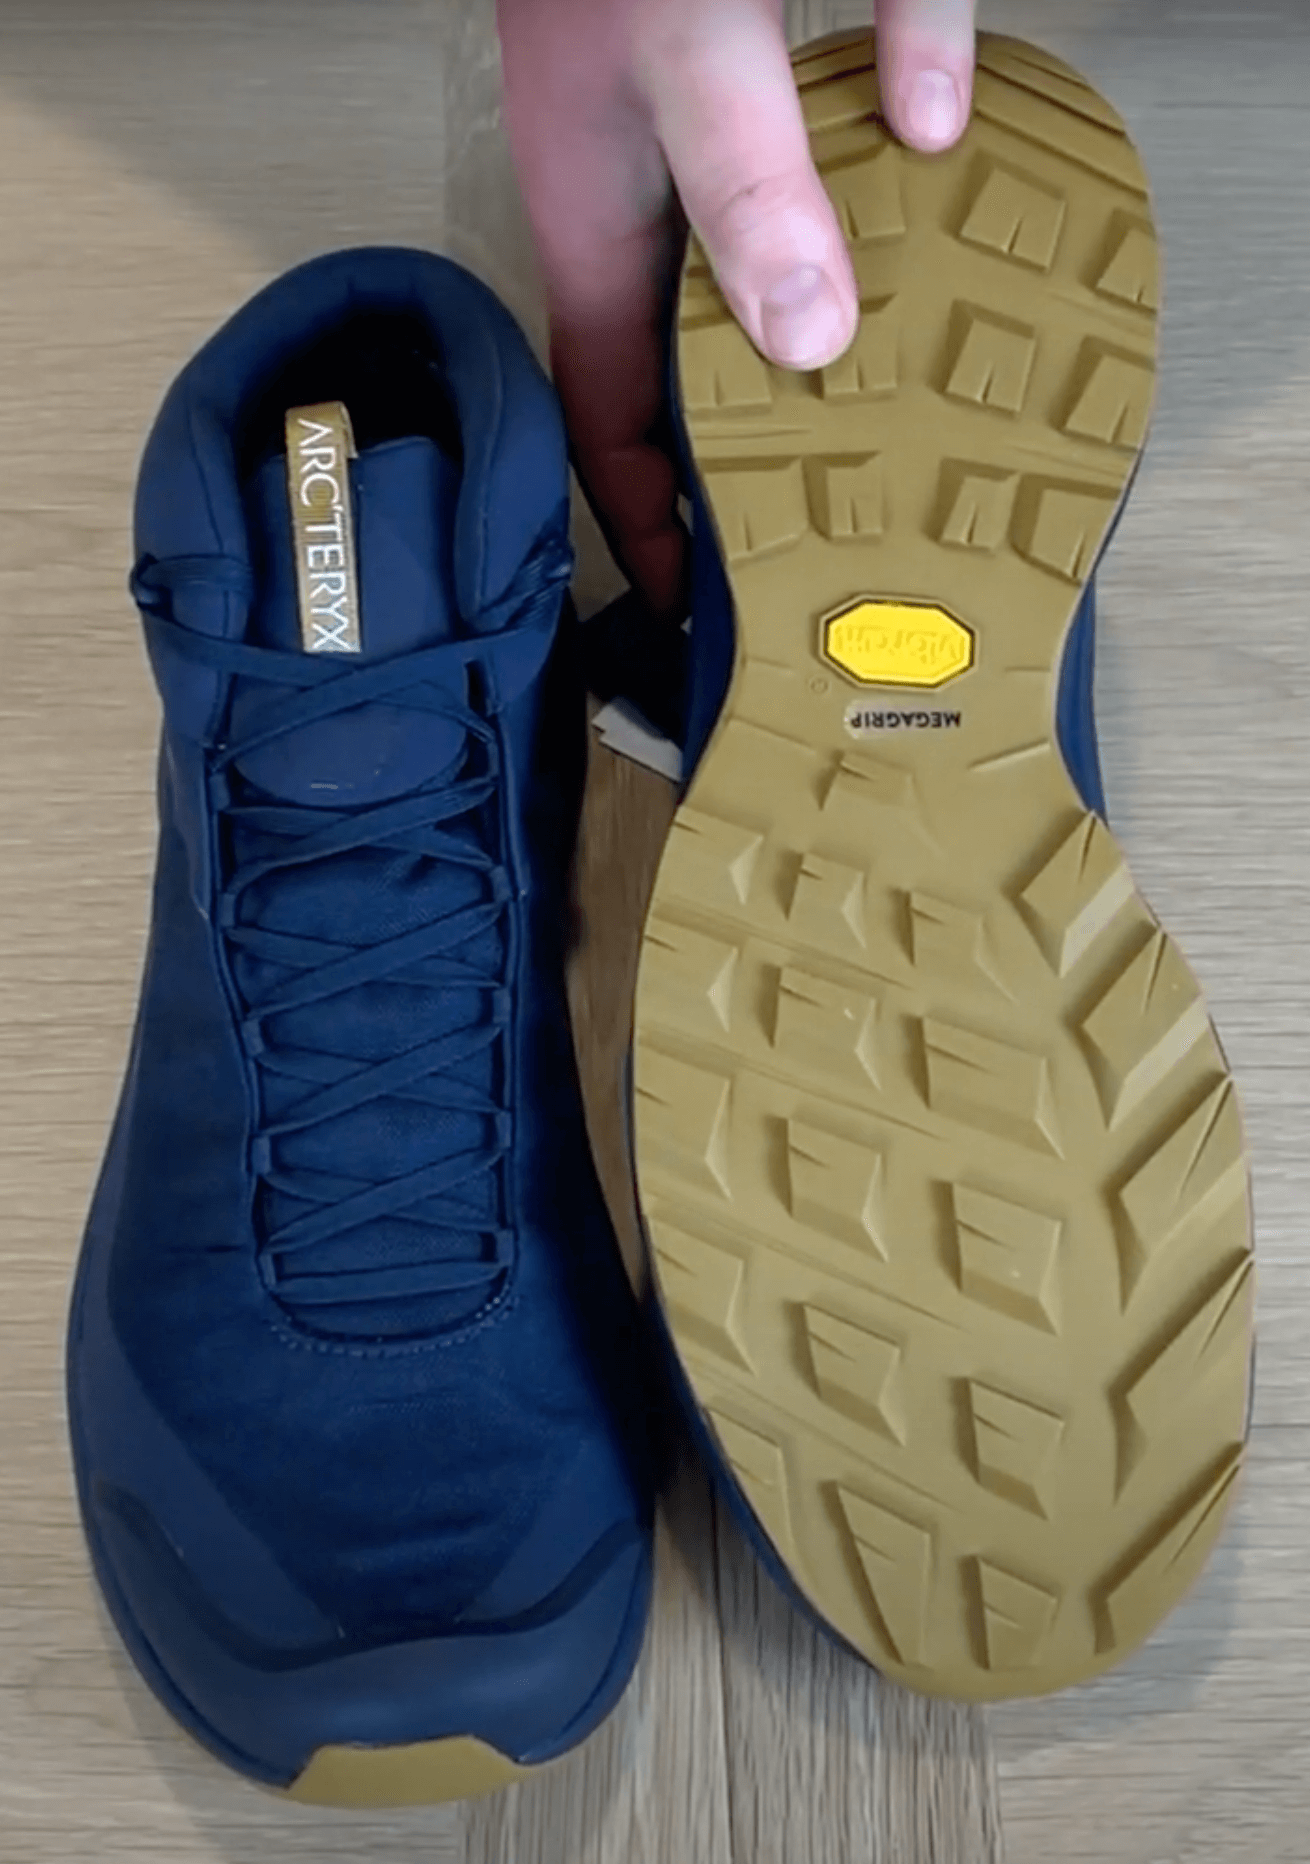

FINAL THOUGHTS
I have enjoyed wearing this shoe over the past year in a range of conditions. The shoe has stood the test of time and has been used during many walks across the fells in the Lake District and mountains of the Brecon Beacons. Overall I would recommend it to walkers who are looking for a lighter alternative to their bulky walking boots.
PURCHASE THE ARC’TERYX AERIOS FL
If you found this review useful consider purchasing your walking shoes through the links below. These links will generate a small income for the site at no extra cost for you. All profits will help to produce further content in the future.
How To Choose Your Snowboard Stance
Ensuring that you have the perfect snowboard set up for you will be a determining factor on how much fun you have on the mountain. Snowboard stance is a huge part of your snowboard set up and will help you dial feel comfortable and balanced on your snowboard. There is not a one size fits all approach to determining your snowboard stance so this post aims to provide you with advice that will help you decide the best snowboard stance set up for you.
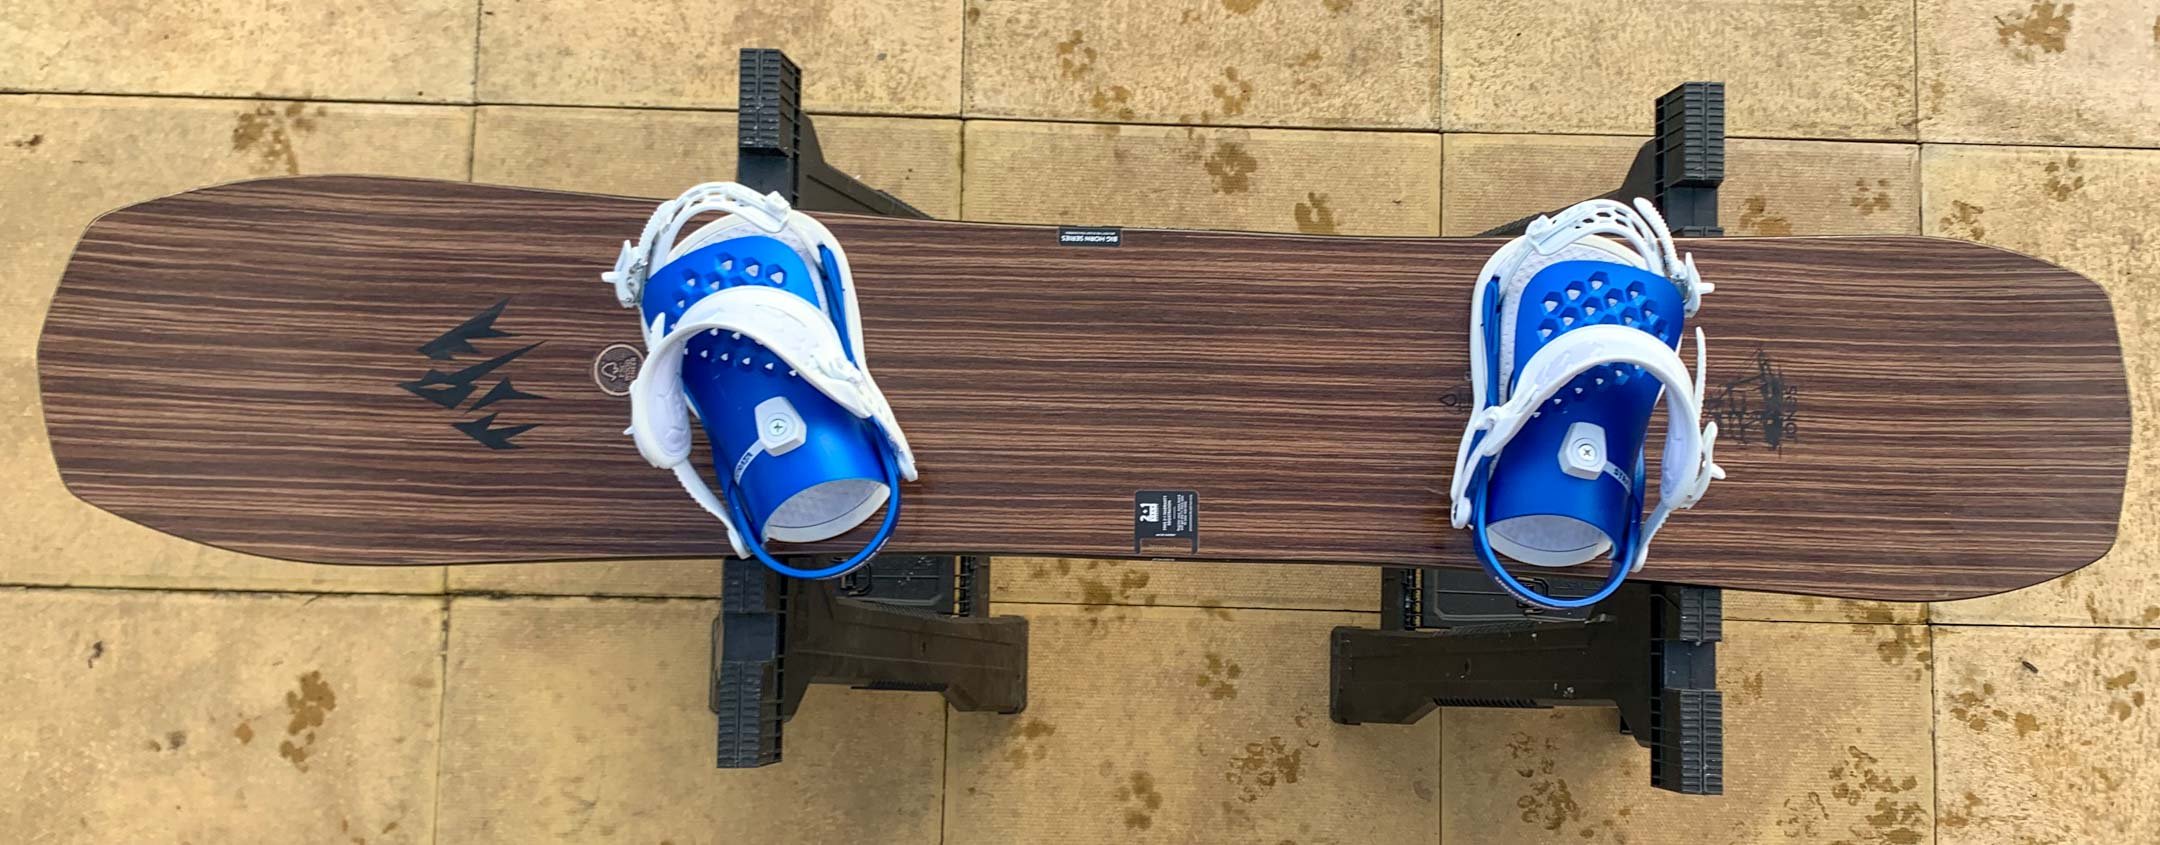
WHAT IS MEANT BY SNOWBOARD STANCE?
Let’s start by defining what is meant by snowboard stance. Your snowboard stance refers to your bindings position on the snowboard. This can include; where to position your snowboard bindings, the angles your bindings are set to, the width of your snowboard stance, and whether you set up regular or goofy.
WHAT DETERMINES YOUR SNOWBOARD STANCE?
Your snowboard stance will be influenced by a number of factors with perhaps your riding style and what you want to do on your snowboard being the most influential. You may choose to adjust your stance depending on the conditions and where you intend to ride that day. For example, It is unlikely that you will ride with the same stance in powder as you would in the park. You may still ride with the same angles but it is likely that you will get better powder performance with a set-back stance. You should also consider your height and the type of snowboard you are using when choosing your snowboard stance.

REGULAR OR GOOFY?
One of the first decisions you will make when learning to snowboard is whether you ride regular or goofy. These terms refer to whether you ride with your left foot forward (regular) or right foot forward (goofy). This can be a hard decision to make if you have no context to refer to as its likely you will be making this decision before stepping onto your snowboard. Luckily there are some tests you can do that may provide some indication as to whether you will snowboard regular or goofy.
Do you have any previous board sport experience? Whether it is surfing, skating or wakeboarding your previous experience in board sports should help you decide whether you are regular or goofy. If you ride a skateboard with your left foot forward it is most likely you will be regular on a snowboard as well.
The Push Test
This doesn’t always work but can be a good indication of whether or you are a regular or goofy snowboarder. Close your eyes and have someone gently push you from behind. The foot that you step forward with is most likely going to be your front foot on your snowboard.
The Slide Test
Everyone loves a good slide along a hardwood floor and this test can help you determine whether you are goofy or regular. Set up with a pair of socks take a short run up and then slide across the floor. If you are already at the ski resort, you can do this on the snow in your snowboard boots. The foot that you place forward is the foot that you will use to lead your snowboard.
Dont Worry
If you are unsure then there is no need to panic. For beginners most boards are set up centred in duck stance (both bindings at the same angles) this means that the snowboard should ride the same in both directions. Take a couple of runs alternating the foot that was forward. This should help you determine whether you are regular or goofy stance.
Selecting The Correct Snowboard Stance Width
Often overlooked your snowboard stance width will affect your balance on your board therefore affecting how easy it is to manoeuvre the snowboard. Like with most aspects of snowboard stance there is going to be some trial and error involved in choosing the correct width for your snowboard stance and personal preferences.

Reference stance
Most snowboards come with recommended stance marked on the board. This is known as your reference stance. Although this is a good guide it is not a one size fits all approach and you should allow for some flexibility with your stance width. The reference stance is the stance that that board has been designed around but depending on whether you like to ride a slightly shorter or longer board this may need some adjustment.
Measure your stance from the middle of both bindings
I am 6ft and ride with a 22.5inch stance width. This took some refining over time and is the width I feel most comfortable with. It is likely if you are shorter than me you will want a narrower stance width. Similarly a taller rider may want to increase the width of their stance in comparison to mine.
Using a snowboard stance calculator is a good place to start but you should refine this information over time to get your desired stance width.

SETBACK OR CENTRED STANCE
Whether you decide to ride with a setback or centred stance on your snowboard will likely depend on two things; where you are riding (piste, park or powder) and how much time you spend riding switch.
If you like to ride switch then having a centred stance is better for ensuring that your snowboard rides and feels the same both in your regular and switch stance. This can be useful for landings for 180’s, 560’s etc where you land facing the reverse of how you take off. A centred stance can help you feel balanced on the board whilst performing ground tricks and butters as well.
If you like to ride directionally whether on or off-piste then having a set-back stance may suit your riding style. Having a setback stance in powder reduces the amount of effort you need to put in to keep your boards nose elevated out of the snow. This means you are less likely to have that dreaded back leg burn on those powder days. Another benefit to riding with a setback stance is that your board has a shorter tail. This means the board can be easier to Ollie or drive through your turns using your back foot.

Twin snowboards are normally set up centred.

Freeride boards normally have some setback to improve carving and powder performance
HOW TO CHOOSE YOUR SNOWBOARD STANCE ANGLES
Setting your snowboard angles correctly is one of the most important aspects of your snowboard set up. Your binding angles will determine how efficient your body can be at driving the snowboard through a turn. You may wish to adjust your binding angles depending on the type of snowboarding you are doing. Let’s delve deeper into some of the snowboard binding angle options.
WHAT ARE SNOWBOARD STANCE ANGLES?
Setting binding angles refers to how the bindings are angled on the snowboard. Bindings come with a baseplate that allows you to set stance angles between +30 and - 30 degrees. We will delve into the nuts and bolts of binding angles below but it is most common for the front foot to be a + angle and the backfoot a - angle.
FRONT FOOT
I have never met a snowboarder that doesn’t have their front foot angled towards the nose of their snowboard. Furthermore I can’t think of any reason why you wouldn't. The extent to which you angle your front binding will depend on your style of riding and what you want to achieve. An angle of +15 degrees is popular and is in the middle of the possible options. Utilising a +15 to +18 front foot angle seems to be the sweet spot for most of those I have asked.
BACK FOOT
The back foot is where people tend to have more variation in their binding stance angles. This can be influenced by the style of riding that person likes to do the most. Let’s look into some of the popular options.
DUCK
Duck refers to having your front and back feet facing in opposite directions. True duck is where those angles are the same; for example +15 (front) -15 (back) degrees. A duck stance is popular with freestyle orientated riders that like to spend time riding switch as well as regular. Snowboard bindings angles for park do not need to be true duck stance but this may help you feel more balanced when riding switch.

BACK FOOT ZERO
Having a Zero angle on your back foot means that your backfoot runs perpendicular to the snowboard. Using a zero binding angle on your backfoot is where I started before playing around with other stance angle options. Having a zero angle can help you drop your back knee linearly towards the snow helping you lean into toe-edge carves.

BACKFOOT POSITIVE
This has never felt good for me but is popular especially amongst freeriders who like to carve. Running a backfoot positive binding angle can make it more tricky to ride switch, but this remains possible with practice.
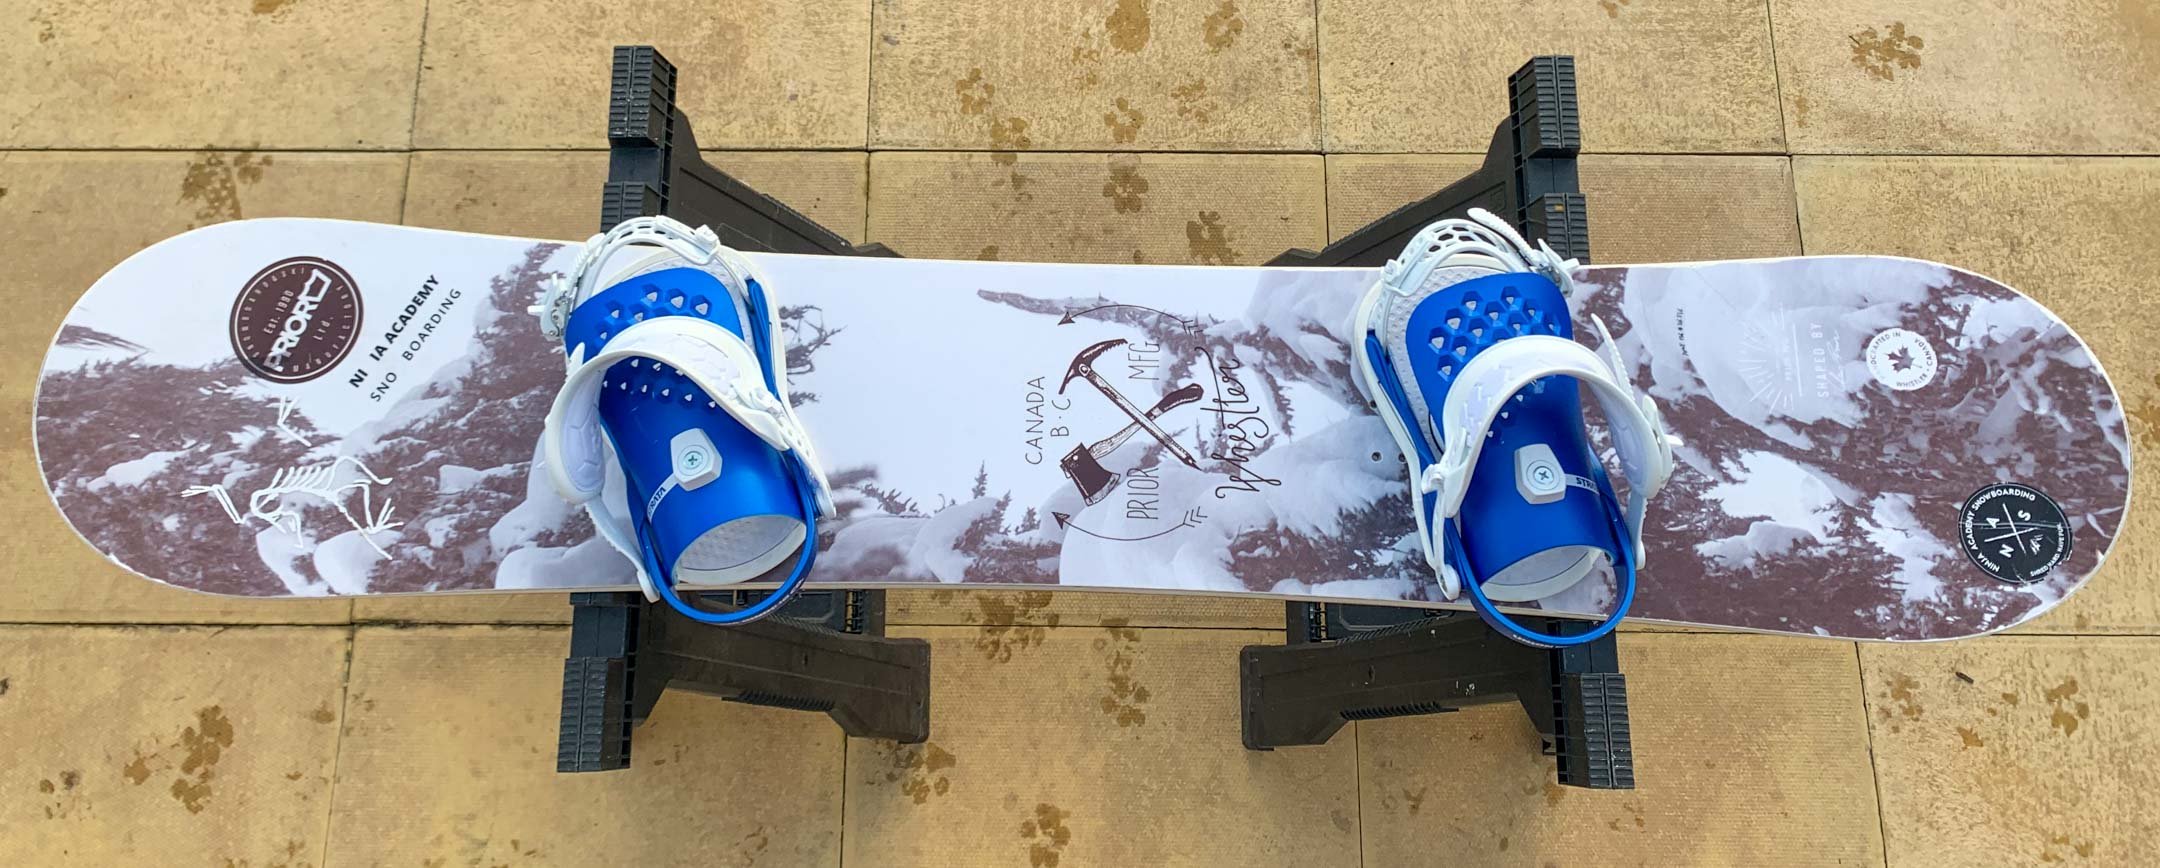
CHANGING YOUR STANCE
Changing and adapting your stance over time is natural and is part of how you and your snowboarding evolves. Taking the time to adapt your stance will allow you to feel out your preferred stance with micro adjustments that will eventually land on your preferred stance. You may wish to adapt your stance differently depending on the board you are riding and where you plan to head that day. Personally my stance width tends to stay the same regardless of the snowboard I ride, however my angles and setback will change dependant on where I want to ride that day.